ARTE
BELLEZA Y BIENESTAR
ARTESANÍA
CULTURA E HISTORIA
ENTRETENIMIENTO
MEDIO AMBIENTE
COMIDA Y BEBIDAS
INGENIERÍA INVERSA
CIENCIAS
DEPORTES
TECNOLOGÍA
TECNOLOGÍA VESTIBLE


Screw-Tube Egg Beater: The Tube Spins, the Rod Stands Still
A push-spinning egg beater turns on its point in the bowl: it wanders, and pressing on it slows it.
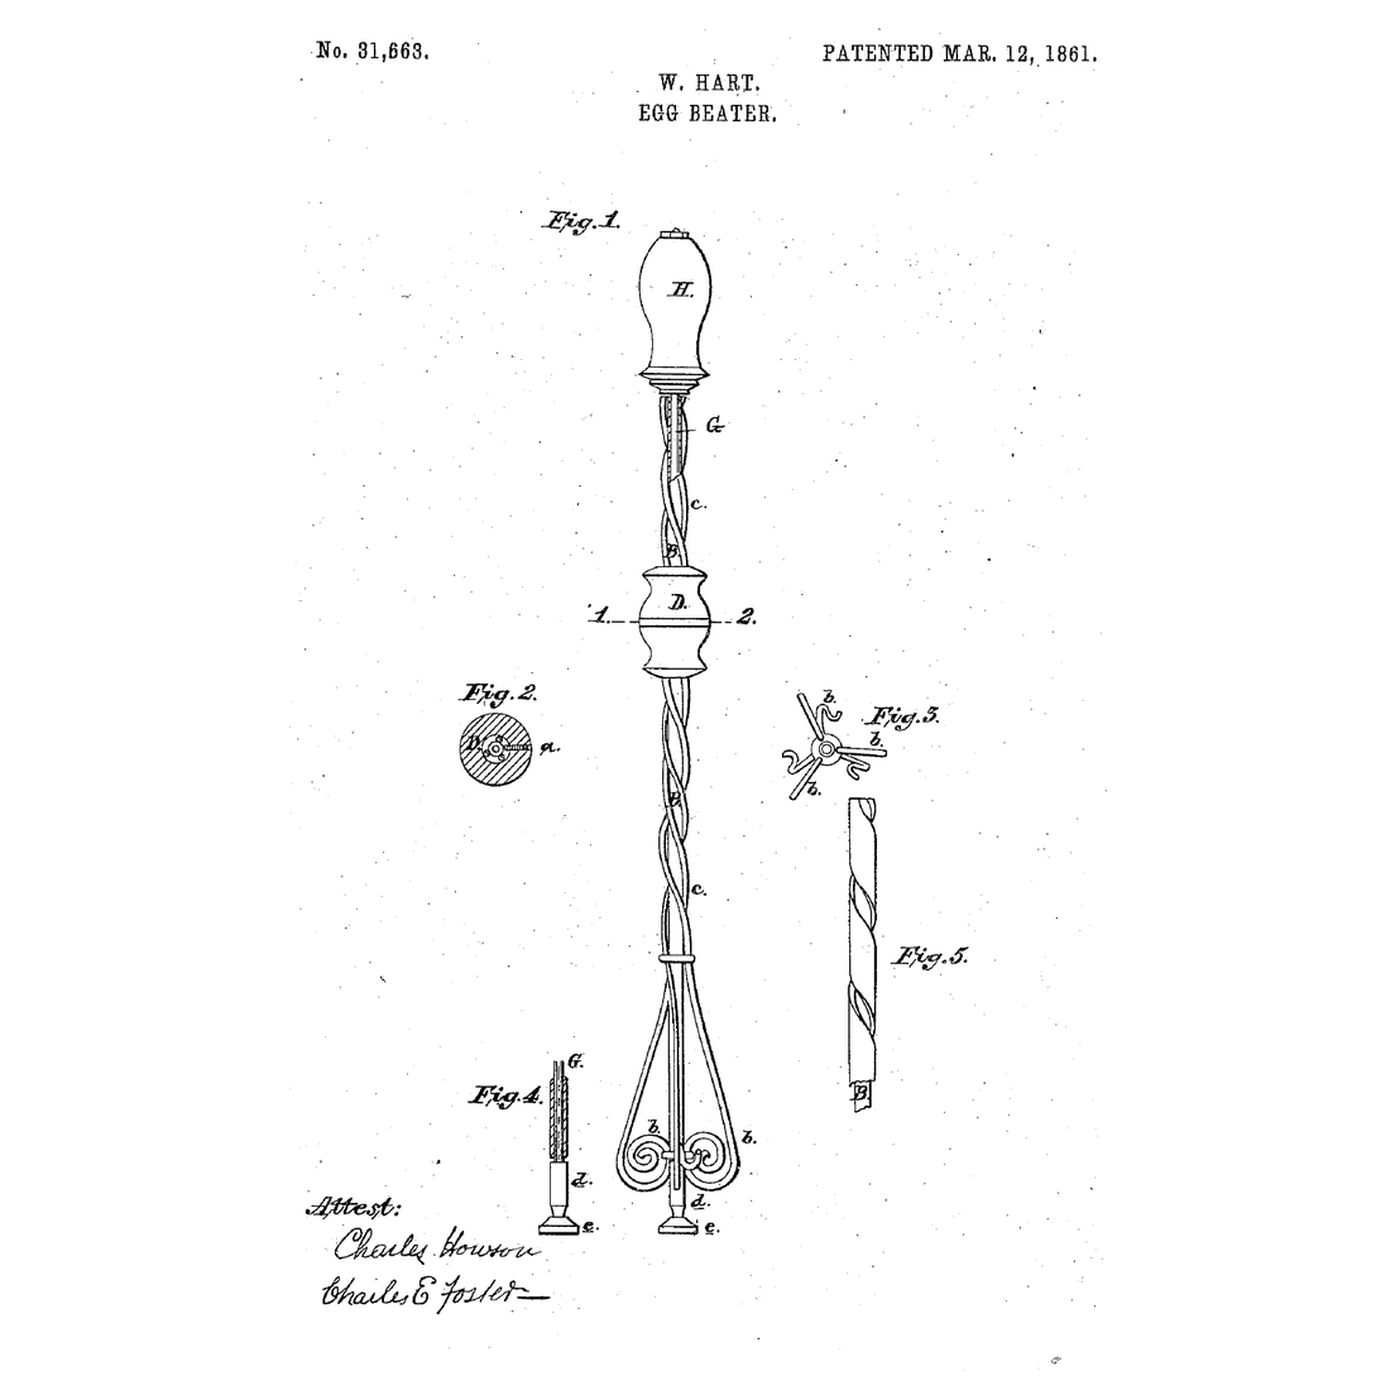
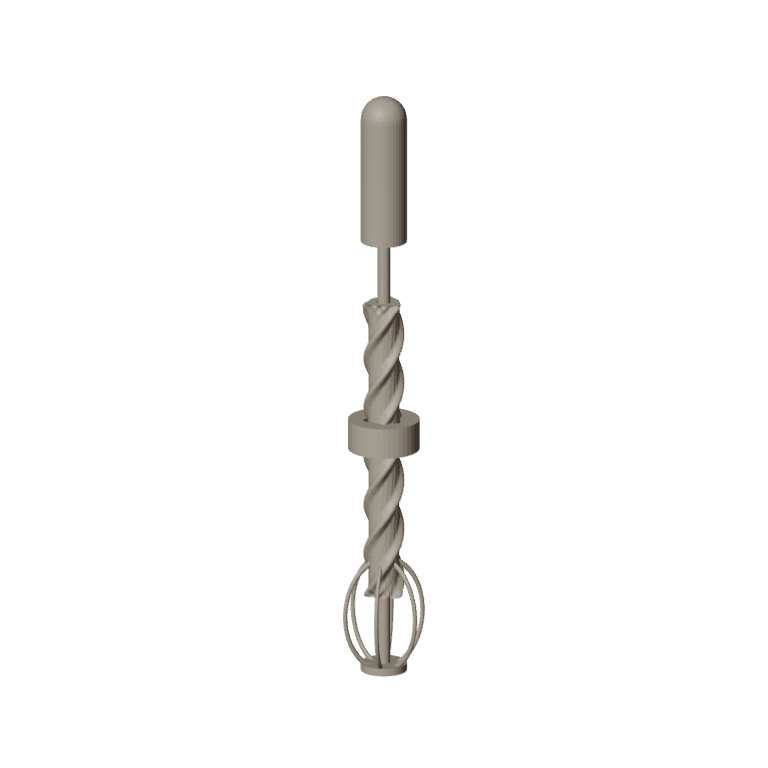
Walter Hart of Philadelphia received US 31,663, dated 12 March 1861, for an egg beater whose wire beaters are on a tube with a screw thread, spun by a nut slid up and down; inside it a rod fixed to the handle ends in a button that rests on the bottom of the vessel, so "the base ... is stationary and therefore has no tendency to slip" and the pressure is borne by the rod, leaving the tube free to turn.
This rung works out the tube's turns per stroke, then prints the lobed screw tube and nut, fits rod, button and beaters, and times a beating.
Principiante
About 2 hours, plus printing
Instrucciones
1
1
Turns per stroke
Turns per stroke
Cargando el cuaderno de Jupyter…
2
2
A spiral and slide before it
A spiral and slide before it
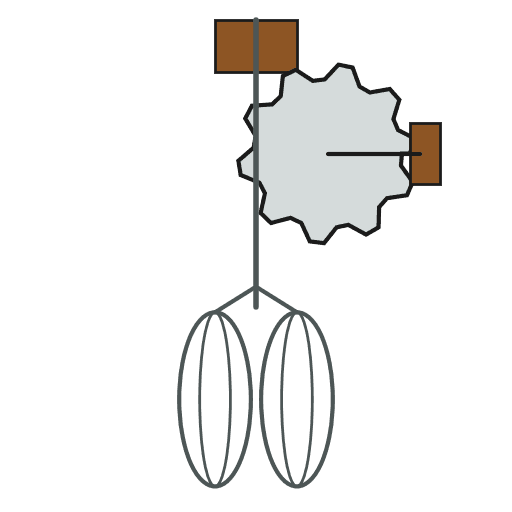
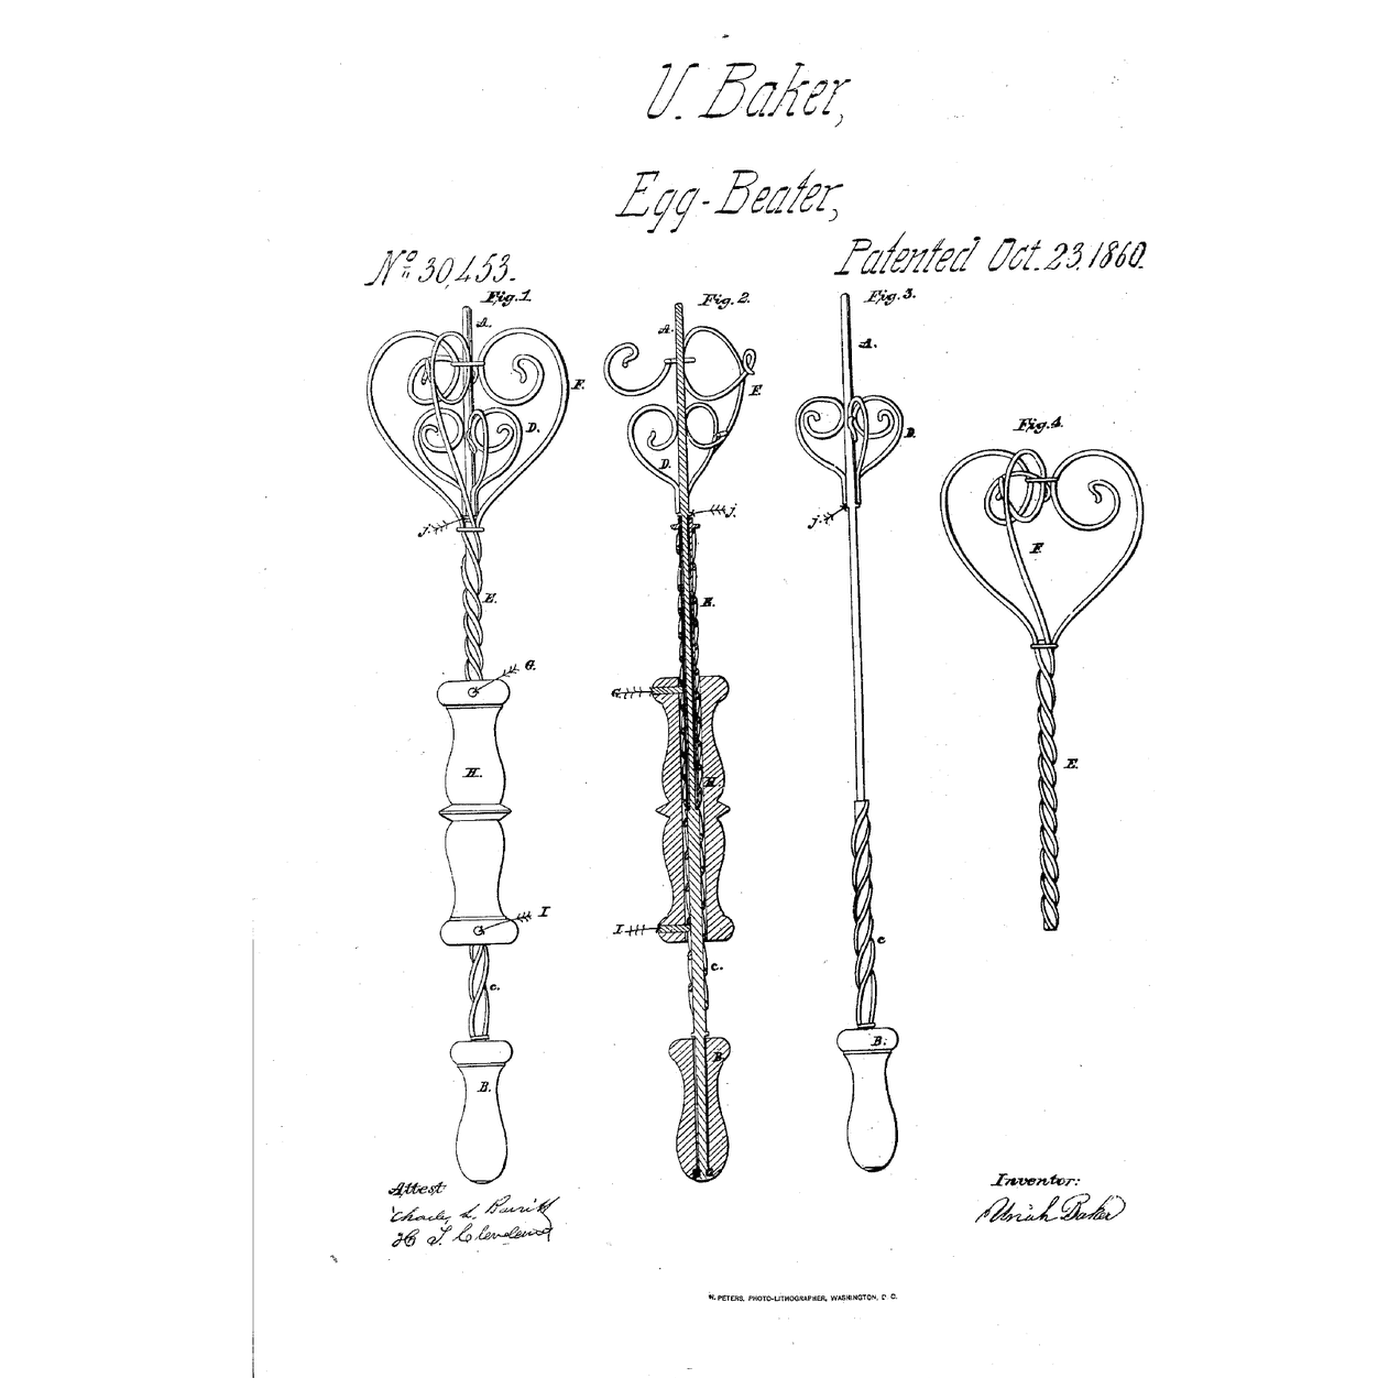
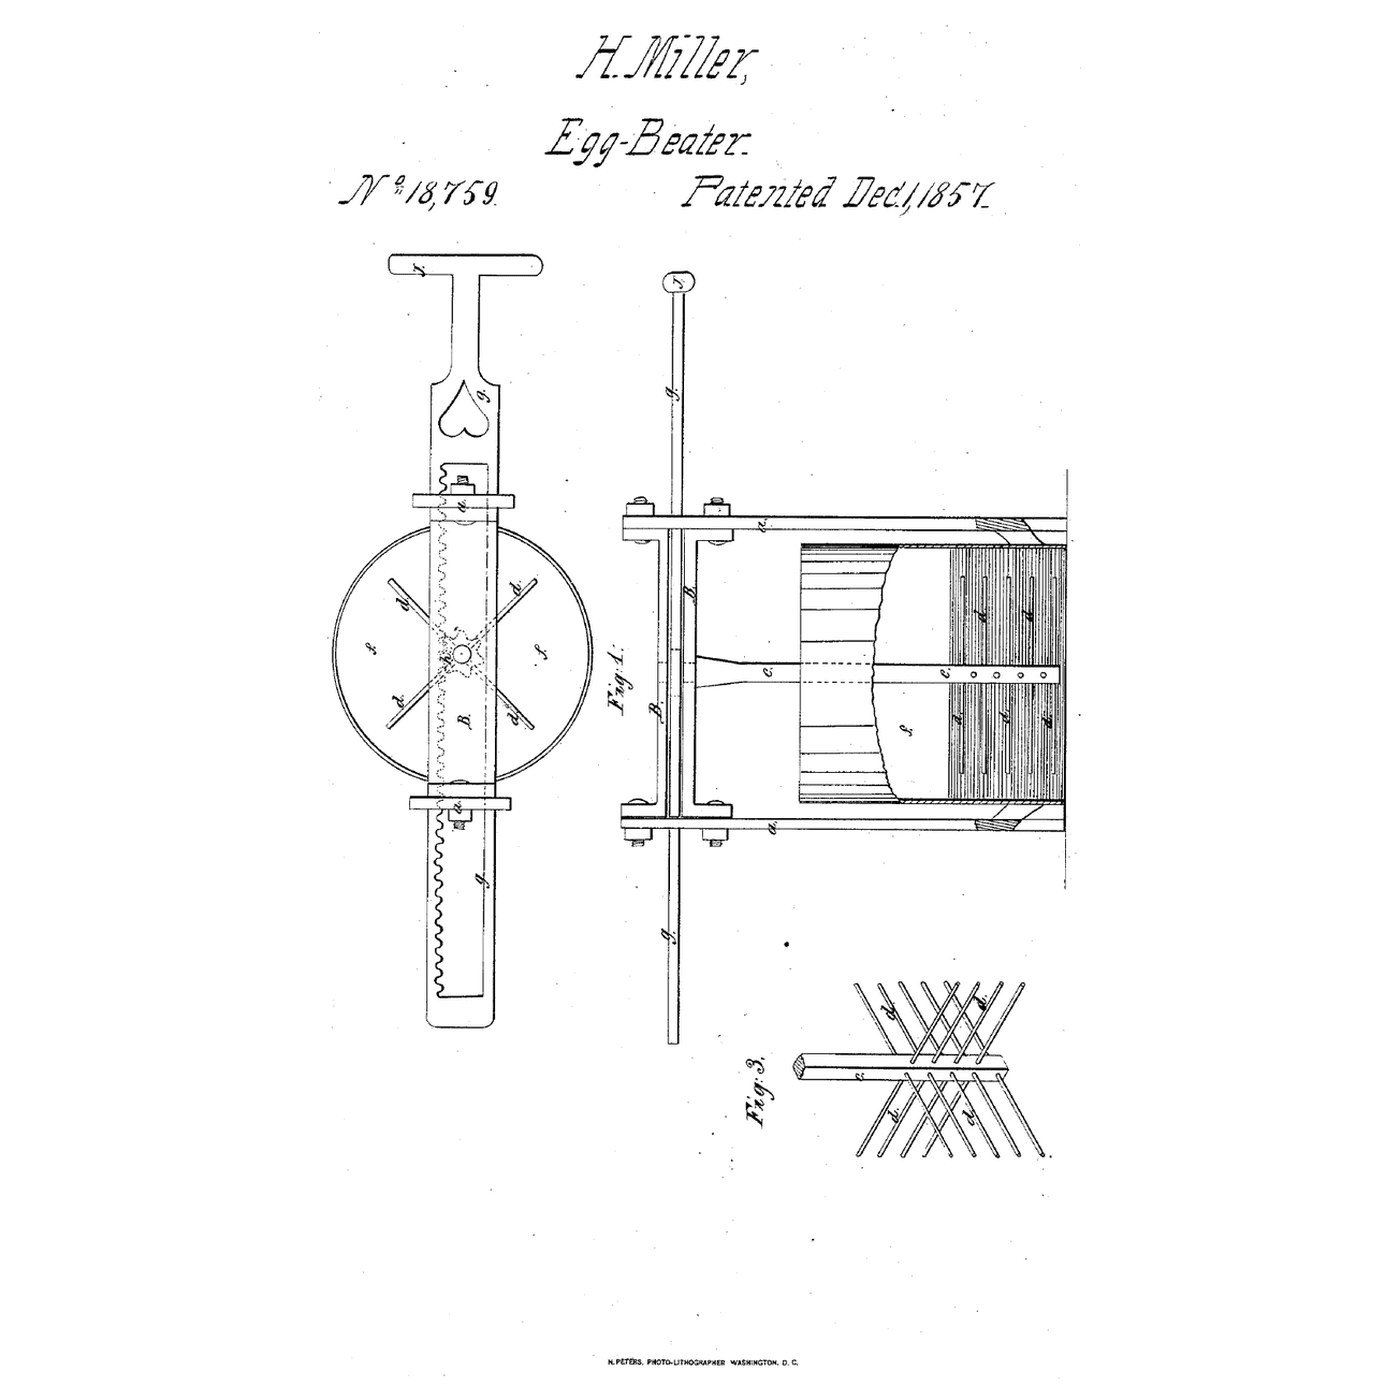
The embedded blueprint turns two scrolls with a slide on two spirals. Hart turns one screw tube and stands the whole beater on a still rod.
3
3
Read US 31,663
Read US 31,663
"In my improved egg beater the base, consisting of the button e, which rests on the bottom of the vessel, is stationary and therefore has no tendency to slip and as the pressure imparted to it is sustained by the stationary rod and not by the tube the latter is free to rotate under any pressure to which the instrument may be necessarily subjected."
4
4
Print the tube and nut
Print the tube and nut
Print the three-lobed screw tube standing upright, and the nut. Print in PETG at 0.2 mm layers, 30 % infill, 4 walls.
Materiales para este paso:
 Filamento PETG1 pieza
Herramientas necesarias:
 Impresora 3D de filamento (FDM)
5
5
Print the tube
6
6
Print the nut
7
7
Bend the beaters
Bend the beaters
Bend three loops of stainless wire about 32 mm across and 45 mm high, and epoxy their ends round the tube's lower end.
Materiales para este paso:
 Alambre de acero inoxidable1 pieza
 Epoxi de dos componentes1 pieza
Herramientas necesarias:
 Alicates de punta redonda
 Alicates de boca plana
8
8
Rod, button and handle
Rod, button and handle
Pass a 5 mm rod through the tube, with the nut on the tube. Epoxy a washer to the rod's foot as the button, leaving the tube 2 mm of play, and a hardwood handle on its top.
Materiales para este paso:
 Redondo de acero dulce1 pieza
 Arandela plana1 pieza
 Espigas de madera dura1 piezaEpoxi de dos componentes1 pieza
Herramientas necesarias:
 Sierra para metales
 Tornillo de banco
 Taladro inalámbrico
 Juego de brocas
9
9
The patent drawing
The patent drawing
US 31,663 drawing sheet, public domain (expired patent).
10
10
Beat egg whites
Beat egg whites
Stand the button on the bowl's bottom, hold the handle, and slide the nut up and down; time two whites to stiff peaks. Note whether the button stays put.
Materiales para este paso:
 Huevo2 piezas
Herramientas necesarias:
 Bol grande de acero inoxidable
 Cronómetro
11
11
A tube that sticks, a nut that binds
A tube that sticks, a nut that binds
Screw-tube egg beater troubleshooting.
Flow
Loading...
12
12
History and honest limits
History and honest limits
**Walter Hart** of Philadelphia received US 31,663, dated 12 March 1861. His thread is three wires coiled on the tube, their lower ends spread into the beaters; the nut is wood with a pin entering between the wires; a strip of metal lapped spirally may replace the wires. He did not claim the screw spindle, beaters and nut as such, which were known, but their combination with the internal rod and button.
**Honest limits.** FDM prints hold food in their layer lines, so wash well and replace when worn. A printed lobed tube stands in for his wire thread. Your times are the result.
Materiales
7- 1 piezaMarcador de posición
- 1 piezaMarcador de posición
- 2 piezasMarcador de posición
- 1 piezaMarcador de posición
- 1 piezaMarcador de posición
- 1 piezaMarcador de posición
- 2 piezasMarcador de posición
Herramientas requeridas
9- Marcador de posición
- Marcador de posición
- Marcador de posición
- Marcador de posición
- Marcador de posición
- 1 vendor sell this, none ship to you yetMarcador de posición
- Marcador de posición
- Marcador de posición
- Marcador de posición
Archivos de diseño
2Este plano hace
Blueprints relacionados
Estos blueprints comparten conocimiento — técnicas, materiales o principios

CC0 Dominio público
Este Blueprint se publica bajo CC0. Eres libre de copiar, modificar, distribuir y usar este trabajo para cualquier propósito, sin pedir permiso.
Apoya al Maker comprando productos a través de su Blueprint, donde gana una Comisión del Maker establecida por los vendedores, o crea una nueva iteración de este Blueprint e inclúyela como conexión en tu propio Blueprint para compartir ingresos.