Colaboración
ARTE
BELLEZA Y BIENESTAR
ARTESANÍA
CULTURA E HISTORIA
ENTRETENIMIENTO
MEDIO AMBIENTE
COMIDA Y BEBIDAS
INGENIERÍA INVERSA
CIENCIAS
DEPORTES
TECNOLOGÍA
TECNOLOGÍA VESTIBLE
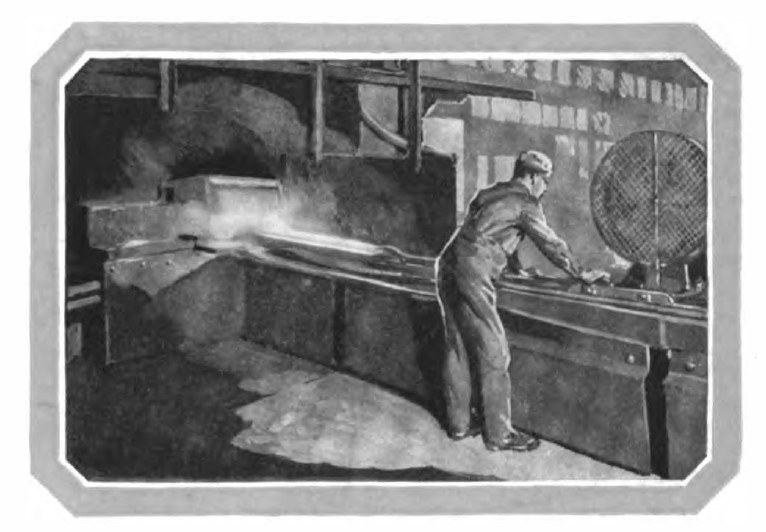


Steel Pipe: Butt-Welded Through a Bell, Sized, Threaded and Tested (National Tube Co., 1921)
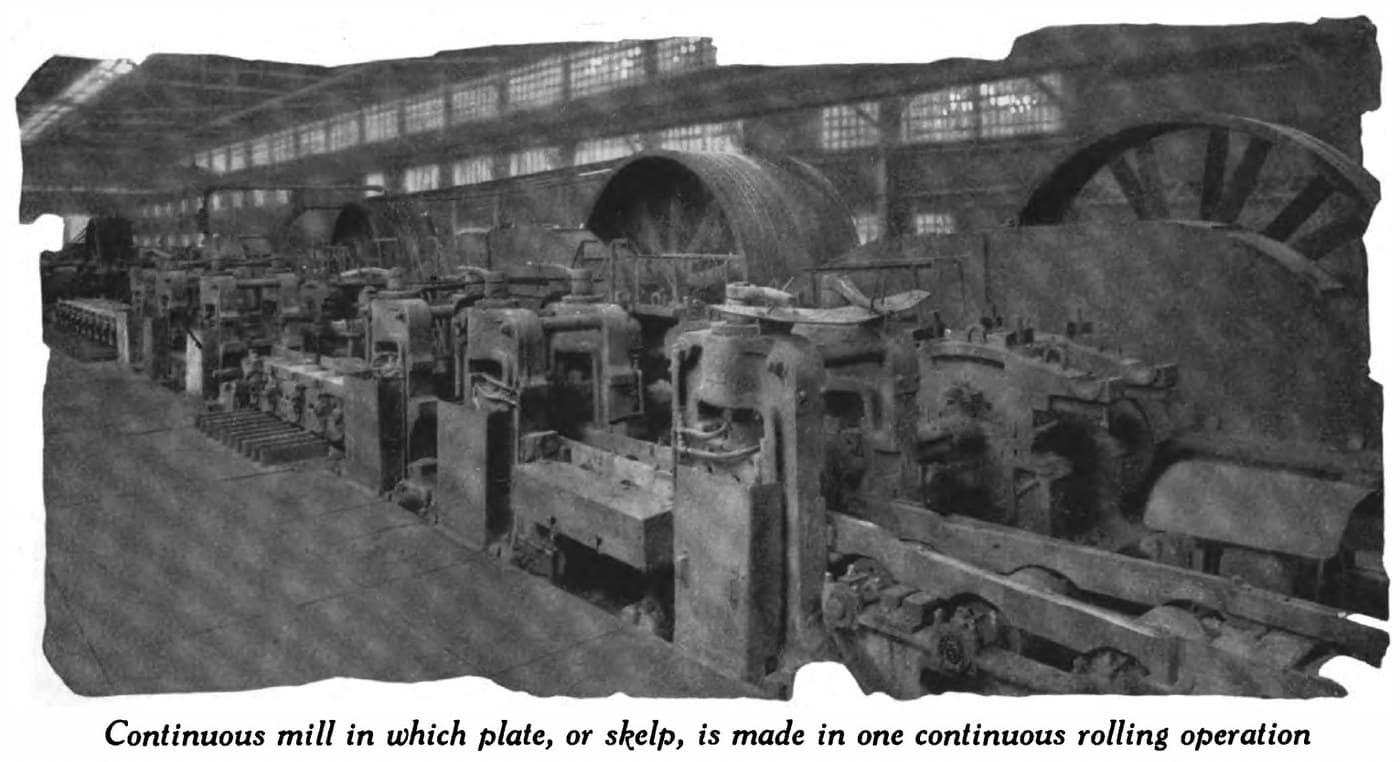
Butt-weld steel pipe, 1/8 to 3 inches, as National Tube made it in 1921: hot skelp is pulled by tongs and a draw-bench chain through a bell a little larger than the finished pipe, which curls it into a tube and presses its edges together into a weld. The pipe is then rolled to size, straightened, cleaned, threaded and pressure-tested.
Each length, 20 to 40 ft, is welded in one pull. Every pipe is tested inside at 700 to 800 lb per square inch.
Source: National Tube Co., "National" Modern Welded Pipe (1921), pp. 41-47. Picture: drawing butt-weld pipe.
Avanzado
Unknown
Instrucciones
1
1
Heat the skelp
Heat the skelp
Charge the skelp from the rear into a long welding furnace, a little longer than the skelp, with a narrow opening at each end, and bring it to welding heat.
Materiales para este paso:
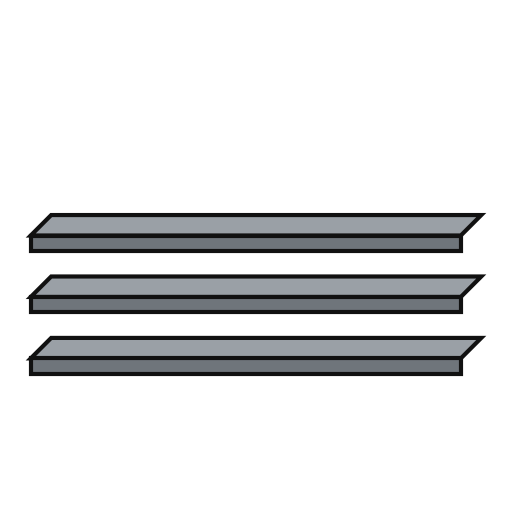 Fleje de acero para tubos1 one piece per length of pipe
Herramientas necesarias:
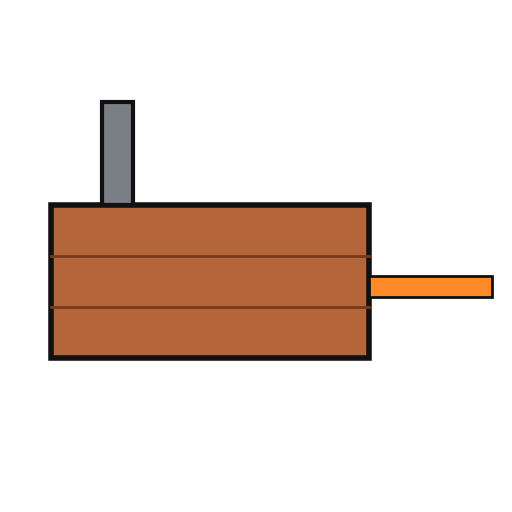 Horno de soldar
2
2
Draw it through the bell
Draw it through the bell
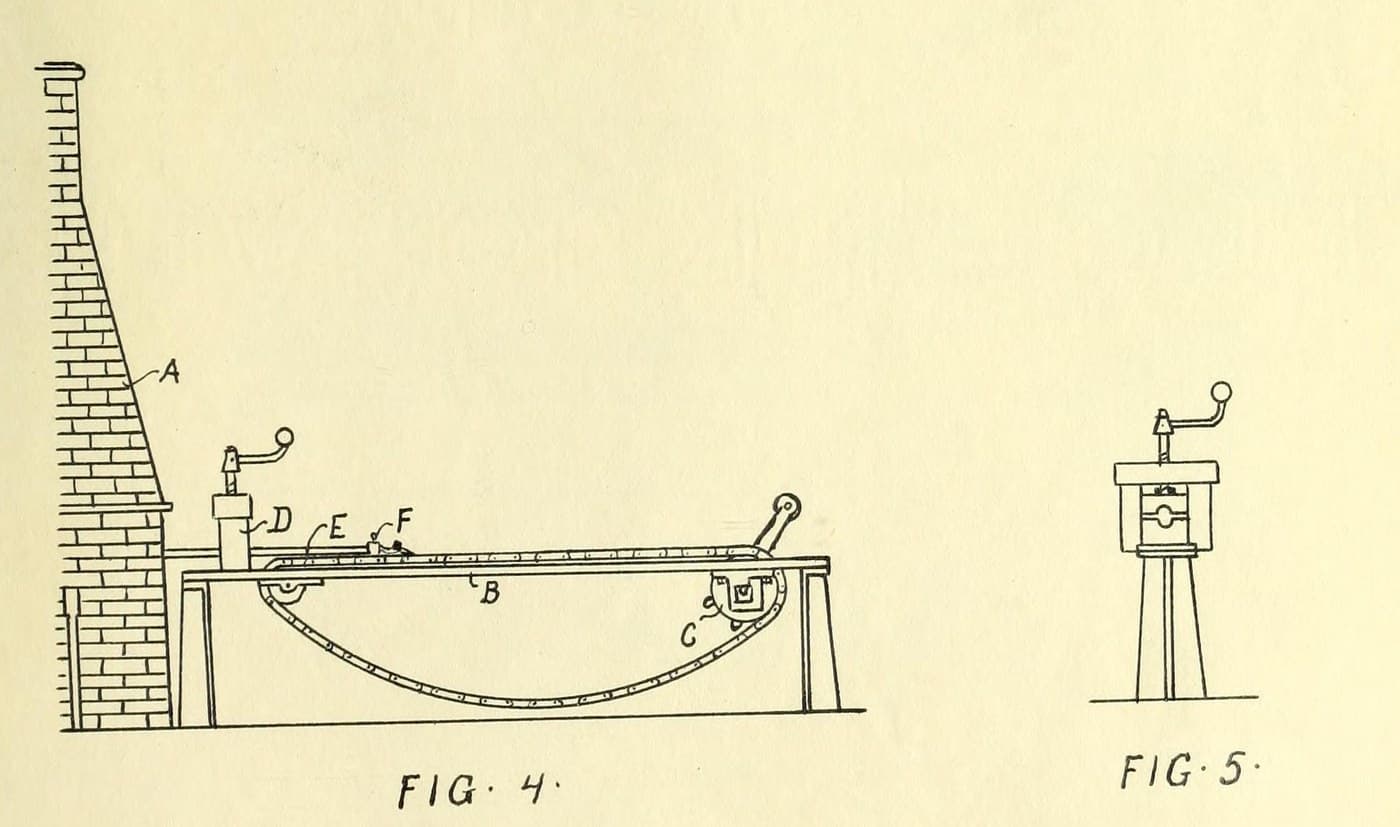
Grip the trimmed end with long-handled tongs and pull it through a die, or bell, slightly larger than the finished pipe. Hook the tongs to the travelling chain of the draw bench, which pulls the whole length (20 to 40 ft) through. The skelp is a little wider than the bell's inside circumference, so it curls into a tube and its edges butt squarely and weld. Some sizes go through two bells at one heat, the second slightly smaller.
Herramientas necesarias:
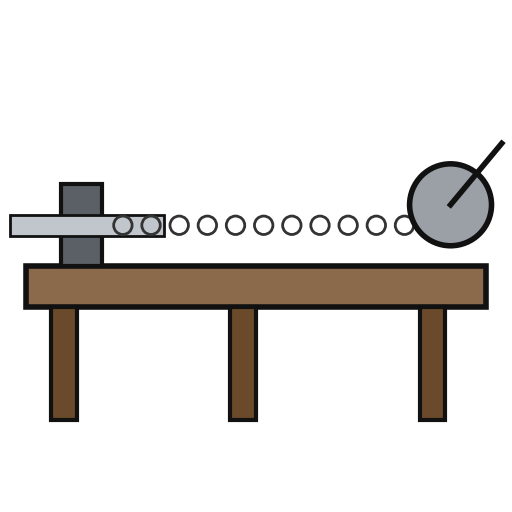 Banco de estirar
 Tenazas de fraguaHorno de soldar
3
3
For Double Extra Strong pipe
For Double Extra Strong pipe
Thick skelp needs so great a pull that a strong bar is welded on its end as a 'bait' for the tongs. Draw it several times through bells of decreasing size, reheating between draws, so the seam is thoroughly welded.
Herramientas necesarias:
Banco de estirarTenazas de fraguaHorno de soldar4
4
Size and round
Size and round
Pass the pipe through sizing rolls, which reduce it slightly, lengthen it and loosen the heavy welding scale. Then roll it to its finished size and circular shape, which removes the scale and leaves the walls smooth.
Herramientas necesarias:
 Laminador
5
5
Cool, straighten and clean
Cool, straighten and clean
Let the pipe cool slowly as it crosses a table, then straighten and smooth it in cross rolls. Wash off the loosened scale in a tank; blow it out of the smaller sizes with compressed air.
Herramientas necesarias:
Laminador Agua
 Compresor de aire
6
6
Cut, thread and test
Cut, thread and test
Cut off a short length at each end, where the tong jaws crushed it. Thread the pipe, then test it inside with water at 700 to 800 lb per square inch to prove the wall and the weld. Ours: hacksaw, die set and hand test pump; the booklet does not say how the ends are cut or threaded.
Herramientas necesarias:
 Sierra para metales
 Juego de machos y terrajas
 Bomba manual de prueba de presión
Materiales
1- 1 one piece per length of pipeMarcador de posición
Herramientas requeridas
9- Marcador de posición
- Marcador de posición
- Marcador de posición
- Marcador de posición
- Marcador de posición
- 1 vendor sell this, none ship to you yetMarcador de posición
- Marcador de posición
- Marcador de posición
- Marcador de posición
Materiales de Blueprints conectados
Este plano hace

CC0 Dominio público
Este Blueprint se publica bajo CC0. Eres libre de copiar, modificar, distribuir y usar este trabajo para cualquier propósito, sin pedir permiso.
Apoya al Maker comprando productos a través de su Blueprint, donde gana una Comisión del Maker establecida por los vendedores, o crea una nueva iteración de este Blueprint e inclúyela como conexión en tu propio Blueprint para compartir ingresos.