Collaboration
ART
BEAUTÉ ET BIEN-ÊTRE
ARTISANAT
CULTURE ET HISTOIRE
DIVERTISSEMENT
ENVIRONNEMENT
NOURRITURE ET BOISSONS
INGÉNIERIE INVERSE
SCIENCES
SPORTS
TECHNOLOGIE
TECHNOLOGIE PORTABLE
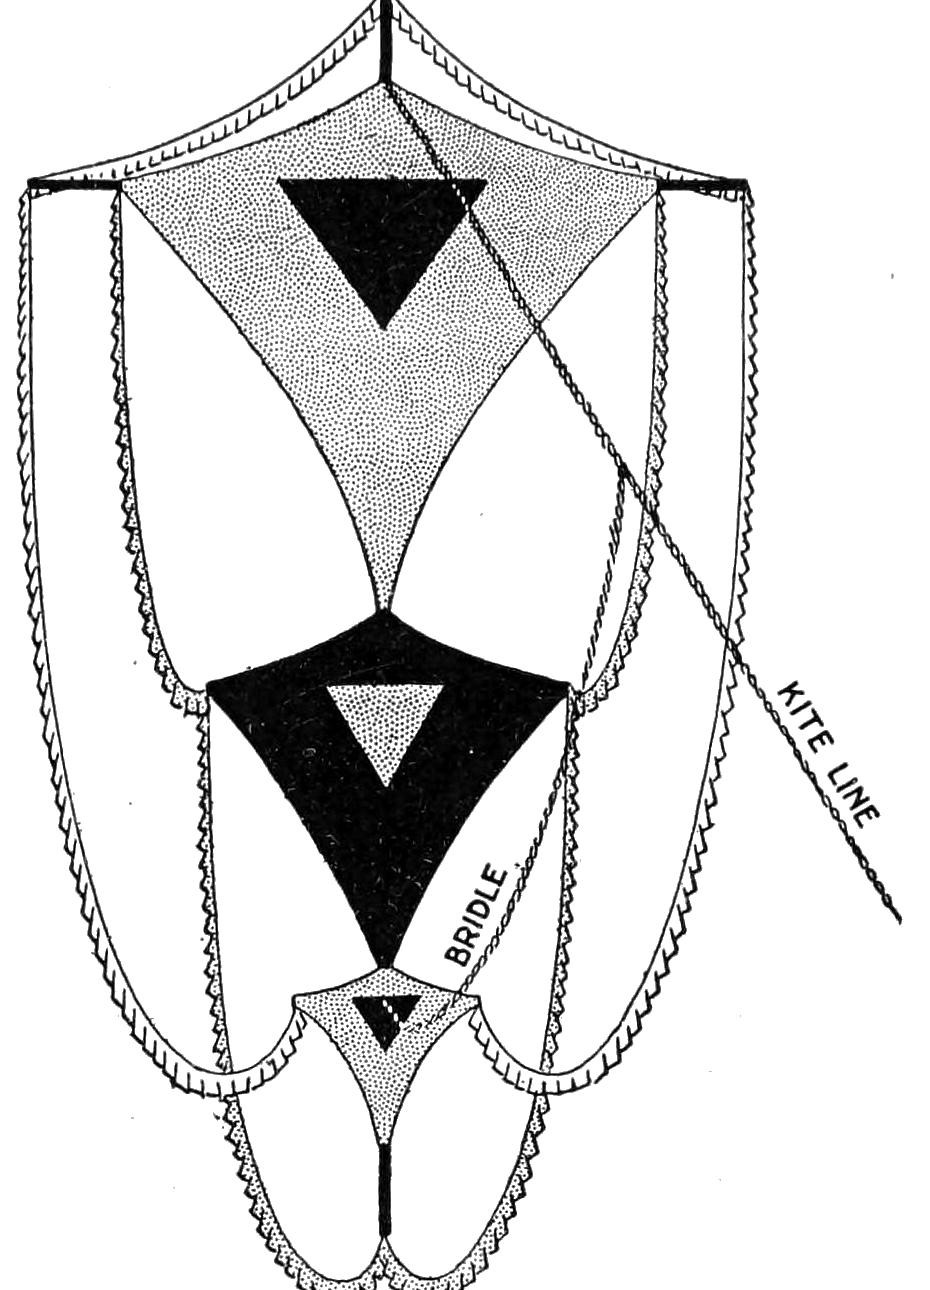


Festooned Kite: Three Tailless Kites on One 7 ft Spruce Spine With Tissue-Paper Fringes (Boy Mechanic, 1919)
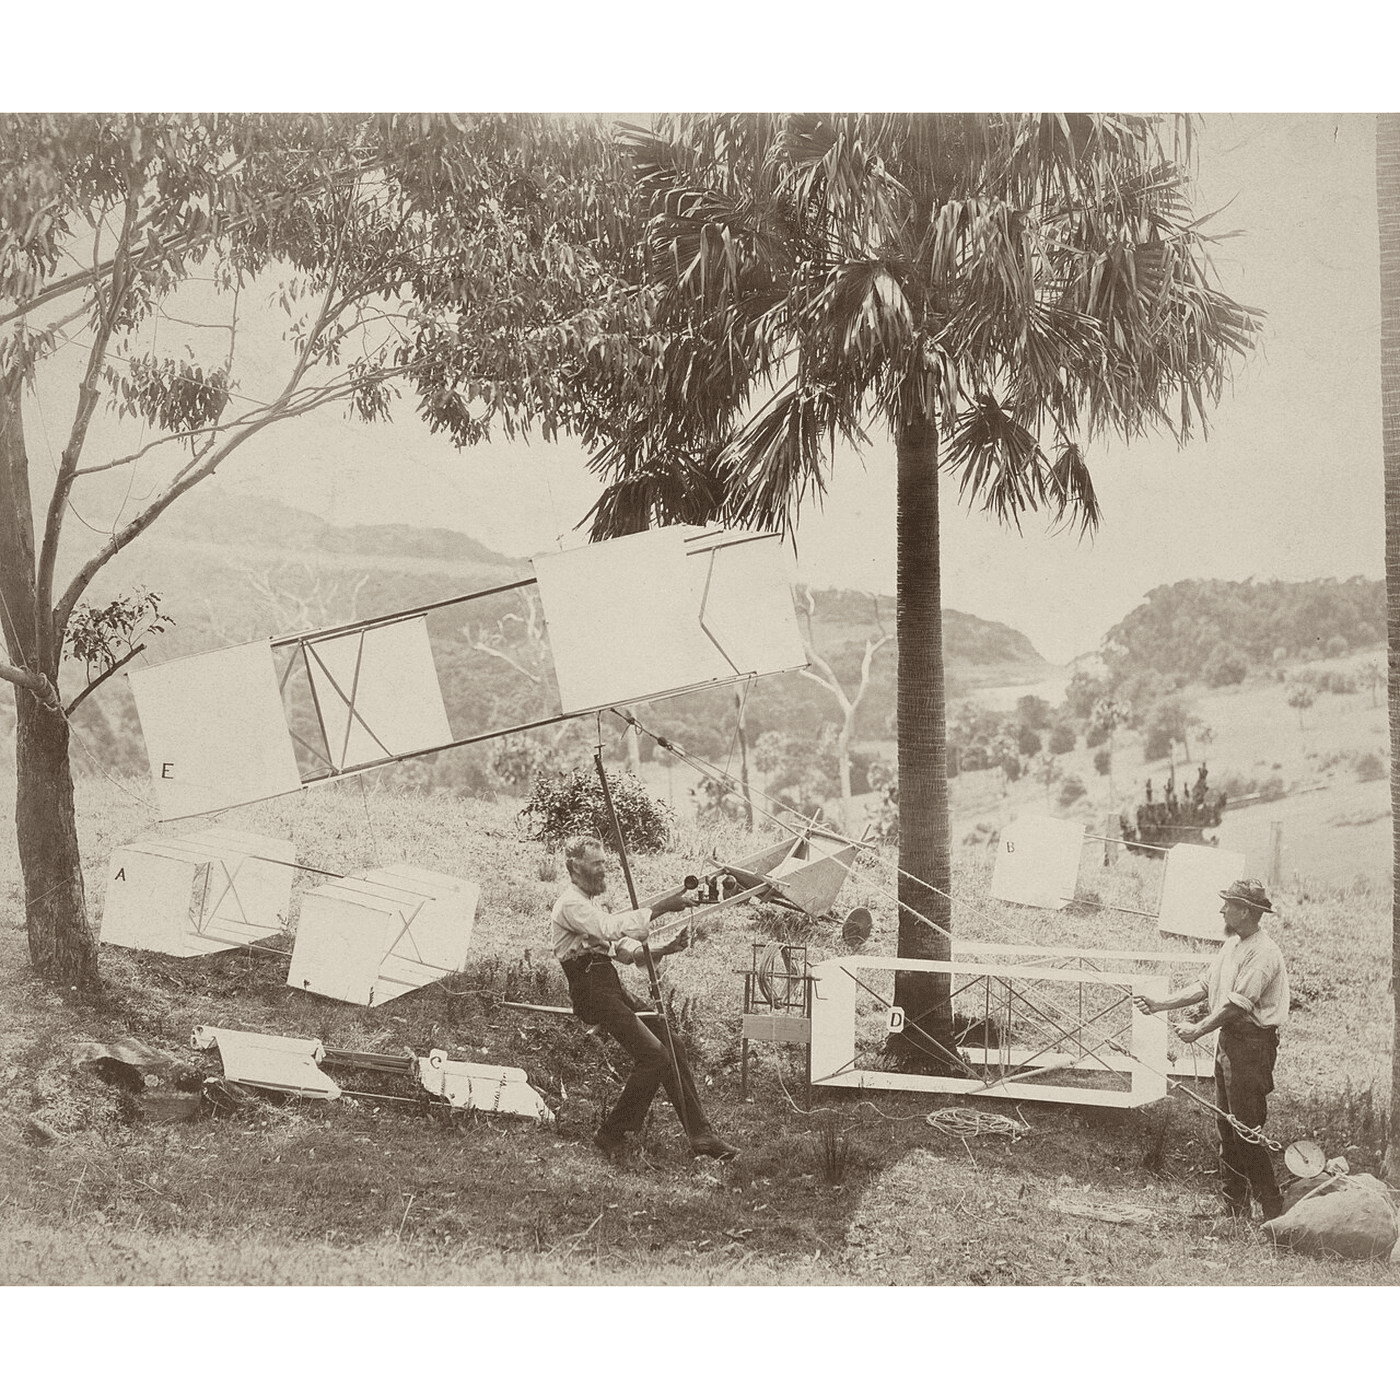
C. M. Miller's compound kite from The Boy Mechanic, Book 3 (1919): three tailless kites, 3 ft, 2 ft and 1 ft wide, strung on one 7 ft spruce spine, covered in tissue paper and hung with fringed tissue festoons from the ends of the sticks. An 87 in bridle sets it to the wind.
Intermédiaire
About 1 day
Consignes
1
1
Spine stations and string lengths
Spine stations and string lengths
Chargement du notebook Jupyter…
2
2
Read The Boy Mechanic, Book 3
Read The Boy Mechanic, Book 3
"More than one kite on the same framework is known as a compound kite. The one illustrated consists of three tailless kites on one long stick, called the spine."
3
3
Cut the sticks
Cut the sticks
Cut the spine of straight-grained spruce (or pine or bass) without a twist, 7 ft long by 1/4 by 1/2 in; if the wood breaks easily make it 3/4 in wide, or 3/8 in thick. Cut the bows 4 ft by 1/4 by 1/2 in, 2 ft by 1/4 by 3/8 in, and 1 ft by 1/4 by 1/4 in. A twisted spine keeps the three kites out of one plane and makes the kite unsteady.
Matériaux pour cette étape :
 Tasseau de résineux4 pièces
Outils nécessaires :
 Scie égoïne
 Rabot
 Mètre ruban
 Crayon
4
4
Lash on the bows
Lash on the bows
Lash the upper bow 13 in from the top of the spine, its ends 6 in past the kite for the festoons; then the centre bow 5 in below D and the lower bow as in the drawing (6, 7, 29, 5, 19, 2, 10 and 6 in down the spine). Lash, do not nail: wind diagonally both left and right round the two sticks, then wind between them round the other windings to draw everything tight.
Matériaux pour cette étape :
 Fil de cerf-volant1 pièce
Outils nécessaires :
Mètre rubanCrayon Ciseaux
5
5
String the outlines
String the outlines
Drill small holes (or notch with a knife or saw) in the spine 6 in from the top at A, 6 in from each end of the upper bow at B and C, and 29 in below the upper bow at D. Tie the outline at A and pass it through C, D and B back to A; draw it tight without springing spine or bow. Check that AC equals AB and CD equals BD, shift the string until they do, and wind each point (E) so it cannot slip. String the centre and lower kites the same way.
Matériaux pour cette étape :
Fil de cerf-volant1 pièceOutils nécessaires :
 Chignole à main
 Couteau de poche en acierMètre ruban
6
6
Cover and fringe
Cover and fringe
Cut the tissue about 1 in larger all round than each kite, turn over about half the allowance and paste it, leaving the cover loose. French tissue comes in fine colours and is stronger than common tissue; Chinese rice paper is strongest but only natural colour. For the festoons cut tissue strips 2-1/2 in wide, paste 1/2 in of one long edge over a string, and slit the loose edge every 1 in. Hang the festoons from the stick ends in easy curves, not tight, keeping both sides balanced.
Matériaux pour cette étape :
 Papier de soie5 feuilles
 Colle de pâte de blé1 pièceFil de cerf-volant1 pièce
Outils nécessaires :
Ciseaux Pinceau à colle
 Règle
7
7
Bow the kites and bridle
Bow the kites and bridle
Tie a string from end to end of the upper and centre bows on the back and spring in short brace sticks to bend them, as usual for tailless kites. Tie the 87 in bridle at A and to the spine at F, and attach the kite line 30 in from A, leaving 57 in to F.
Matériaux pour cette étape :
Fil de cerf-volant1 pièceTasseau de résineux1 pièceOutils nécessaires :
Couteau de poche en acierMètre ruban8
8
Flying and troubleshooting
Flying and troubleshooting
Festooned kite flying.
Flow
Loading...
9
9
History and honest limits
History and honest limits
From "How to Make Combined Kites, Part II: A Festooned Kite" by C. M. Miller, in **The Boy Mechanic, Book 3**, Popular Mechanics, 1919 (Project Gutenberg 71856; checked on the archive.org scan boymechanic0003unse, pp. 155-156). He does not name the string, the paste or the kite line. The tools and metric figures are ours.
Matériaux
4- 4 piècesEspace réservé
- 4 piècesEspace réservé
- 5 feuillesEspace réservé
- 1 pièceEspace réservé
Outils requis
9- Espace réservé
- Espace réservé
- 1 vendor sell this, none ship to you yetEspace réservé
- 1 vendor sell this, none ship to you yetEspace réservé
- Espace réservé
- Espace réservé
- Espace réservé
- Espace réservé
- Espace réservé
Ce plan fabrique
Blueprints liés
Ces blueprints partagent des connaissances — techniques, matériaux ou principes

CC0 Domaine public
Ce blueprint est publié sous CC0. Vous êtes libre de copier, modifier, distribuer et utiliser ce travail pour tout usage, sans demander la permission.
Soutenez le Maker en achetant des produits via son Blueprint où il perçoit une Commission Maker définie par les Vendeurs, ou créez une nouvelle itération de ce Blueprint et incluez-le comme connexion dans votre propre Blueprint pour partager les revenus.