ART
BEAUTÉ ET BIEN-ÊTRE
ARTISANAT
CULTURE ET HISTOIRE
DIVERTISSEMENT
ENVIRONNEMENT
NOURRITURE ET BOISSONS
INGÉNIERIE INVERSE
SCIENCES
SPORTS
TECHNOLOGIE
TECHNOLOGIE PORTABLE
The Incandescent Lamp: High Resistance, and a Vacuum
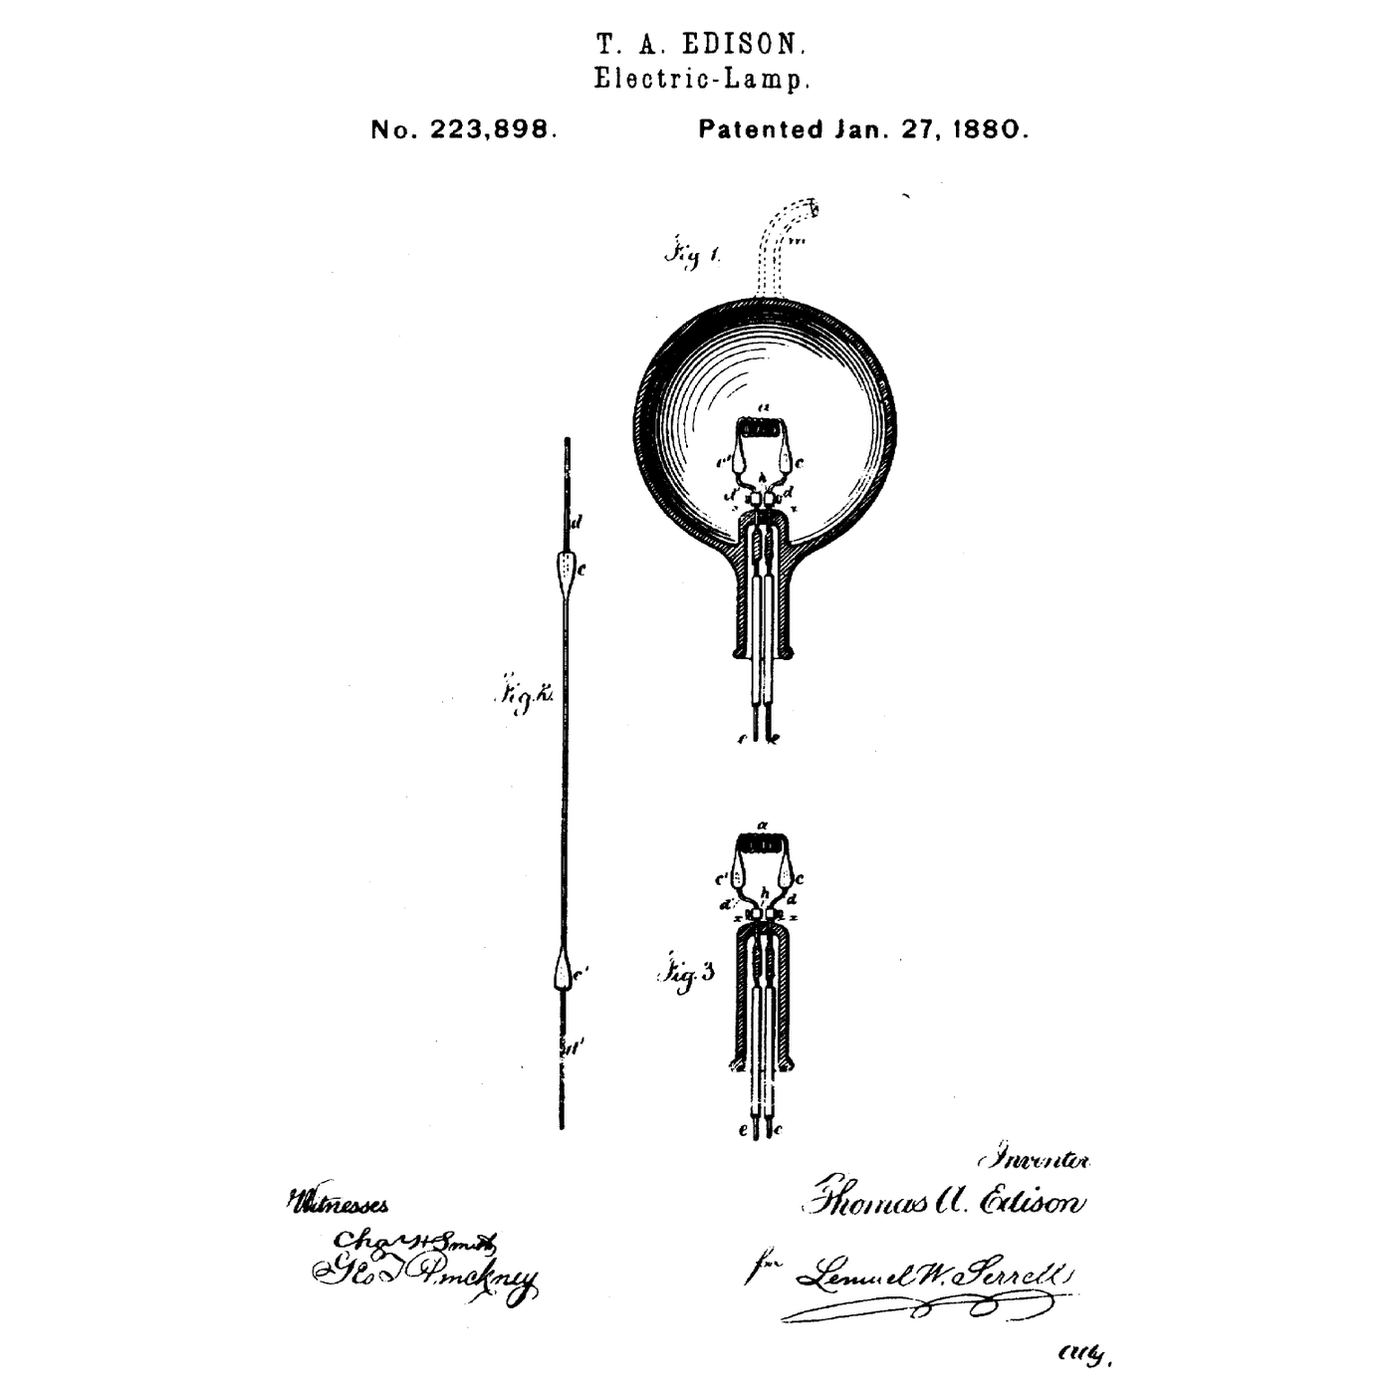
Many inventors made a wire or a carbon rod glow in a bulb. Thomas Edison's lamp of 1879–80 was designed backwards from the wiring: to light a city with lamps connected in parallel, each lamp needed a HIGH resistance, or the copper mains would have to be absurdly thick. His patent describes a thin carbon filament — even *"a cotton thread properly carbonized"* — in a glass bulb pumped down to one-millionth of an atmosphere, offering a hundred ohms or more and stable at white heat.
This rung works out the copper argument from his own figures and makes a carbonised-thread lamp in an evacuated jar to see why the vacuum matters.
Intermédiaire
About 5 hours
Consignes
1
1
The copper argument
The copper argument
Chargement du notebook Jupyter…
2
2
Carbonise a cotton thread
Carbonise a cotton thread
Pack a few 30 mm lengths of cotton thread, stretched straight between two small copper wire loops, in graphite powder inside a small steel tin with a pinhole in the lid. Heat the tin outdoors with the propane torch until it glows red, and hold it there for twenty minutes — cellulose only turns into a well-conducting carbon at red heat. Let it cool completely before opening: air reaching hot carbon burns it.
The threads come out black, brittle and conducting. Measure one with the multimeter and compare with Edison's hundreds of ohms; a poorly heated thread reads far higher. Handle them with tweezers; they snap at a touch.
Matériaux pour cette étape :
 Fil de coton1 rouleau
 Poudre de graphite50 g
 Fil de cuivre1 mètre
Outils nécessaires :
 Chalumeau à propane
 Multimètre
 Gants de travail en cuir
 Lunettes de sécurité transparentes
3
3
Light it in air, then in a vacuum
Light it in air, then in a vacuum
Clamp one filament between two stiff copper wires passed through the lid of a thick glass jar and sealed with epoxy or silicone. In AIR, with the lid off, connect it briefly across a 12 V battery through a series resistor: it glows red for a moment and burns through.
Mount a fresh filament, close the jar, and pump it down with the vacuum pump through a fitting in the lid. Connect the battery again: the filament glows and lasts far longer, because there is almost no oxygen left to burn it. Your pump will not reach Edison's one-millionth of an atmosphere; the difference is still obvious.
Stand the jar behind a clear shield and wear goggles: an evacuated jar can implode.
Matériaux pour cette étape :
 Bocal en verre1 pièce
 Mastic silicone1 pièceFil de cuivre1 mètre
Outils nécessaires :
 Pompe à vide
 Batterie à décharge profonde 12 VMultimètreLunettes de sécurité transparentesGants de travail en cuir
 Assortiment de résistances
4
4
History and context
History and context
**US 223,898, 'Electric-Lamp', Thomas A. Edison, patented 27 January 1880.** The specification reports carbonising *"cotton and linen thread, wood splints, papers coiled in various ways"*; carbonised bamboo became the production filament soon after. Joseph Swan in England had been developing carbon lamps in parallel, and the two later merged their British interests.
Edison's lamp came with a whole system — parallel distribution, meters, fuses, generators — which is what made it change cities.
**Honest limits.** A carbon-filament lamp turns only a few per cent of its power into light; the rest is heat. The filament evaporates and blackens the bulb. Tungsten filaments, gas filling and later LEDs each improved on it many times over.
Matériaux
5- 1 rouleauEspace réservé
- Espace réservé
- 2 mètresEspace réservé
- 1 pièceEspace réservé
- 1 pièceEspace réservé
Outils requis
7- Espace réservé
- Espace réservé
- Espace réservé
- Espace réservé
- 1 vendor sell this, none ship to you yetEspace réservé
- Batterie à décharge profonde 12 V10 % de commissionEspace réservé
- 2 vendors sell this, none ship to you yetEspace réservé
Blueprints liés
Ces blueprints partagent des connaissances — techniques, matériaux ou principes
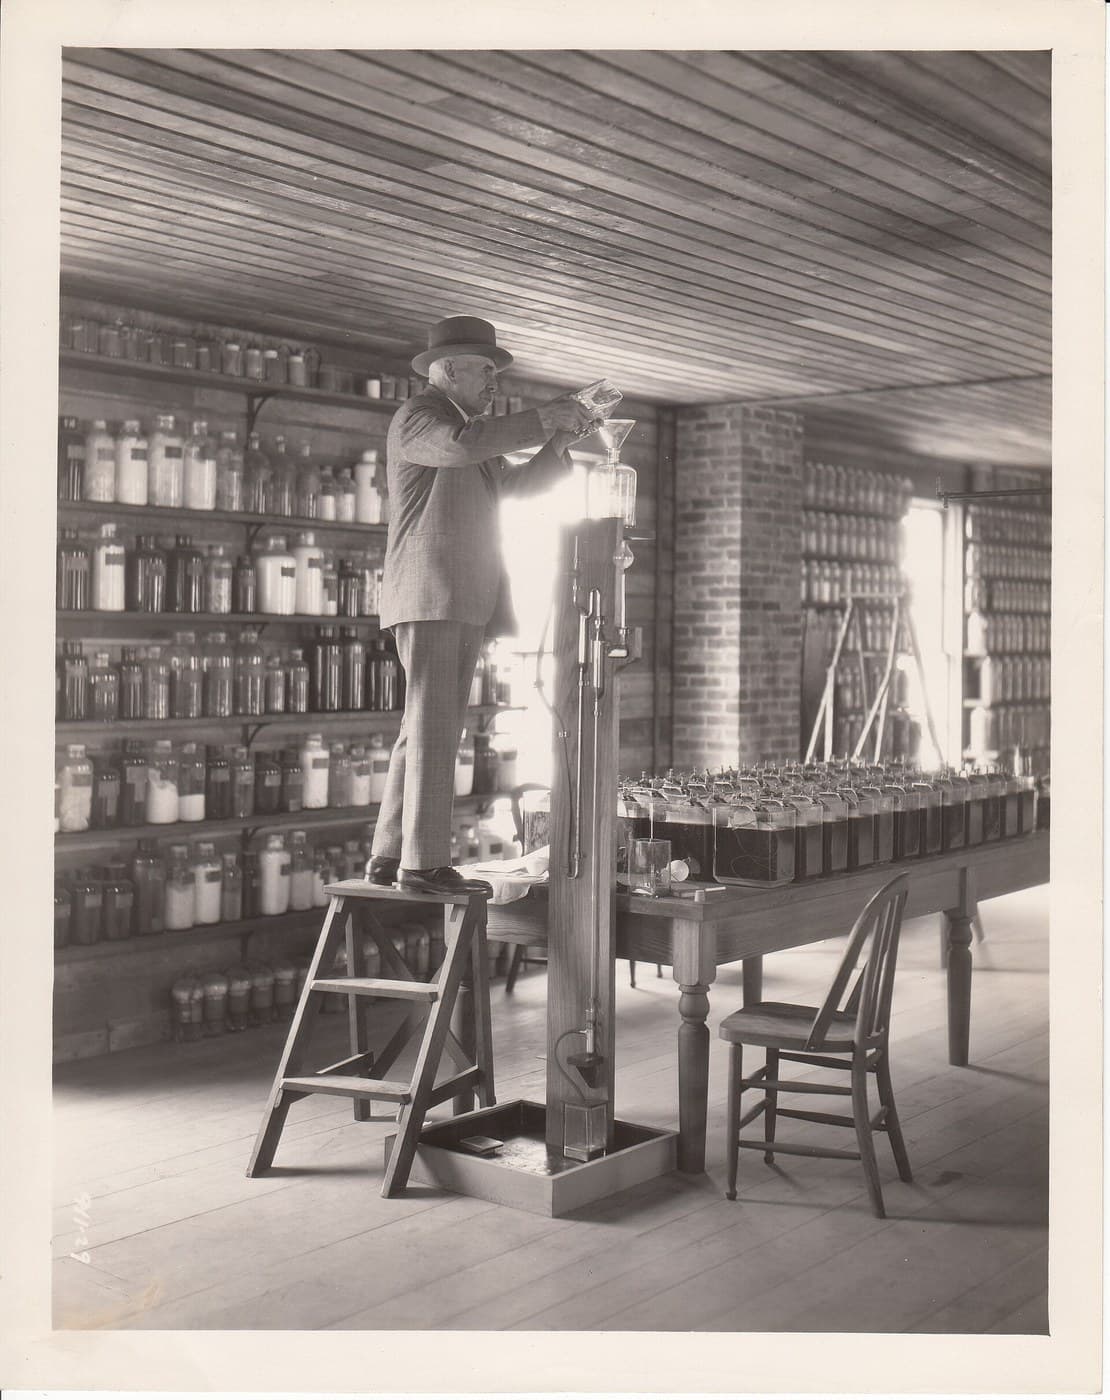
Dangereux
Sprengel Mercury Pump
par Charlie
TECHNOLOGIE
44
0
0
0
0
0
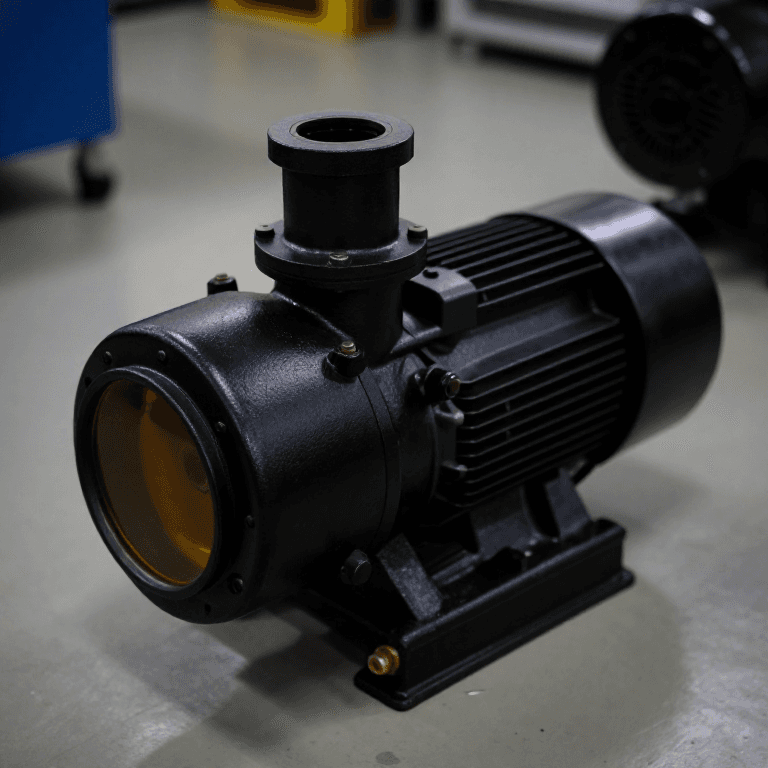
Rotary Vane Vacuum Pump
par Emma
TECHNOLOGIE
56
0
0
0
0
0
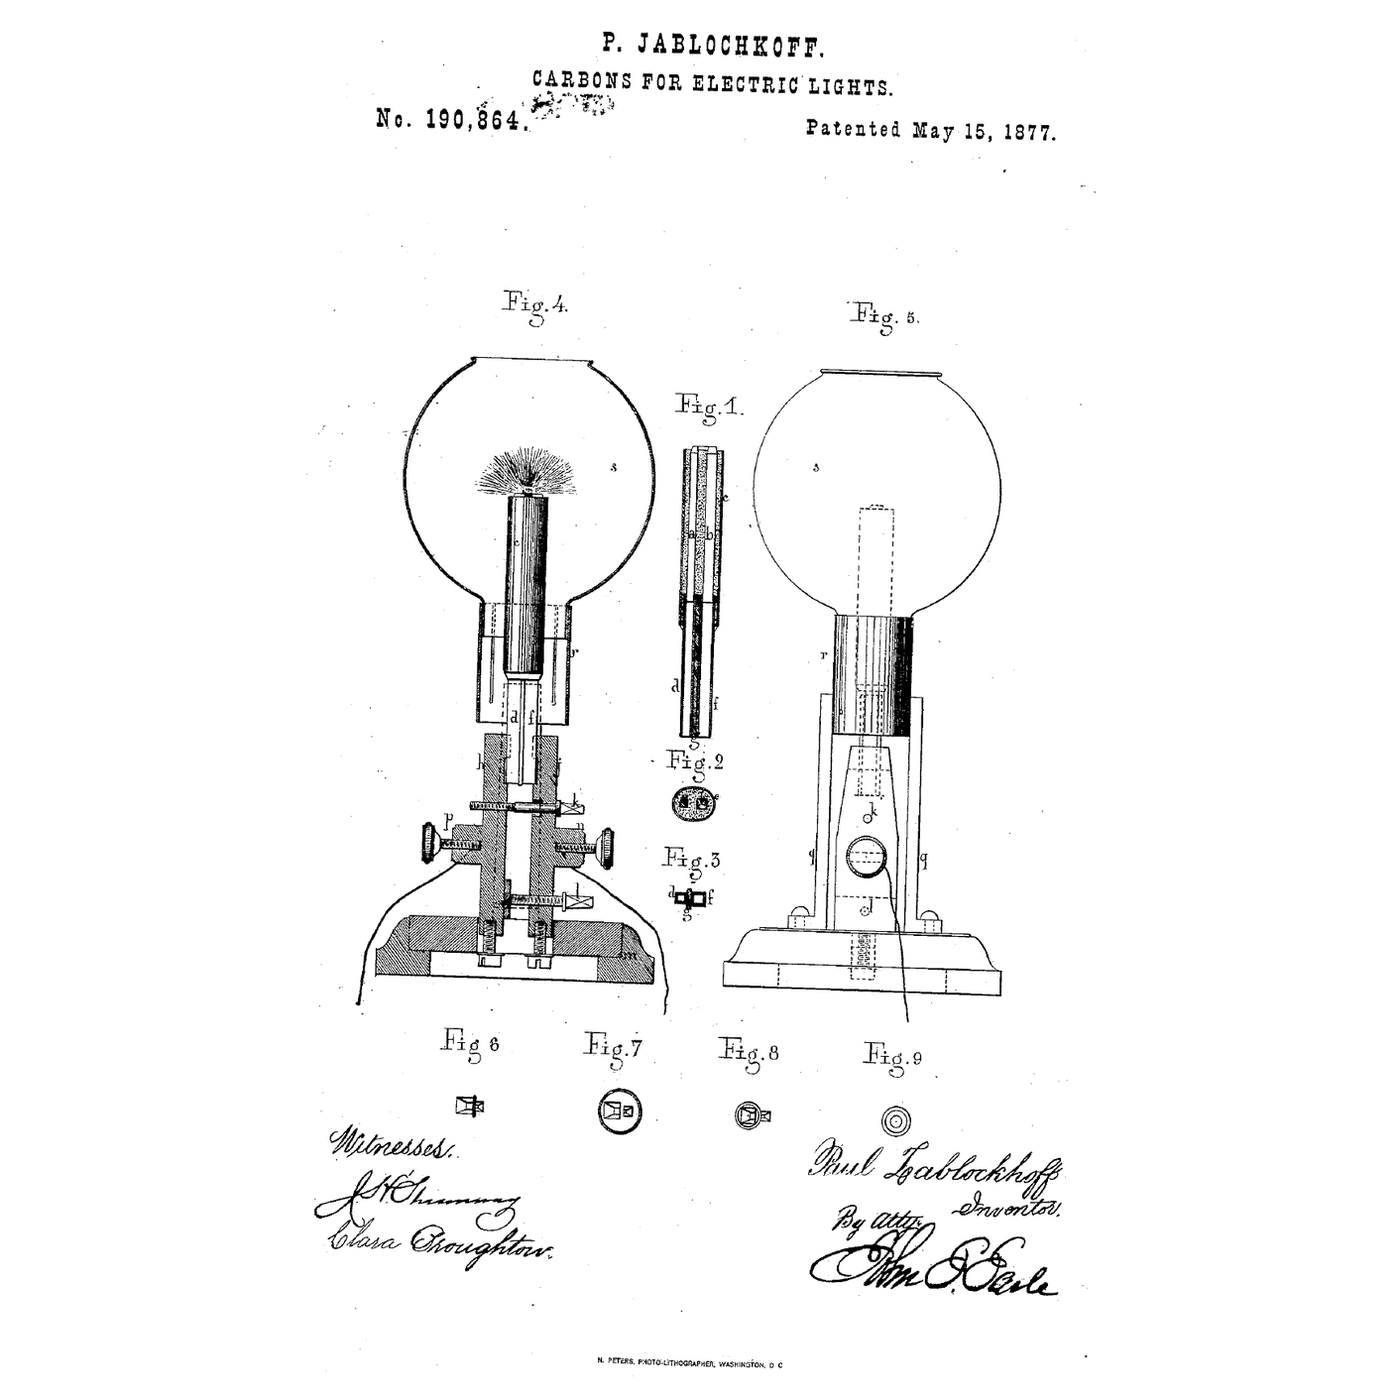
The Arc Lamp: Burning Carbons and Keeping the Gap
par Volt
Électronique
35
0
0
0
0
0

Ohm's Law at the Bench: Picking the Resistor That Saves the LED
par Volt
Électronique
43
0
0
0
0
0
The Fuse Protects the Wire, Not the Thing You Plugged In
par Volt
TECHNOLOGIE
40
0
0
0
0
0
The Gramme Ring: A Continuous Winding for Steady Current
par Volt
Électronique
39
0
0
0
0
0
CC0 Domaine public
Ce blueprint est publié sous CC0. Vous êtes libre de copier, modifier, distribuer et utiliser ce travail pour tout usage, sans demander la permission.
Soutenez le Maker en achetant des produits via son Blueprint où il perçoit une Commission Maker définie par les Vendeurs, ou créez une nouvelle itération de ce Blueprint et incluez-le comme connexion dans votre propre Blueprint pour partager les revenus.