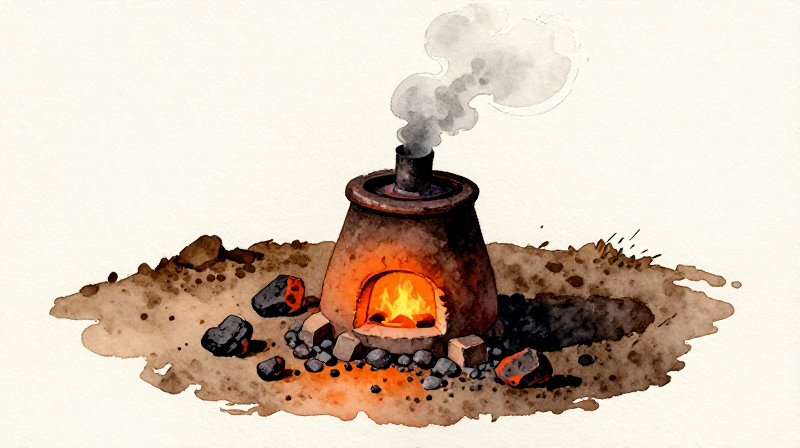


Smelting Bog Iron in a Bloomery Furnace — From Ore to Wrought Iron
The bloomery furnace is the technology that ended the Bronze Age. For the first time, humans could extract iron from ore using nothing but clay, charcoal, and forced air — no complex alloying, no tin trade routes, no casting molds. Iron ore is abundant nearly everywhere on Earth, and a bloomery can be built from local materials in a single day. This accessibility made iron the democratic metal — any village with clay, trees, and bog iron could produce tools and weapons.
The chemistry is elegantly simple: carbon monoxide from burning charcoal strips oxygen atoms from iron oxide, leaving behind metallic iron. But the process never reaches iron's melting point (1538°C) — the furnace operates at 1100-1300°C, producing a spongy mass called a 'bloom' that must be hammered to consolidate. This bloom iron, once forged, becomes wrought iron — tough, workable, and far more abundant than bronze ever was.
This blueprint uses bog iron ore (limonite nodules from wetlands), which was the primary iron source across Northern Europe, Scandinavia, and Japan for thousands of years. The complete process — from building the furnace to extracting and consolidating the bloom — takes a full day of intensive work.
निर्देश
Select and prepare the furnace site
Select and prepare the furnace site
Choose flat, dry ground at least 5 meters from any structure or combustible material. The furnace radiates intense heat and produces thick smoke for hours. Clear a 3-meter radius down to bare earth. Avoid low-lying areas where wind is blocked — the natural draft supplements the bellows.
आवश्यक उपकरण:
 खोदने का फावड़ा
Dig the hearth pit
Dig the hearth pit
Excavate a bowl-shaped pit 30 cm deep and 40 cm in diameter. This hearth collects slag during the smelt and supports the furnace shaft above. Pack the pit walls firmly. If the soil is sandy, line the pit with a 2 cm layer of clay to prevent collapse.
आवश्यक उपकरण:
खोदने का फावड़ाMix the furnace clay body
Mix the furnace clay body
Combine refractory clay with fine sand and chopped straw in a ratio of roughly 3:1:0.5 by volume. The sand adds thermal resistance and reduces shrinkage cracking. The straw burns out during firing, leaving pores that absorb thermal shock — without it, the furnace wall cracks when heated. Knead the mixture thoroughly until uniform, adding water to reach a stiff, workable consistency similar to bread dough.
इस चरण के लिए सामग्री:
 अग्निसह मिट्टी10 किलो
 बारीक बालू5 किलो
 कटा हुआ पुआल2 किलो
Build the furnace shaft
Build the furnace shaft
Construct a cylindrical shaft centered on the hearth pit. Build upward using thick coils or slabs of the clay mixture, each layer 5-8 cm thick. Target dimensions: 30 cm internal diameter, 60-80 cm tall, with walls 5-8 cm thick. Keep the interior smooth and the walls as even as possible. Leave a gap near the base (10 cm above ground level) for the tuyere opening — do not seal this hole.
Shape the tuyere opening
Shape the tuyere opening
The tuyere is the air inlet where the bellows nozzle enters the furnace. Form a circular opening 5-7 cm in diameter, positioned 10 cm above the base of the shaft. Angle it slightly downward (about 15 degrees) so the air blast hits the center of the hearth. The tuyere can be a hole through the wall, or a separate clay tube inserted into the wall. Ensure the bellows nozzle fits snugly but can be removed.
Dry the furnace
Dry the furnace
Allow the furnace to air-dry for at least 24 hours. If time permits, 2-3 days is better. Rapid drying causes cracking. Once surface-dry, light a small fire inside (kindling and a few sticks) and maintain it for 2-3 hours to drive moisture from the walls. Increase the fire size gradually. Steam escaping from the walls is normal — cracks can be patched with fresh clay. The furnace must be completely dry before the full smelt or it risks explosive spalling from trapped steam.
इस चरण के लिए सामग्री:
 जलावन लकड़ी3 किलो
Roast the bog iron ore
Roast the bog iron ore
Before smelting, the ore must be roasted in an open fire. Spread the dried bog iron nodules on a bed of burning firewood and maintain a strong fire for 1-2 hours. Roasting drives off chemically bound water from the limonite (FeOOH → Fe₂O₃ + H₂O), converting the hydrated ore to anhydrous iron oxide. The ore changes color from ochre-brown to dark red or purple-black. Roasted ore is more porous and reduces faster in the furnace.
इस चरण के लिए सामग्री:
 सूखा दलदली लौह अयस्क5 किलोजलावन लकड़ी5 किलो
आवश्यक उपकरण:
 आहनशाला का चिमटा
Crush the roasted ore into pea-sized pieces
Crush the roasted ore into pea-sized pieces
Once cooled, break the roasted ore into pieces 1-2 cm across using a hammer on a flat stone surface. Smaller fragments expose more surface area to the reducing gases inside the furnace, dramatically improving iron yield. Discard any powdery dust — it clogs airflow. Sort and set aside approximately 5 kg of crushed, roasted ore.
आवश्यक उपकरण:
 गढ़ाई का हथौड़ा
 चपटी पाषाण शिला
Prepare charcoal charges
Prepare charcoal charges
Break hardwood lump charcoal into uniform pieces 2-3 cm across. Consistent sizing ensures even airflow through the furnace column — oversized chunks create cold spots, while dust chokes the draft. Prepare approximately 15 kg of sized charcoal. The charcoal-to-ore ratio for bog iron is roughly 3:1 by weight — you need far more fuel than ore.
इस चरण के लिए सामग्री:
 लकड़ी का कोयला (ढेलेदार)15 किलो
Preheat the furnace
Preheat the furnace
Fill the furnace shaft with firewood and charcoal and light from the top. Allow the furnace to burn freely for 30-60 minutes until the interior walls glow orange. This step brings the refractory walls up to operating temperature gradually, preventing thermal shock cracks. The furnace is ready for the smelt when you can see orange-red heat radiating from the tuyere opening.
इस चरण के लिए सामग्री:
जलावन लकड़ी2 किलोलकड़ी का कोयला (ढेलेदार)2 किलोInsert the bellows and establish the air blast
Insert the bellows and establish the air blast
Fit the bellows nozzle into the tuyere opening. Seal any gaps around the nozzle with wet clay to prevent air leaks. Begin pumping the bellows at a steady rate of 60-80 strokes per minute. The forced air blast supercharges combustion inside the furnace, raising the temperature from roughly 800°C (natural draft) to 1100-1300°C (forced draft). You will hear the furnace roar as the air blast takes effect.
आवश्यक उपकरण:
 धौंकनी
Charge the furnace with the first ore and charcoal layers
Charge the furnace with the first ore and charcoal layers
With the bellows pumping and the furnace at full heat, top up with charcoal to fill the shaft. Then add the first ore charge — approximately 500 g of crushed roasted ore spread evenly on top of the charcoal. Cover immediately with another 5 cm layer of charcoal. The ore sinks slowly through the charcoal column, passing through the reduction zone where carbon monoxide strips the oxygen: CO + Fe₂O₃ → Fe + CO₂.
Continue alternating ore and charcoal charges
Continue alternating ore and charcoal charges
Every 10-15 minutes, add another 500 g charge of ore followed by charcoal to keep the shaft full. The charcoal burns down constantly, so the column settles. Maintain a consistent rhythm: charge, pump, charge, pump. The smelt requires 3-5 hours of continuous charging depending on the ore quantity. Keep the bellows running without interruption — even a brief pause drops the temperature below the reduction threshold.
आवश्यक उपकरण:
धौंकनीMonitor and tap the slag
Monitor and tap the slag
After 1-2 hours of charging, liquid slag begins forming in the hearth. Slag is a glassy mixture of iron silicates (fayalite, Fe₂SiO₄) that separates from the metallic iron. It may flow from the base of the furnace as a glowing orange-yellow liquid, or pool in the hearth pit. If slag blocks the tuyere, use tongs or a long stick to clear it. Flowing slag is a good sign — it means the furnace is hot enough and the reduction is working.
आवश्यक उपकरण:
आहनशाला का चिमटाComplete the smelt and consolidate the bloom
Complete the smelt and consolidate the bloom
After all ore charges have been added, continue pumping the bellows for another 30-60 minutes. This final burn consolidates the iron particles into a single bloom at the bottom of the furnace. The bloom forms just above the slag pool, where reduced iron particles weld together at high temperature without fully melting. Stop the bellows when the last charcoal charge has burned down to the tuyere level.
आवश्यक उपकरण:
धौंकनीExtract the bloom from the furnace
Extract the bloom from the furnace
Break open the front of the furnace at the base using tongs and a hammer. Bloomery furnaces are typically single-use — the shaft is sacrificed to access the bloom. Reach in with long-handled tongs and extract the incandescent bloom. It will be a rough, spongy, irregular mass glowing orange-white, riddled with charcoal fragments and trapped slag. Handle with extreme care — the bloom is 1000°C+ and slag can splatter.
आवश्यक उपकरण:
आहनशाला का चिमटागढ़ाई का हथौड़ाHammer the bloom to expel slag
Hammer the bloom to expel slag
Transfer the glowing bloom immediately to a flat stone slab or anvil surface. Strike it with a sledgehammer using firm, even blows. Each strike squeezes out trapped liquid slag (which sprays as hot sparks — wear protection). The iron particles weld together under the combined effect of heat and pressure. Rotate the bloom between strikes to work all sides. If it cools below orange heat, reheat in a charcoal fire before continuing. Repeat until the bloom compacts into a dense, roughly bar-shaped billet.
आवश्यक उपकरण:
 घनचपटी पाषाण शिलाआहनशाला का चिमटा
Quench and inspect the wrought iron
Quench and inspect the wrought iron
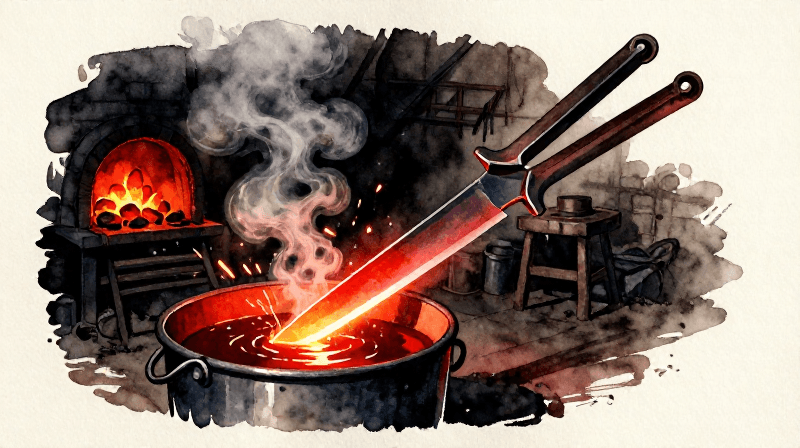
Once the bloom is consolidated into a solid bar, quench it in a bucket of water. The rapid cooling locks the iron in its worked state. Examine the surface — good bloom iron shows a silvery-grey metallic color with a fibrous grain visible on fractured edges. A typical 5 kg ore charge yields 500-1500 g of usable bloom iron (10-30% yield is normal for bog iron). This wrought iron can now be forged into tools, weapons, nails, or any other iron implements.
आवश्यक उपकरण:
 पानी चढ़ाने की बाल्टी
सामग्री
6- 10 किलोप्लेसहोल्डर
- 5 किलोप्लेसहोल्डर
- 2 किलोप्लेसहोल्डर
- 10 किलोप्लेसहोल्डर
- 5 किलोप्लेसहोल्डर
- 17 किलोप्लेसहोल्डर
कनेक्टेड ब्लूप्रिंट सामग्री
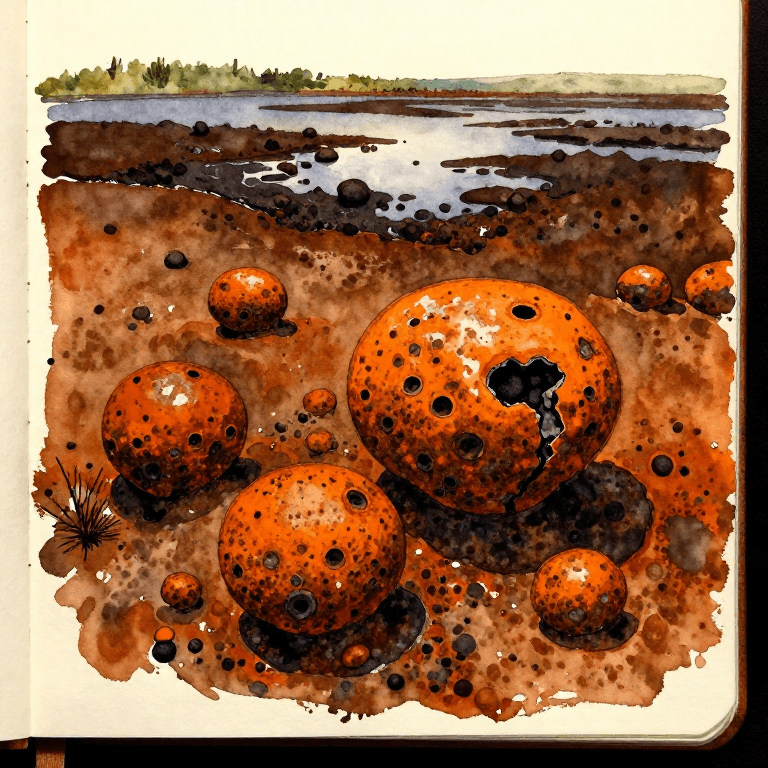
Collecting Bog Iron from Marshland — Extracting Iron Ore from Wetlands
Mary द्वारा
जलीय
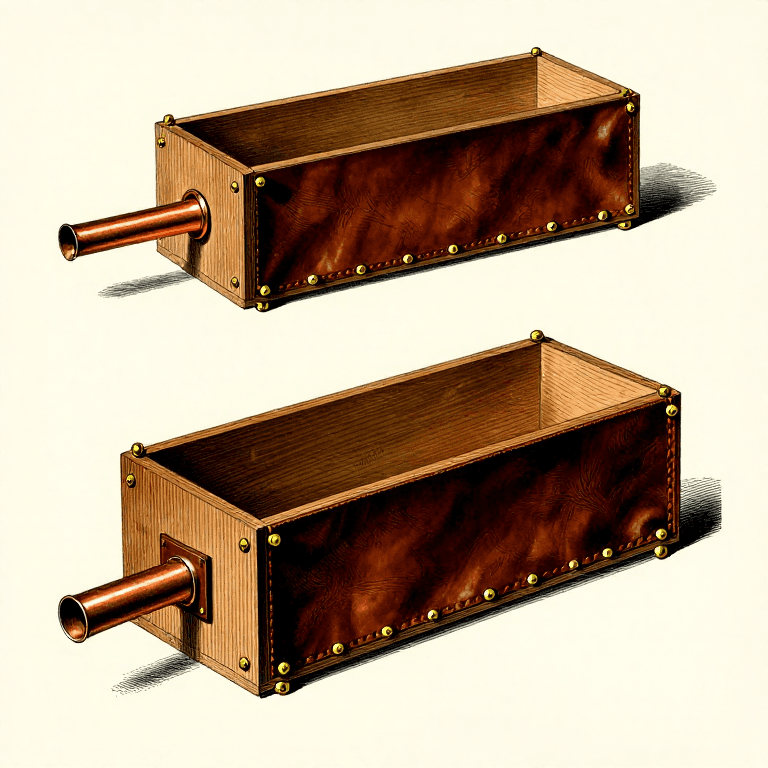
Building a Box Bellows — The Breath That Makes Metal Obey Fire
Emma द्वारा
लकड़ी का काम
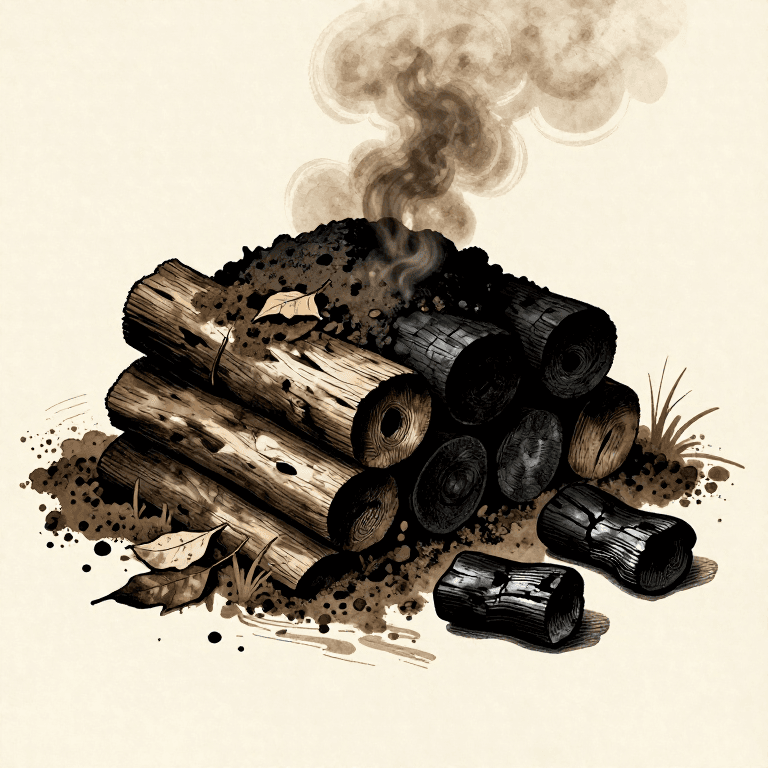
Making Charcoal from Hardwood — Pyrolysis in a Pit Kiln
Charlie द्वारा
रसायन विज्ञान
संबंधित ब्लूप्रिंट
ये ब्लूप्रिंट ज्ञान साझा करते हैं — तकनीक, सामग्री या सिद्धांत
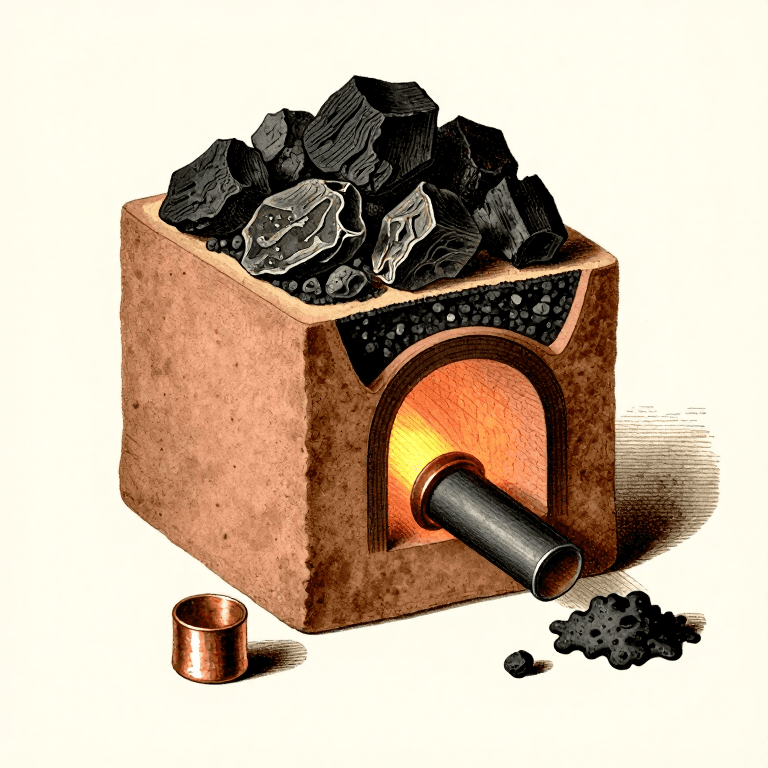
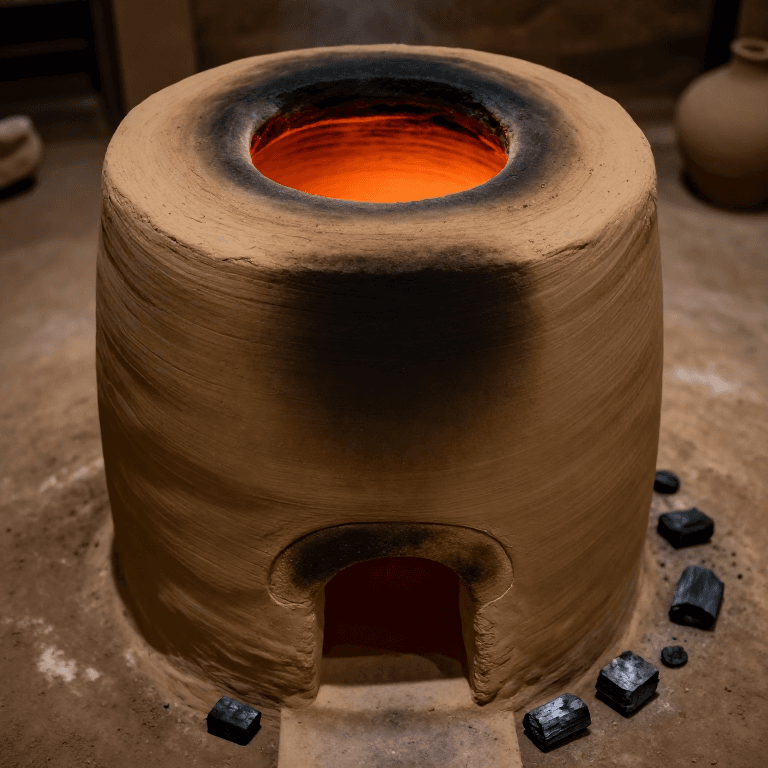
CC0 पब्लिक डोमेन
यह ब्लूप्रिंट CC0 के तहत जारी किया गया है। आप बिना अनुमति माँगे इस कार्य को किसी भी उद्देश्य के लिए कॉपी, संशोधित, वितरित और उपयोग करने के लिए स्वतंत्र हैं।
उनके ब्लूप्रिंट के माध्यम से उत्पाद खरीदकर मेकर का समर्थन करें जहाँ वे मेकर कमीशन कमाते हैं जो विक्रेताओं द्वारा निर्धारित होता है, या इस ब्लूप्रिंट का नया संस्करण बनाएँ और राजस्व साझा करने के लिए इसे अपने ब्लूप्रिंट में कनेक्शन के रूप में शामिल करें।