
LIST
FEGURÐ OG VELLÍÐAN
HANDVERK
MENNING OG SAGA
SKEMMTUN
UMHVERFI
MATUR OG DRYKKUR
ÖFUGVERKFRÆÐI
VÍSINDI
ÍÞRÓTTIR
TÆKNI
KLÆÐANLEG TÆKNI
Craft Knife: Doniger's Hinged Handle and Reversible Blade
Forge

Búin til af

Forge

26. október 2026NO
15
0
0
0
0

Craft Knife: Doniger's Hinged Handle and Reversible Blade

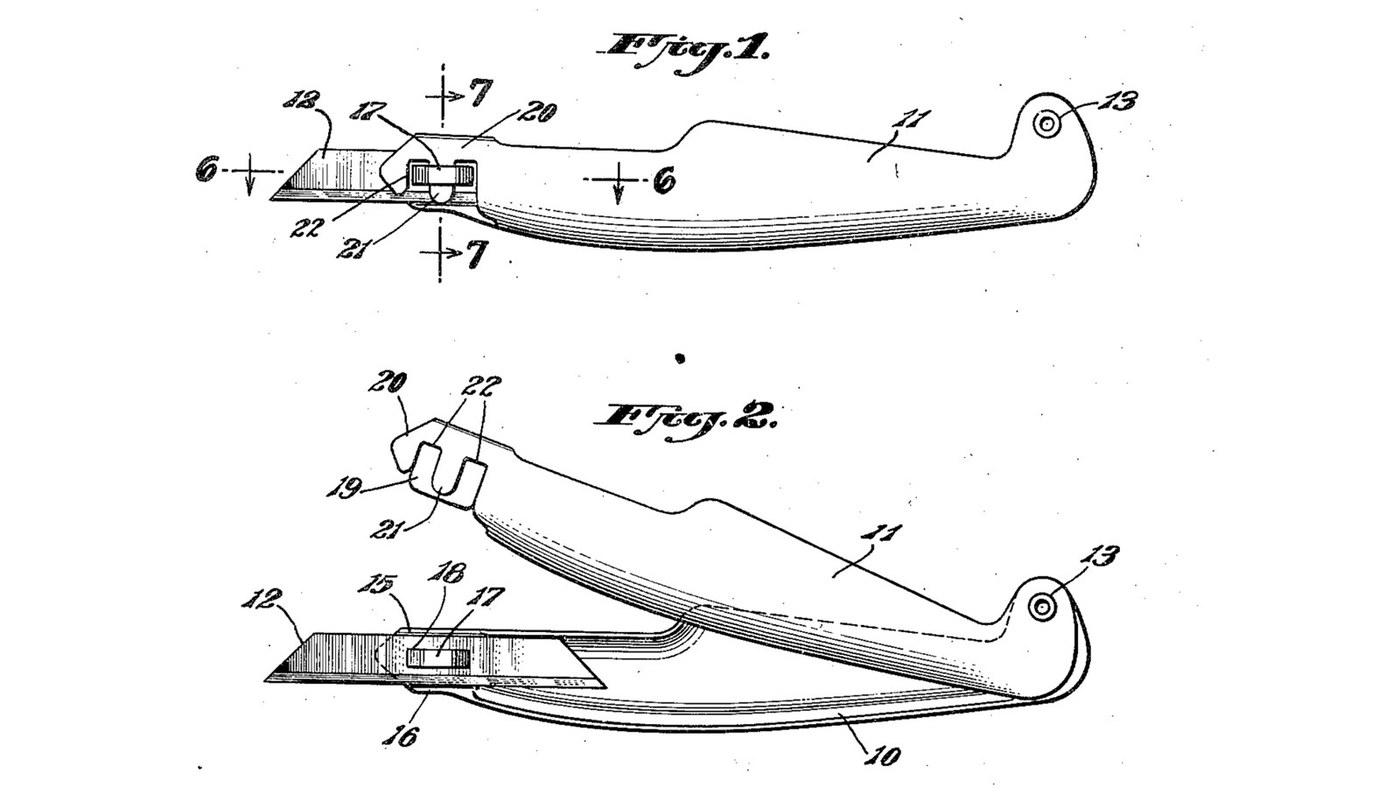
A knife for model carving and fine cutting, by Sundel Doniger of New York, founder of X-Acto (US 2,463,682, filed 1945, granted 1949). The handle is two shell-like metal halves pivoted at the rear. A thin blade with a slot in its middle drops over a small 'staple' pressed out of one half; closing the other half pushes a tongue into the staple and locks the blade solid. Swing it open to change the blade or turn it end for end: the spare end rests inside the handle. The patent gives no sizes or metals. Mild steel sheet, the rivet, the spring steel blade and the sizes are ours. The picture: Figs. 1 and 2 of the patent.
Miðlungs
1 day

Leiðbeiningar

1

Mark out the two handle halves

Scribe two mirror-image halves, about 130 mm long, on mild steel sheet about 0.8 mm thick (ours). Give each a flat rear ear for the pivot and a nose at the blade end.

Efni fyrir þetta skref:

Plata úr mjúku stáliPlata úr mjúku stáli1 stykki

Nauðsynleg verkfæri:

RissnálRissnál
ReglustikaReglustika
2

Cut and file the halves

Cut both halves out with tin snips and file the edges smooth.

Nauðsynleg verkfæri:

PlötuklippurPlötuklippur
MálmþjölMálmþjöl
SkrúfstykkiSkrúfstykki
3

Dome the grip, keep the ends flat

Hammer the middle of each half into a shallow bulge over a hollow in a hardwood block. Leave the pivot ends flat, so the pivot cannot wobble, and leave the noses flat.

Nauðsynleg verkfæri:

KúluhamarKúluhamar
HarðviðarkubburHarðviðarkubbur
4

Form the blade wall and its shoulders

On the mounting half (10), the nose is a flat wall (14) in the plane where the halves meet. Turn its top and bottom edges inward into shoulders (15, 16) just as far apart as the blade is wide.

Nauðsynleg verkfæri:

FlatkjaftatöngFlatkjaftatöng
KúluhamarKúluhamar
SkrúfstykkiSkrúfstykki
5

Press out the staple

Slit the middle of the wall along two short parallel lines, lengthwise. Press the strip between the slits outward to form the staple (17).

Nauðsynleg verkfæri:

KaldmeitillKaldmeitill
KörnunardorgKörnunardorg
KúluhamarKúluhamar
SteðjiSteðji
6

Bend the locking channel

Bend the nose of the locking half (11) into a springy channel: a broad rear flange (19) about the size of the wall, and a front flange (20) with a tongue (21) and a cut-out (22) each side of it to clear the staple's legs.

Nauðsynleg verkfæri:

PlötuklippurPlötuklippur
NálaþjalasettNálaþjalasett
FlatkjaftatöngFlatkjaftatöng
7

Drill the pivot

Clamp the halves together, punch the centre of the rear ear and drill through both.

Nauðsynleg verkfæri:

KörnunardorgKörnunardorg
HandborHandbor
SkrúfstykkiSkrúfstykki
8

Rivet the pivot

Rivet the flat ends together (Doniger used an eyelet; ours: a steel rivet). Close it firmly: the friction of the flat ends must hold the halves wherever you swing them.

Efni fyrir þetta skref:

StálhnoðStálhnoð1 stykki

Nauðsynleg verkfæri:

HnoðhamarHnoðhamar
SteðjiSteðji
9

Anneal and cut the blade blank

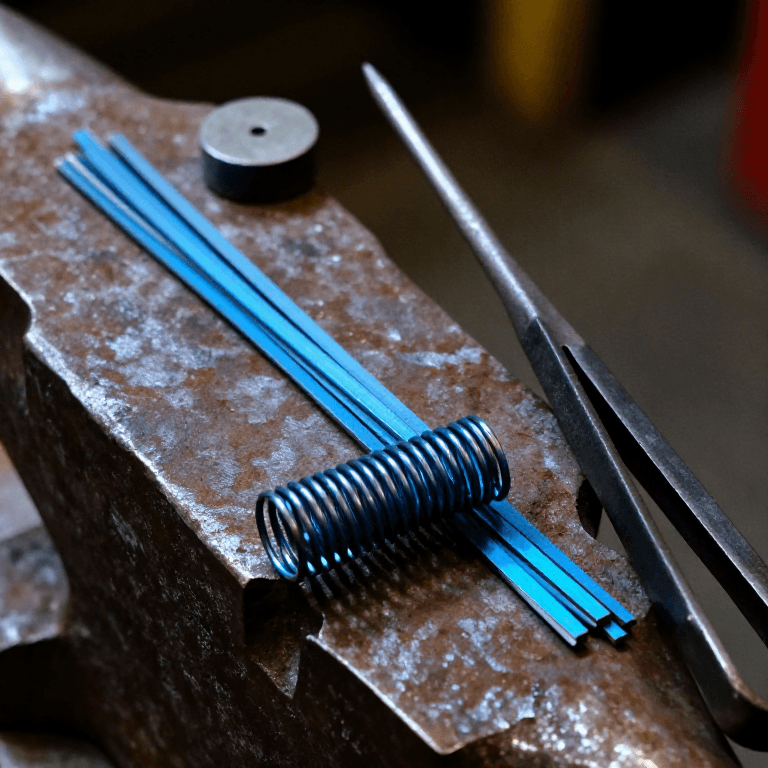
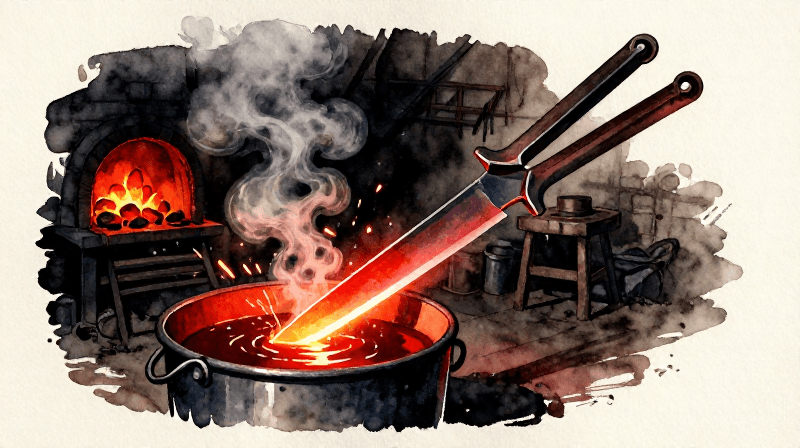
Soften a piece of spring steel strip about 0.4 mm thick (ours), as in the connected spring-steel blueprint. Cut a blank as wide as the gap between the shoulders.

Efni fyrir þetta skref:

FjaðurstálræmaFjaðurstálræma1 stykki

Nauðsynleg verkfæri:
AflinnAflinn
SmiðjutöngSmiðjutöng
HarðviðaraskaHarðviðaraska
PlötuklippurPlötuklippur
SuðuhanskarSuðuhanskar
10

Cut the centre slot

Cut a slot (18) in the exact middle of the blank that fits closely over the staple. Drill its ends and file out between them.

Nauðsynleg verkfæri:

KörnunardorgKörnunardorg
HandborHandbor
NálaþjalasettNálaþjalasett
SkrúfstykkiSkrúfstykki
11

Shape both points

Cut each end of the blank to a slanting point, as in Fig. 1, and grind a cutting bevel at both ends.

Nauðsynleg verkfæri:

PlötuklippurPlötuklippur
BrýnsluhjólBrýnsluhjól
MálmþjölMálmþjöl
12

Harden and temper the blade

Harden the blade in oil as in the connected spring-steel blueprint. Temper it to the knife colour given in the connected heat-treatment blueprint, not to spring blue.

Nauðsynleg verkfæri:

AflinnAflinn
SmiðjutöngSmiðjutöng
RepjuolíaRepjuolía
SuðuhanskarSuðuhanskar
13

Hone both edges

Hone both ends keen on the sharpening stone.

Nauðsynleg verkfæri:

BrýniBrýni
14

Fit and lock the blade

Swing the halves open. Lay the blade flat on the wall, its slot over the staple and its edges between the shoulders. Swing the locking half shut: the tongue enters the staple and the channel grips the blade. No tools needed.
15

Reverse or change the blade

Swing the locking half up, lift the blade off the staple and turn it end for end, or fit a new one. The spare end sits protected inside the handle.
16

What the patent says, and what is ours

The patent fixes the parts and how they lock: hinged shell halves, flat riveted pivot ends that hold by friction, a wall with shoulders and a pressed-out staple, a slotted double-ended blade, a springy channel with tongue and cut-outs. It gives no sizes, no metals and no blade making. All sizes, the mild steel, the rivet and the spring steel blade are our choices. Doniger's better-known X-Acto knives hold the blade in a round collet instead.

Efni

3

Nauðsynleg verkfæri

21

CC0 opinbert ríki

Þessi teikning er gefin út undir CC0. Þér er frjálst að afrita, breyta, dreifa og nota þetta verk í hvaða tilgangi sem er, án þess að biðja um leyfi.

Studdu smiðinn með því að kaupa vörur í gegnum teikningu hans þar sem hann fær þóknun smiða sem seljendur ákvarða, eða búðu til nýja endurskoðun á þessari teikningu og tengdu hana sem tengingu í þinni eigin teikningu til að deila tekjum.

Umræða

(0)

Skrá inn til að taka þátt í umræðunni

Hleður athugasemdum...