Polishing a Bronze Mirror — The First Reflective Surface Made by Human Hands
Before glass mirrors were invented in the 1st century AD, every civilization used polished metal to see their own reflection. Bronze mirrors appeared independently in Egypt, Mesopotamia, China, and the Indus Valley around 2900-2500 BCE. A disc of bronze (copper-tin alloy), cast flat and polished to a mirror finish, could reflect an image clearly enough for grooming, makeup application, and — in Chinese tradition — for divination and warding off evil spirits.
The quality of a bronze mirror depends entirely on the alloy composition and the surface finish. High-tin bronze (approximately 75% copper, 25% tin — a significantly higher tin content than structural bronze) produces a silvery-white surface when polished, approaching the reflectivity of modern glass mirrors. Lower tin content produces a warmer, golden reflection. The polishing process involves progressively finer abrasives over several hours — from coarse sandstone to fine emery to jeweller's rouge — until the surface is smooth enough that light reflects specularly rather than scattering diffusely.
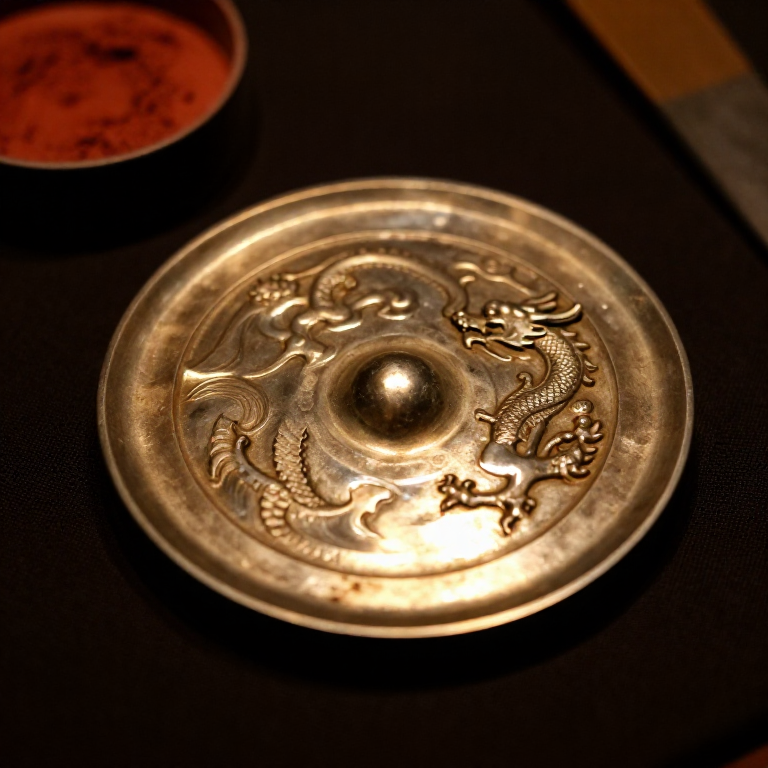
Chinese bronze mirrors from the Han dynasty are among the finest ever made — some surviving examples, 2,000 years old, can still produce a usable reflection when repolished. The reverse sides are decorated with elaborate cast relief designs: dragons, phoenixes, the twelve zodiac animals, and cosmological diagrams that transform a grooming tool into a work of art and a philosophical statement about the relationship between inner reality and outer appearance.
Leiðbeiningar
Prepare the high-tin bronze alloy
Prepare the high-tin bronze alloy
Mirror bronze requires a higher tin content than structural bronze — approximately 23-25% tin, compared to the 8-12% typical of weapons and tools. The higher tin content produces a harder, more brittle alloy that takes a brilliant silvery-white polish. Weigh out approximately 300 grams of copper and 100 grams of tin (a 75:25 ratio by weight).
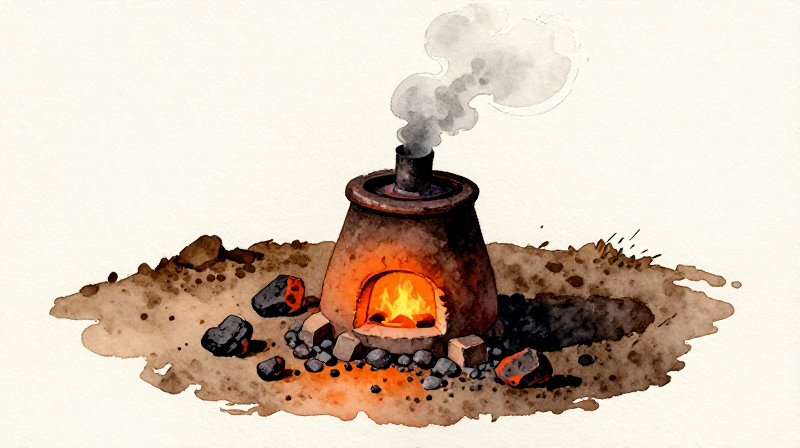
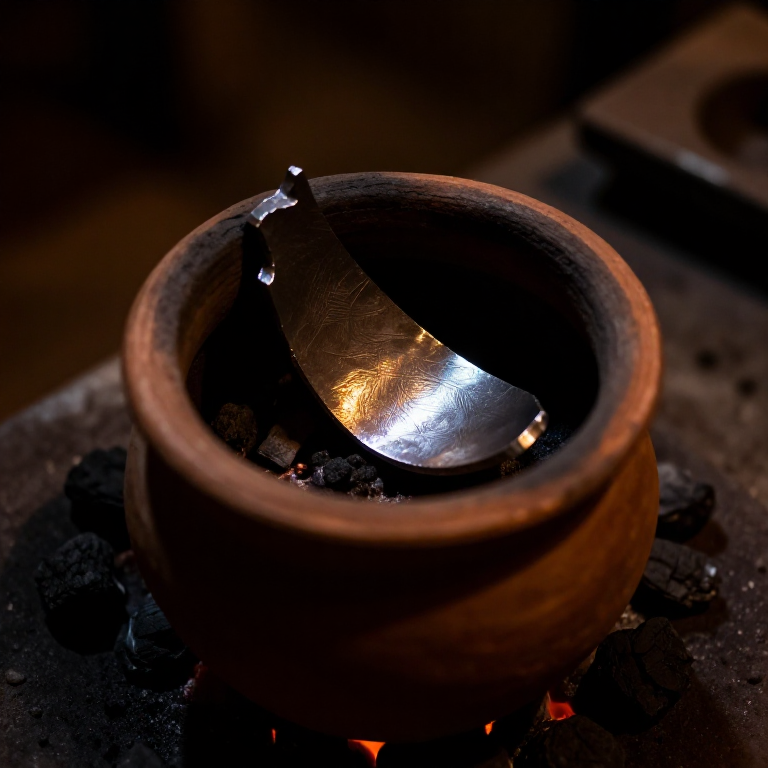
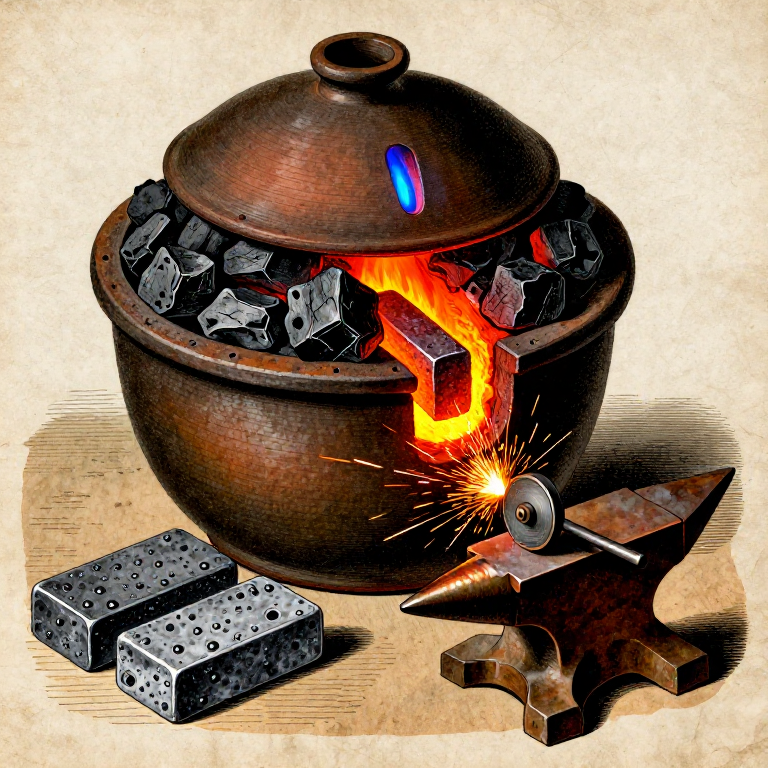
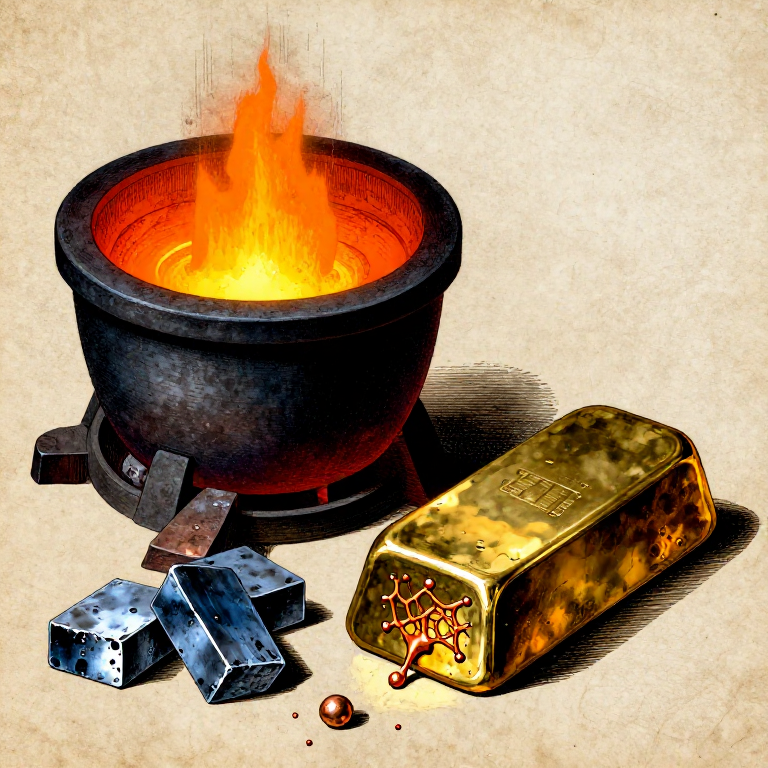
Melt the copper first in a clay crucible heated to approximately 1100°C. Once fully molten, add the tin gradually — tin melts at only 232°C and will dissolve rapidly into the copper melt. Stir gently with a wooden rod to ensure uniform mixing. The alloy should be a smooth, silvery liquid. High-tin bronze is prone to segregation (the tin concentrating in certain areas) during cooling, so the casting must proceed quickly while the alloy is well mixed.
Efni fyrir þetta skref:
 Bronze Ingot1 piece
Nauðsynleg verkfæri:
 Crucible Tongs (long-handled)
 Chemical Splash Goggles
Cast the mirror disc
Cast the mirror disc
Prepare a flat mould from compacted sand or carved soapstone — a smooth disc approximately 12-15 cm in diameter and 3-5 mm thick. The mould must produce a disc that is as flat and uniform as possible — any thickness variation will distort the reflected image. Egyptian and Chinese mirror moulds were often carved with decorative designs on the back face.
Pour the molten bronze smoothly into the mould, filling it in a single pour to avoid cold joints. Allow to cool slowly in the mould — rapid cooling increases the risk of cracking in this brittle, high-tin alloy. Once cool, remove the casting and inspect for porosity (small holes from trapped gas) or cold shuts (lines where the metal flow fronts met). A good casting has a smooth, uniform surface requiring only grinding and polishing.
Efni fyrir þetta skref:
 Fine Sand5 kg
Nauðsynleg verkfæri:
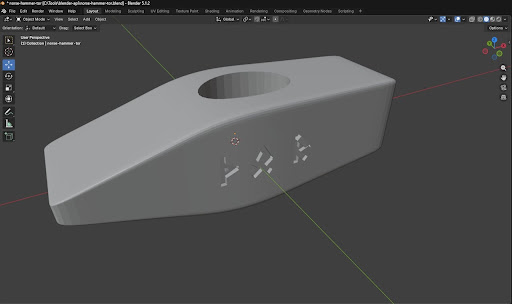
 Hammer (2 kg)
Grind the mirror face flat
Grind the mirror face flat
The cast disc will have a slightly rough surface from the mould texture. Begin flattening and smoothing with a coarse abrasive — a flat sandstone slab wetted with water. Rub the mirror face against the stone in a circular motion, applying even pressure across the entire surface. Check flatness frequently by placing a straight edge across the disc and looking for light gaps.
Continue grinding until the entire face is uniformly flat with no visible casting texture. This stage removes approximately 0.5-1 mm of material and takes 1-2 hours of steady work. The surface should appear as a uniform matte grey — not yet reflective, but smooth to the touch with no detectable scratches or bumps.
Nauðsynleg verkfæri:
 Grinding Stone
Progressive polishing with finer abrasives
Progressive polishing with finer abrasives
Switch to progressively finer abrasives to transform the matte ground surface into a mirror finish. The ancient sequence: fine emery powder (corundum, aluminium oxide) mixed with water, worked with a leather pad in circular motions for 30-60 minutes. Then tin oxide powder (putty powder) on a soft cloth pad for another 30-60 minutes. Finally, jeweller's rouge (iron oxide, Fe₂O₃) on a chamois leather pad for the final polish.
Each abrasive stage removes the scratches left by the previous one and replaces them with progressively finer scratches — until the scratches are smaller than the wavelength of visible light (below ~400 nanometres) and the surface reflects light specularly rather than scattering it. The transition from matte to reflective is gradual, then suddenly dramatic — the surface 'pops' into a clear reflection when the final polishing crosses the specular threshold.
Shape the handle and finish the back
Shape the handle and finish the back
Attach a handle to the mirror — either a tang cast integrally with the disc (Chinese style: a central knob with a cord loop) or a separate wooden or ivory handle riveted to the disc edge (Egyptian/Greek style). The handle must not transmit vibration to the mirror face during polishing — any scratch at this stage requires restarting the finest polishing step.
Decorate the back of the mirror. Chinese mirrors feature elaborate cast relief designs — mythological scenes, zodiac animals, or abstract cosmological patterns. Egyptian mirrors were simpler, with a plain polished back or a lotus-shaped handle. The back is the artist's canvas; the front is pure function. When the mirror is finished, it should reflect a clear, undistorted image of the viewer's face — the oldest form of self-portraiture, predating painted self-portraits by millennia.
Nauðsynleg verkfæri:
 Engraving Burin
Maintaining the polish
Maintaining the polish
Bronze oxidises in air — the polished surface will develop a thin tarnish layer within days, gradually dimming the reflection. Ancient mirror owners maintained the polish with regular rubbing using a soft cloth and fine abrasive powder. Professional mirror polishers were a recognised trade in Rome, Egypt, and China — itinerant craftsmen who visited homes periodically to restore the reflection.
Some Chinese mirrors were coated with a thin layer of mercury-tin amalgam to slow tarnishing — a technique that foreshadowed the silvered glass mirrors of the modern era. The amalgam creates a brilliant, long-lasting reflective surface but is toxic to prepare (mercury vapour). When glass mirrors with silver or aluminium backing became available in the 16th century, bronze mirrors fell out of use — but the 4,000-year tradition of metal mirror polishing established the optical polishing techniques that would later be applied to telescope mirrors, camera lenses, and semiconductor wafers.
Nauðsynleg verkfæri
5- Staðgengill
- Staðgengill
- Staðgengill
- Staðgengill
- Staðgengill
Efni úr tengdum teikningum
Tengd Blueprint
Þessi blueprint deila þekkingu — tækni, efni eða meginreglur
Related blueprints
Other builds that share materials, tools, or techniques with this one.

CC0 opinbert ríki
Þessi teikning er gefin út undir CC0. Þér er frjálst að afrita, breyta, dreifa og nota þetta verk í hvaða tilgangi sem er, án þess að biðja um leyfi.
Studdu smiðinn með því að kaupa vörur í gegnum teikningu hans þar sem hann fær þóknun smiða sem seljendur ákvarða, eða búðu til nýja endurskoðun á þessari teikningu og tengdu hana sem tengingu í þinni eigin teikningu til að deila tekjum.