LIST
FEGURÐ OG VELLÍÐAN
HANDVERK
MENNING OG SAGA
SKEMMTUN
UMHVERFI
MATUR OG DRYKKUR
ÖFUGVERKFRÆÐI
VÍSINDI
ÍÞRÓTTIR
TÆKNI
KLÆÐANLEG TÆKNI
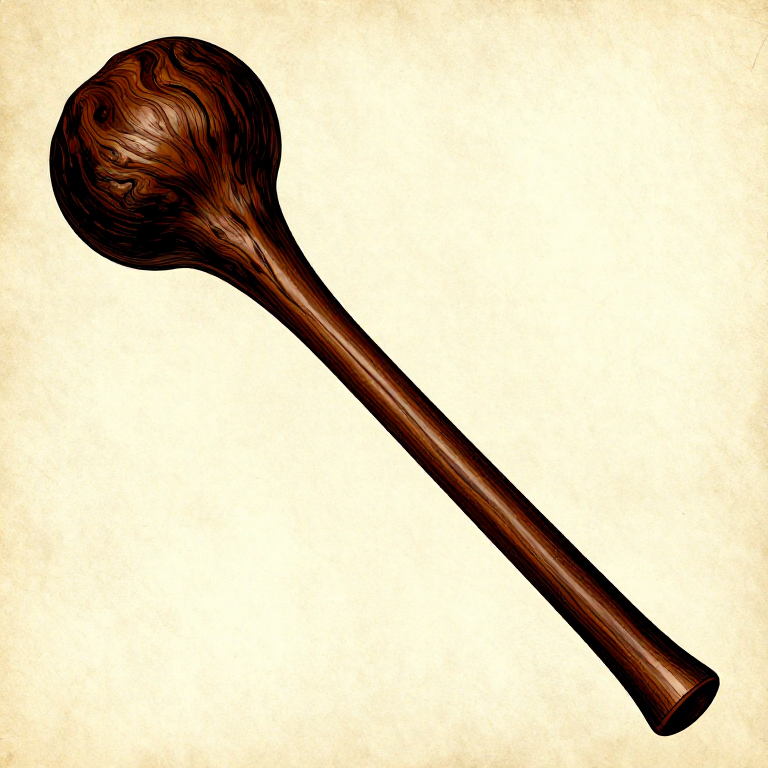
Shaping a Wooden War Club from a Dense Hardwood Root Ball — Stone Age Cudgel
A wooden war club (or cudgel) is one of the oldest weapons in human history — simply a dense piece of hardwood shaped for striking. The most effective clubs exploit natural wood anatomy: a root ball, burl, or branch junction concentrates dense, interlocked grain at the striking head, while the straight trunk section provides a comfortable handle. This concentrates mass at the impact point, delivering maximum force. Wood species selection is critical — the densest species available should always be chosen. Historically favoured woods include ironwood (Ostrya virginiana, approximately 1010 kg per cubic metre), osage orange (Maclura pomifera, approximately 900 kg per cubic metre), mesquite, blackthorn, and dense burls from any hardwood. Clubs were used alongside stone weapons throughout the entire span of human prehistory and remained in use by indigenous peoples worldwide well into the modern era. The war club predates the stone axe as a weapon because it requires no hafting, no flint knapping, and no cordage — just a dense piece of wood and the ability to shape it. This blueprint covers selecting the right wood, shaping with stone tools, fire-hardening the striking face, creating a comfortable grip, and balancing the weight distribution for effective use.
Byrjandi
2-3 hours
Leiðbeiningar
1
1
Find a Dense Hardwood Section with a Natural Bulge
Find a Dense Hardwood Section with a Natural Bulge
Search for a hardwood tree or fallen branch that has a natural root ball, burl, or branch junction at one end. The ideal piece is 50 to 70 cm long overall, with a dense, knotted bulge at one end (the striking head) and a straight section at the other (the handle). Burls are ideal — they form when a tree's growth is disrupted by injury, disease, or infestation, producing extremely dense, interlocked grain that resists splitting on impact. Root balls where a sapling meets the ground also work well. The densest common hardwoods are ironwood, osage orange, blackthorn (sloe), hornbeam, and holly. Avoid softwoods entirely — pine, spruce, and cedar are too light and will shatter on impact.
Efni fyrir þetta skref:
 Hardwood Sapling1 piece
2
2
Cut the Club Blank to Length
Cut the Club Blank to Length
Using a stone adze or heavy flint chopper, cut the selected wood section to approximately 50 to 70 cm total length. The handle portion should be about 30 to 40 cm long and the head portion 15 to 25 cm. If using a root ball, cut the trunk side to handle length. If cutting from a living tree, chop around the circumference with a hand axe, alternating sides until the piece separates cleanly. Green (unseasoned) wood is easier to shape but heavier. Seasoned wood is harder to work but produces a lighter, faster weapon — either is effective.
Nauðsynleg verkfæri:
 Hammerstone
3
3
Remove Bark from the Handle Section
Remove Bark from the Handle Section
Strip the bark from the handle section using a flint knife, working from base to tip along the grain. Leave the bark on the head section for now — it provides a visual reference for the final shape and protects the wood during rough shaping. On some species (oak, ash), bark peels easily in spring and early summer when the sap is running. In winter, score the bark lengthwise with the flint knife and pry it off in strips.
Nauðsynleg verkfæri:
 Flint Knife
4
4
Rough-Shape the Striking Head
Rough-Shape the Striking Head
Using a hammerstone and flint knife, remove any protruding roots, branch stubs, or irregular projections from the head. The goal is a roughly symmetrical bulge — round, oval, or teardrop-shaped — that retains maximum mass. Do not thin the head; the point is to keep as much dense wood as possible concentrated at the impact point. Remove only material that would catch or snag during a swing. Aim for a head diameter of approximately 8 to 12 cm.
Nauðsynleg verkfæri:
HammerstoneFlint Knife5
5
Shape the Handle for a Secure Grip
Shape the Handle for a Secure Grip
Carve the handle section to a comfortable oval cross-section approximately 3 to 4 cm in diameter. An oval grip (rather than round) prevents the club from rotating in the hand during a strike. Taper the handle slightly thinner toward the butt end, but leave a small flare or knob at the very end to prevent the club from slipping out of the hand during a swing. The transition from handle to head should be gradual, not abrupt — a sharp transition creates a stress point where the club could snap.
Nauðsynleg verkfæri:
Flint Knife Sandstone
6
6
Smooth the Handle Surface
Smooth the Handle Surface
Use a coarse sandstone abrader to smooth the handle surface, removing any splinters, rough spots, or sharp edges that could blister the hand. Work along the grain in long strokes. A smooth handle allows a firm grip without cutting the palm during repeated use. Pay special attention to any knots or grain irregularities — these should be sanded flush rather than carved, as carving across the grain weakens the handle at that point.
Nauðsynleg verkfæri:
Sandstone7
7
Fire-Harden the Striking Face
Fire-Harden the Striking Face
Hold the head section of the club over hot coals (not open flame) at a distance of approximately 10 to 15 cm, rotating slowly and evenly. The wood surface should darken to a medium brown — this indicates that surface moisture is being driven out and the lignin is beginning to polymerise, creating a harder, denser surface. Do not char the wood to black — charring weakens the surface and causes it to crumble. The fire-hardening process takes 15 to 20 minutes of patient, even rotation. The resulting surface is approximately 10 to 20 percent harder than untreated wood.
8
8
Check the Balance Point
Check the Balance Point
Hold the club at the handle and swing it slowly to feel the balance. The ideal balance point is approximately one-third of the way from the head end — this concentrates mass forward for maximum impact while keeping the handle light enough for fast, controlled swings. If the club feels too head-heavy and unwieldy, thin the head slightly. If it feels handle-heavy, shorten the handle by 2 to 3 cm. A well-balanced club should feel like a natural extension of the arm, with the head pulling forward naturally during a swing.
9
9
Carve Grip Texture into the Handle (Optional)
Carve Grip Texture into the Handle (Optional)
For additional grip security, carve shallow crosshatch grooves into the handle surface using the tip of a flint knife. Space the grooves approximately 1 cm apart in a diamond pattern. Cut only 1 to 2 mm deep — deeper cuts weaken the handle. An alternative is to wrap the handle with a strip of rawhide — as the rawhide dries, it shrinks tight and provides excellent grip texture. Secure the wrap with pine pitch glue at both ends.
Nauðsynleg verkfæri:
Flint Knife10
10
Final Inspection and Testing
Final Inspection and Testing
Inspect the entire club for cracks, splits, or weak points. Tap the head firmly against a tree or log 10 to 15 times at full force — if no cracks develop, the club is sound. Check that the head-to-handle transition shows no signs of stress or separation. A properly made hardwood war club will last for years of use without maintenance. If the fire-hardened surface wears down over time, it can be re-hardened by repeating the coal treatment. Store the club in a dry location — prolonged exposure to moisture will cause green wood to crack as it dries unevenly.
Efni
1- 1 pieceStaðgengill
Efni úr tengdum teikningum
Tengd Blueprint
Þessi blueprint deila þekkingu — tækni, efni eða meginreglur
Related blueprints
Other builds that share materials, tools, or techniques with this one.
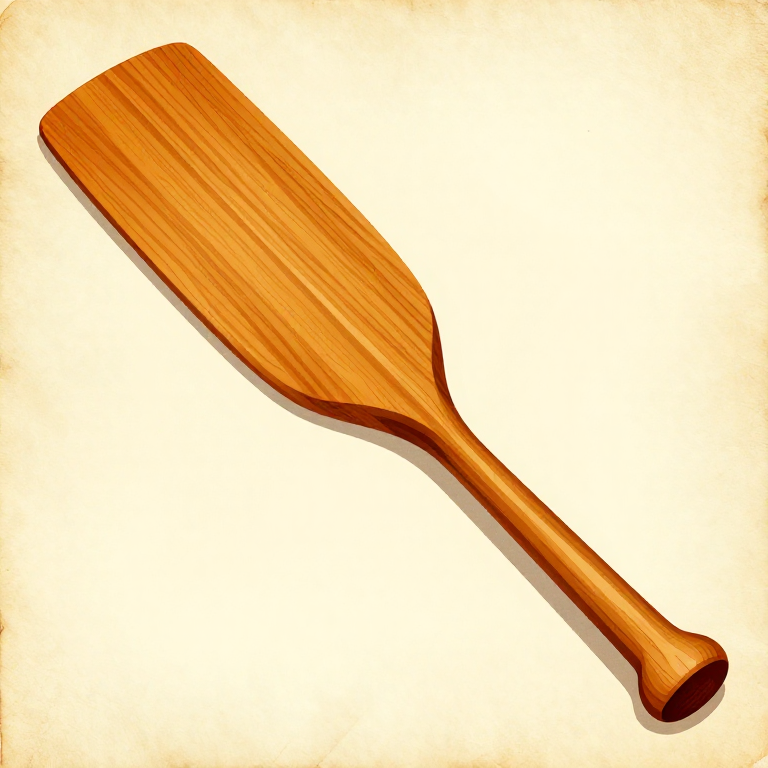
Carving a Wooden Paddle from a Single Piece of Hardwood — Prehistoric Watercraft Propulsionwoodworking
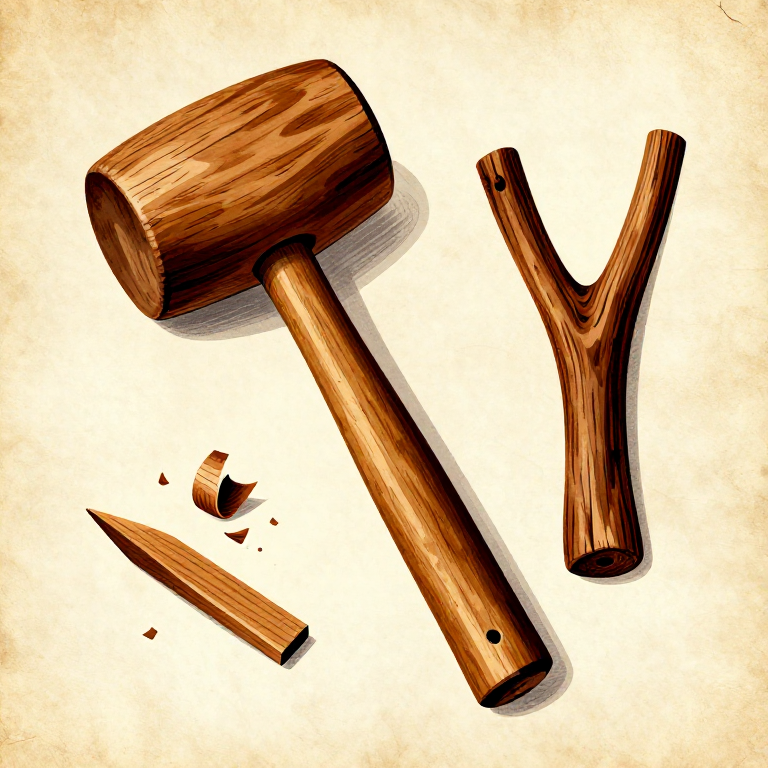
Making a Wooden Mallet — The Percussive Tool That Does Not Damagewoodworking
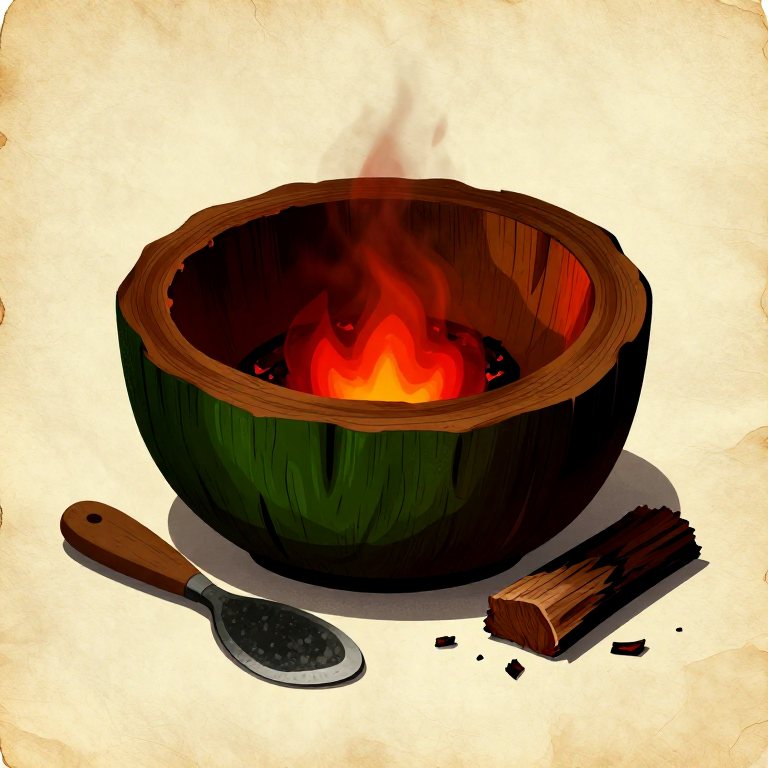
Carving a Wooden Bowl by Ember Burning — Hollowing Without Metal Toolswoodworking
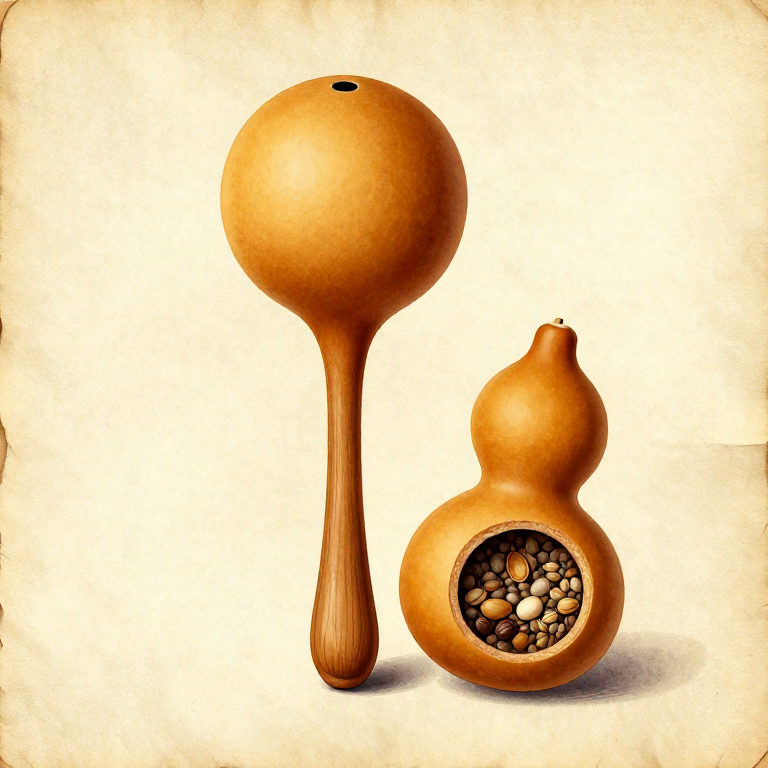
Making a Gourd Rattle — Prehistoric Seed-Pod Musical Instrumentwoodworking
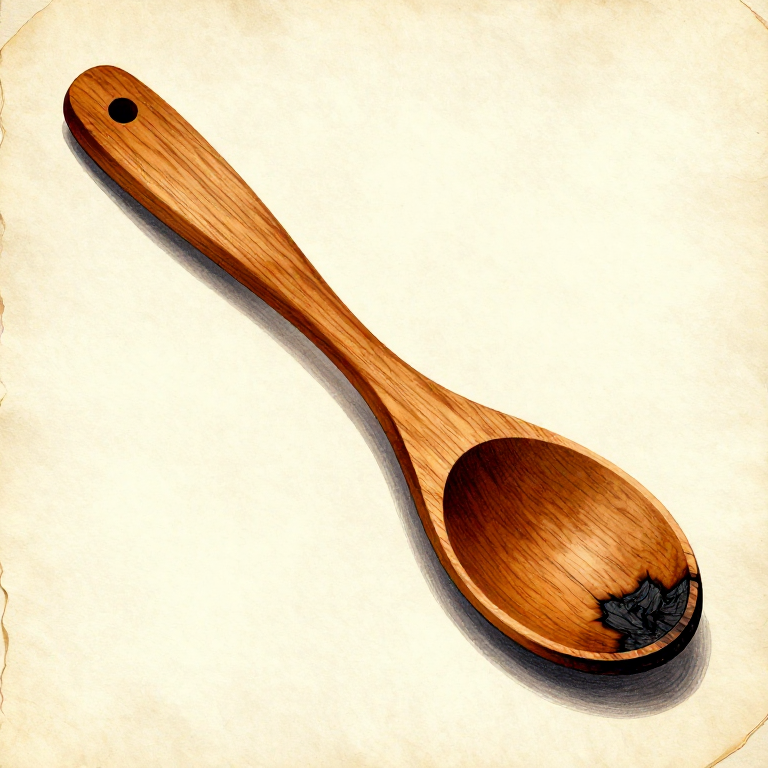
Carving a Wooden Spoon with Stone Tools and Ember Hollowing — The Universal Kitchen Toolwoodworking
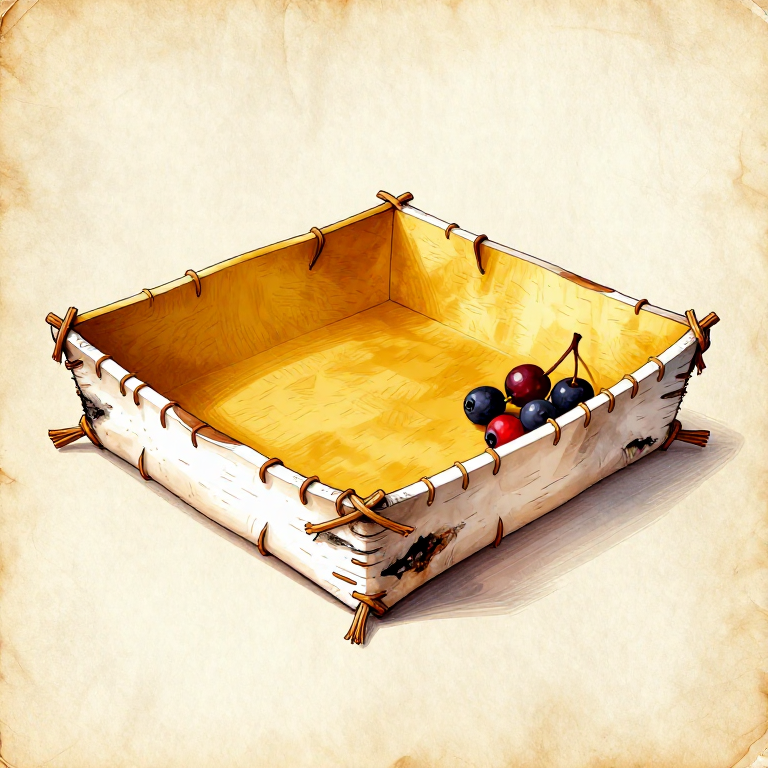
Making a Bark Tray from a Single Sheet of Birch Bark — Folded Coolamonwoodworking
CC0 opinbert ríki
Þessi teikning er gefin út undir CC0. Þér er frjálst að afrita, breyta, dreifa og nota þetta verk í hvaða tilgangi sem er, án þess að biðja um leyfi.
Studdu smiðinn með því að kaupa vörur í gegnum teikningu hans þar sem hann fær þóknun smiða sem seljendur ákvarða, eða búðu til nýja endurskoðun á þessari teikningu og tengdu hana sem tengingu í þinni eigin teikningu til að deila tekjum.