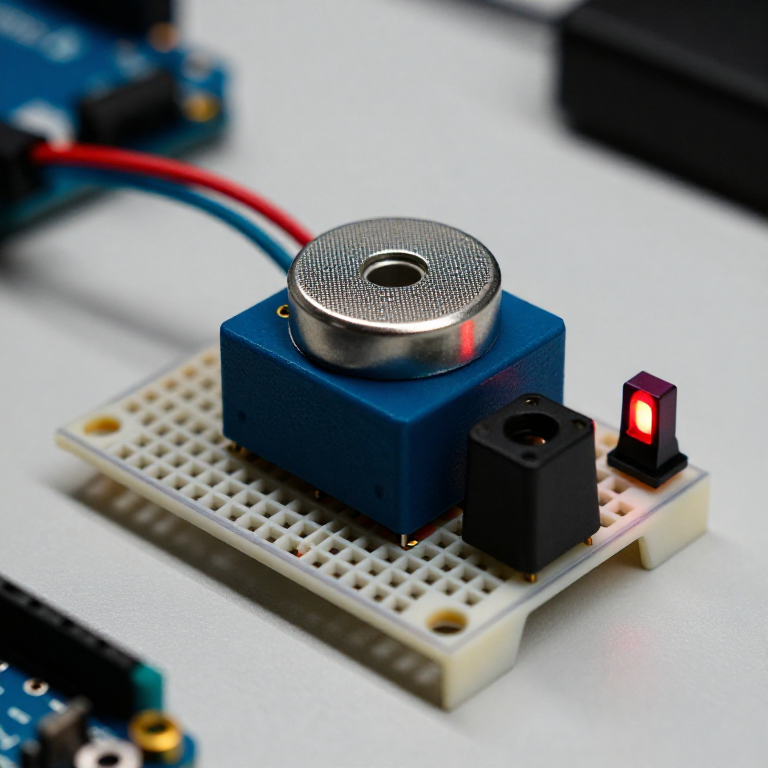


Building a Carbon Monoxide Detector
Build a circuit that senses carbon monoxide (CO) — the invisible, odourless gas from any incomplete combustion — and raises an alarm when it rises. An MQ-7 sensor gives the Arduino a reading that climbs with CO; the code compares it to a clean-air baseline and triggers a buzzer and red LED. A great way to learn gas sensing — but read the safety note: this is a demonstration, NOT a certified life-safety CO alarm.
Istruzioni
Wire the sensor, buzzer and LED
Wire the sensor, buzzer and LED
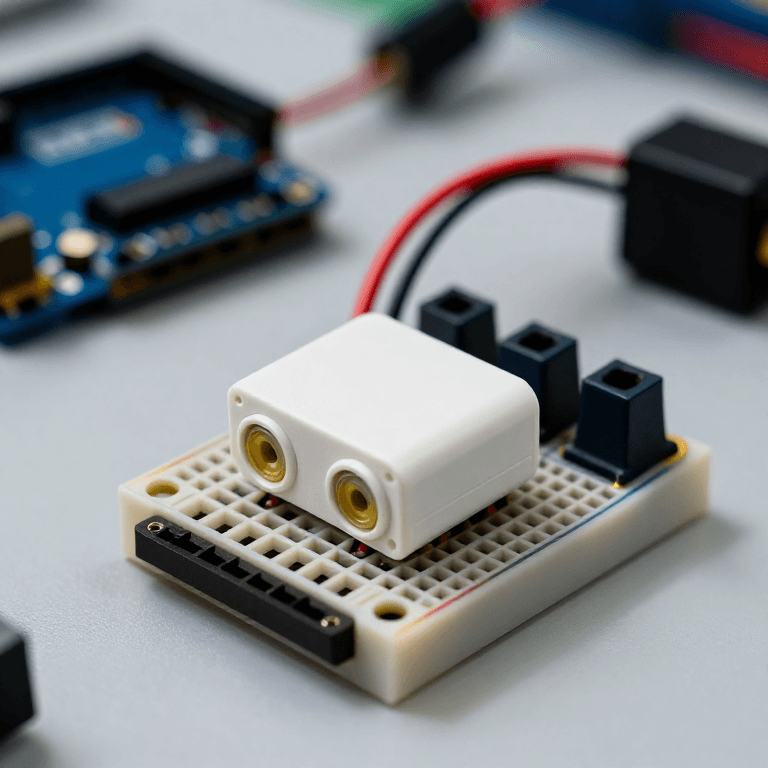
On the breadboard: MQ-7 VCC to Arduino 5V, GND to GND, and its analog output (AOUT) to Arduino A0. Active buzzer + to pin 8, - to GND. Red LED anode to pin 7 through a 330 Ω resistor, cathode to GND.
Materiali per questo passaggio:
 Arduino Uno R31 pezzo
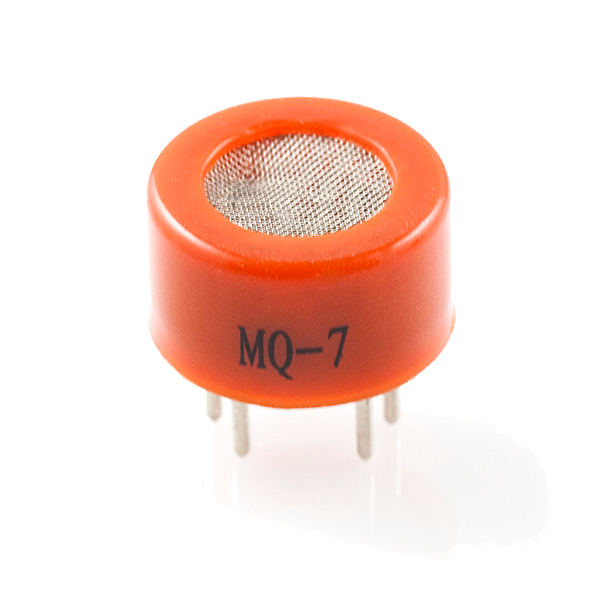 Carbon Monoxide Sensor - MQ-71 pezzo
 Modulo cicalino attivo1 pezzo
 LED da 5 mm1 pezzo
 Resistenza da 330 ohm1 pezzo
 Breadboard1 pezzo
 Cavetti ponticello1 confezione
Connect and open the IDE
Connect and open the IDE
Plug the Arduino into your computer with the USB cable, open the Arduino IDE, and select Arduino Uno and its serial port.
Strumenti necessari:
 Computer con l'IDE Arduino
 Cavo USB-B
Upload the detector sketch
Upload the detector sketch
Paste this sketch and upload. It warms the sensor for two minutes, records a clean-air baseline, then sounds the buzzer and lights the LED whenever the reading climbs above that baseline.
Warm up, baseline and test
Warm up, baseline and test
Power it in fresh air and let the 2-minute warm-up set the clean-air baseline (a brand-new MQ-7 also needs a longer 24–48 h burn-in before its readings settle). Then hold a small CO source nearby in a ventilated room — the smoke from a just-blown-out match works — and the buzzer and LED should trigger. Change ALARM_MARGIN to make it more or less sensitive.
Important safety limits
Important safety limits
This is a LEARNING project and, at best, a supplementary indicator — it is NOT a certified life-safety device. A hobby MQ-7 gives a relative reading, not a calibrated ppm; it drifts over time and needs regular re-baselining, and it also responds to smoke and other gases. Carbon monoxide is invisible, odourless and can be fatal: for real protection always use a UL- or EN-certified CO alarm. Never rely on this circuit to keep anyone safe.
Materiali
7- Segnaposto
- Carbon Monoxide Sensor - MQ-710% commissione1 pezzo€6.32
- 1 pezzoSegnaposto
- Segnaposto
- 1 pezzoSegnaposto
- Segnaposto
- Segnaposto
Strumenti richiesti
3- Segnaposto
- 1 vendor sell this, none ship to you yetSegnaposto
- 1 vendor sell this, none ship to you yetSegnaposto
Blueprint correlati
Questi blueprint condividono conoscenze — tecniche, materiali o principi


CC0 Pubblico dominio
Questo progetto è rilasciato sotto CC0. Sei libero di copiare, modificare, distribuire e utilizzare quest'opera per qualsiasi scopo, senza chiedere permesso.
Supporta il Maker acquistando prodotti tramite il suo progetto dove guadagna una Commissione Maker stabilita dai venditori, oppure crea una nuova iterazione di questo progetto e includilo come collegamento nel tuo progetto per condividere i ricavi.