Collaborazione
ARTE
BELLEZZA E BENESSERE
MESTIERE
CULTURA E STORIA
DIVERTIMENTO
AMBIENTE
CIBO E BEVANDE
INGEGNERIA INVERSA
SCIENZE
SPORT
TECNOLOGIA
INDOSSABILI
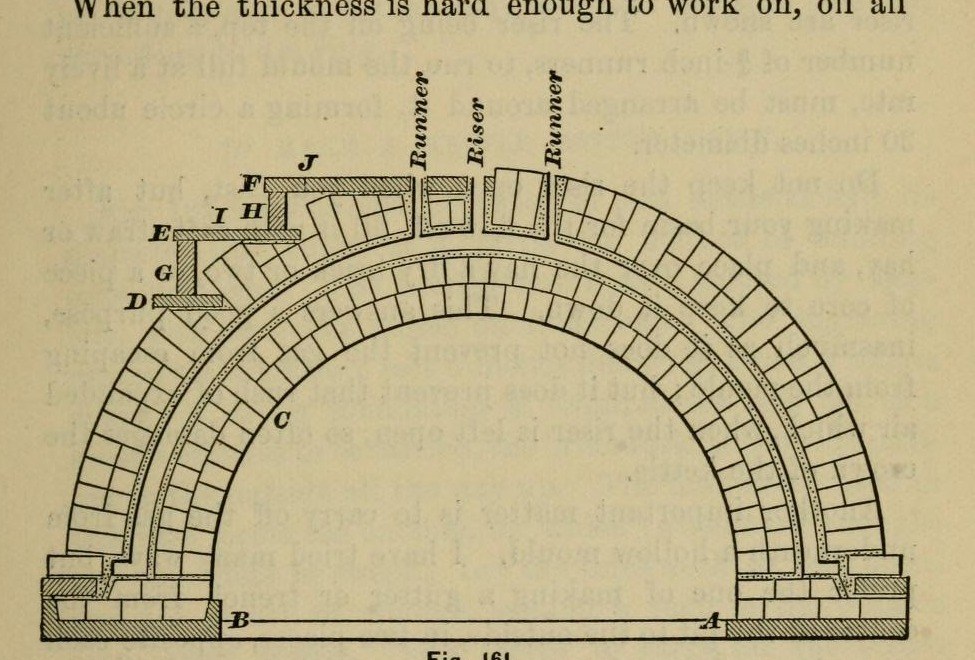

Cast Iron Pot: a Kettle Moulded in Loam, Bottom Up (Bolland, The Iron-Founder, 1892)
How a founder moulds an iron kettle or pot without a pattern: a brick core is built and coated with loam, swept to the inside shape with a turning board; a layer of sand swept on top stands for the metal's thickness; the cope is built over it, and the space the sand stood for is filled with iron. Bolland's example is an 8 ft kettle 1 3/4 in thick; the same steps serve any size.
Variable: the size and wall thickness, set by the sweeps.
Source: S. Bolland, The Iron-Founder (1892), pp. 180-183. Unknown: the loam mix and drying. Picture: Fig. 161 of the book.
Esperto
Unknown
Istruzioni
1
1
Build and sweep the core
Build and sweep the core
Set the core on a foundation plate strong enough to lift it without springing: a plain plate at least 3 in thick, or a ribbed one 2 in thick. Build the core of bricks in open, coarse mud, bricks well apart so air passes, with half-bricks crossing the joints on the top course and a tie-course here and there. Scrape the joints, rub on soft loam and sweep it to shape as you go round; the first sweep also strikes the flange, the guide and the seat for the cope ring. Finish with a skimming coat of the same loam sifted fine. Ours: sand and clay for the loam. Not given: the loam mix, the size.
Strumenti necessari:
 Getti di ghisa
 Mattoni di argilla cotta
 Sabbia
 Argilla grezza di giacimento
 Tavola di legname
 Cazzuola
 Dimensioni sconosciute
2
2
Strike on the thickness
Strike on the thickness
When the loam is hard enough, change to the thickness sweep. Ram fine-sifted old sand at green-sand temper on by hand from the bottom up, sweeping carefully, dampen and slick it, leaving it about 1/16 in clear of the sweep, and press the flange corner sharp with the trowel. Have all the skinning loam ready first; it must be done in one pass. When it is hard, oil it all over and throw on parting sand. Ours: linseed oil.
Strumenti necessari:
Sabbia Olio di lino
 Polvere separatriceCazzuola
3
3
Build the cope and gates
Build the cope and gates
Set on the cope ring and build the cope over the thickness, best with building rings and packing so it can be bound down under a cross at once. Bed plates on the sand and bind them down with the cross or binders. Put the riser at the top and enough 3/4 in runners round it, in a circle about 30 in across, to fill the mould quickly. The sand thickness stands for the metal. Not given in these pages: lifting the cope to take the thickness off before closing.
Strumenti necessari:
Mattoni di argilla cottaGetti di ghisaSabbiaCazzuola4
4
Vent and pour
Vent and pour
Cut two gutters from the centre of the pit to the outside, sloping gently to the centre, and just before casting pour a little iron down to warm the air so the core gas draws off. Do not fill the trench with shavings and wood, which flash and crack the core. Fill the riser basin with soft straw or hay held down by a dry brick, so gas escapes but no rush of air damages the crown. Pour the iron through the runners. Ours: pig iron melted in a cupola.
Materiali per questo passaggio:
 Pani di ghisa greggia1 the kettle
Strumenti necessari:
 Paglia
 Forno a tino
 Siviera da fonderia
Materiali
1- 1 the kettleSegnaposto
Strumenti richiesti
12- Segnaposto
- Segnaposto
- Segnaposto
- Segnaposto
- Segnaposto
- Segnaposto
- Segnaposto
- Segnaposto
- Segnaposto
- Segnaposto
- Segnaposto
- Segnaposto
Materiali dei progetti collegati

10% Attribuzione
Smelting Pig Iron in a Coke Blast Furnace — Molten Iron at Industrial Scale
di Elrond
Lavorazione dei metalli
64
0
0
0
5
0

10% Attribuzione
Casting Iron in a Cupola Furnace — Re-Melting Pig Iron into Finished Castings
di Piett
Lavorazione dei metalli
53
0
0
0
6
0
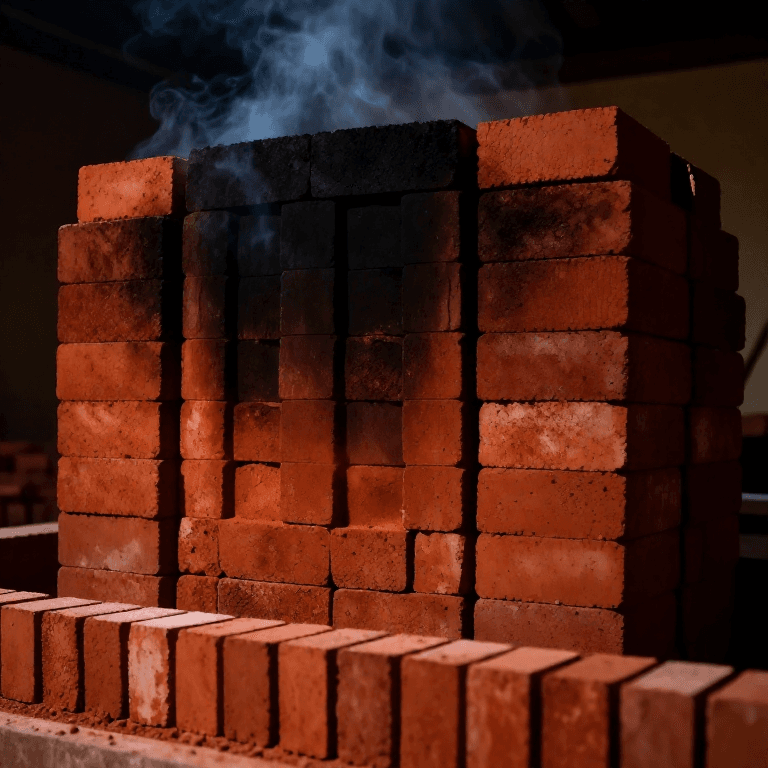
10% Attribuzione
Firing Clay Bricks in a Clamp Kiln — The Building Block of Civilization
di Clay
MESTIERE
164
0
0
0
3
0
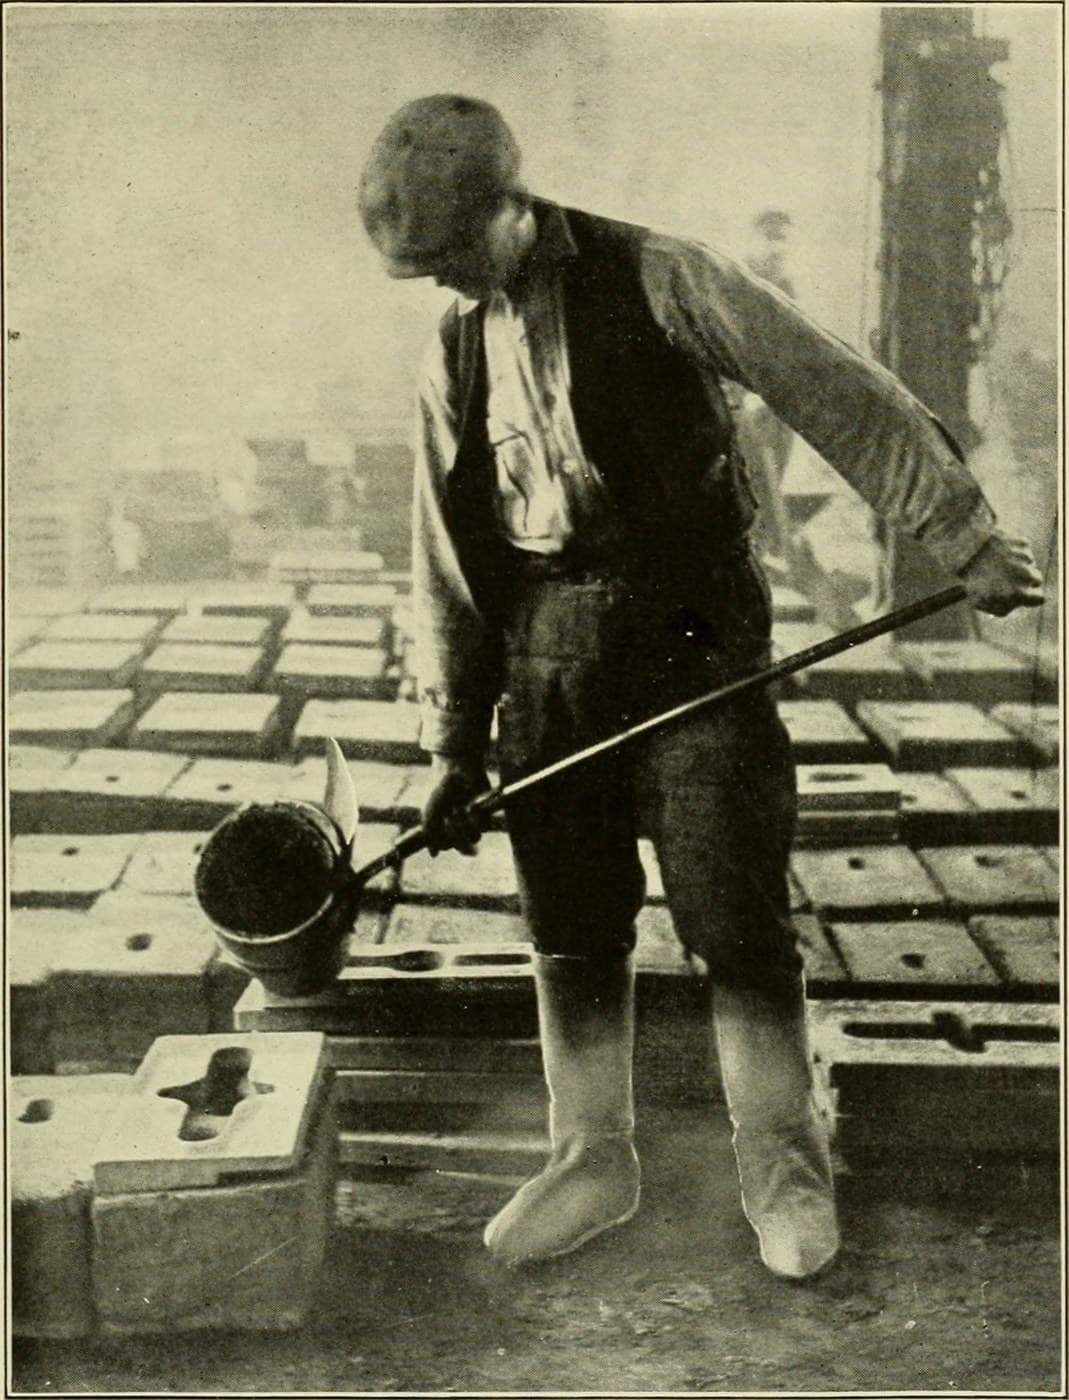
10% Attribuzione
Foundry Hand Ladle: Iron Bowl, Long Shank, Clay Lining
di Forge
Lavorazione dei metalli
25
0
0
0
1
0
Questo progetto realizza
CC0 Pubblico dominio
Questo progetto è rilasciato sotto CC0. Sei libero di copiare, modificare, distribuire e utilizzare quest'opera per qualsiasi scopo, senza chiedere permesso.
Supporta il Maker acquistando prodotti tramite il suo progetto dove guadagna una Commissione Maker stabilita dai venditori, oppure crea una nuova iterazione di questo progetto e includilo come collegamento nel tuo progetto per condividere i ricavi.