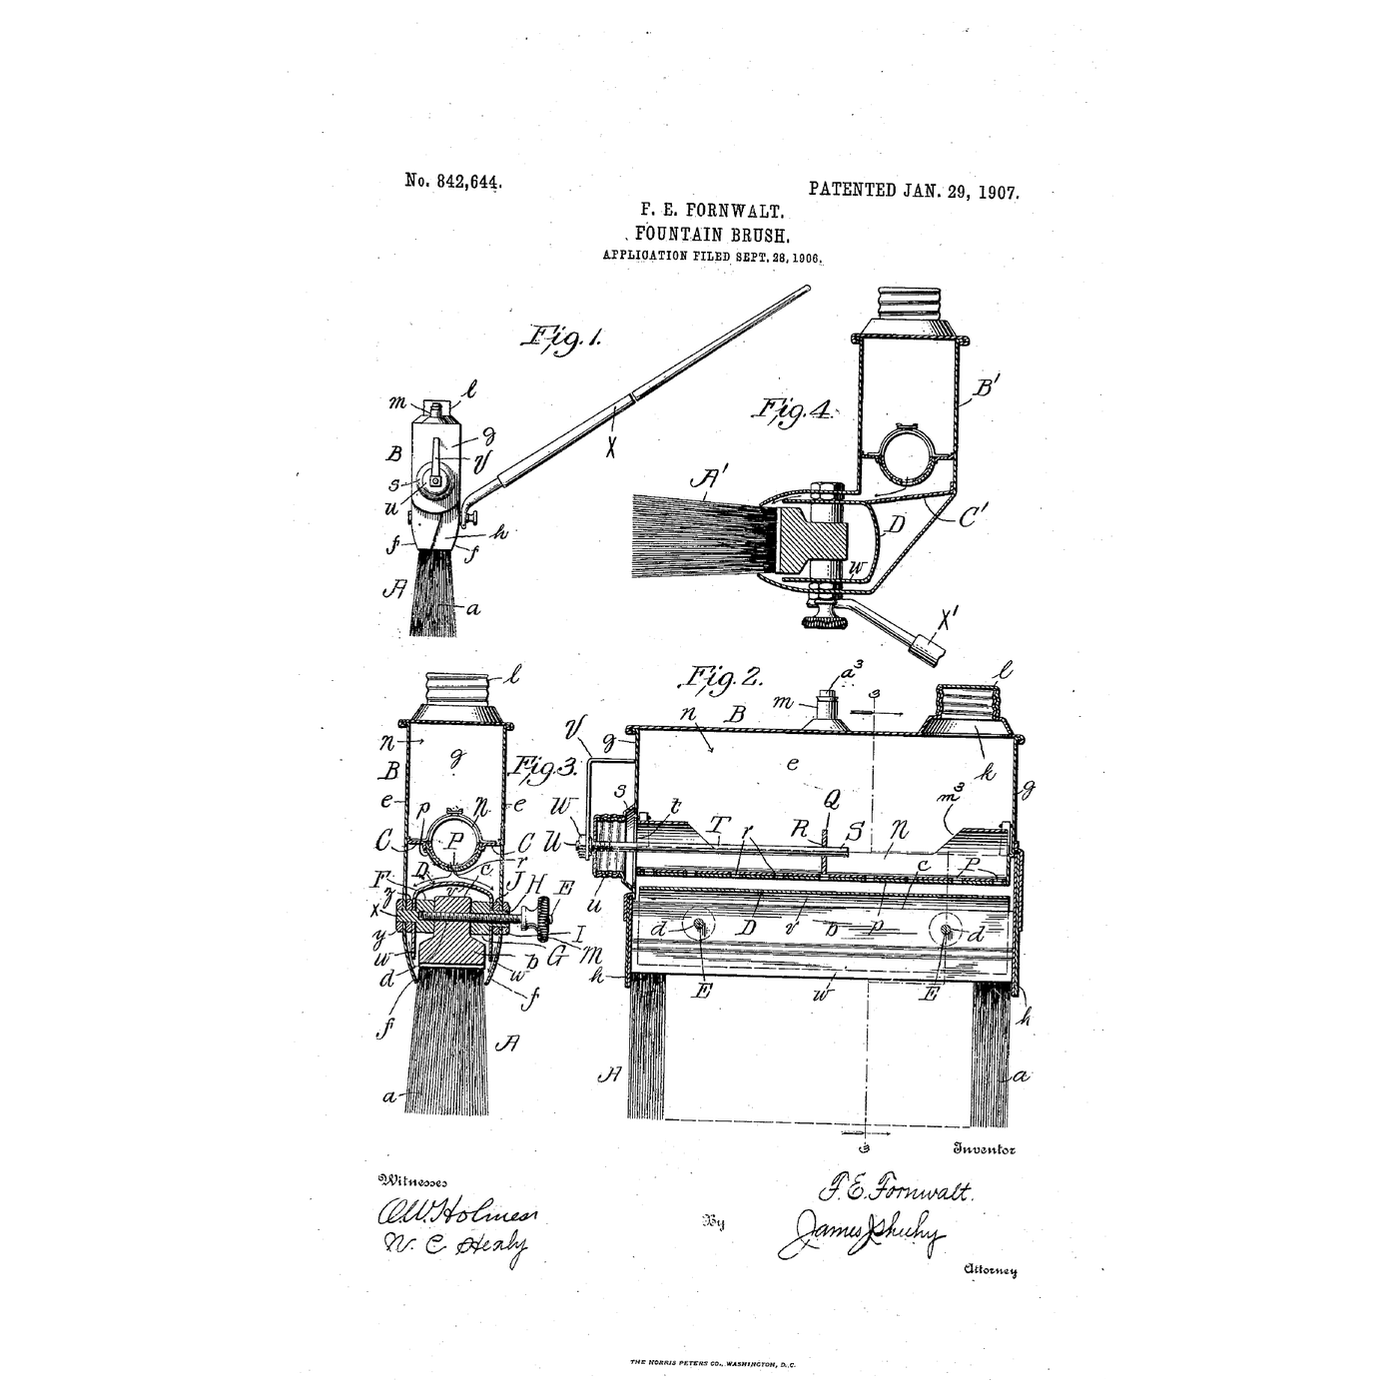

The Hooded Fountain Paint Brush: A Dome Shares the Paint Between Both Sides
Istruzioni
Paint the brush needs
Paint the brush needs
A turned perforated tube before it
A turned perforated tube before it
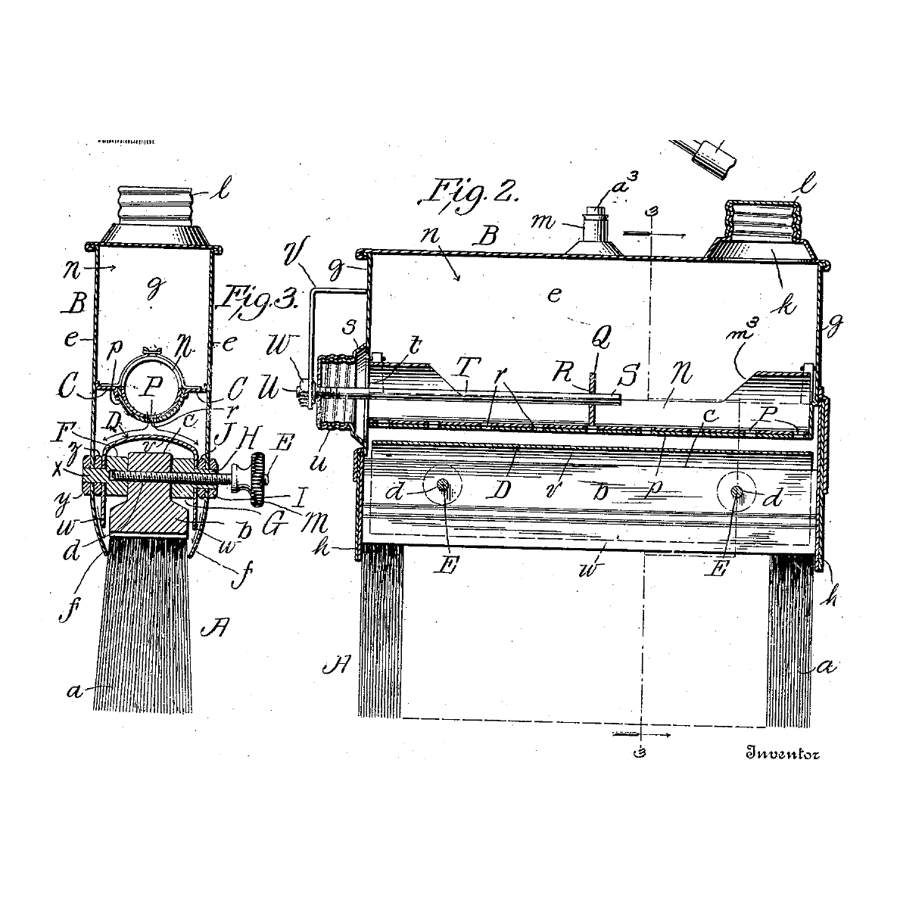
Read US 842,644
Read US 842,644
Fold the tank
Fold the tank
Materiali per questo passaggio:
 Lamiera di alluminio1 pezzo
 Rivetti a strappo1 pezzo
 Sigillante siliconico1 pezzo
Strumenti necessari:
 Cesoie da lattoniere
 Pinze a becchi piatti
 Morsa da banco
 Kit rivettatrice
 Trapano a batteria
 Serie di punte da trapano
 Kit di seghe a tazza
 Guanti da lavoro in pelle
Drill the floor
Drill the floor
Strumenti necessari:
Trapano a batteriaSerie di punte da trapano Pennarello indelebile
 Righello
Make the turning valve
Make the turning valve
Materiali per questo passaggio:
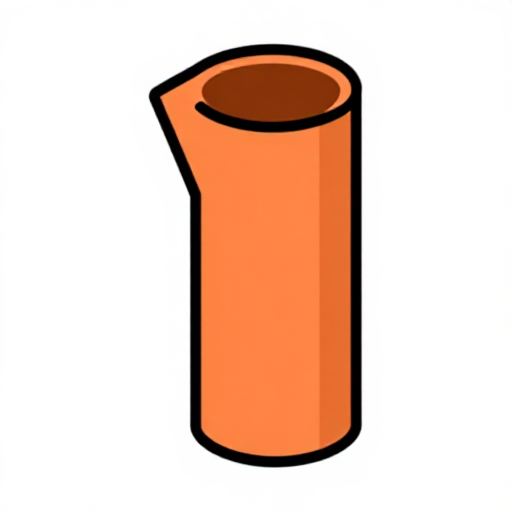 Tubo di rame1 pezzo
Strumenti necessari:
 Seghetto per metalliTrapano a batteriaSerie di punte da trapano
 Lime (lima a mano)Morsa da banco
Fold the hood
Fold the hood
Materiali per questo passaggio:
Lamiera di alluminio1 pezzoRivetti a strappo1 pezzoStrumenti necessari:
Morsa da bancoKit rivettatriceClamp on the brush
Clamp on the brush
Materiali per questo passaggio:
 Assortimento di bulloni a testa esagonale1 pezzo
 Dado esagonale1 pezzo
 Rondella piana1 pezzoRivetti a strappo1 pezzo
Strumenti necessari:
Trapano a batteriaSerie di punte da trapano Chiave regolabile a rullino
 Set di pennelli
The patent drawing
The patent drawing
Paint and weigh
Paint and weigh
Materiali per questo passaggio:
 Set di colori acrilici1 pezzo
 Acqua1 pezzo
 Pannello di compensato1 pezzo
Strumenti necessari:
 Bilancia digitale da cucina
 Metro a nastro
 Cronometro
A brush that clogs, floods or paints one side
A brush that clogs, floods or paints one side
Flow
History and honest limits
History and honest limits
Materiali
10- 1 pezzoSegnaposto
- 3 pezziSegnaposto
- 1 pezzoSegnaposto
- 1 pezzoSegnaposto
- Segnaposto
- 1 pezzoSegnaposto
- 1 pezzoSegnaposto
- 1 pezzoSegnaposto
- 1 pezzoSegnaposto
- 1 pezzoSegnaposto
Strumenti richiesti
17- Segnaposto
- Segnaposto
- Segnaposto
- Segnaposto
- 1 vendor sell this, none ship to you yetSegnaposto
- Segnaposto
- Segnaposto
- Segnaposto
- Segnaposto
- Segnaposto
- Segnaposto
- Segnaposto
- Segnaposto
- Segnaposto
- Segnaposto
- 1 vendor sell this, none ship to you yetSegnaposto
- Segnaposto
Blueprint correlati
Questi blueprint condividono conoscenze — tecniche, materiali o principi
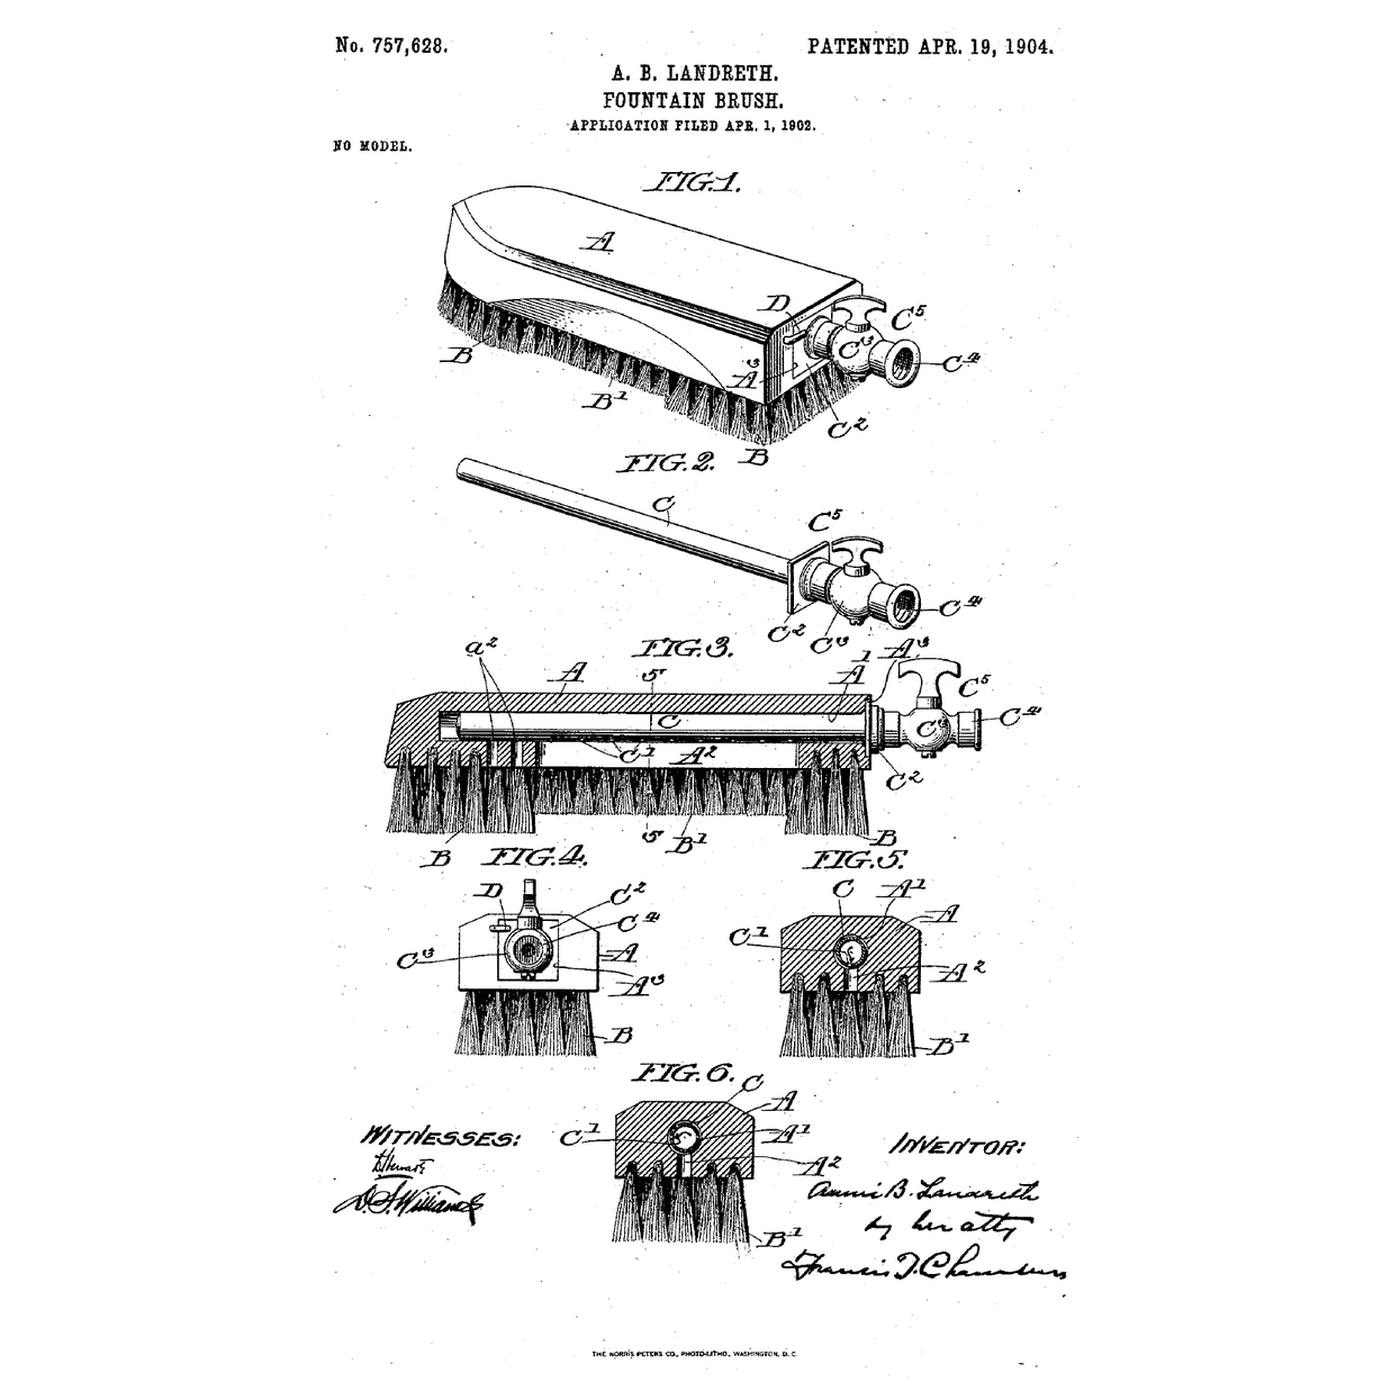
The Tube-in-the-Back Fountain Brush: Turn the Tube and the Jets Become a Soak
di YourGrandma
Meccanica
Making Hide Glue Distemper — The Traditional Ceiling and Wall Paint of Europe
di Charlie
ARTE
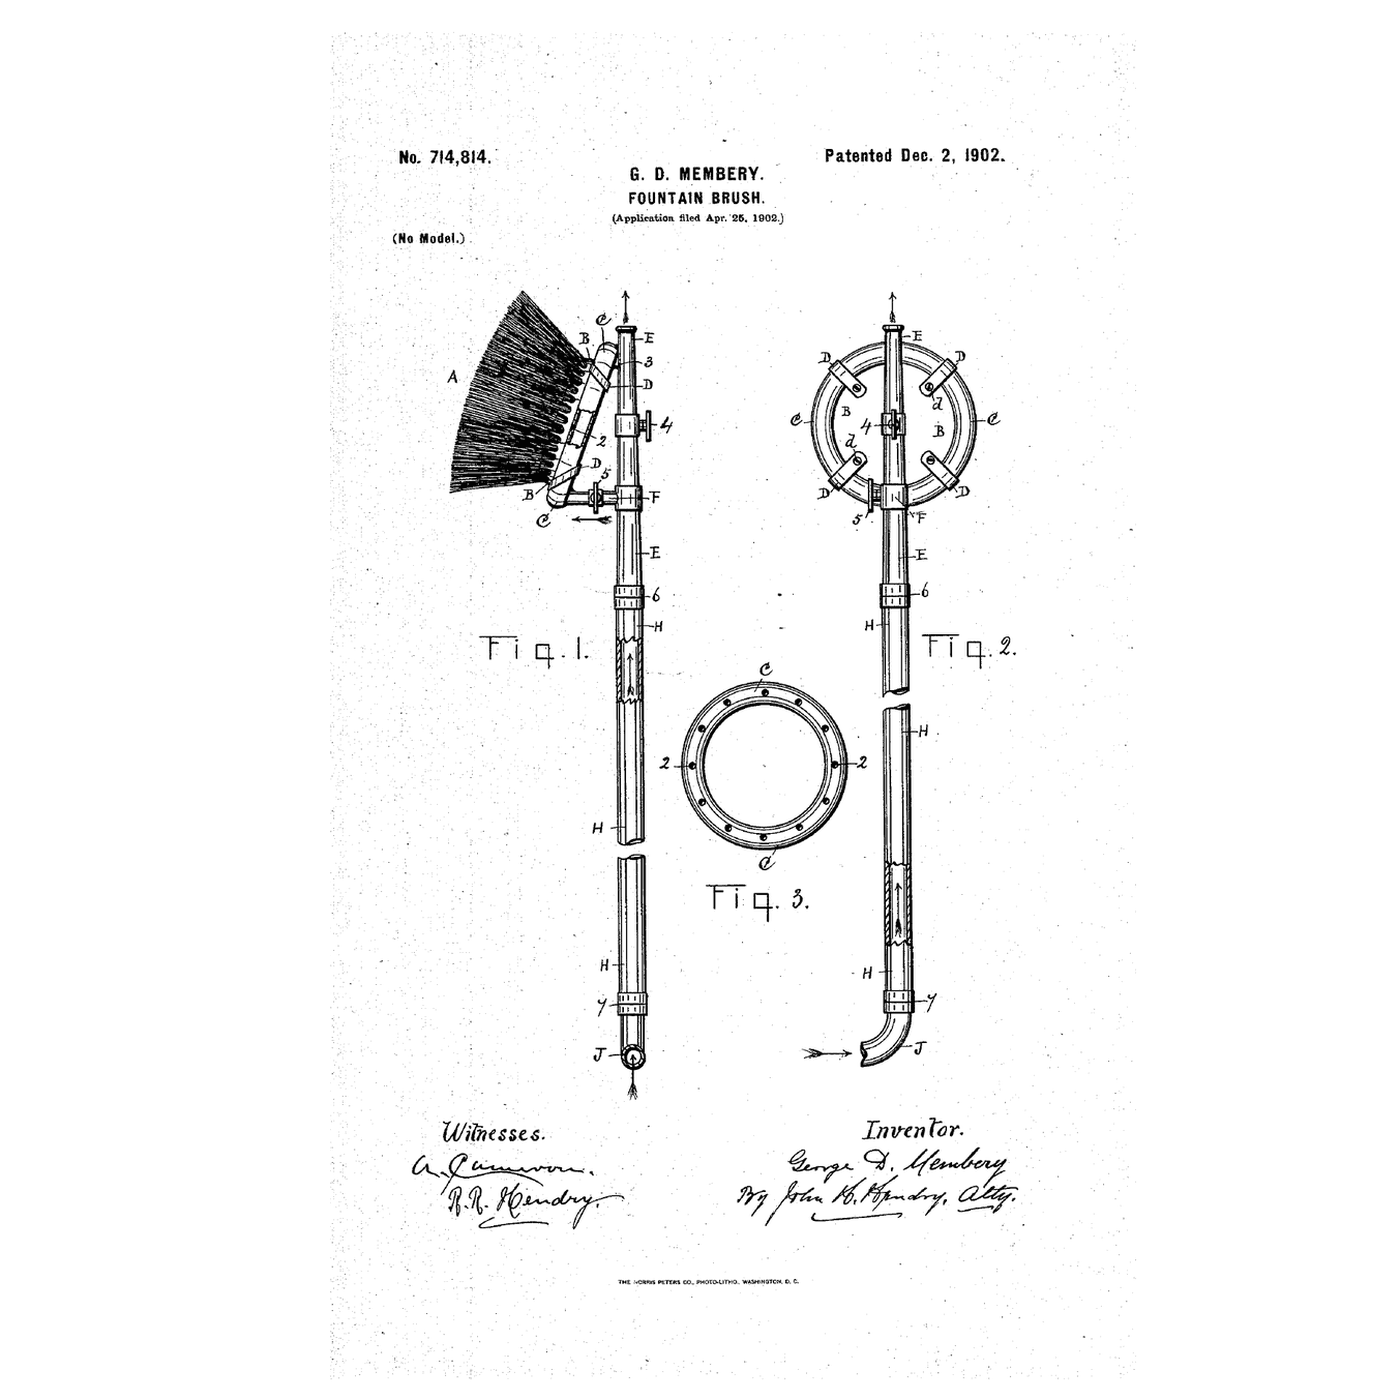
The Long-Handled Fountain Brush: A Ring of Holes Wets the Bristles From the Ground
di Martin
Meccanica
CC0 Pubblico dominio
Questo progetto è rilasciato sotto CC0. Sei libero di copiare, modificare, distribuire e utilizzare quest'opera per qualsiasi scopo, senza chiedere permesso.
Supporta il Maker acquistando prodotti tramite il suo progetto dove guadagna una Commissione Maker stabilita dai venditori, oppure crea una nuova iterazione di questo progetto e includilo come collegamento nel tuo progetto per condividere i ricavi.