アート
美容とウェルネス
工芸
文化と歴史
エンターテインメント
環境
食品と飲料
リバースエンジニアリング
科学
スポーツ
テクノロジー
ウェアラブル
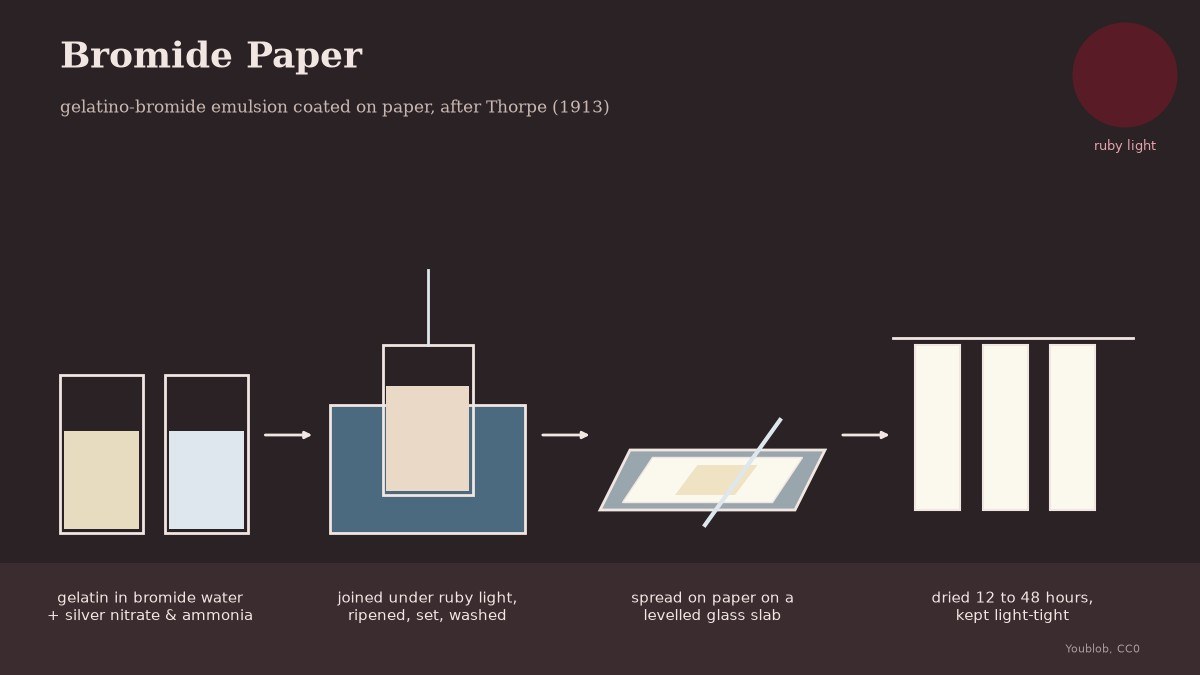

Bromide Paper: Gelatino-Bromide Emulsion Coated on Paper
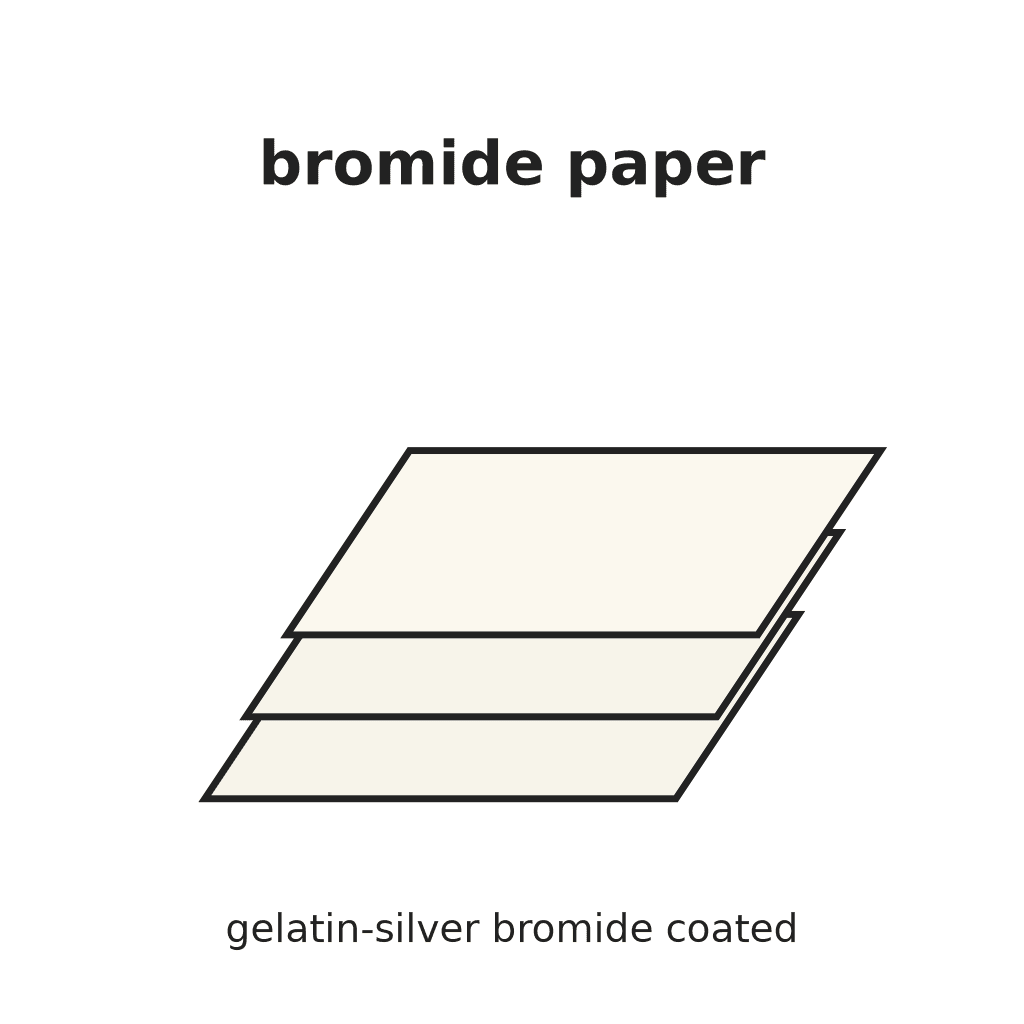
Bromide paper is paper coated with silver bromide in gelatin, the printing and enlarging paper of the darkroom. Thorpe (1913) gives a beginner's emulsion: gelatin swelled in potassium bromide solution, silver nitrate made clear with strong ammonia, the two joined under ruby light, ripened, set, washed, and spread on paper as on a glass plate. From the moment the silver goes in, work only by ruby light. Grain and ounce figures are Thorpe's; the gram conversions and the 10-sheet batch are ours.
The picture: our own drawing.
上級者
4 days
手順
1
1
Swell the gelatin
Swell the gelatin
Dissolve 185 grains (12.0 g) of potassium bromide in 5 oz (142 ml) of water. Cover 300 grains (19.4 g) of hard gelatin with it and stir until it softens and swells.
このステップの材料:
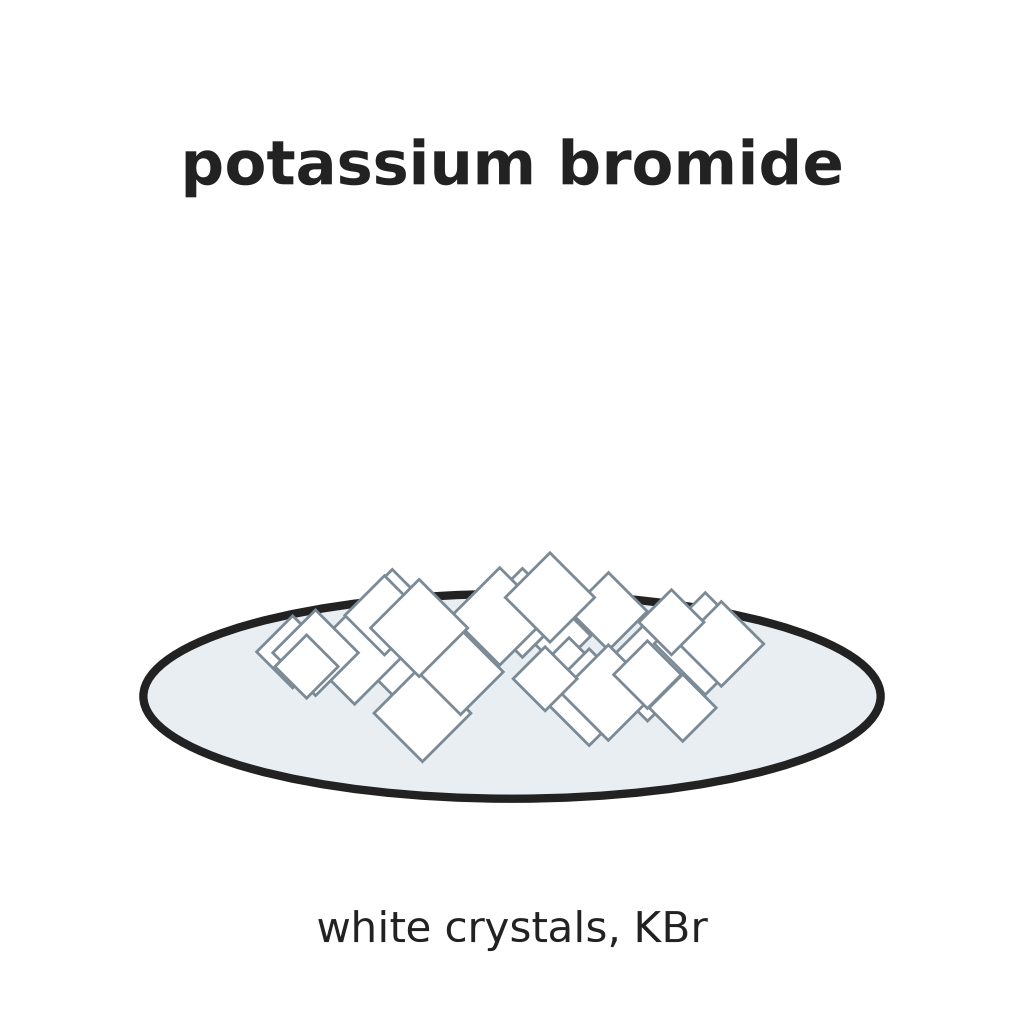 臭化カリウム12 g
 ゼラチンパウダー19.4 g
必要な工具:
 水
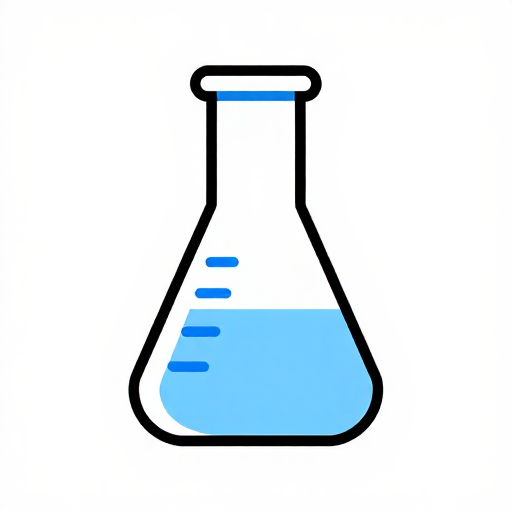 ガラスビーカー
 ガラス撹拌棒
 天秤ばかり
2
2
Dissolve the silver
Dissolve the silver
Dissolve 231 grains (15.0 g) of silver nitrate in 5 oz (142 ml) of water with gentle heat in the water bath. Add strong ammonia (0.880) a little at a time, stirring, until the precipitate that first forms dissolves again.
このステップの材料:
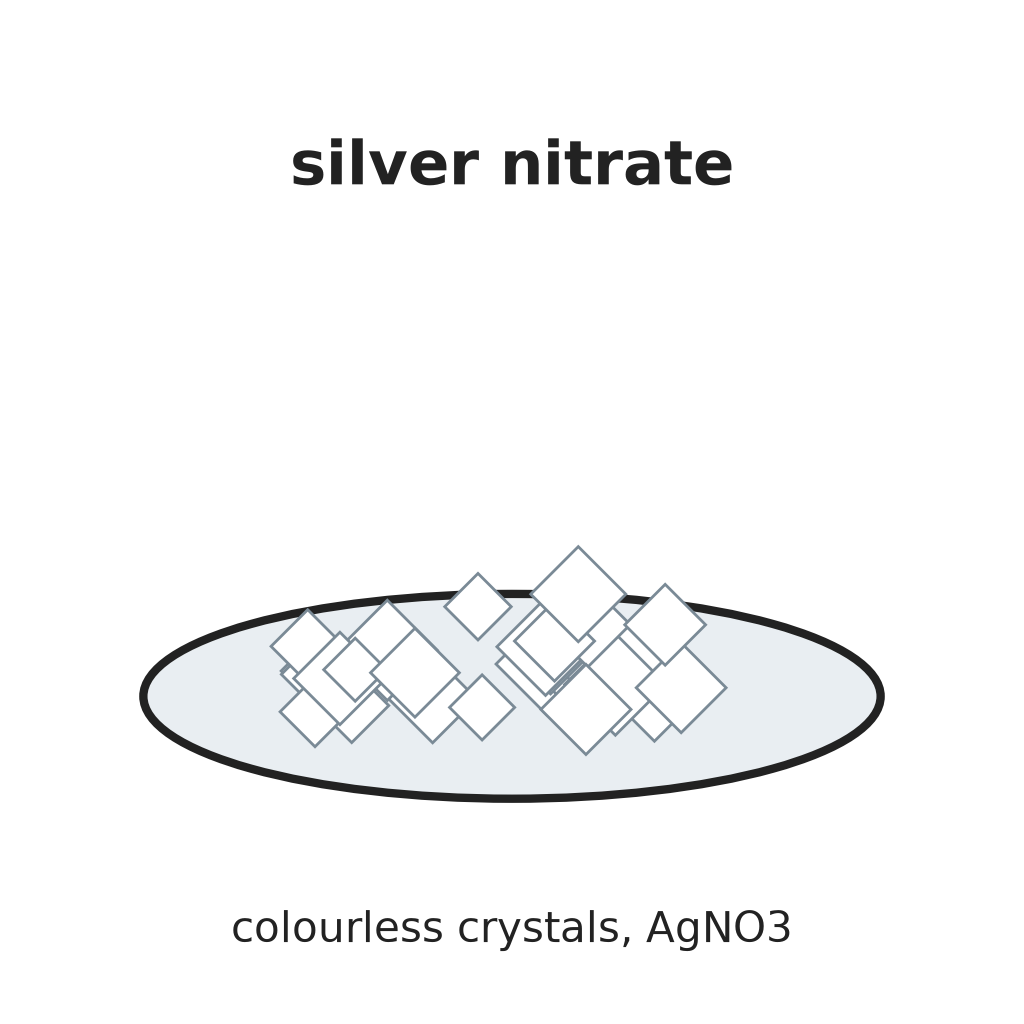 硝酸銀15 g
必要な工具:
水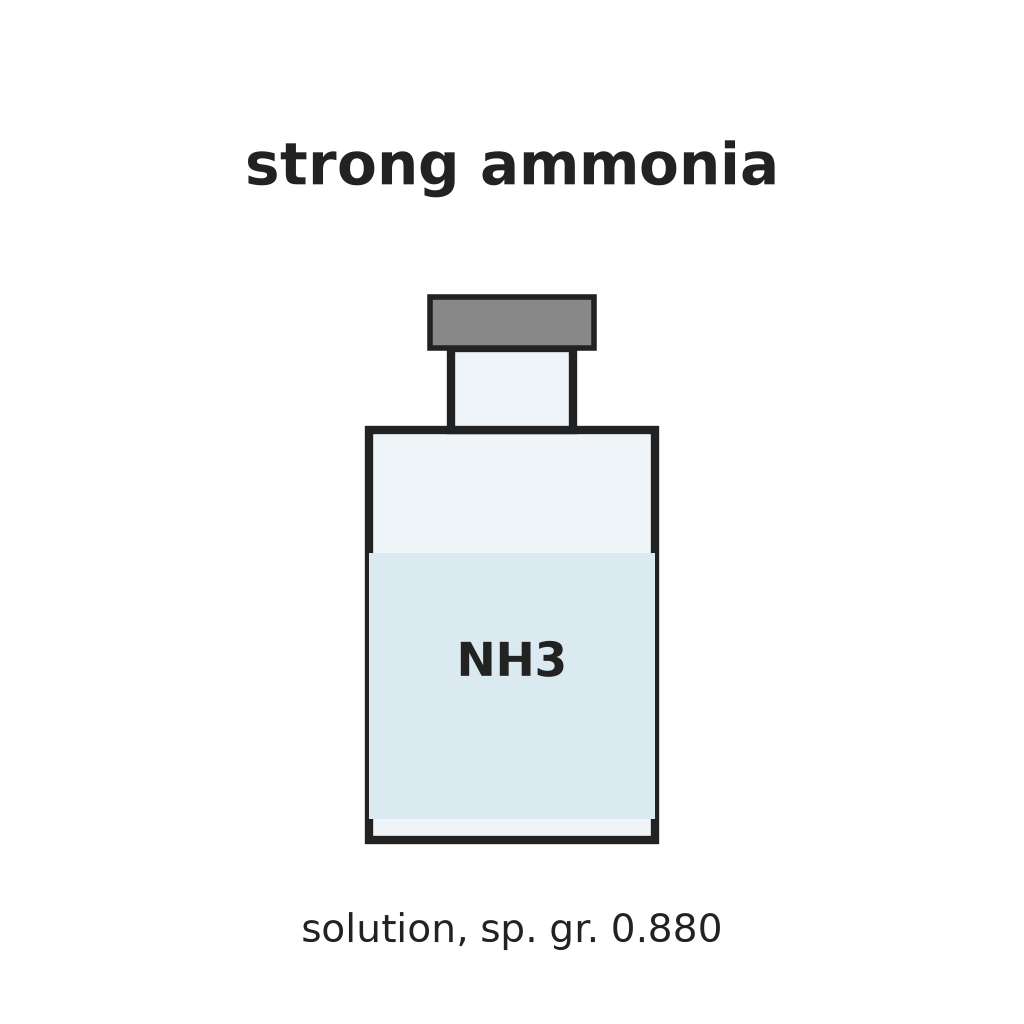 濃アンモニア水(0.880)ガラスビーカーガラス撹拌棒
 大鍋(下側、湯煎用)
3
3
Melt the gelatin, never above 35 °C
Melt the gelatin, never above 35 °C
Stand both vessels in the pan of water, never above 35 °C, stirring, until the gelatin is perfectly liquid. Up to here ordinary light is fine.
必要な工具:
大鍋(下側、湯煎用) 温度計ガラス撹拌棒
4
4
Add the silver under ruby light
Add the silver under ruby light
From now on, ruby light only. Pour the silver solution into the gelatin in a thin stream, stirring all the time. Rinse the silver beaker with about 1 oz (28 ml) of warm water into the emulsion.
必要な工具:
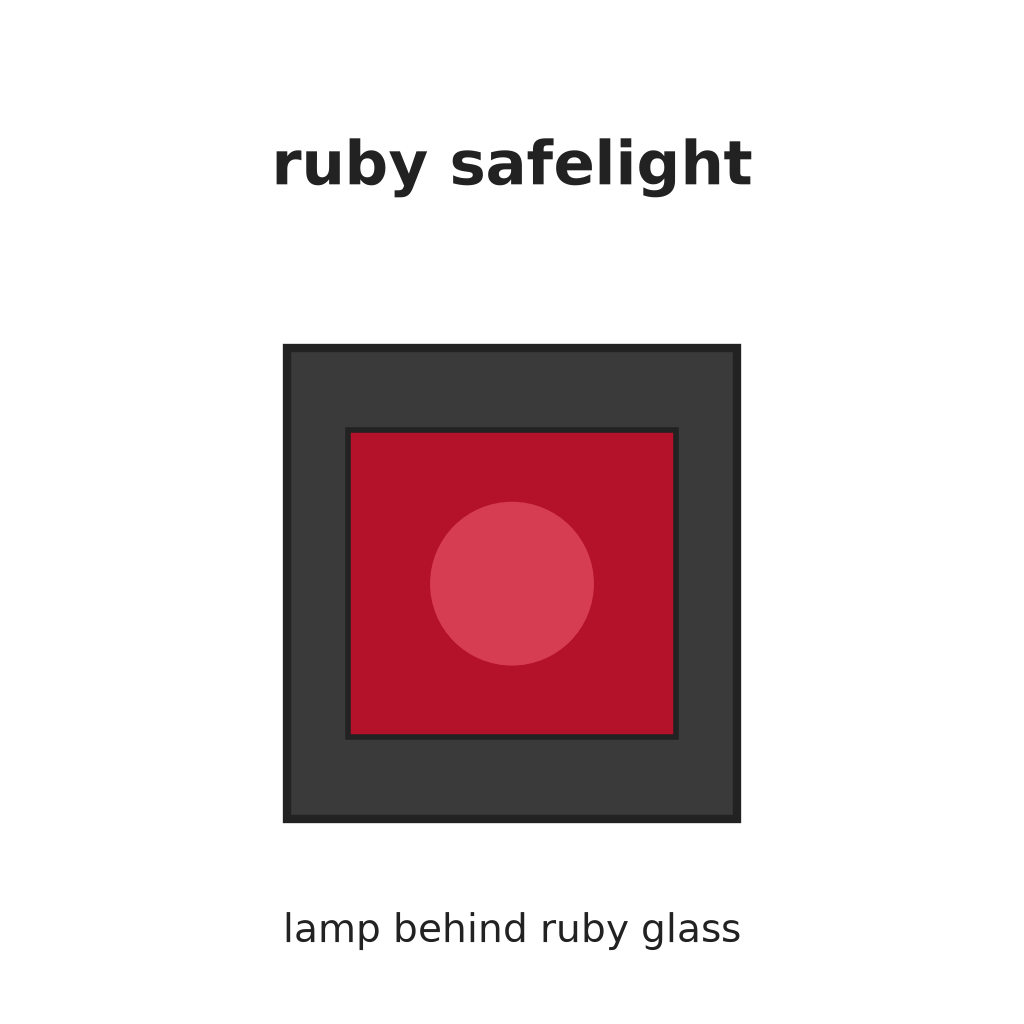 ルビーセーフライトガラスビーカーガラス撹拌棒水
5
5
Ripen
Ripen
Leave the emulsion in the hot water for half to three-quarters of an hour.
必要な工具:
大鍋(下側、湯煎用)ルビーセーフライト6
6
Set in the dark
Set in the dark
Pour it into a flat dish, put it in a light-tight box and let it set for at least 24 hours; two or three days is better.
必要な工具:
 浅い陶製トレイ
 遮光箱
7
7
Wash through canvas
Wash through canvas
Scrape the set jelly onto wet coarse canvas and tie it into a bag. Knead it under water so it squeezes through in threads. Pour off the water, cover with fresh, wait 5 minutes and pour off: six to eight times.
必要な工具:
 フライ返し
 キャンバス生地
 紐水ルビーセーフライト
8
8
Drain and store
Drain and store
Turn the threads onto a strainer covered with a cloth and let the water drain. Rinse with methylated spirit and keep in a lidded jar until coating.
必要な工具:
 こし器
 モスリン布
 変性アルコール
 ふた付きガラス瓶ルビーセーフライト
9
9
Coat the paper
Coat the paper
Melt the emulsion in the warm water bath. Lay a sheet of paper flat on a levelled glass slab. Pour emulsion on the middle to cover nearly half the sheet, and spread it to each end with a glass rod 2 inches wider than the sheet, held just off the surface.
このステップの材料:
 紙10 枚
必要な工具:
大鍋(下側、湯煎用) ガラス板
 水準器ガラス撹拌棒ルビーセーフライト
10
10
Dry
Dry
When the coat has set, move the sheets to a rack in a drying box with a current of air. They dry in 12 to 48 hours. Keep them in the light-tight box.
必要な工具:
 乾燥棚遮光箱
必要な工具
20- プレースホルダー
- プレースホルダー
- プレースホルダー
- プレースホルダー
- プレースホルダー
- プレースホルダー
- プレースホルダー
- プレースホルダー
- プレースホルダー
- プレースホルダー
- プレースホルダー
- プレースホルダー
- プレースホルダー
- プレースホルダー
- プレースホルダー
- プレースホルダー
- プレースホルダー
- プレースホルダー
- プレースホルダー
- プレースホルダー
この設計図で作るもの
関連ブループリント
これらのブループリントは知識を共有しています — 技術、材料、原理


CC0 パブリックドメイン
このブループリントはCC0で公開されています。許可を求めずに、自由にコピー、修正、配布、あらゆる目的で使用できます。
メイカーを応援するには、ブループリント経由で製品を購入してください。メイカーには メイカーコミッション がベンダーにより設定されています。または、このブループリントの新しいイテレーションを作成し、自分のブループリントにコネクションとして含めて収益を共有できます。