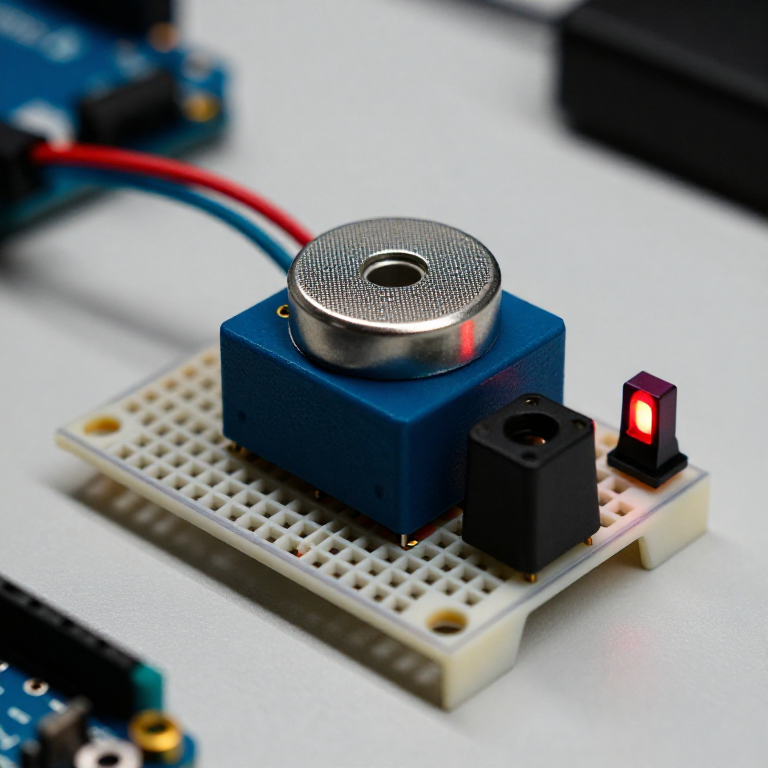


Building a Carbon Monoxide Detector
Build a circuit that senses carbon monoxide (CO) — the invisible, odourless gas from any incomplete combustion — and raises an alarm when it rises. An MQ-7 sensor gives the Arduino a reading that climbs with CO; the code compares it to a clean-air baseline and triggers a buzzer and red LED. A great way to learn gas sensing — but read the safety note: this is a demonstration, NOT a certified life-safety CO alarm.
手順
Wire the sensor, buzzer and LED
Wire the sensor, buzzer and LED
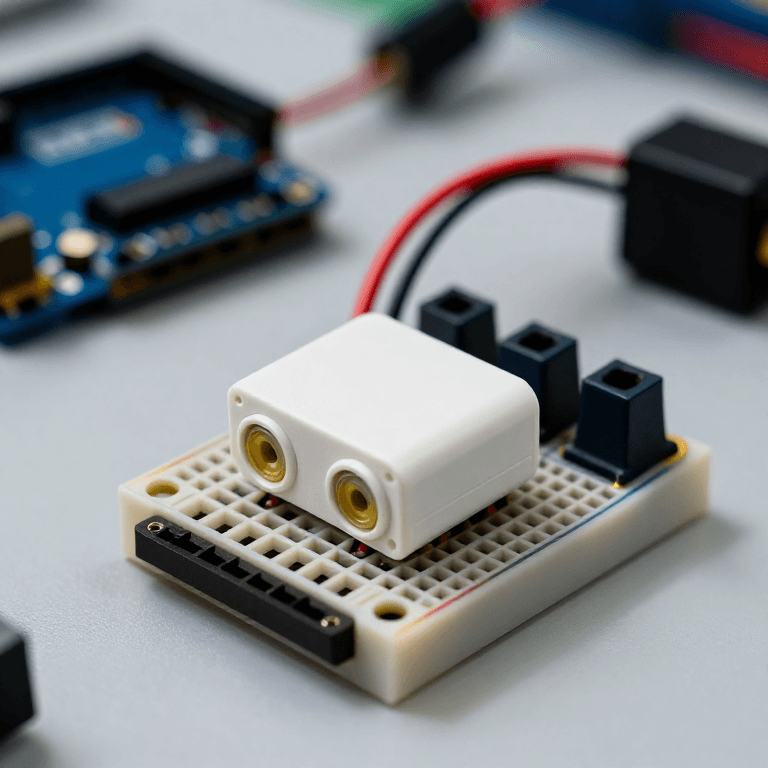
On the breadboard: MQ-7 VCC to Arduino 5V, GND to GND, and its analog output (AOUT) to Arduino A0. Active buzzer + to pin 8, - to GND. Red LED anode to pin 7 through a 330 Ω resistor, cathode to GND.
このステップの材料:
 Arduino Uno R31 個
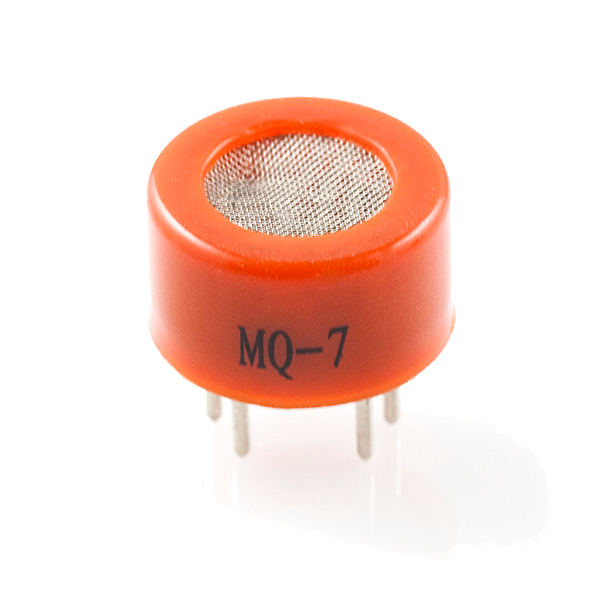 Carbon Monoxide Sensor - MQ-71 個
 能動ブザーモジュール1 個
 5 mm LED1 個
 330 オーム抵抗1 個
 ブレッドボード1 個
 ジャンパワイヤ1 パック
Connect and open the IDE
Connect and open the IDE
Plug the Arduino into your computer with the USB cable, open the Arduino IDE, and select Arduino Uno and its serial port.
必要な工具:
 Arduino IDE を入れたパソコン
 USB-B ケーブル
Upload the detector sketch
Upload the detector sketch
Paste this sketch and upload. It warms the sensor for two minutes, records a clean-air baseline, then sounds the buzzer and lights the LED whenever the reading climbs above that baseline.
Warm up, baseline and test
Warm up, baseline and test
Power it in fresh air and let the 2-minute warm-up set the clean-air baseline (a brand-new MQ-7 also needs a longer 24–48 h burn-in before its readings settle). Then hold a small CO source nearby in a ventilated room — the smoke from a just-blown-out match works — and the buzzer and LED should trigger. Change ALARM_MARGIN to make it more or less sensitive.
Important safety limits
Important safety limits
This is a LEARNING project and, at best, a supplementary indicator — it is NOT a certified life-safety device. A hobby MQ-7 gives a relative reading, not a calibrated ppm; it drifts over time and needs regular re-baselining, and it also responds to smoke and other gases. Carbon monoxide is invisible, odourless and can be fatal: for real protection always use a UL- or EN-certified CO alarm. Never rely on this circuit to keep anyone safe.
材料
7- プレースホルダー
- Carbon Monoxide Sensor - MQ-710%コミッション1 個¥11
- 1 個プレースホルダー
- プレースホルダー
- 1 個プレースホルダー
- プレースホルダー
- プレースホルダー
必要な工具
3- プレースホルダー
- 1 vendor sell this, none ship to you yetプレースホルダー
- 1 vendor sell this, none ship to you yetプレースホルダー
関連ブループリント
これらのブループリントは知識を共有しています — 技術、材料、原理


CC0 パブリックドメイン
このブループリントはCC0で公開されています。許可を求めずに、自由にコピー、修正、配布、あらゆる目的で使用できます。
メイカーを応援するには、ブループリント経由で製品を購入してください。メイカーには メイカーコミッション がベンダーにより設定されています。または、このブループリントの新しいイテレーションを作成し、自分のブループリントにコネクションとして含めて収益を共有できます。