アート
美容とウェルネス
工芸
文化と歴史
エンターテインメント
環境
食品と飲料
リバースエンジニアリング
科学
スポーツ
テクノロジー
ウェアラブル
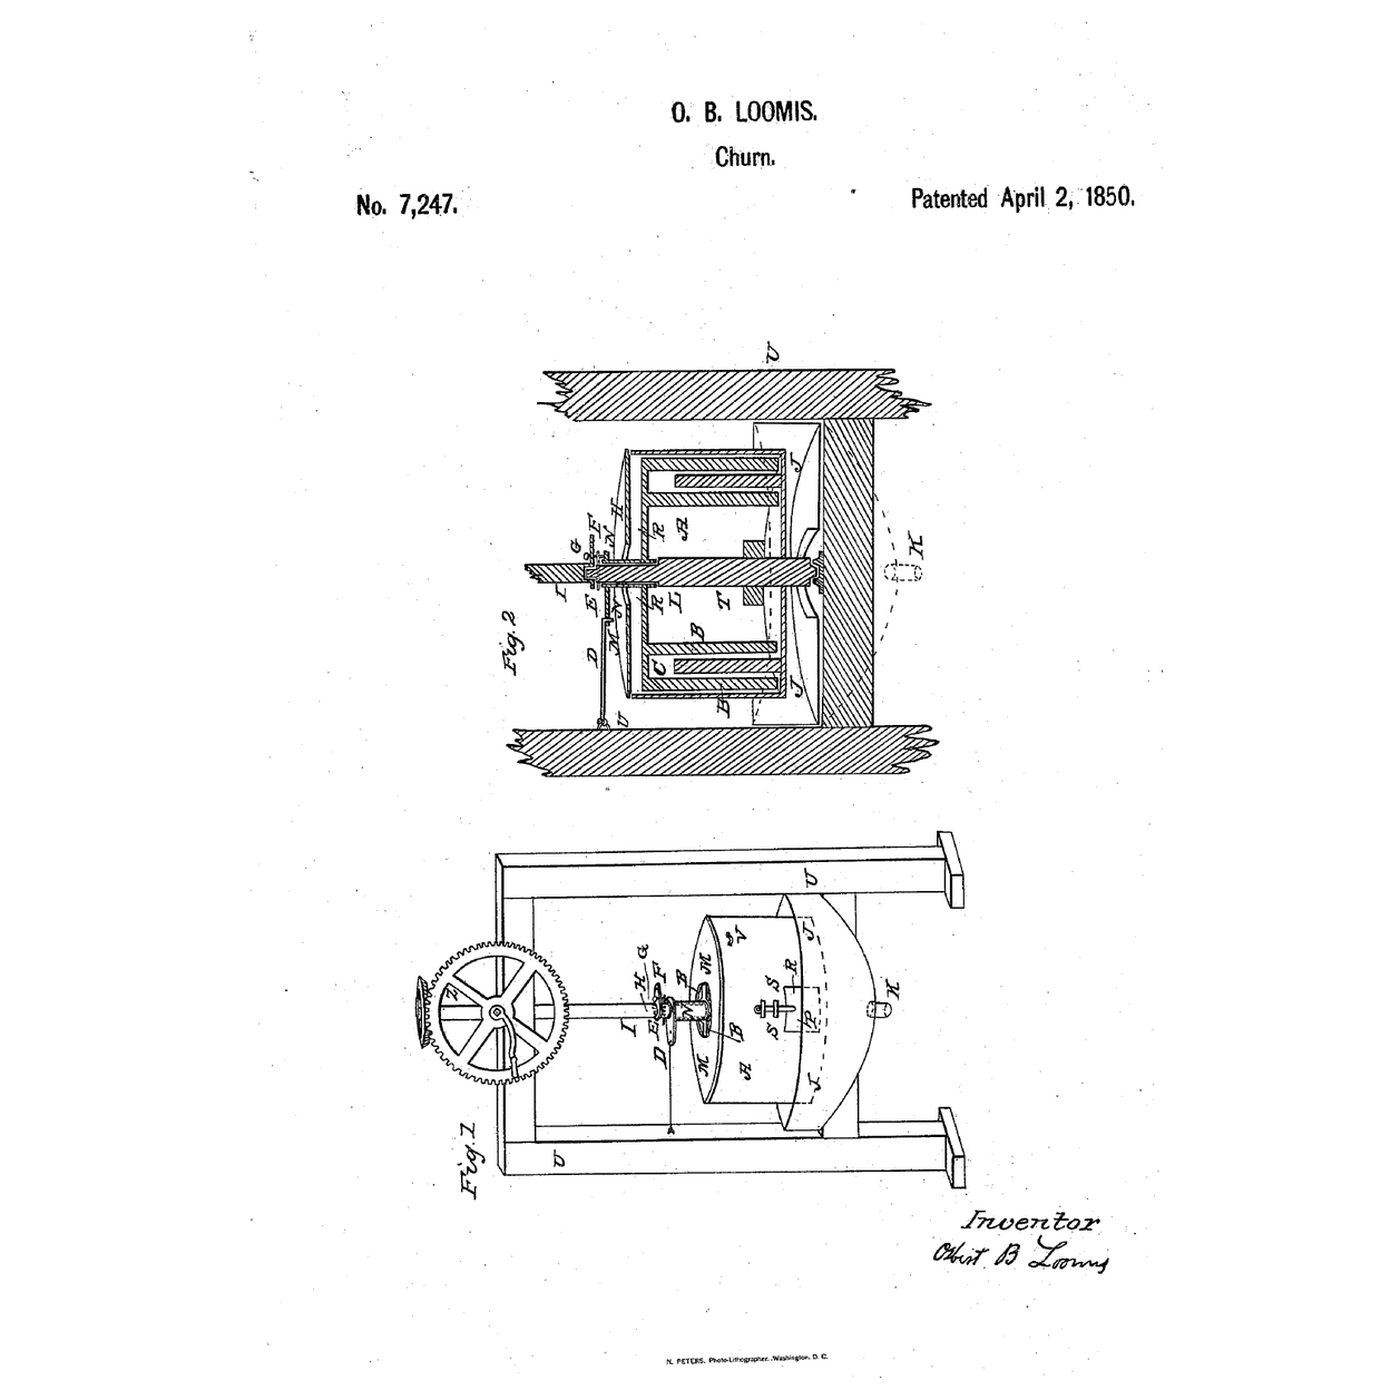


Centrifugal Buttermilk-Extractor Churn: A Spinning Drum That Throws the Buttermilk Out
Loomis wanted one machine to make the butter, separate the buttermilk, and salt the butter.
Osbert B. Loomis of Windsor, Connecticut, received US 7,247, dated 2 April 1850, for a "Centrifugal Churn and Buttermilk-Extractor": a churn A revolving about its axis while arms B on the shaft are held still by a hook, or the reverse, with projections C on the churn's inner surface working against the arms. When the butter has come, a bolt is drawn to open doors in its side, "and continuing the revolution of the churn A, we throw off the buttermilk by the openings T" into a dripping pan, "while the butter is retained in the churn."
This rung works out the spin needed, then prints the arms, projections, doors and drum hub, builds the drum on a lazy Susan, and makes butter.
上級者
About 5 hours, plus printing
手順
1
1
The spin
The spin
Jupyter ノートブックを読み込み中…
2
2
Separating butter from buttermilk in the churn before it
Separating butter from buttermilk in the churn before it
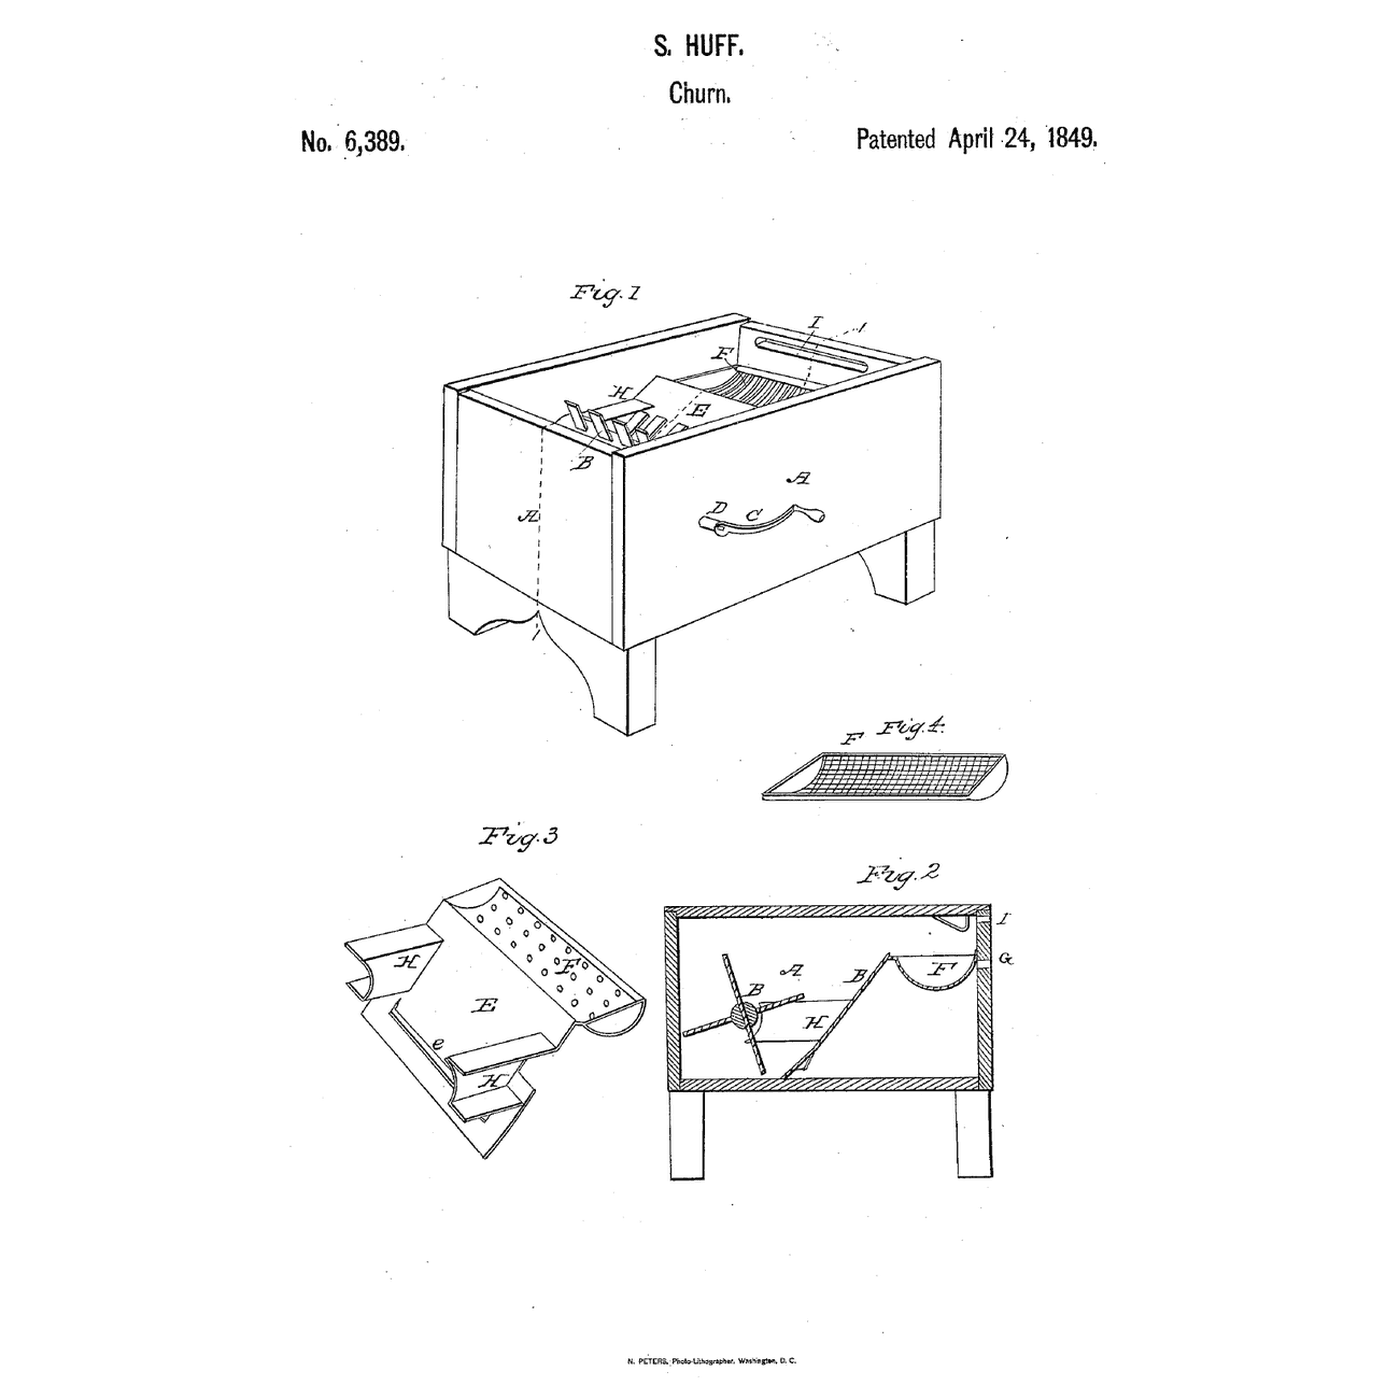
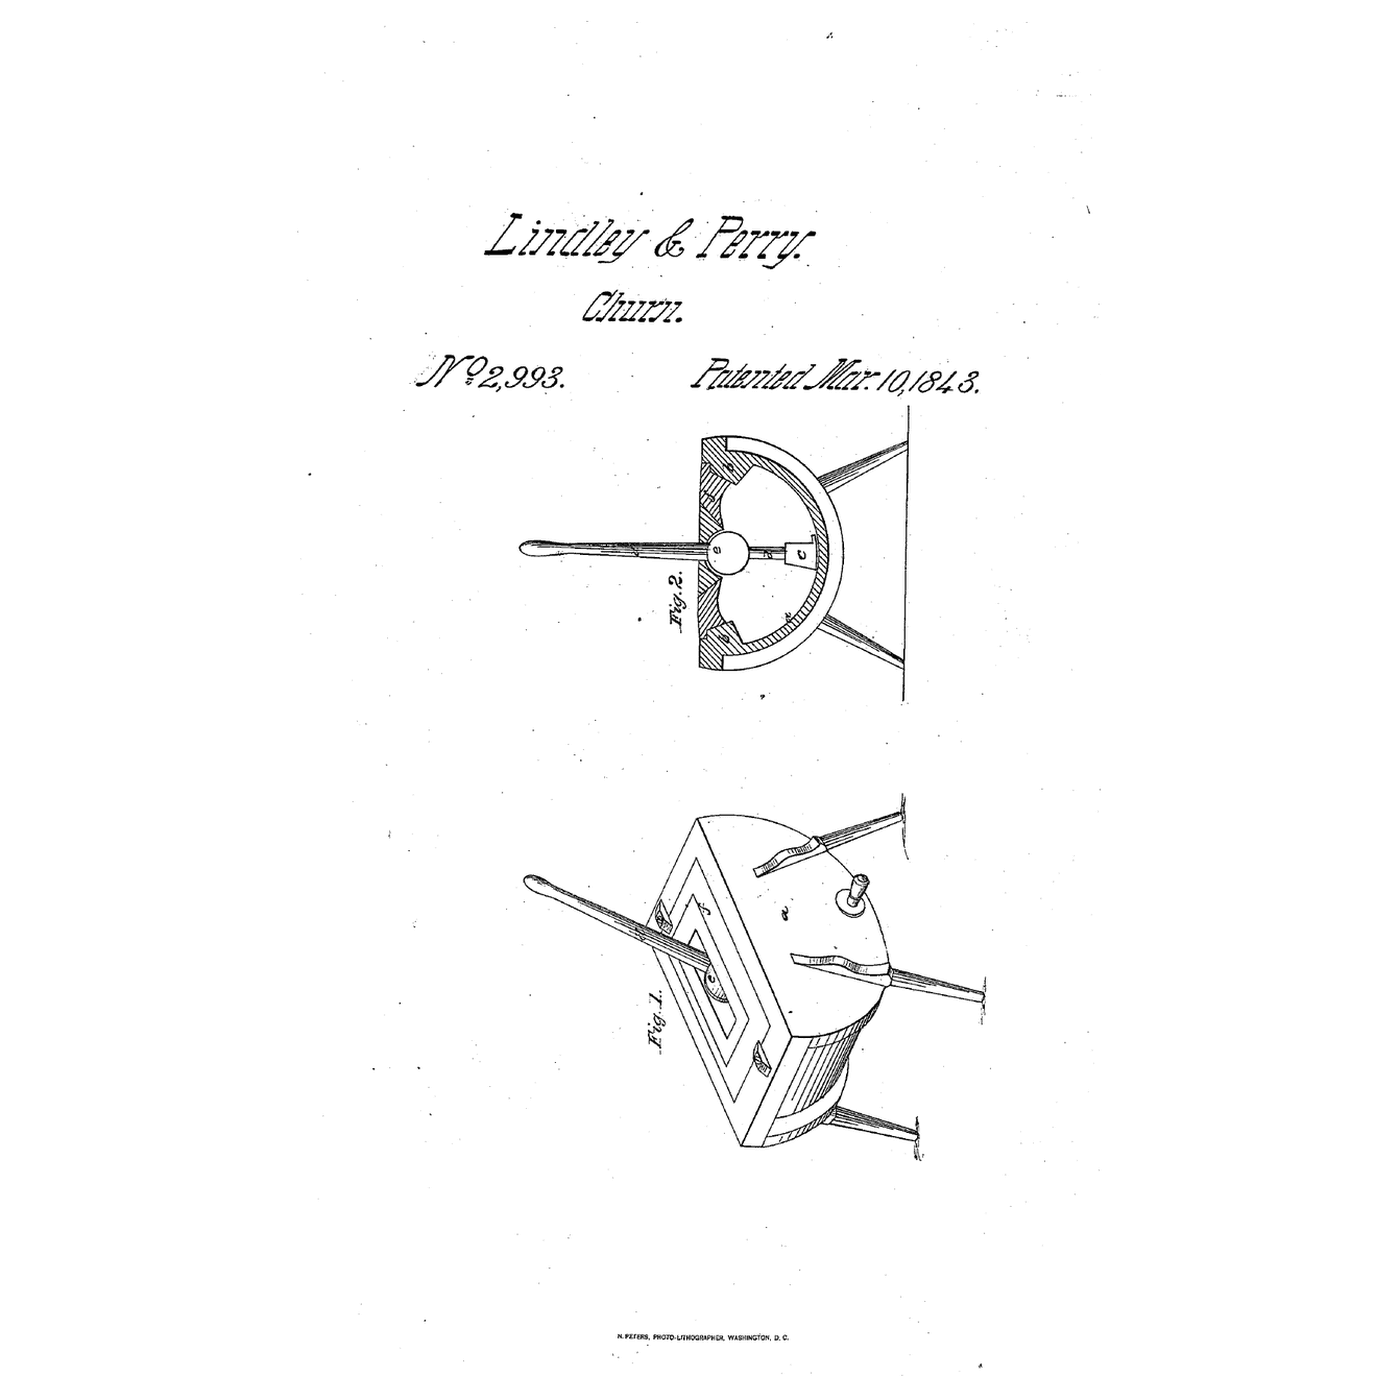
The embedded blueprint catches the butter on a strainer. Loomis spins the buttermilk out through doors and keeps the butter in.
3
3
Read US 7,247
Read US 7,247
"After the butter has come or is separated from the buttermilk, we pull up the bolt R, to open the doors P, of the openings T, and continuing the revolution of the churn A, we throw off the buttermilk by the openings T, from the churn A, into the dripping-pan J, to be discharged at the aperture K, while the butter is retained in the churn A."
4
4
Print the parts
Print the parts
Print the arms with their collar and reach, three projections, two doors, the drum hub and the crank arm. Print in PETG at 0.2 mm layers, 30 % infill, 4 walls; wash before first use.
このステップの材料:
 PETGフィラメント1 個
必要な工具:
 FDM 3D プリンター
6
6
Print the projection
8
8
Print the drum hub
9
9
Print the crank arm
10
10
The drum
The drum
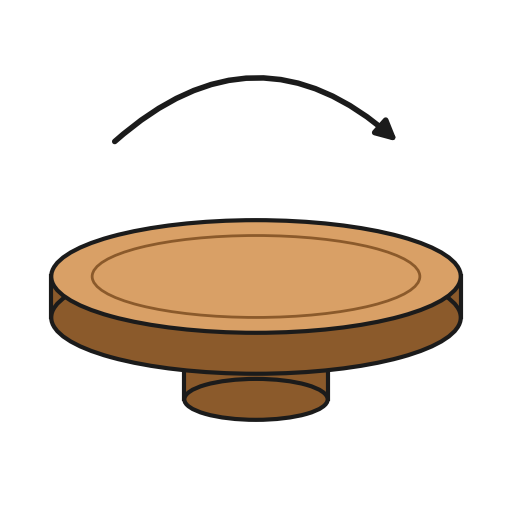
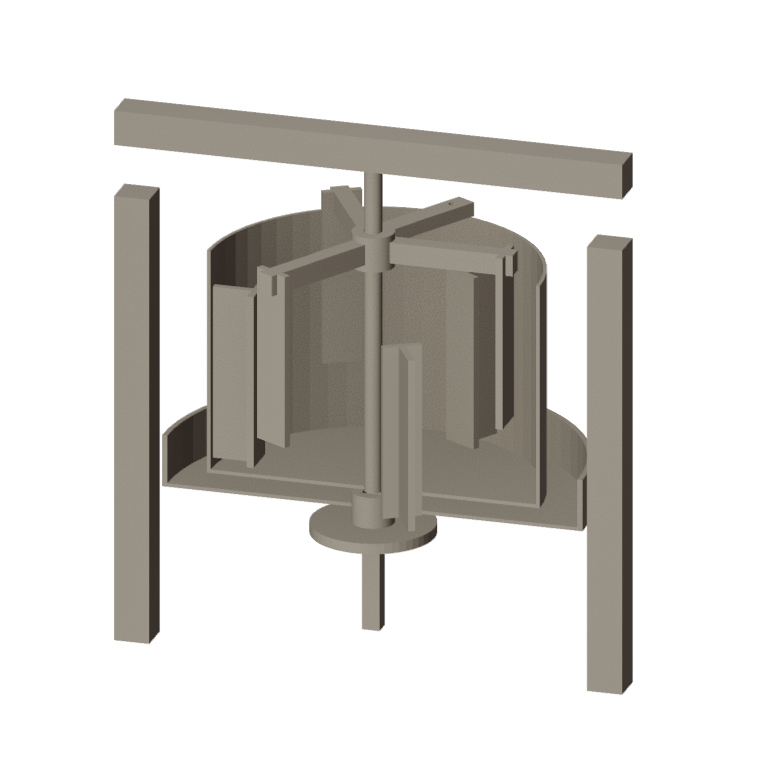
Take a round food-safe container about 190 mm across. Cut two openings 30 × 60 mm low in its side and hinge a door over each on a stainless pin, with a turn-button to hold it shut. Glue the three projections inside, standing in from the wall. Glue the drum hub under its floor and screw it to a lazy Susan on a board, so the drum turns freely. Stand a roasting pan under and round it to catch the buttermilk.
このステップの材料:
 食品級の保存容器1 個
 軟鋼丸棒1 個
 回転トレー1 個
 ロースティングパン1 個
 合板1 個
 二液性エポキシ1 個
 #8 × 1 インチ木ねじ1 個
必要な工具:
 糸のこ(コーピングソー)
 コードレスドリル
 ドリルビットセット
 ドライバーセット
11
11
Arms, hook and crank
Arms, hook and crank
Build a pine frame over the drum. Hang the arms on a 10 mm dowel from the frame's top bar, reaching into the drum between the projections, with a hook from the frame into the reach's hole to hold them still. Glue the crank arm to a dowel handle fixed upright on the drum's rim, so you turn the drum by hand.
このステップの材料:
 松板1 個
 堅木のダボ1 個#8 × 1 インチ木ねじ1 個
 木工用接着剤1 個
必要な工具:
 手のこぎりコードレスドリルドライバーセット
12
12
The build in 3D
The build in 3D
FreeCAD model of this build, not of the patent: the drum cut away to show the projections on its wall and the stationary arms hung from the frame, the dripping pan round it and the hub beneath.
13
13
Churn, then spin out the buttermilk
Churn, then spin out the buttermilk
Let the heavy cream stand until it reaches about 15 °C, checked with the thermometer. Pour in 1.5 litres, doors shut. Turn the drum briskly while the arms stay still; time until the butter comes. Then open the doors and keep turning, so the buttermilk is thrown into the pan while the butter stays. Add cold water, turn again and spin it out until it runs clear; add a pinch of salt and turn to work it in. Weigh the butter.
このステップの材料:
 生クリーム1500 ml
 粗い海塩1 個
 水1 個
必要な工具:
 差しっぱなしのプローブ温度計
 ストップウォッチ
 デジタルキッチンスケール
 ステンレス鋼の大きな混ぜ鉢
14
14
Butter thrown out, a drum that wobbles
Butter thrown out, a drum that wobbles
Centrifugal buttermilk-extractor troubleshooting.
Flow
Loading...
15
15
History and honest limits
History and honest limits
**Osbert B. Loomis** of Windsor, Hartford County, Connecticut, received US 7,247, dated 2 April 1850, signed 29 October 1849. His churn was geared so that, by moving a hook and a pin, the drum, the arms or both could turn; it could work "upon a horizontal or vertical axis, or an axis at any angle whatsoever." He also described cleansing rancid butter with lime water; this build does not, and nothing should be added to butter unless you know it is safe. He claimed the devices of gearing by which the motions of churn box and dasher are changed so that while one is stationary the other rotates and vice versa.
**Honest limits.** We turn the drum by hand on a lazy Susan instead of his gearing, so it spins slower; a container and printed parts stand in for his. FDM prints hold food in their layer lines, so wash well and replace when worn. Your times and weights are the result.
材料
14- 1 個プレースホルダー
- 1 個プレースホルダー
- 1 個プレースホルダー
- 1 個プレースホルダー
- 1 個プレースホルダー
- 1 個プレースホルダー
- 1 個プレースホルダー
- プレースホルダー
- 1 個プレースホルダー
- 1 個プレースホルダー
- 1 個プレースホルダー
- 1500 mlプレースホルダー
- 1 個プレースホルダー
- 1 個プレースホルダー
必要な工具
10- プレースホルダー
- プレースホルダー
- 1 vendor sell this, none ship to you yetプレースホルダー
- プレースホルダー
- プレースホルダー
- プレースホルダー
- プレースホルダー
- プレースホルダー
- プレースホルダー
- プレースホルダー
設計ファイル
6この設計図で作るもの

関連ブループリント
これらのブループリントは知識を共有しています — 技術、材料、原理



CC0 パブリックドメイン
このブループリントはCC0で公開されています。許可を求めずに、自由にコピー、修正、配布、あらゆる目的で使用できます。
メイカーを応援するには、ブループリント経由で製品を購入してください。メイカーには メイカーコミッション がベンダーにより設定されています。または、このブループリントの新しいイテレーションを作成し、自分のブループリントにコネクションとして含めて収益を共有できます。