コラボレーション
アート
美容とウェルネス
工芸
文化と歴史
エンターテインメント
環境
食品と飲料
リバースエンジニアリング
科学
スポーツ
テクノロジー
ウェアラブル
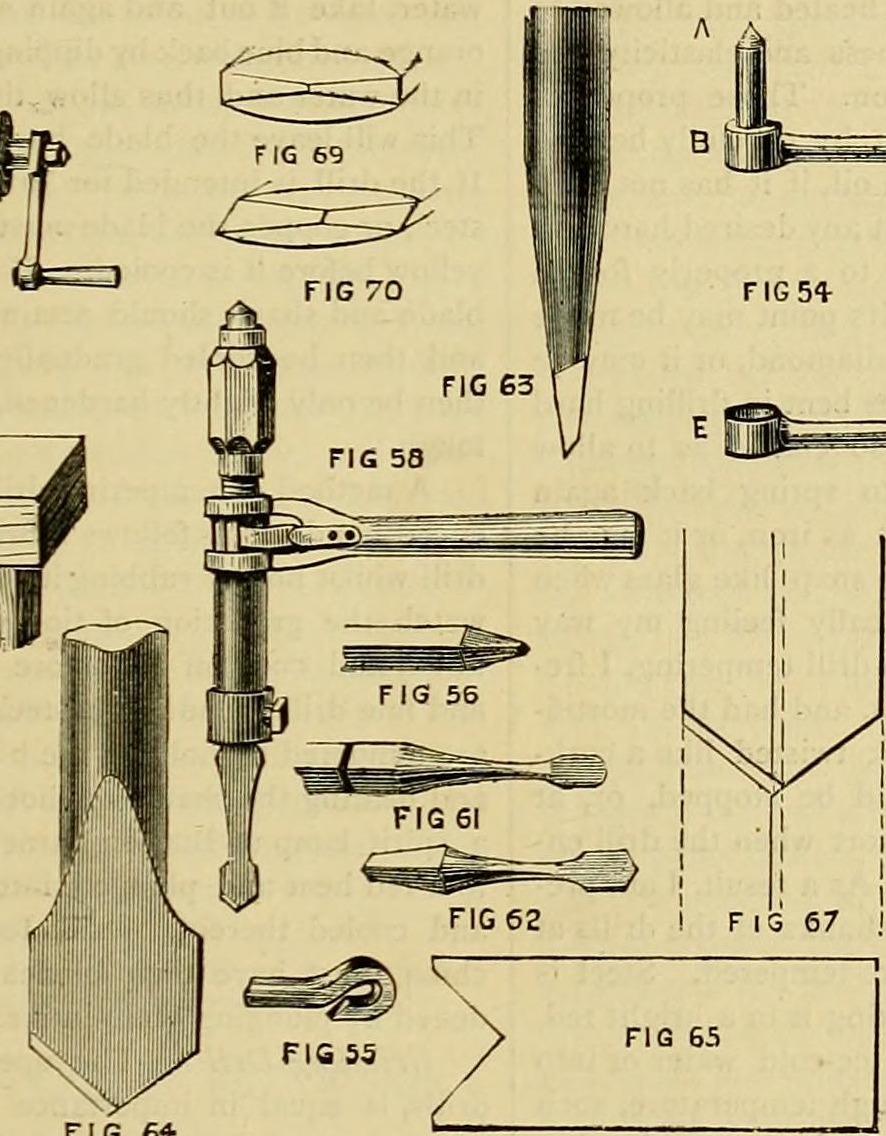


Forged Flat Drills: Tool Steel Drawn to Blade and Square Taper Head, Tempered by Colour for the Metal to Be Drilled (Edwinson, 1886)
How a smith forged his own set of flat drills, from George Edwinson's series in Amateur Work (1886): 3/4 in. square tool steel drawn to a blade and shank with a square taper head, hardened in 45-50 F water and tempered by watching the colours run from a red-hot iron (pale straw for cast iron, orange yellow for wrought iron and copper, purplish yellow for wood), then ground to a notched gauge with clear corners.
上級者
An hour or two per drill
手順
1
1
His sizes
His sizes
Jupyter ノートブックを読み込み中…
2
2
Read Edwinson
Read Edwinson
"A good drill may be made to turn out good work even when all other parts are indifferently made."
3
3
Draw the blade
Draw the blade
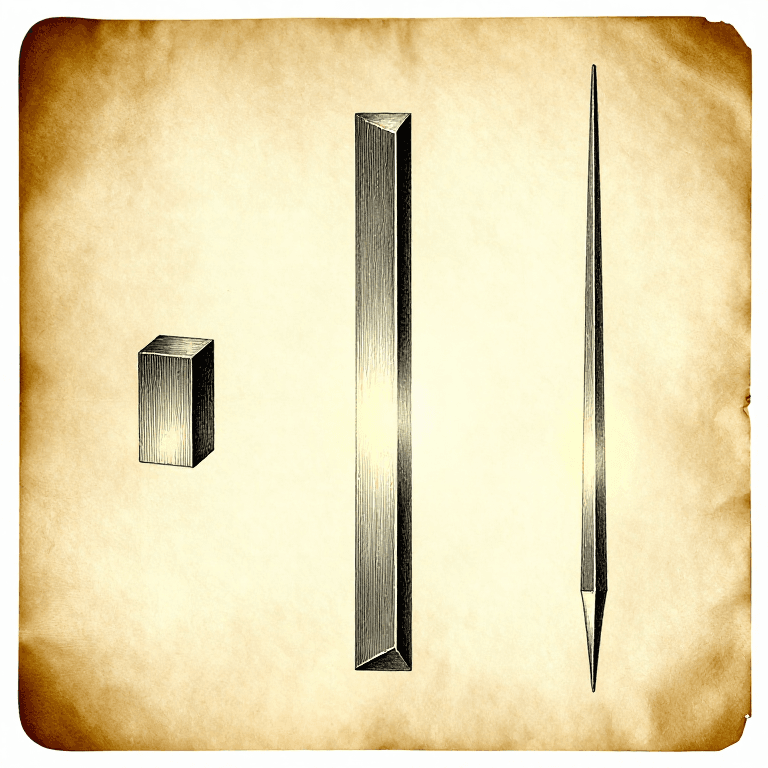
Cut a two-foot length of 3/4 in. (19 mm) square tool steel. Heat 3 in. to blood red in a clean fire, never hotter, and hammer only down to a dull red before reheating. Draw out the blade and shank first (fig. 61), close to shape.
このステップの材料:
 工具鋼丸棒1 個
必要な工具:
 鍛冶炉
 金床
 ハンマー
 鍛冶やっとこ
4
4
Forge the head
Forge the head
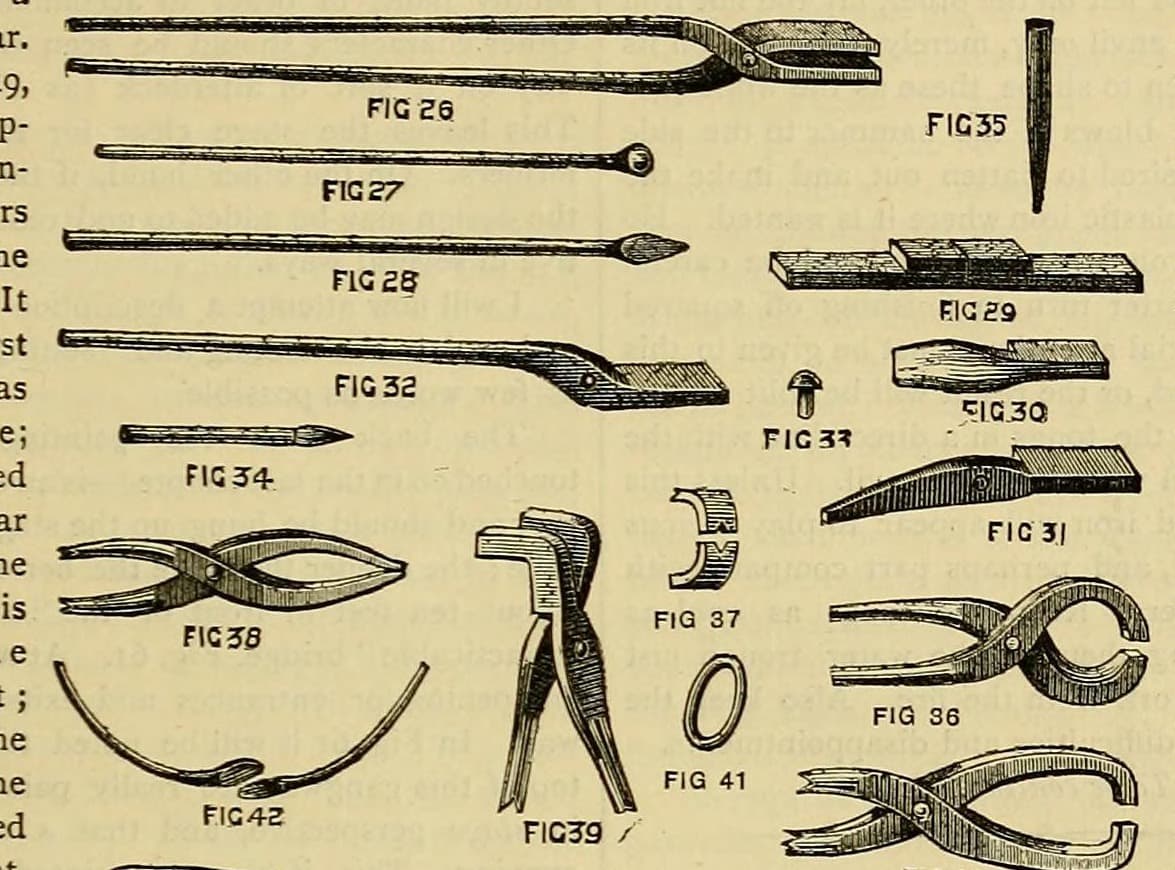
Cut off the length for the head, hold the blade and shank in grooved flat-bit tongs, and forge a square taper head to fit your brace socket, sides equal, shank and blade central. Finish at a dull red, set true, cool.
必要な工具:
 熱間たがね鍛冶炉金床ハンマー鍛冶やっとこ
5
5
Shape and substance
Shape and substance
Taper gradually from head to shank, keep the shank even for an inch or two, then let the blade swell out and thin toward the point (figs. 62, 63). Blade about 1/16 in. at the point and 1/8 in. at the corners for a 1/4 in. drill, up to 3/16 in. for 1/2 or 3/4 in.; a 1/4 in. drill's shank half as thick as a 1/2 in. blade. Leave blades a little full for grinding.
必要な工具:
鍛冶炉金床ハンマー6
6
Harden
Harden
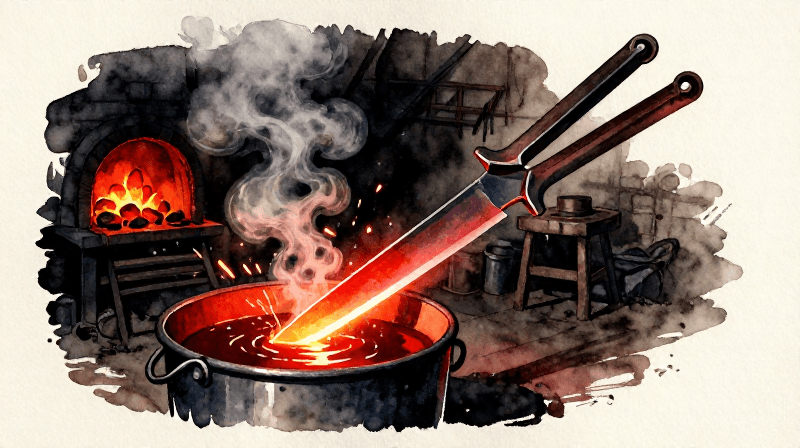
Heat to red and plunge the drill straight down into cool water of 45-50 F (7-10 C), holding it until cold: icy water makes the edges brittle. Brighten the blade and part of the shank on a brick or grit-stone.
このステップの材料:
 水1 個
必要な工具:
鍛冶炉 バケツ
 温度計
 砥石
7
7
Temper by colour
Temper by colour
Lay the shank across a red-hot piece of stout iron and watch the tints run toward the blade: straw, yellow, orange yellow, purplish yellow, purple, blues. For cast iron and hard brass stop when pale straw reaches the blade, dipping the blade to hold the later colours back while the shank cools in air. For wrought iron, soft steel or copper let the blade reach orange yellow. For wood only, let blade and shank reach purplish yellow and cool slowly.
このステップの材料:
水1 個必要な工具:
鍛冶炉 鉄の板バケツ
8
8
Grind to a gauge
Grind to a gauge
Cut gauges from thin sheet brass with notches at the point angles (figs. 65, 66): very obtuse for cast iron and hard brass, more acute for wrought iron, tough steel and copper. Grind both edges equal with the point on the centre line, and give the corners clearance (fig. 70). Grind each blade to its finished size.
このステップの材料:
 真鍮板1 個
必要な工具:
 やすり(手やすり)
 回転砥石
9
9
Troubleshooting
Troubleshooting
Drill troubleshooting.
Flow
Loading...
10
10
History and honest limits
History and honest limits
From George Edwinson, "Smithing and Forging" IV, **Amateur Work, Illustrated**, vol. V (1886), pp. 348-351 and figs. 54-70 (checked on the archive.org scan amateurworkillus05lond; the scan reads 3/4 in. bar where the OCR text says 1/2). He also hardened glass and china drills in mercury: left out here (mercury is a poison). Metric figures, the brass gauge stock and the thermometer are ours.
この設計図で作るもの
関連ブループリント
これらのブループリントは知識を共有しています — 技術、材料、原理
CC0 パブリックドメイン
このブループリントはCC0で公開されています。許可を求めずに、自由にコピー、修正、配布、あらゆる目的で使用できます。
メイカーを応援するには、ブループリント経由で製品を購入してください。メイカーには メイカーコミッション がベンダーにより設定されています。または、このブループリントの新しいイテレーションを作成し、自分のブループリントにコネクションとして含めて収益を共有できます。