コラボレーション
アート
美容とウェルネス
工芸
文化と歴史
エンターテインメント
環境
食品と飲料
リバースエンジニアリング
科学
スポーツ
テクノロジー
ウェアラブル
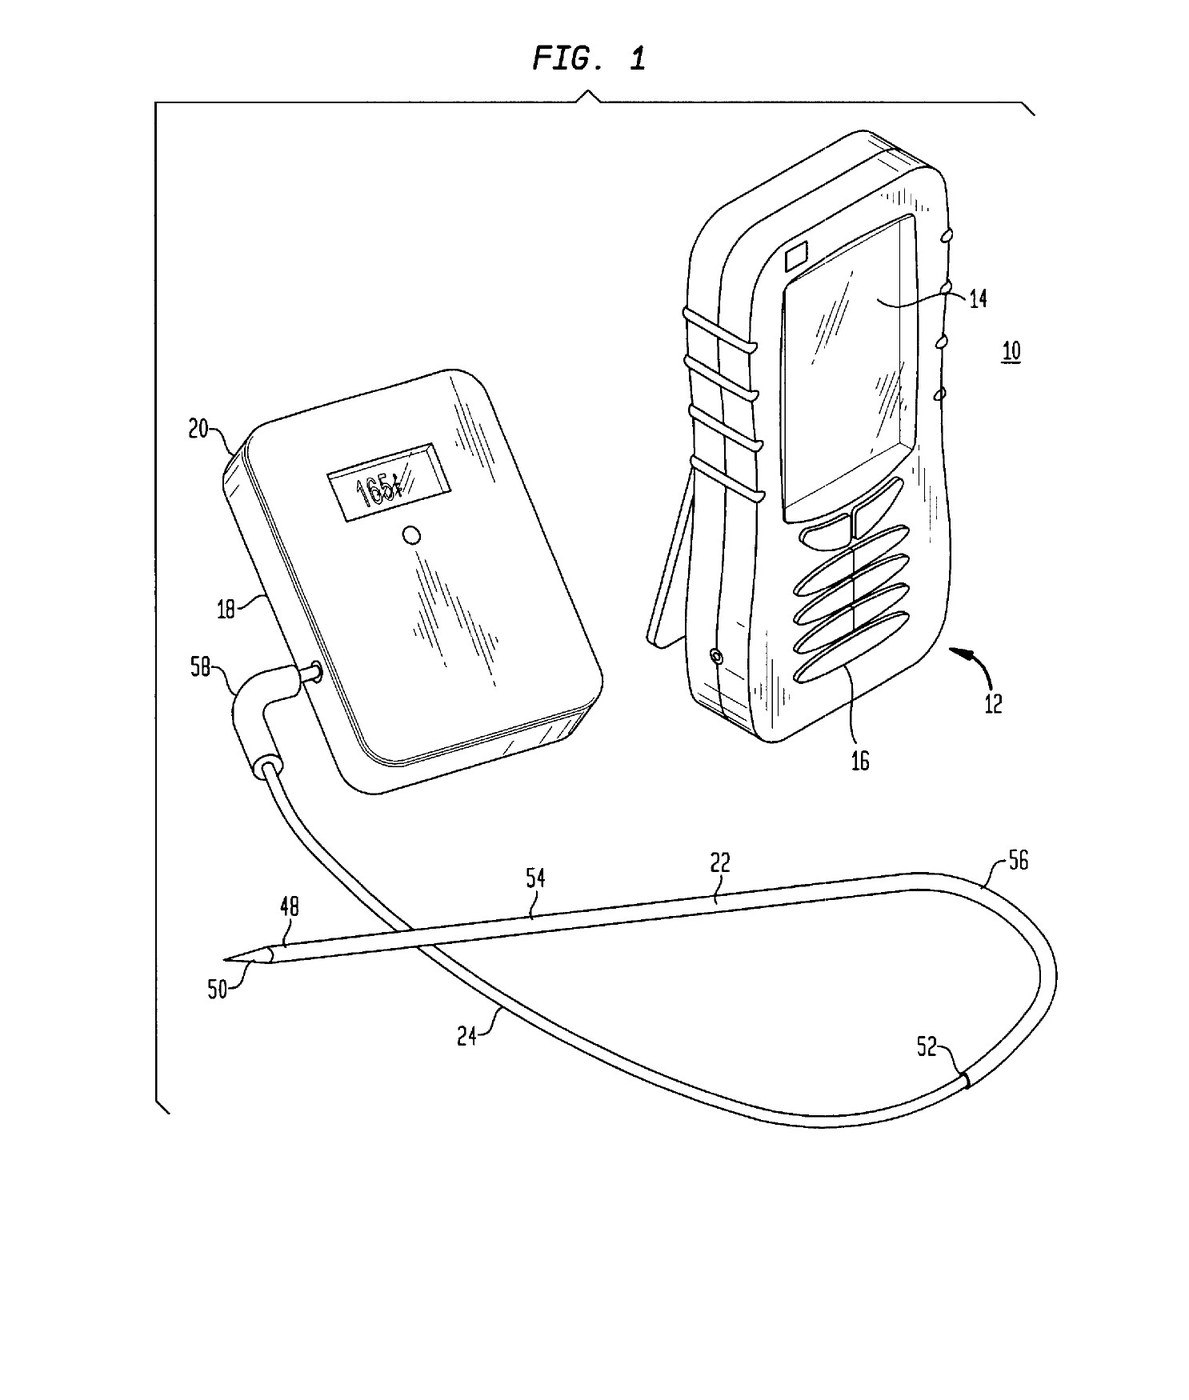


Leave-In Probe Thermometer: Stainless Probe on a Flexible Lead to a Programmable Timer (Chapman, US 6,568,848, 2003)
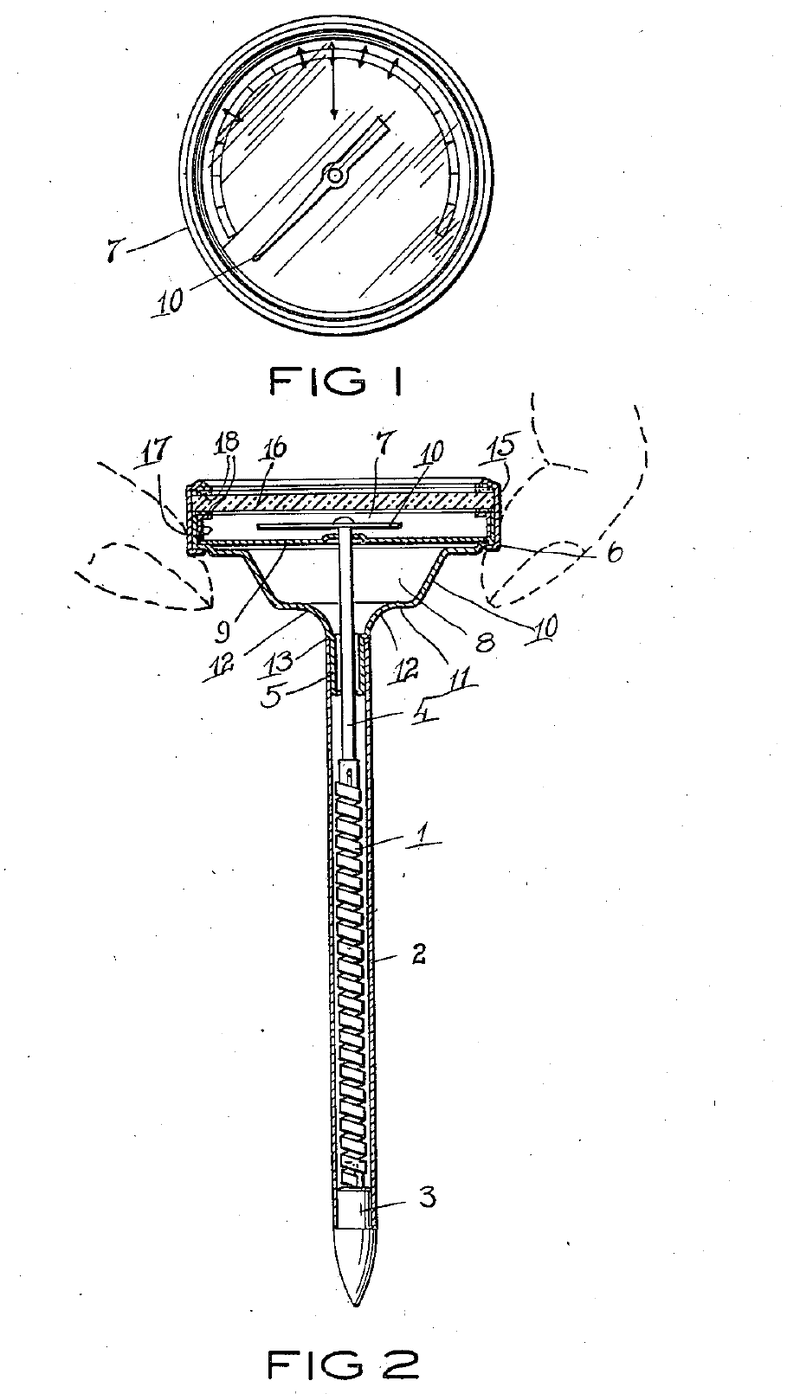
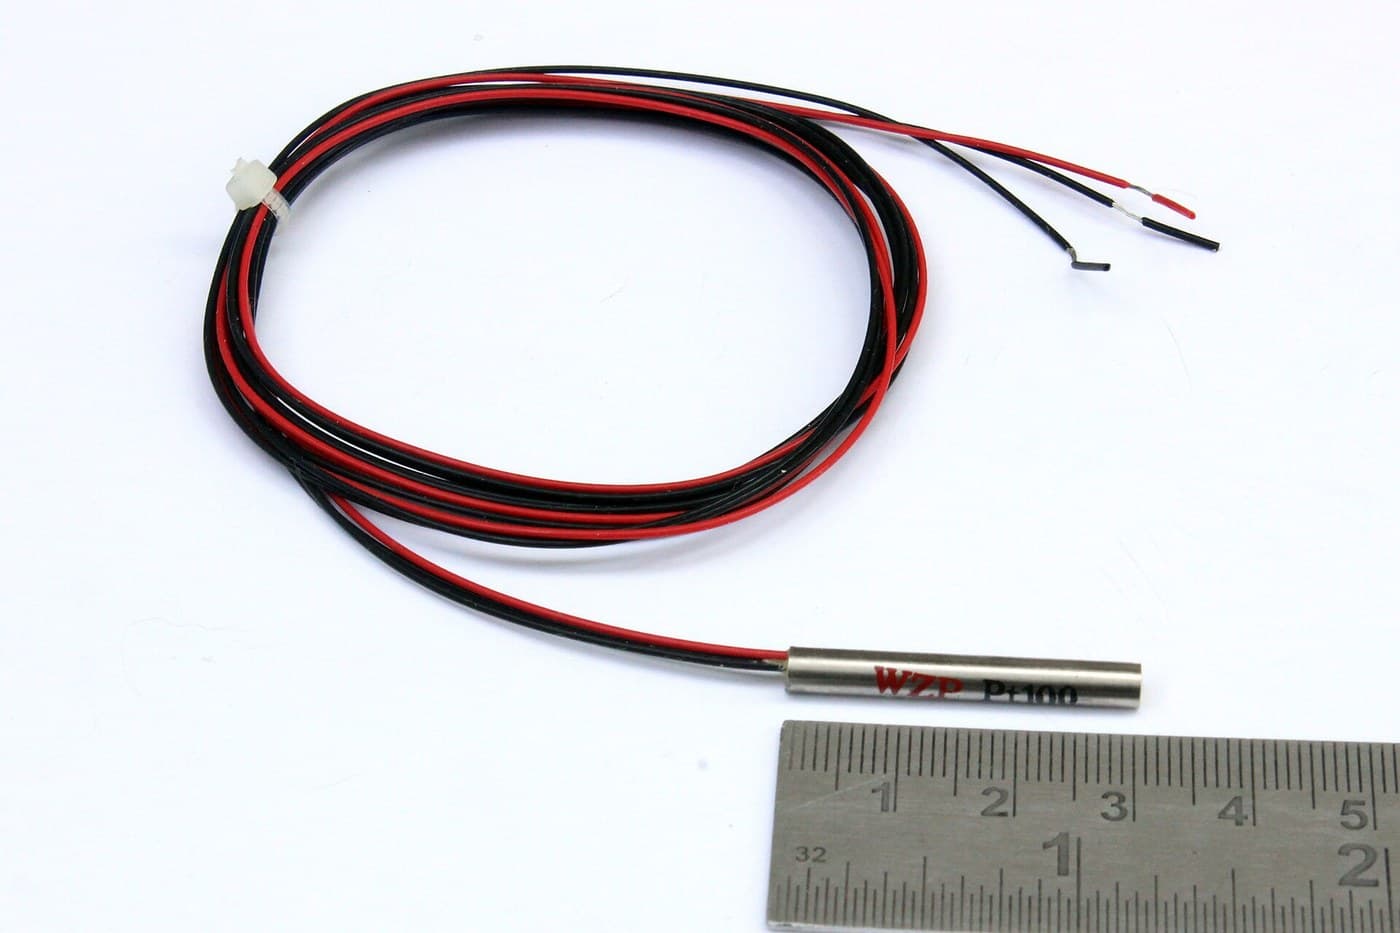
A meat thermometer you leave in the roast. A pointed stainless steel probe stays in the meat. A flexible lead runs out of the oven to a battery timer unit with a display, keys and a beeper. You pick the meat and how well done you want it; the unit shows the temperature and the time left, and beeps when it is done.
Result: continuous reading of the inside of the meat without opening the oven.
Source: P. A. Chapman and C.-A. Chang (Maverick Industries), US 6,568,848 (2003). The patent's main form sends the readings by radio; it also states this wired form. Unknown: the sensor, the circuit, the target temperatures and the materials. Picture: the patent drawing.
中級者
Unknown
手順
1
1
Make the probe
Make the probe
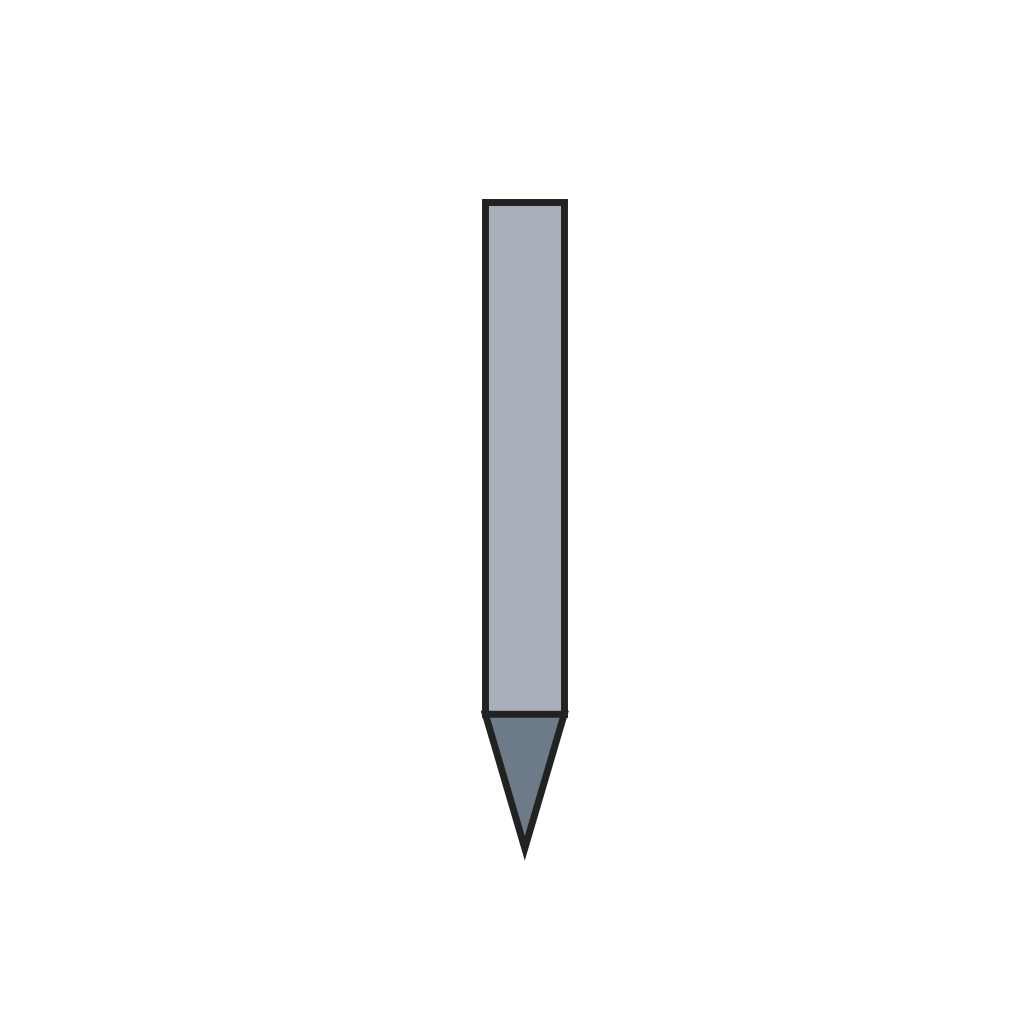
Make the probe of a rigid material such as stainless steel. It has a pointed end that goes into the meat, a straight section from the point, then a curved section to the other end. The temperature sensor sits inside. Not given: the type of sensor, sizes.
このステップの材料:
 先のとがった栓付き温度計管1 stainless steel
 温度センサー1 個
必要な工具:
 不明な寸法
 はんだごて
2
2
Fit the flexible lead and plug
Fit the flexible lead and plug
Join a flexible lead to the curved end of the probe, so the probe can lie at any angle to the unit. Put a plug with a male end on the other end of the lead. Not given: the lead material, the plug type, the length.
このステップの材料:
 多心ケーブル1 flexible lead
 不明なコネクタ1 plug
 はんだ線1 as needed
必要な工具:
はんだごて不明な寸法3
3
Build the timer unit
Build the timer unit
In a hand-held case, fit a microprocessor that runs the cooking programs, a liquid crystal display, a beeper and batteries. Fit nine keys: clock or timer, probe A or B, meat type, doneness, two to set and change the final temperature, hours, minutes, and start/stop. Add a jack for each probe, a stand to set it upright and a clip for a belt or pocket. Not given: the circuit, the program, the case material.
このステップの材料:
 プリント基板1 個
 集積回路(IC)1 microprocessor
 セグメント液晶パネル1 個
 押しボタン9 keys
 圧電ブザー1 個不明なコネクタ2 probe jacks
 電池1 as needed
 不明な材料1 case, stand, clipはんだ線1 as needed
必要な工具:
はんだごて ドライバーセット
4
4
Roast with it
Roast with it
Plug the probe into the timer unit. Pick the meat (beef, veal, lamb, pork, chicken, turkey) and the doneness (rare, medium rare, medium, well-done); the patent cooks to USDA guidelines. Push the probe into the meat, put it in the oven and lead the cable out to the unit, then press start. The display shows the meat, the doneness, the temperature (°F or °C) and the time left, and the beeper sounds at the right moments. A second probe watches a second piece. Not given: the temperature for each doneness.
必要な工具:
 オーブン
材料
12- 1 stainless steelプレースホルダー
- プレースホルダー
- 1 flexible leadプレースホルダー
- 2 probe jacksプレースホルダー
- 2 as neededプレースホルダー
- 1 個プレースホルダー
- 1 microprocessorプレースホルダー
- 1 個プレースホルダー
- プレースホルダー
- 1 個プレースホルダー
- 1 as neededプレースホルダー
- 1 case, stand, clipプレースホルダー
接続ブループリントの材料


この設計図で作るもの

関連ブループリント
これらのブループリントは知識を共有しています — 技術、材料、原理
CC0 パブリックドメイン
このブループリントはCC0で公開されています。許可を求めずに、自由にコピー、修正、配布、あらゆる目的で使用できます。
メイカーを応援するには、ブループリント経由で製品を購入してください。メイカーには メイカーコミッション がベンダーにより設定されています。または、このブループリントの新しいイテレーションを作成し、自分のブループリントにコネクションとして含めて収益を共有できます。