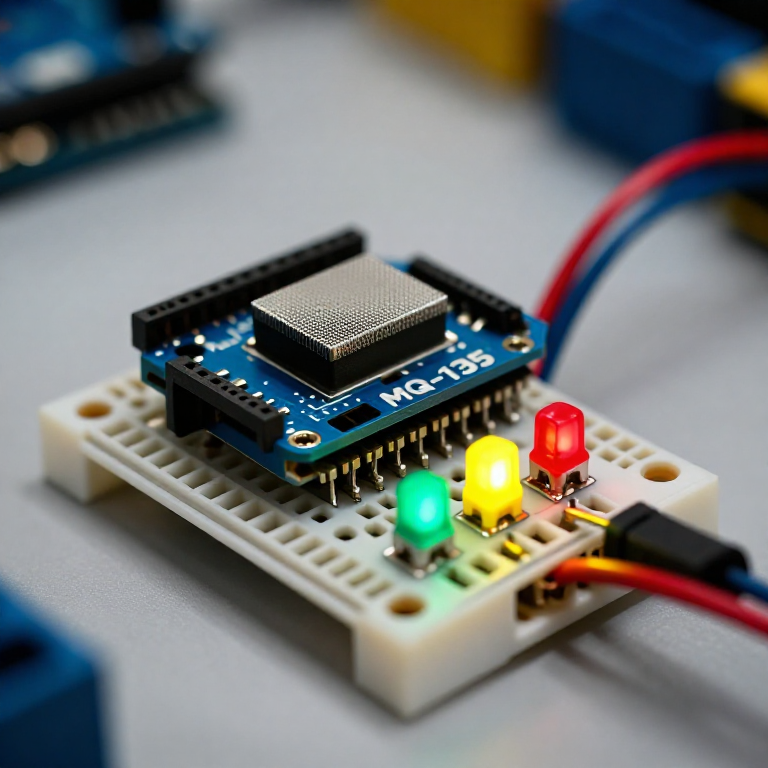


Building an Air-Quality Monitor
Build a traffic-light air-quality monitor. An MQ-135 sensor responds to smoke, fumes, alcohol, CO2 and other gases; the Arduino compares the reading to clean air and lights a green, yellow or red LED for good, moderate or poor air. A hands-on way to watch indoor air change — with the honest limit that it shows RELATIVE quality, not a calibrated ppm figure.
ការណែនាំ
Wire the sensor and three LEDs
Wire the sensor and three LEDs
On the breadboard: MQ-135 VCC to Arduino 5V, GND to GND, and its analog output (AOUT) to A0. Wire three LEDs — ideally green, yellow and red — to pins 5, 6 and 7, each through a 330 Ω resistor to GND (long leg to the pin).
សម្ភារៈសម្រាប់ជំហាននេះ៖
 Arduino Uno R31 ដុំ
 ម៉ូឌុលឧបករណ៍ចាប់គុណភាពខ្យល់ MQ-1351 ដុំ
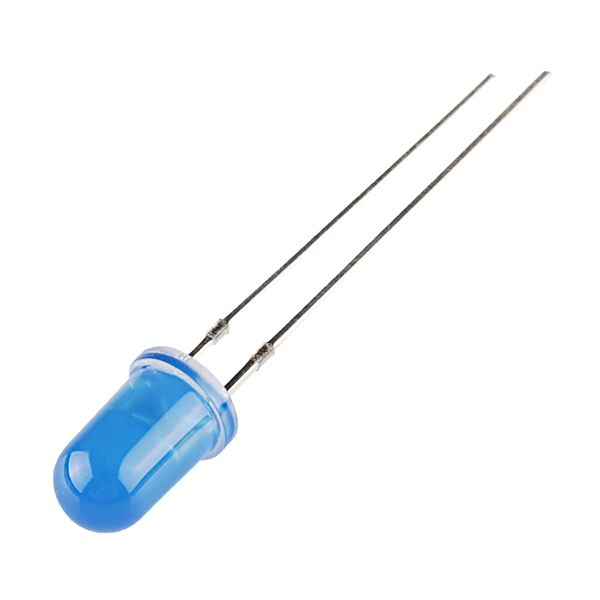 LED - Basic 5mm (25 pack)1 កញ្ចប់
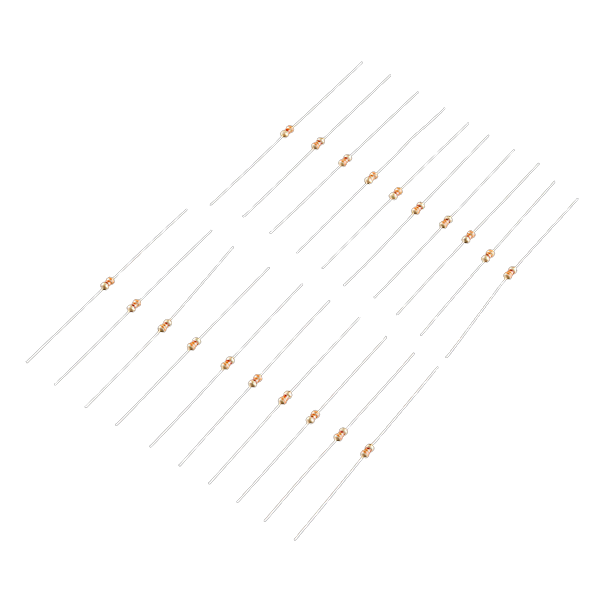 Resistor 330 Ohm 1/6 Watt PTH - 20 pack1 កញ្ចប់
 Breadboard1 ដុំ
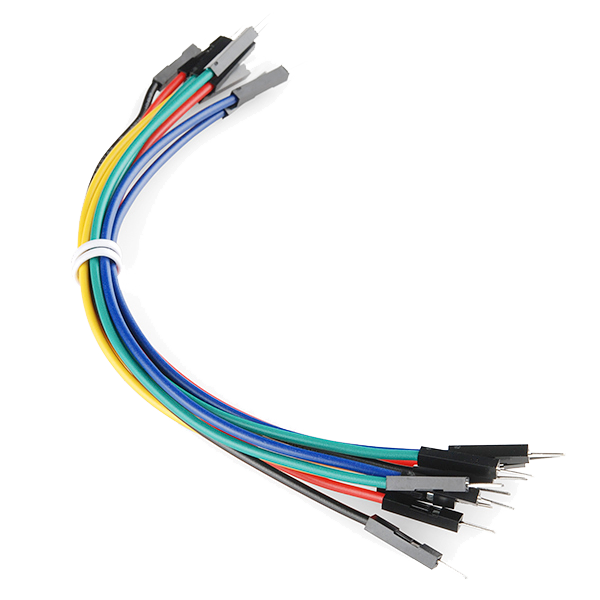 Jumper Wires (Male-to-Male)1 កញ្ចប់
Connect and open the IDE
Connect and open the IDE
Plug the Arduino into your computer with the USB cable, open the Arduino IDE, and select Arduino Uno and its serial port.
សម្ភារៈសម្រាប់ជំហាននេះ៖
 USB-B Cable1 ដុំ
ឧបករណ៍ដែលត្រូវការ៖
 កុំព្យូទ័រមាន Arduino IDE
Upload the traffic-light sketch
Upload the traffic-light sketch
Paste this sketch and upload. It warms the sensor, records a clean-air baseline, then lights green for good air, yellow for moderate and red for poor. Open the Serial Monitor to see the raw reading.
Warm up, baseline and test
Warm up, baseline and test
Run it in fresh air and let the 2-minute warm-up set the baseline (a new MQ-135 also needs a 24–48 h burn-in to settle). Then test it: breathe on it, spray a little deodorant nearby, or hold a blown-out match's smoke close — it should climb to yellow then red, and return to green in clean air. Tune MODERATE and POOR to change the thresholds.
Know the limits
Know the limits
The MQ-135 reacts to many gases at once and gives a RELATIVE reading, not a calibrated CO2 or ppm value — despite what some tutorials claim, real ppm needs proper calibration against known concentrations. It also drifts and needs re-baselining. Treat this as an air-change indicator and a great sensing project, not a laboratory instrument.
សម្ភារៈ
7- Arduino Uno R3 SMDកម្រៃ 10%1 ដុំ$27.06
- កន្លែងទុក
- LED - Basic 5mmកម្រៃ 10%1 កញ្ចប់$0.77
- 1 កញ្ចប់$1.19
- Breadboard - Classicកម្រៃ 10%1 ដុំ$9.50
- 1 កញ្ចប់$5.01
- 1 ដុំ$5.69
ឧបករណ៍ចាំបាច់
2- កន្លែងទុក
- Breadboard - Classicកម្រៃ 10%$9.50
ប្លង់ពាក់ព័ន្ធ
ប្លង់ទាំងនេះចែករំលែកចំណេះដឹង — បច្ចេកទេស សម្ភារៈ ឬគោលការណ៍
CC0 សាធារណៈ
ប្លង់នេះត្រូវបានចេញផ្សាយក្រោម CC0។ អ្នកមានសិទ្ធិចម្លង កែប្រែ ចែកចាយ និងប្រើប្រាស់ដោយមិនចាំបាច់សុំអនុញ្ញាត។
គាំទ្រអ្នកបង្កើតដោយទិញផលិតផលតាមរយៈប្លង់របស់ពួកគេ ដែលពួកគេទទួលបាន កម្រៃជើងសារអ្នកបង្កើត កំណត់ដោយអ្នកលក់ ឬបង្កើតកំណែថ្មីនៃប្លង់នេះ ហើយបញ្ចូលជាការតភ្ជាប់ក្នុងប្លង់របស់អ្នកដើម្បីចែករំលែកចំណូល។