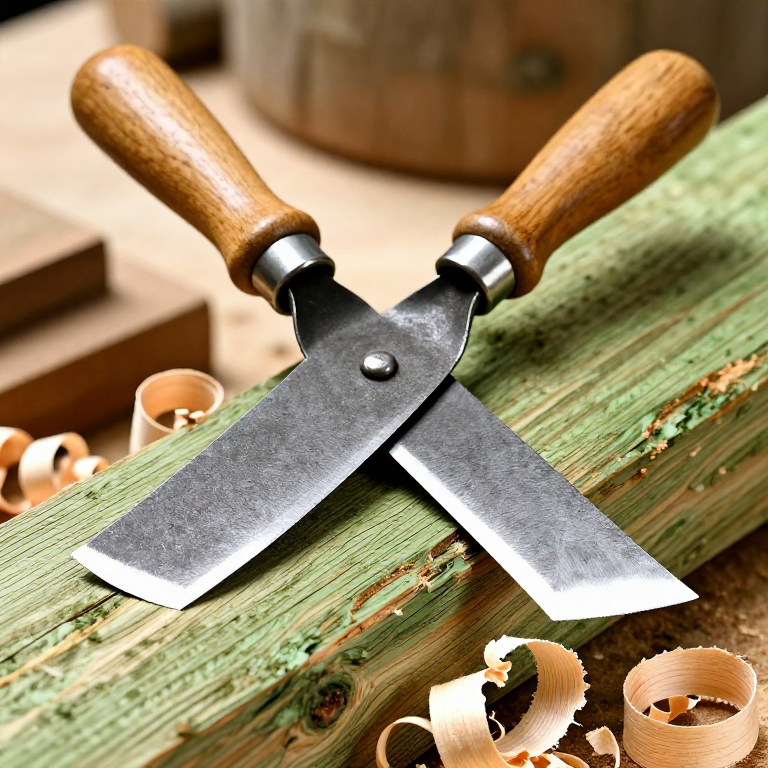
Using a Drawknife — Shaping Riven Timber by Drawing a Blade Toward You
The drawknife is one of the oldest and most efficient woodworking tools: a wide blade with a handle at each end, drawn toward the body to shave wood in long, controlled strokes. It removes material faster than any plane and follows curves that no flat-soled tool can reach. Every piece of riven timber — every chair leg, every barrel stave, every roof shingle — was brought to its final shape with a drawknife.
The technique depends on reading the grain. Pull with the grain and the blade glides through the wood, lifting a clean shaving. Pull against the grain and the blade digs in, tearing the surface and jamming. The worker reads the fibres at the edge of each cut and adjusts the angle and direction constantly. Bevel up gives a light, controlled cut for finishing. Bevel down gives an aggressive cut for roughing, letting the blade dig into the wood under its own weight.
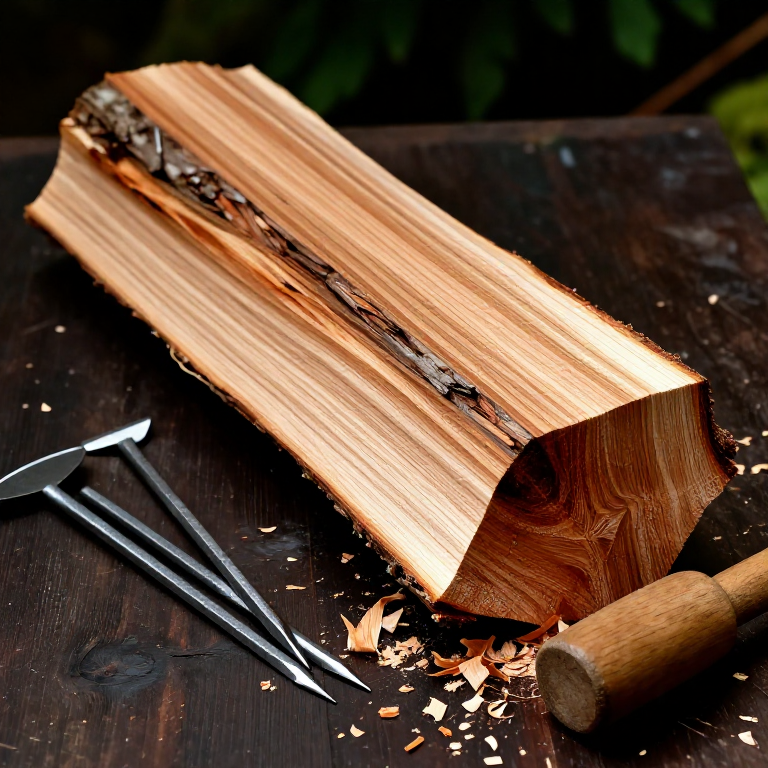
The drawknife works best on green (freshly cut) wood, which shaves cleanly and requires less effort than seasoned timber. Combined with a shave horse for clamping, a drawknife turns a rough riven billet into a smooth, shaped component in minutes — faster than any powered tool for one-off shaping work.
ការណែនាំ
Secure the workpiece in a shave horse or vise
Secure the workpiece in a shave horse or vise
Read the grain direction
Read the grain direction
Rough shaping — bevel down
Rough shaping — bevel down
Tools needed:
 Drawknife
Finish shaping — bevel up
Finish shaping — bevel up
Work green wood for best results
Work green wood for best results
Sharpen and maintain the drawknife
Sharpen and maintain the drawknife
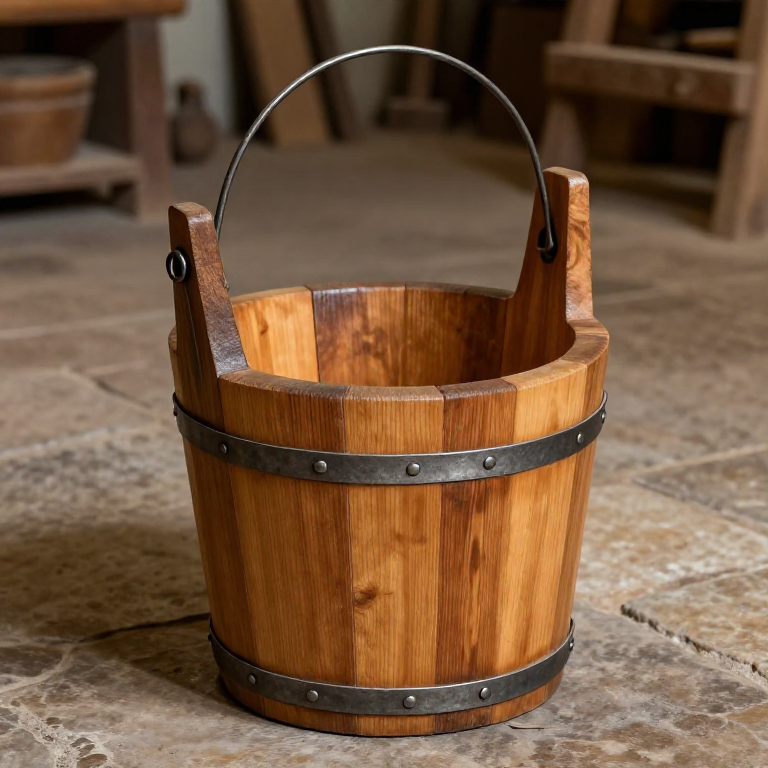
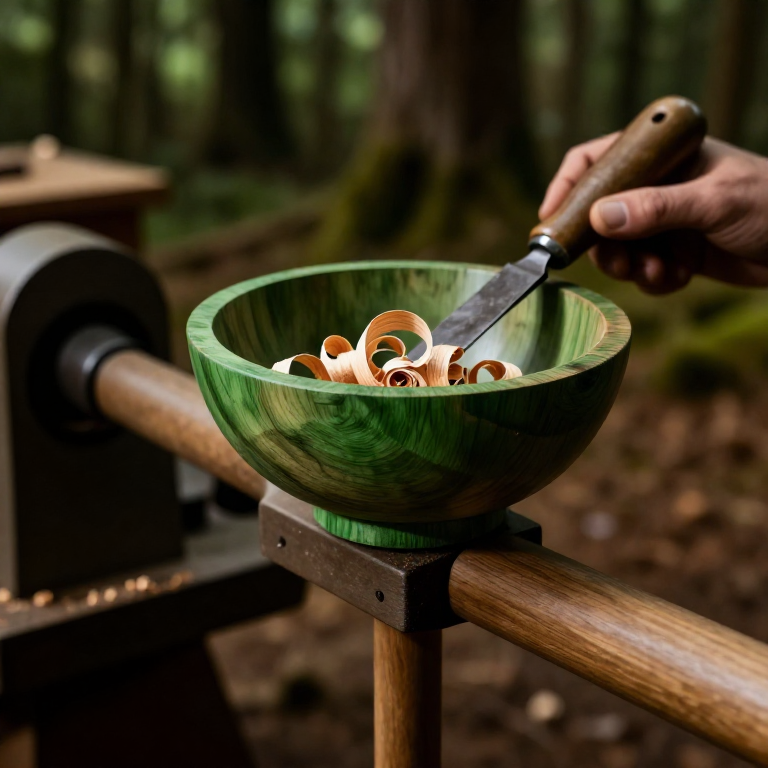
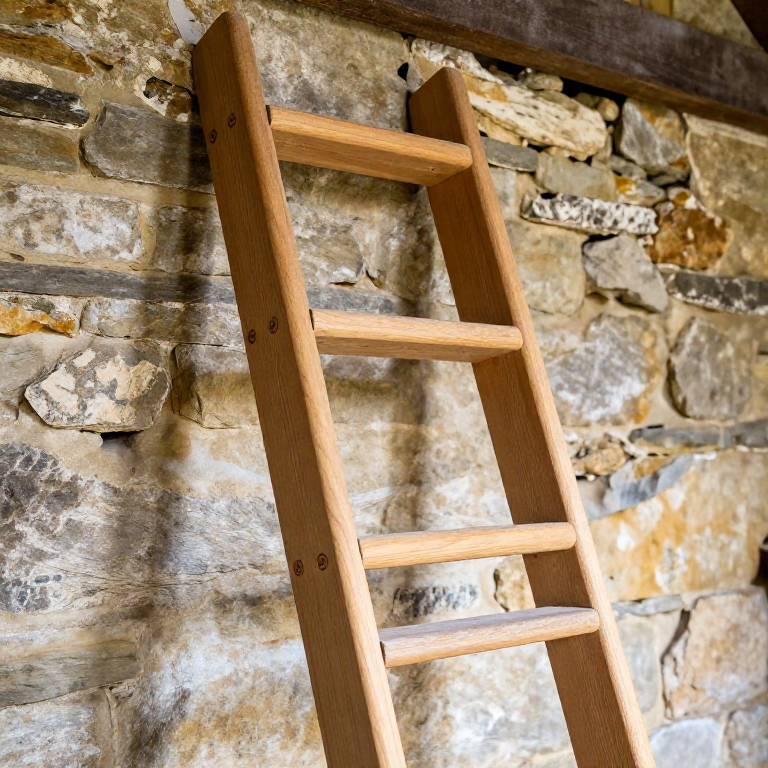
Connected Blueprint Materials
ប្លង់ពាក់ព័ន្ធ
ប្លង់ទាំងនេះចែករំលែកចំណេះដឹង — បច្ចេកទេស សម្ភារៈ ឬគោលការណ៍
Related blueprints
Other builds that share materials, tools, or techniques with this one.
CC0 សាធារណៈ
ប្លង់នេះត្រូវបានចេញផ្សាយក្រោម CC0។ អ្នកមានសិទ្ធិចម្លង កែប្រែ ចែកចាយ និងប្រើប្រាស់ដោយមិនចាំបាច់សុំអនុញ្ញាត។
គាំទ្រអ្នកបង្កើតដោយទិញផលិតផលតាមរយៈប្លង់របស់ពួកគេ ដែលពួកគេទទួលបាន កម្រៃជើងសារអ្នកបង្កើត កំណត់ដោយអ្នកលក់ ឬបង្កើតកំណែថ្មីនៃប្លង់នេះ ហើយបញ្ចូលជាការតភ្ជាប់ក្នុងប្លង់របស់អ្នកដើម្បីចែករំលែកចំណូល។