សិល្បៈ
សម្រស់ និង សុខុមាលភាព
សិប្បកម្ម
វប្បធម៌ និង ប្រវត្តិសាស្ត្រ
ការកម្សាន្ត
បរិស្ថាន
ម្ហូប និង ភេសជ្ជៈ
អនាគតបៃតង
វិស្វកម្មបញ្ច្រាស
វិទ្យាសាស្ត្រ
កីឡា
បច្ចេកវិទ្យា
ប្រដាប់ដែលស្លៀក
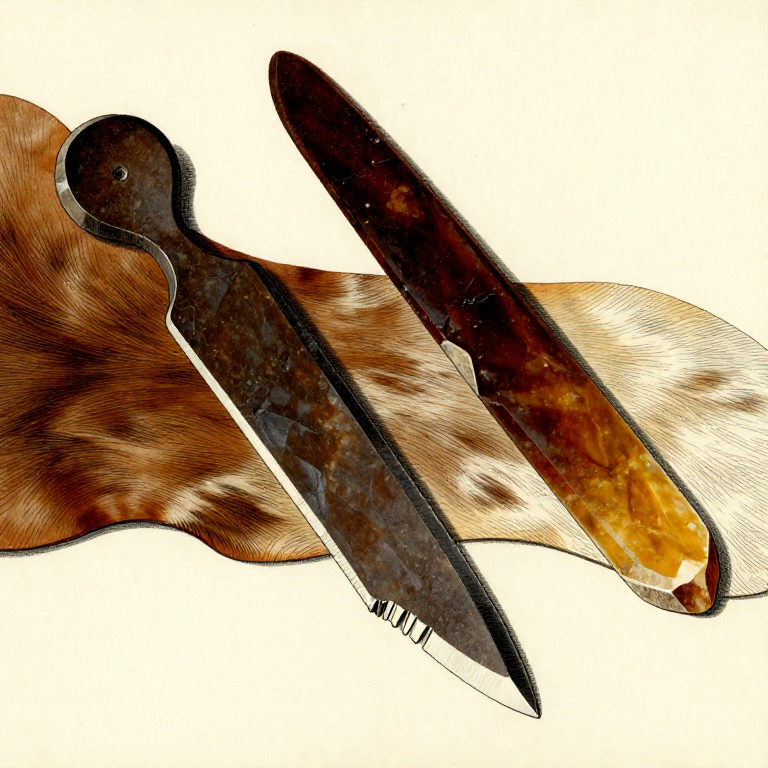
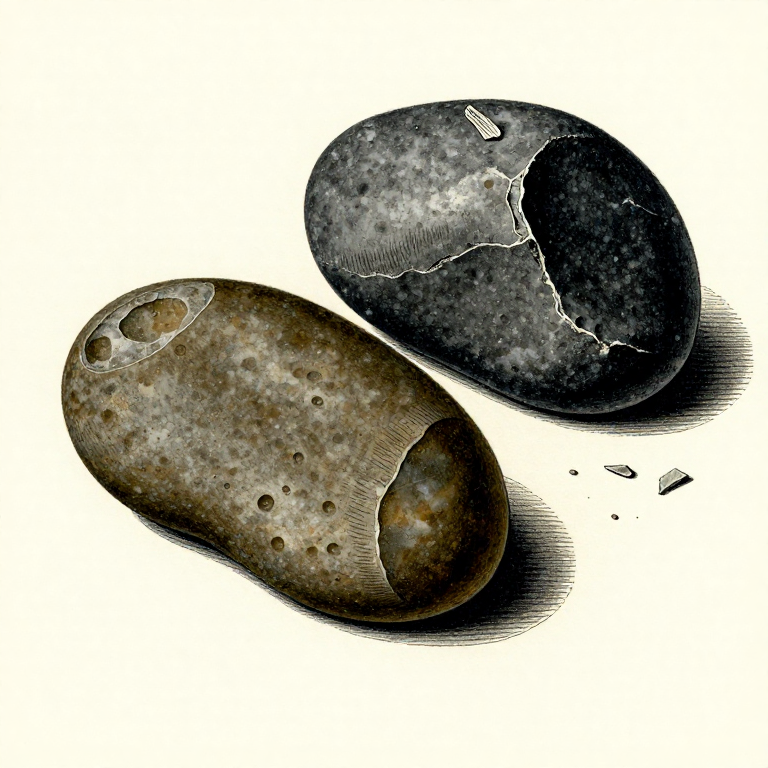
Making a Stone Scraper for Hide Working — Conchoidal Flake Tool
The stone scraper is one of the oldest and most widespread tools in the archaeological record, found at sites spanning from 2.6 million years ago to the recent ethnographic present. Scrapers were the primary tool for processing animal hides — removing fat, membrane, and flesh from the inner surface before tanning. They were also used for shaping wood, processing plant fibers, and butchering. A scraper is made by striking a flake from a core stone and then retouching one edge to create a steep, durable working edge between 60 and 80 degrees. Unlike a cutting blade (which has a thin, acute edge), a scraper's steep edge is designed to shave material without cutting through the hide. This blueprint teaches the complete process: selecting raw material, detaching a suitable flake, retouching the working edge, and testing the finished tool on a hide.
មធ្យម
45 minutes
ការណែនាំ
1
1
Select a Flint or Chert Core
Select a Flint or Chert Core
Find a nodule of flint, chert, obsidian, or fine-grained siliceous stone at least 10 cm across. The stone must be free of frost fractures and internal flaws. Tap it with another stone — a clear ring means solid material. A dull thud means internal fractures. River-tumbled nodules with weathered cortex are excellent because the cortex reveals the stone's internal structure when first flakes are removed.
Materials for this step:
 Flint Nodule1 piece
2
2
Set Up a Stable Knapping Platform
Set Up a Stable Knapping Platform
Sit on the ground with a thick leather pad or folded hide across your thigh. The pad protects your leg from sharp flakes. Place a flat stone nearby as an anvil surface. You need clear space around you — flakes fly unpredictably. If available, wear eye protection or at minimum turn your face slightly away during strikes.
Tools needed:
 Hammerstone
 Flat Stone Slab
3
3
Create a Striking Platform on the Core
Create a Striking Platform on the Core
Remove one or two small flakes from the core to create a flat surface (the striking platform) at roughly 70 to 80 degrees to the intended flake removal direction. The platform must be a flat, clean surface — not rounded cortex. Hold the core firmly in your non-dominant hand with the platform facing up and slightly angled toward you.
Tools needed:
Hammerstone4
4
Detach a Large Flake Using Hard Hammer Percussion
Detach a Large Flake Using Hard Hammer Percussion
Strike the platform edge firmly with the hammerstone, aiming about 1 cm inward from the edge. The blow should travel through the platform into the core body, releasing a broad conchoidal flake 6 to 10 cm long. Strike with a confident, decisive motion — tentative blows produce shattered fragments rather than clean flakes. The ideal scraper blank is a thick flake with a pronounced bulb of percussion.
Tools needed:
Hammerstone5
5
Evaluate the Flake Blank
Evaluate the Flake Blank
Examine the detached flake. For a scraper, you want a flake that is 5 to 10 cm long, 3 to 6 cm wide, and 8 to 15 mm thick at the bulb end tapering to thinner at the distal end. The ventral (inner) surface should be smooth with visible ripple marks radiating from the point of impact. Reject flakes with step fractures, hinge fractures, or internal inclusions that interrupt the surface.
6
6
Plan the Working Edge Location
Plan the Working Edge Location
Decide which edge of the flake will become the scraping edge. For a classic end scraper, use the distal end (the end farthest from the bulb of percussion). For a side scraper, use one of the lateral edges. The chosen edge should be relatively straight or gently convex — concave sections are difficult to retouch evenly and create weak points.
7
7
Retouch the Working Edge with Controlled Pressure
Retouch the Working Edge with Controlled Pressure
Hold the flake firmly in your non-dominant hand with the working edge facing up. Using a smaller hammerstone or a hard antler billet, strike short, controlled blows along the working edge from the ventral side. Each blow removes a tiny flake, steepening the edge angle to between 60 and 80 degrees. Work systematically from one end of the edge to the other, removing material evenly.
Tools needed:
Hammerstone8
8
Check the Edge Angle
Check the Edge Angle
Hold the scraper at eye level with the working edge facing you. The retouched edge should form a steep angle of 60 to 80 degrees — much steeper than a knife edge (which is 20 to 30 degrees). This steep angle is critical: it allows the tool to shave and scrape without cutting through the material. If sections are too acute, apply more retouch to steepen them.
9
9
Shape the Grip Area
Shape the Grip Area
Examine how the scraper sits in your hand. The proximal end (near the bulb) is typically held between thumb and fingers. If any sharp edges on the grip area cut your hand, blunt them by light abrasion against a sandstone surface or by removing tiny flakes to dull the edge. The grip does not need to be comfortable for hours — hide scraping is done in short, powerful strokes.
Tools needed:
 Sandstone (Abrasive)
10
10
Test the Scraper on a Piece of Green Wood
Test the Scraper on a Piece of Green Wood
Before using the scraper on a hide, test it on a piece of fresh green wood. Hold the scraper at about 60 degrees to the wood surface and push firmly away from you. The edge should remove thin curls of wood without digging in or skipping. If it digs in, the angle is too acute — retouch steeper. If it skips without cutting, the edge is too blunt or the angle is too steep.
11
11
Use the Scraper on a Staked Hide
Use the Scraper on a Staked Hide
Stake a fresh or soaked hide flat on the ground, flesh side up. Hold the scraper with the working edge against the hide at a 45 to 60 degree angle. Push firmly in short strokes (10 to 15 cm) away from your body, shaving off fat, membrane, and connective tissue. The steep edge removes material without cutting through the skin. Work from the centre outward to the edges.
12
12
Resharpen the Edge When It Dulls
Resharpen the Edge When It Dulls
After 10 to 20 minutes of heavy scraping, the working edge will become rounded and less effective. Resharpen by applying a few more retouch flakes along the working edge, restoring the steep angle. Each resharpening removes a small amount of material, gradually reducing the scraper's width. A well-made flint scraper can be resharpened many times before it becomes too narrow to use.
Tools needed:
Hammerstone13
13
Recognize End-of-Life and Recycle
Recognize End-of-Life and Recycle
A scraper is exhausted when resharpening has reduced it to less than 3 cm wide, or when the remaining flake body is too thin to hold securely. Exhausted scrapers were often repurposed in prehistory as drill bits, engraving tools, or cutting inserts for composite tools. Nothing is wasted — the material remains useful in a different form until it is too small to hold.
សម្ភារៈ
1- 1 pieceកន្លែងទុក
Connected Blueprint Materials
ប្លង់ពាក់ព័ន្ធ
ប្លង់ទាំងនេះចែករំលែកចំណេះដឹង — បច្ចេកទេស សម្ភារៈ ឬគោលការណ៍
Related blueprints
Other builds that share materials, tools, or techniques with this one.
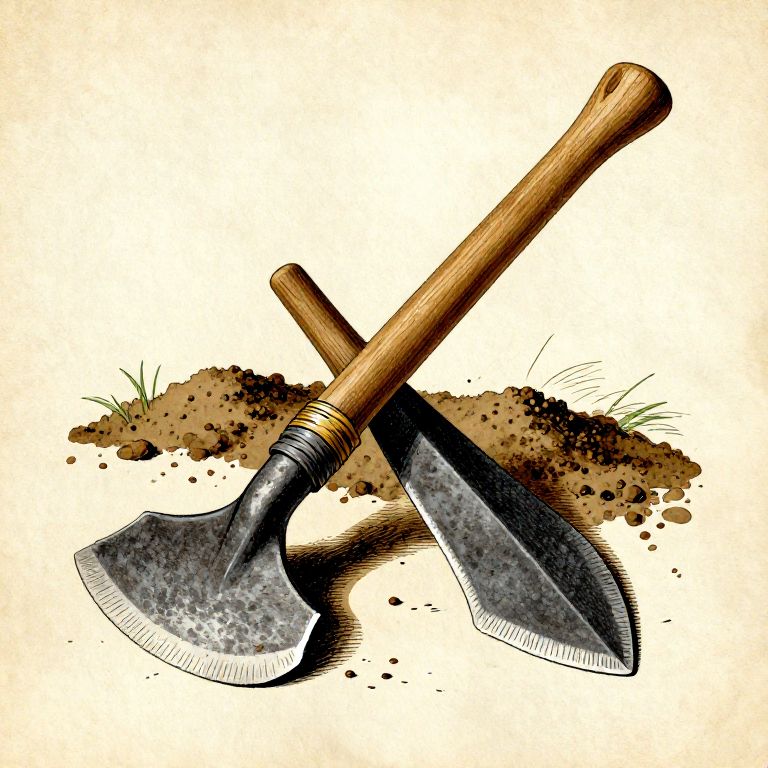
Making a Stone Hoe — The First Agricultural Toolstoneworking

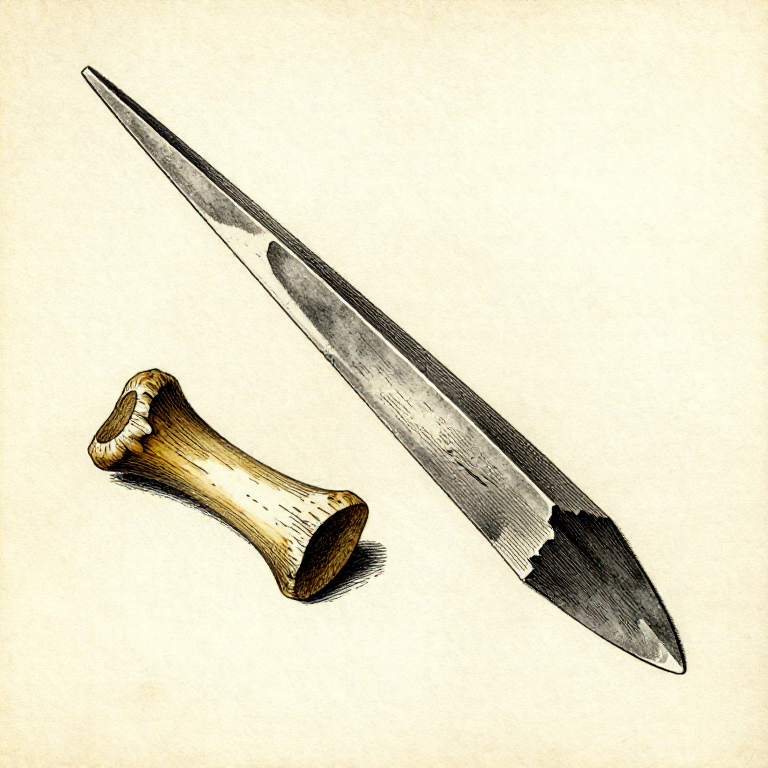
Making a Stone Chisel — Splitting and Grooving Toolstoneworking
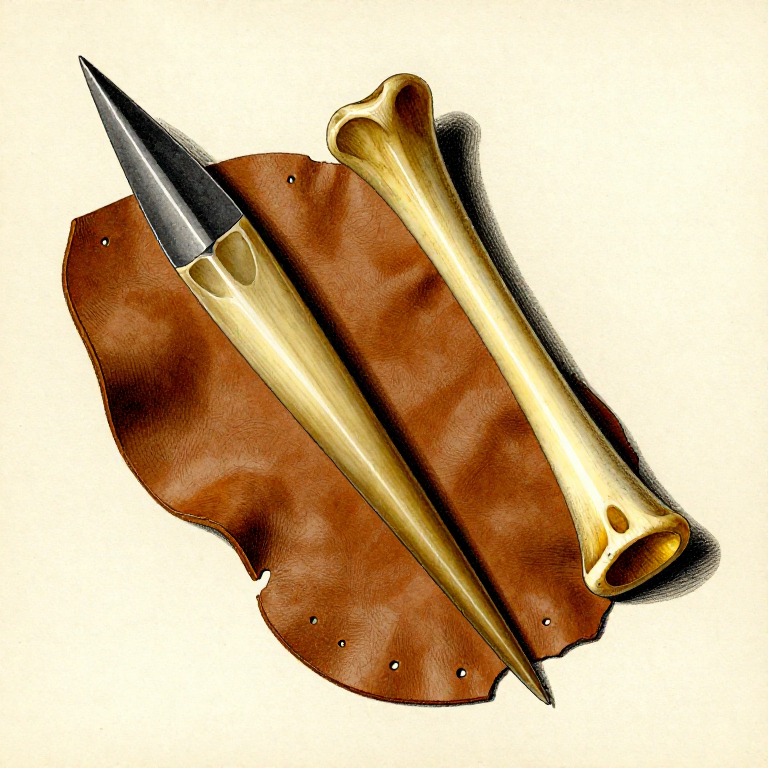
Making a Bone Awl — Piercing Tool for Sewing and Basketrystoneworking
Making a Stone Burin — The Engraving Chisel That Enabled Bone and Antler Workstoneworking
Making a Hammerstone — The First Tool in Human Historystoneworking
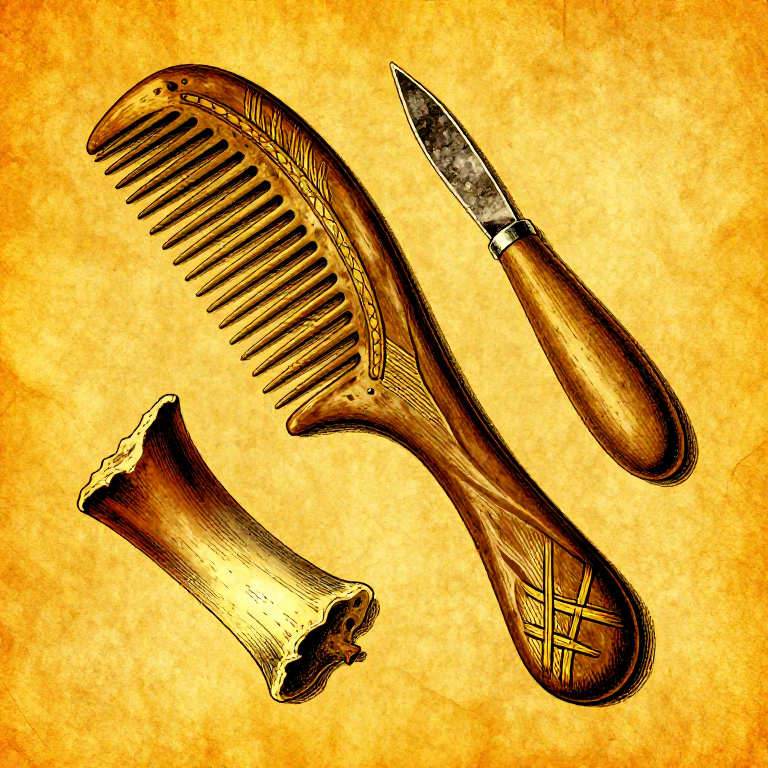
Carving an Antler Comb — Mesolithic Personal Grooming and Textile Toolstoneworking
CC0 សាធារណៈ
ប្លង់នេះត្រូវបានចេញផ្សាយក្រោម CC0។ អ្នកមានសិទ្ធិចម្លង កែប្រែ ចែកចាយ និងប្រើប្រាស់ដោយមិនចាំបាច់សុំអនុញ្ញាត។
គាំទ្រអ្នកបង្កើតដោយទិញផលិតផលតាមរយៈប្លង់របស់ពួកគេ ដែលពួកគេទទួលបាន កម្រៃជើងសារអ្នកបង្កើត កំណត់ដោយអ្នកលក់ ឬបង្កើតកំណែថ្មីនៃប្លង់នេះ ហើយបញ្ចូលជាការតភ្ជាប់ក្នុងប្លង់របស់អ្នកដើម្បីចែករំលែកចំណូល។