Building a Plank Door — A Battened Door from Riven Timber and Iron Nails
The simplest type of door — and the most common in medieval Europe — is the plank-and-batten door: several wide boards laid side by side and held together by horizontal battens nailed across the back. No frame, no panel, no joinery more complex than a nail. Despite this simplicity, a well-made plank door lasts for centuries — examples survive in English churches dating to the 12th century.
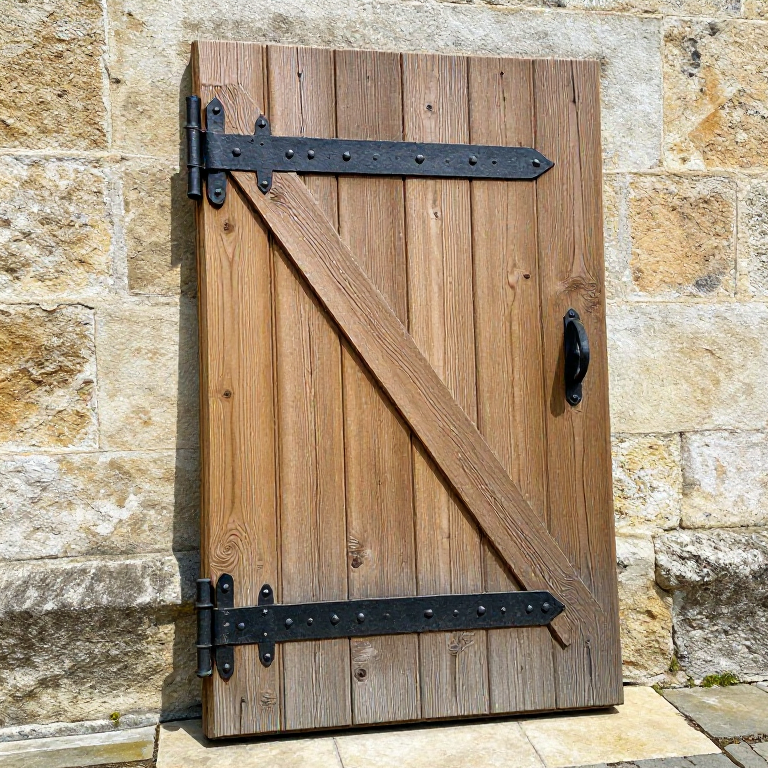
The planks must be riven, not sawn. Riven planks follow the natural grain of the wood, making them resistant to moisture penetration and warping. The battens (horizontal crosspieces) are nailed across the back, preventing the planks from cupping or separating. A diagonal brace running from the hinge side at the top to the latch side at the bottom prevents the door from sagging under its own weight — without this brace, a heavy plank door drops at the free corner within months.
Iron hinges and a latch complete the door. The strap hinge — a long iron bar attached to the batten and pivoting on a pin driven into the door frame — is the traditional hinge for plank doors, distributing the weight across several battens rather than concentrating it at two points.
안내
Rive and dress the door planks
Rive and dress the door planks
필요한 도구:
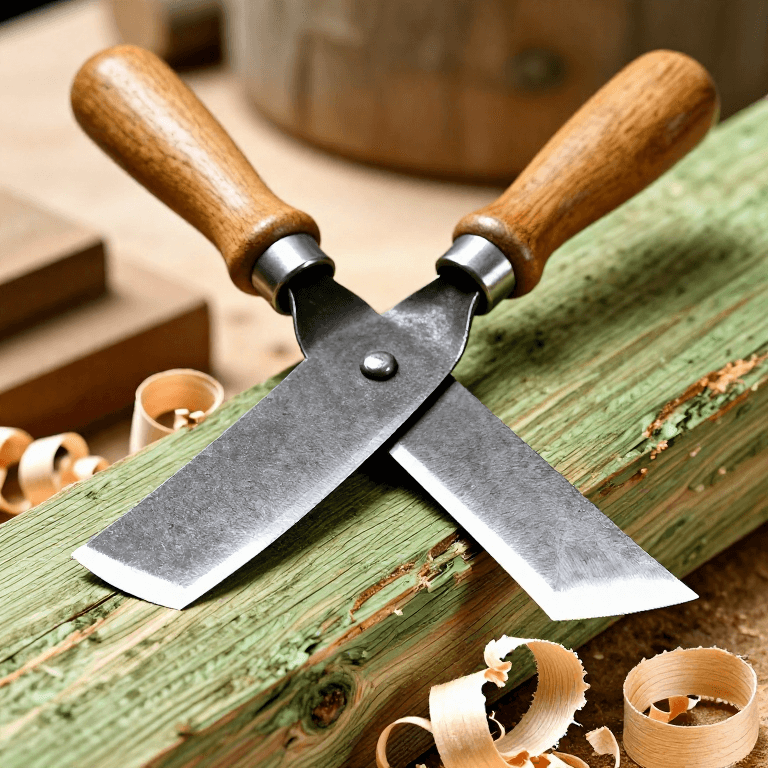
 Drawknife
Lay out the planks and mark the battens
Lay out the planks and mark the battens
Cut and attach the battens
Cut and attach the battens
이 단계의 재료:
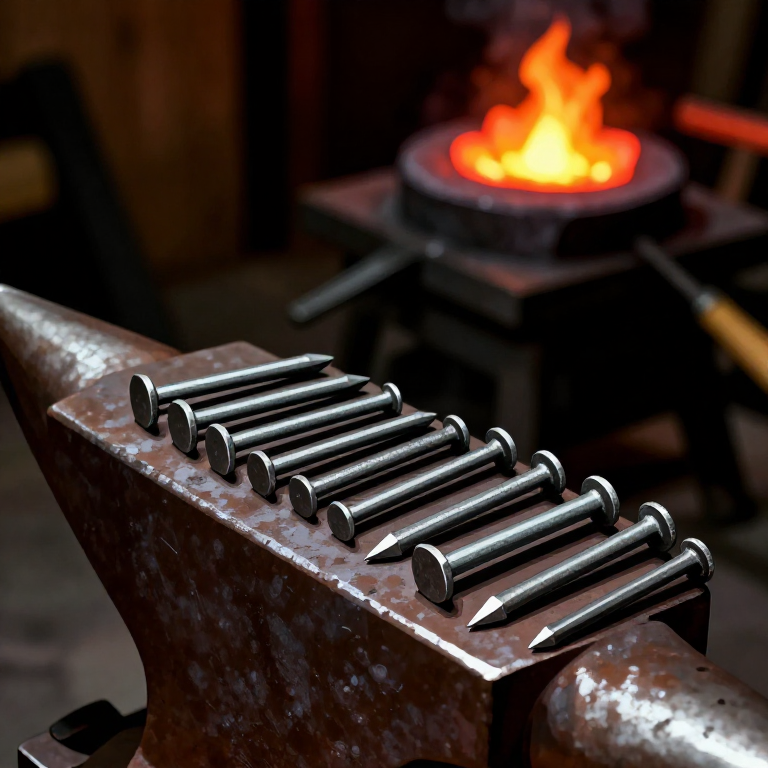 Iron Nails30 개
필요한 도구:
 Forge Hammer (Cross-Peen)
Fit the diagonal brace
Fit the diagonal brace
Hang the door on strap hinges
Hang the door on strap hinges
필요한 도구:
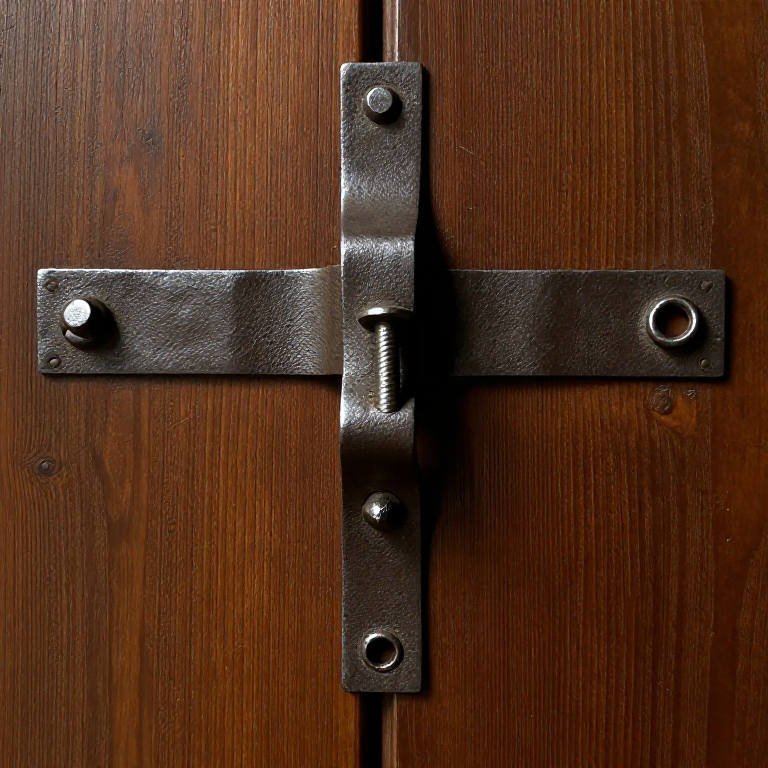 Iron Strap Hinge
Fit a latch and check the swing
Fit a latch and check the swing
재료
1연결된 블루프린트 재료


관련 블루프린트
이 블루프린트들은 지식을 공유합니다 — 기술, 재료 또는 원리


CC0 퍼블릭 도메인
이 블루프린트는 CC0로 공개되었습니다. 어떤 목적으로든 자유롭게 복사, 수정, 배포 및 사용할 수 있습니다.
제품 구매를 통해 메이커를 지원하세요. 판매자가 설정한 메이커 커미션 을 받거나, 이 블루프린트의 새로운 반복을 만들어 연결로 포함시킬 수 있습니다.