예술
뷰티 및 웰니스
공예
문화 및 역사
엔터테인먼트
환경
음식 및 음료
역공학
과학
스포츠
기술
웨어러블
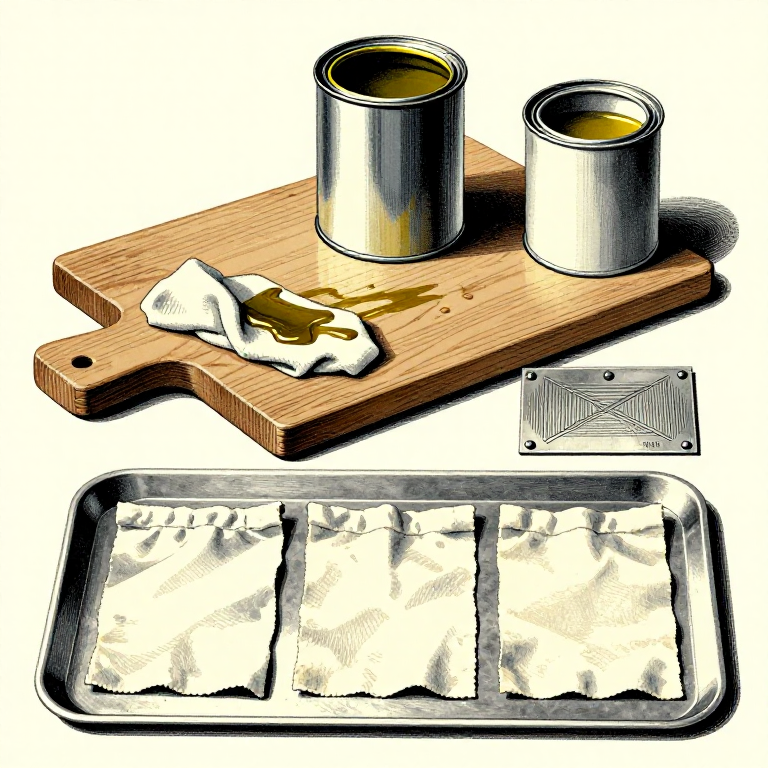


Oil Finishes: Wipe On, Wipe Off, and the Rag That Can Catch Fire
An oil finish is the easiest to apply and the hardest to get wrong: flood it on, let it soak, wipe off everything that has not been absorbed, repeat. There are no brush marks because there is no film.
The trade is protection. An oiled surface resists water for minutes rather than hours and offers little against abrasion — but it is repaired by wiping on more oil, with no stripping, no sanding back and no visible join.
It carries one genuine hazard, and it is not the oil itself: rags soaked in drying oils generate heat as they cure and have started real fires with no spark and nobody in the room. Step four is how to make that impossible, and it takes ten seconds.
초급
3 hours
안내
1
1
Drying, semi-drying and non-drying
Drying, semi-drying and non-drying
A DRYING oil hardens by reacting with oxygen — it polymerises into a solid rather than evaporating. Linseed and tung are the classics, and they are what make an oil FINISH rather than an oily surface.
BOILED linseed oil is not boiled; it contains metallic driers that speed the reaction from weeks to about a day. RAW linseed oil has none and can stay tacky for a very long time, which is why it is used for paint grinding and rarely as a finish. TUNG oil is more water-resistant and cures harder.
NON-DRYING oils — olive, most vegetable oils — never harden. They stay wet, collect dirt, and eventually go rancid. For a cutting board or a bowl use a food-safe hardening oil or a mineral oil chosen knowing it will need renewing, not whatever is in the kitchen.
이 단계의 재료:
 끓인 아마인유1 개
 생아마인유1 개
 동유1 개
동유1 개필요한 도구:
 무명천
무명천 니트릴 장갑
2
2
Flood, wait, and wipe off everything that is left
Flood, wait, and wipe off everything that is left
Put the oil on generously, let it stand fifteen or twenty minutes so the wood drinks what it will, then wipe the surface completely dry with a clean cloth.
The wiping is the step people skip, and skipping it is what produces the sticky, patchy, never-quite-dry surface that gives oil finishes a bad name. Oil left sitting on top has no wood to soak into and no film-forming ability, so it stays gummy indefinitely.
End grain drinks far more than face grain and will keep pulling oil for an hour. Go back over it and wipe again after twenty minutes, or it will weep oil onto a surface you thought was finished.
이 단계의 재료:
 데니시 오일 - 내추럴1 개
 경목 판재1 개
필요한 도구:
무명천니트릴 장갑3
3
Build it in thin coats, and know when to stop
Build it in thin coats, and know when to stop
Leave a full day between coats — longer in cold or damp — and apply three or four. Each one penetrates less than the last, which is why the sheen builds gradually rather than all at once.
Cut back between coats with fine abrasive or a grey Scotch-Brite pad if the surface feels rough. Wipe off the slurry; it fills the pores and is part of how a smooth oiled surface is built.
There is a point of diminishing returns, usually around the fourth coat, after which more oil adds nothing and risks a gummy surface film. If a higher sheen is wanted beyond that, wax over the oil — which the wax rung covers — rather than more oil.
이 단계의 재료:
데니시 오일 - 내추럴1 개 Scotch-Brite 패드 모둠1 개
필요한 도구:
무명천 사포 세트
사포 세트 확대 루페
확대 루페4
4
SPONTANEOUS COMBUSTION: how oily rags actually catch fire
SPONTANEOUS COMBUSTION: how oily rags actually catch fire
A rag soaked in a drying oil generates heat as the oil cures. Screwed into a ball or dropped in a bin, the heat cannot escape, the reaction accelerates as it gets hotter, and the rag can reach its ignition temperature with no flame, no spark and nobody in the room. This is a documented cause of workshop fires, not a cautionary myth.
It needs no ignition source at all — which is exactly why it catches people out. The rag was thrown away hours ago and the workshop was empty.
Do one of three things with every oily rag, every time. Spread it out flat and singly until it is fully dry and stiff, then it is safe. Or drop it in a sealed metal container of water. Or burn it immediately and deliberately. Never leave a pile, never put one in a bin with other waste, and never screw one into a ball.
이 단계의 재료:
끓인 아마인유1 개필요한 도구:
무명천니트릴 장갑 투명 보안경
재료
6- 2 개플레이스홀더
- 1 개플레이스홀더
- 1 개플레이스홀더
- 2 개플레이스홀더
- 1 개플레이스홀더
- Scotch-Brite 패드 모둠10% 수수료1 개플레이스홀더
관련 블루프린트
이 블루프린트들은 지식을 공유합니다 — 기술, 재료 또는 원리


CC0 퍼블릭 도메인
이 블루프린트는 CC0로 공개되었습니다. 어떤 목적으로든 자유롭게 복사, 수정, 배포 및 사용할 수 있습니다.
제품 구매를 통해 메이커를 지원하세요. 판매자가 설정한 메이커 커미션 을 받거나, 이 블루프린트의 새로운 반복을 만들어 연결로 포함시킬 수 있습니다.