ศิลปะ
ความงามและสุขภาพ
งานฝีมือ
วัฒนธรรมและประวัติศาสตร์
ความบันเทิง
สิ่งแวดล้อม
อาหารและเครื่องดื่ม
วิศวกรรมย้อนรอย
วิทยาศาสตร์
กีฬา
เทคโนโลยี
อุปกรณ์สวมใส่
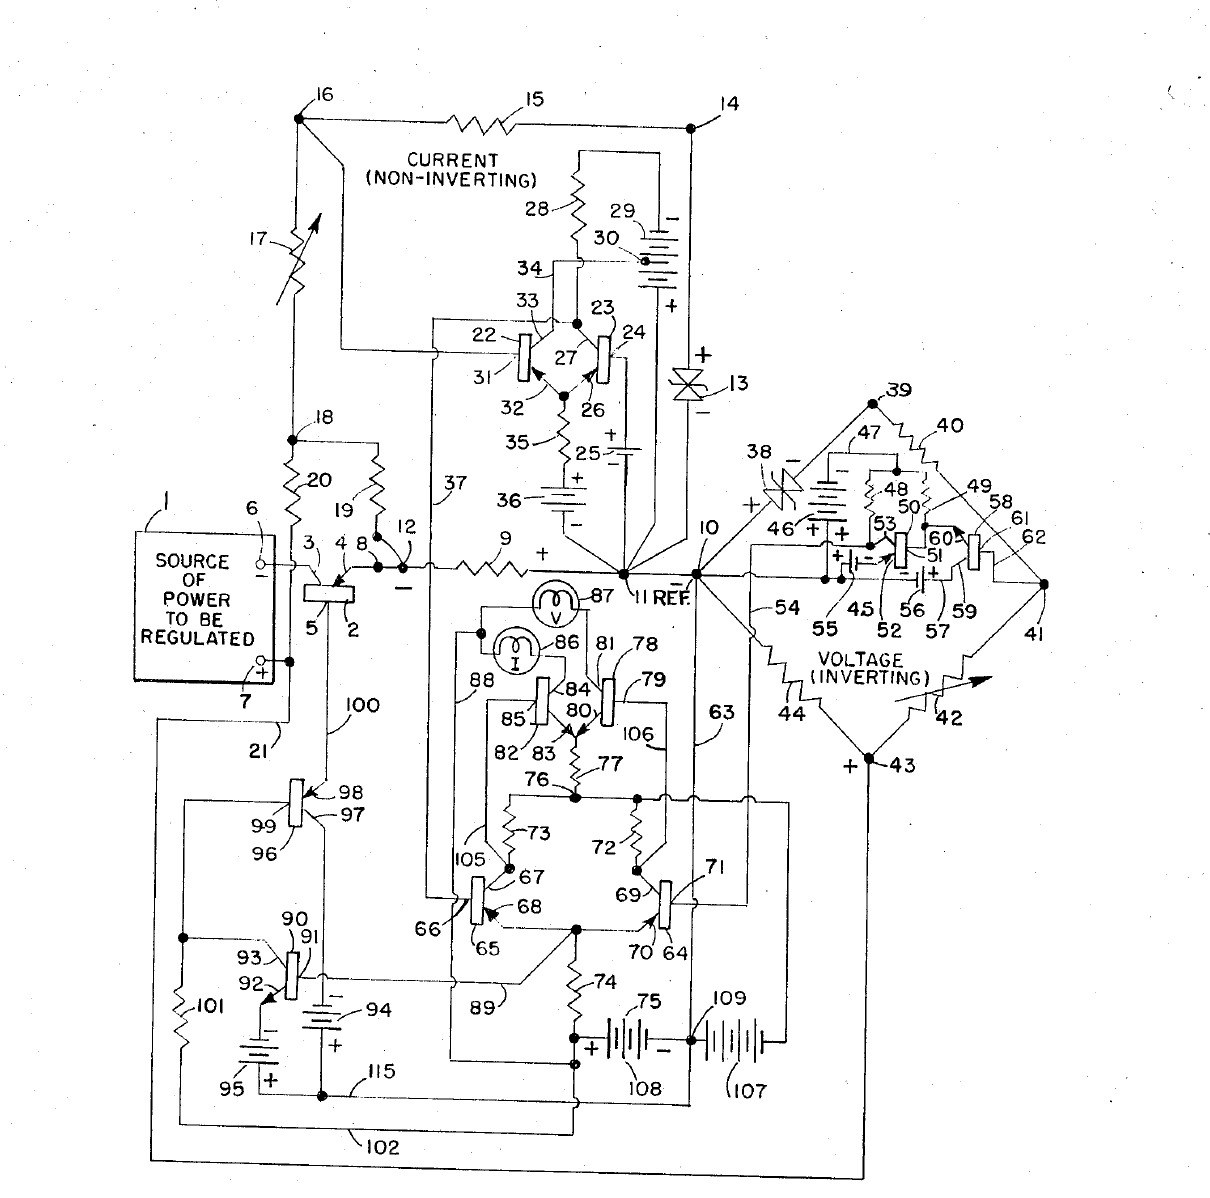


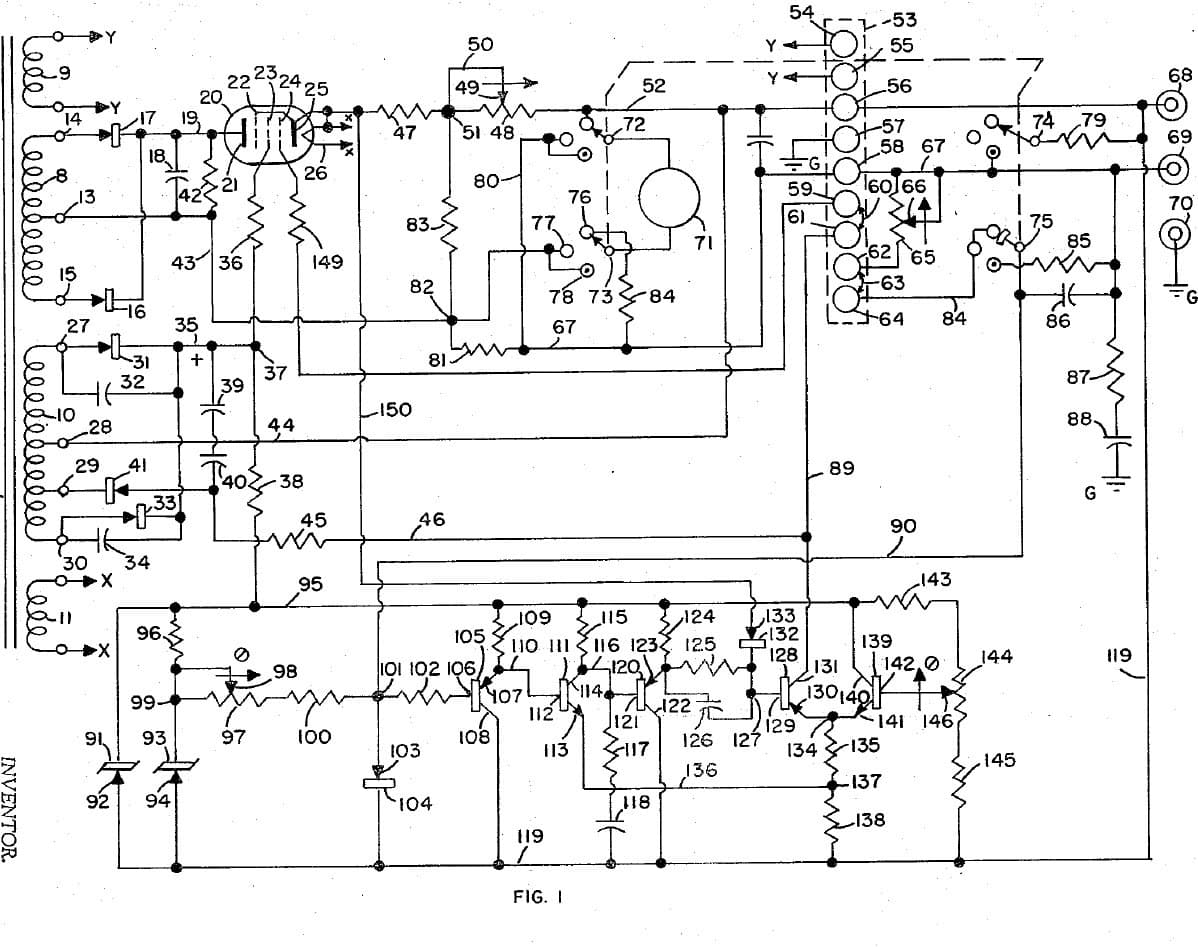
Adjustable Bench Power Supply: Constant Voltage / Constant Current with Cross-Over Lamps (Gately, Forbro, US 3,303,411, 1967)
An all-transistor bench supply with two knobs: one sets the voltage, the other the current. It holds the set voltage until the load tries to draw more than the set current, then switches at once to holding the current, and back again, with no in-between state. Two lamps show which mode is in control.
Result: an adjustable constant-voltage / constant-current DC supply with mode lamps.
Source: J. R. Gately (Forbro Design), US 3,303,411 (1967). Unknown: all component values and ratings. Builds on the same inventor's 1966 current-limited supply. Picture: the patent drawing.
ขั้นสูง
Unknown
คำแนะนำ
1
1
Build the raw supplies
Build the raw supplies
In a case, wire the cord through a switch and fuse to two power transformers, each with rectifiers and a filter: one gives the main power to be regulated, the other the bias supplies, held steady by Zener diodes. Not given: the voltages. Ours: the case, switch and fuse.
วัสดุสำหรับขั้นตอนนี้:
 กล่องอะลูมิเนียม1 ชิ้น
 สายไฟอ่อนพร้อมปลั๊ก1 ชิ้น
 สวิตช์โยก1 ชิ้น
 ฟิวส์1 ชิ้น
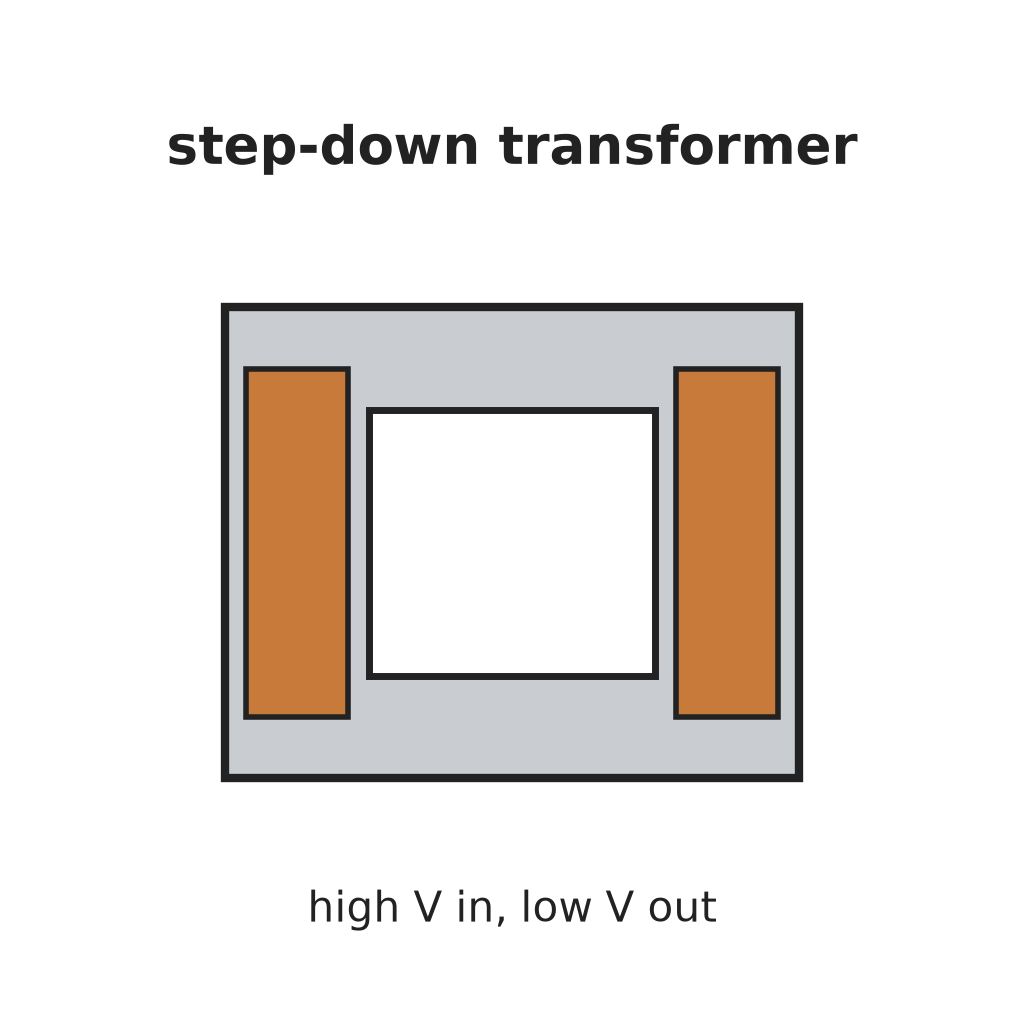 หม้อแปลงลดแรงดัน2 ชิ้น
 ไดโอด6 rectifiers
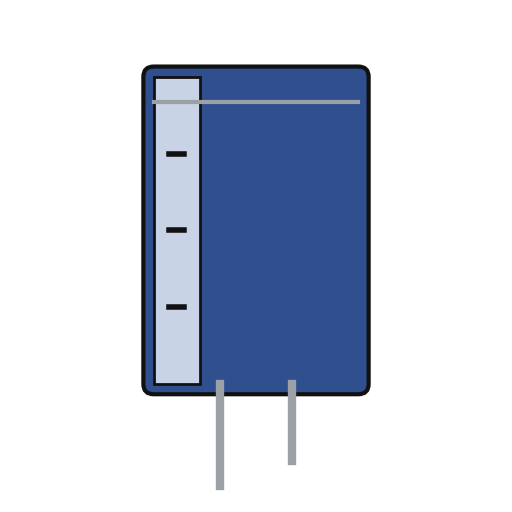 ตัวเก็บประจุอิเล็กโทรไลต์3 filters
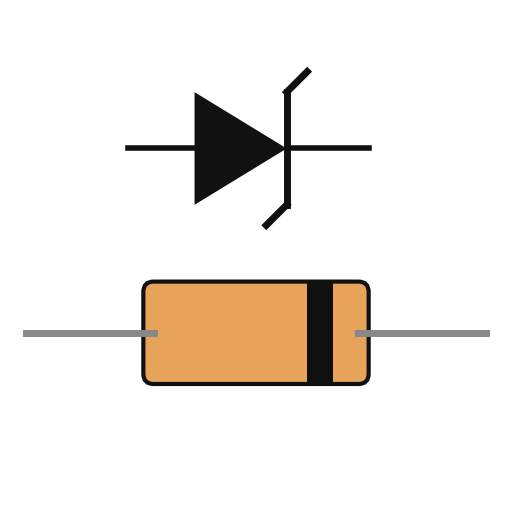 ซีเนอร์ไดโอด2 bias
เครื่องมือที่ต้องใช้:
 สว่านมือ
 ชุดไขควง
2
2
Fit the pass transistor and current bridge
Fit the pass transistor and current bridge
Put a power transistor on a heat sink in series with the output: collector to the negative supply, emitter through a current-sensing resistor to the negative output terminal. Make the current bridge from the sensing resistor, a reference Zener, a reference resistor and the adjustable current-control resistor: the output current is proportional to its setting. A small trimming resistor sets the maximum current. Not given: the values.
วัสดุสำหรับขั้นตอนนี้:
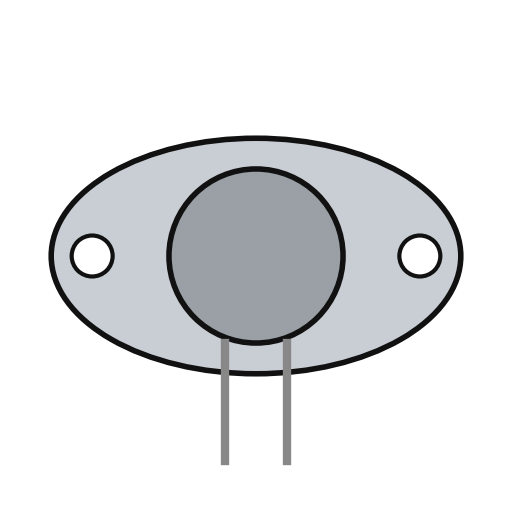 ทรานซิสเตอร์กำลัง1 series pass
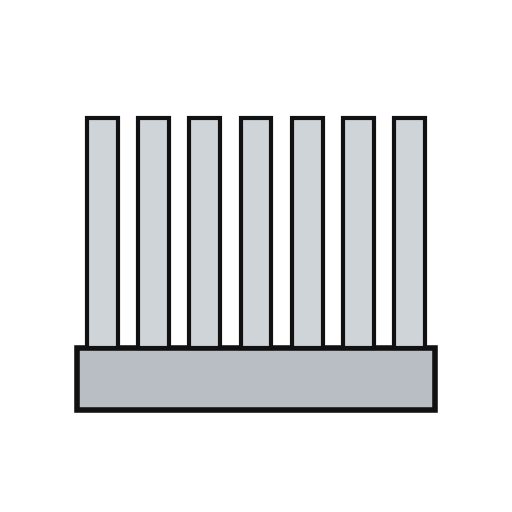 แผ่นระบายความร้อน1 ชิ้นซีเนอร์ไดโอด1 current reference
 รีโอสแตต1 current control
 ความต้านทาน1 sensing, reference, trim set
 ขั้วต่อแบบไบดิงโพสต์2 output + and -
เครื่องมือที่ต้องใช้:
 หัวแร้งบัดกรี
3
3
Build the voltage bridge
Build the voltage bridge
Make the voltage bridge from a reference Zener, a reference resistor, the adjustable voltage-control resistor and the load itself across the output. A small trimming resistor sets the maximum voltage. Add two resistors that feed the current bridge enough extra to cover the voltage bridge's own current and any voltmeter across the output, so low currents are still held exactly.
วัสดุสำหรับขั้นตอนนี้:
ซีเนอร์ไดโอด1 voltage referenceรีโอสแตต1 voltage controlความต้านทาน1 reference, trim, compensation setเครื่องมือที่ต้องใช้:
หัวแร้งบัดกรี4
4
Build the amplifiers and cross-over
Build the amplifiers and cross-over
Give each bridge an error amplifier. Feed the two amplified errors to the bases of a pair of transistors sharing one emitter resistor: whichever base is the more negative takes control and cuts the other off, so the supply is always cleanly in voltage mode or current mode. Amplify the shared emitter signal through two more transistors to drive the pass transistor's base. Add an emitter-follower clamp on the bias line. Not given: the transistor types.
วัสดุสำหรับขั้นตอนนี้:
 แผ่นวงจรพิมพ์1 ชิ้น
 ชุดทรานซิสเตอร์คละแบบ1 error amplifiers, cross-over pair, drivers, clampความต้านทาน1 ชุด
 โพเทนชิออมิเตอร์1 clamp divider
 ลวดตะกั่วบัดกรี1 as needed
เครื่องมือที่ต้องใช้:
หัวแร้งบัดกรี5
5
Fit the mode lamps and use it
Fit the mode lamps and use it
From the cross-over pair, drive two lamp transistors, each lighting one lamp: one for voltage mode, one for current mode. In use, set the voltage and the current limit. With a light load the voltage lamp is lit and the voltage holds; if the load tries to draw more than the set current, the supply switches to holding the current and the current lamp lights.
วัสดุสำหรับขั้นตอนนี้:
ชุดทรานซิสเตอร์คละแบบ1 two lamp drivers ขั้วหลอดไฟ2 ชิ้น
 หลอดไฟ2 ชิ้น
เครื่องมือที่ต้องใช้:
ชุดไขควงวัสดุ
19- 1 ชิ้นตัวยึดตำแหน่ง
- 1 ชิ้นตัวยึดตำแหน่ง
- ตัวยึดตำแหน่ง
- 1 ชิ้นตัวยึดตำแหน่ง
- 2 ชิ้นตัวยึดตำแหน่ง
- 6 rectifiersตัวยึดตำแหน่ง
- 3 filtersตัวยึดตำแหน่ง
- 1 voltage referenceตัวยึดตำแหน่ง
- 1 series passตัวยึดตำแหน่ง
- 1 ชิ้นตัวยึดตำแหน่ง
- 1 voltage controlตัวยึดตำแหน่ง
- 1 ชุดตัวยึดตำแหน่ง
- ตัวยึดตำแหน่ง
- 1 ชิ้นตัวยึดตำแหน่ง
- 1 two lamp driversตัวยึดตำแหน่ง
- ตัวยึดตำแหน่ง
- 1 as neededตัวยึดตำแหน่ง
- 2 ชิ้นตัวยึดตำแหน่ง
- 2 ชิ้นตัวยึดตำแหน่ง
พิมพ์เขียวนี้สร้าง

บลูพริ้นท์ที่เกี่ยวข้อง
บลูพริ้นท์เหล่านี้แบ่งปันความรู้ — เทคนิค วัสดุ หรือหลักการ
CC0 สาธารณสมบัติ
พิมพ์เขียวนี้เผยแพร่ภายใต้ CC0 คุณสามารถคัดลอก แก้ไข แจกจ่าย และใช้งานผลงานนี้เพื่อวัตถุประสงค์ใดก็ได้ โดยไม่ต้องขออนุญาต
สนับสนุนเมกเกอร์โดยซื้อสินค้าผ่านพิมพ์เขียวของพวกเขา ซึ่งพวกเขาจะได้รับ ค่าคอมมิชชันเมกเกอร์ ที่ผู้ขายกำหนด หรือสร้างเวอร์ชันใหม่ของพิมพ์เขียวนี้และรวมเป็นการเชื่อมต่อในพิมพ์เขียวของคุณเพื่อแบ่งรายได้