ศิลปะ
ความงามและสุขภาพ
งานฝีมือ
วัฒนธรรมและประวัติศาสตร์
ความบันเทิง
สิ่งแวดล้อม
อาหารและเครื่องดื่ม
วิศวกรรมย้อนรอย
วิทยาศาสตร์
กีฬา
เทคโนโลยี
อุปกรณ์สวมใส่
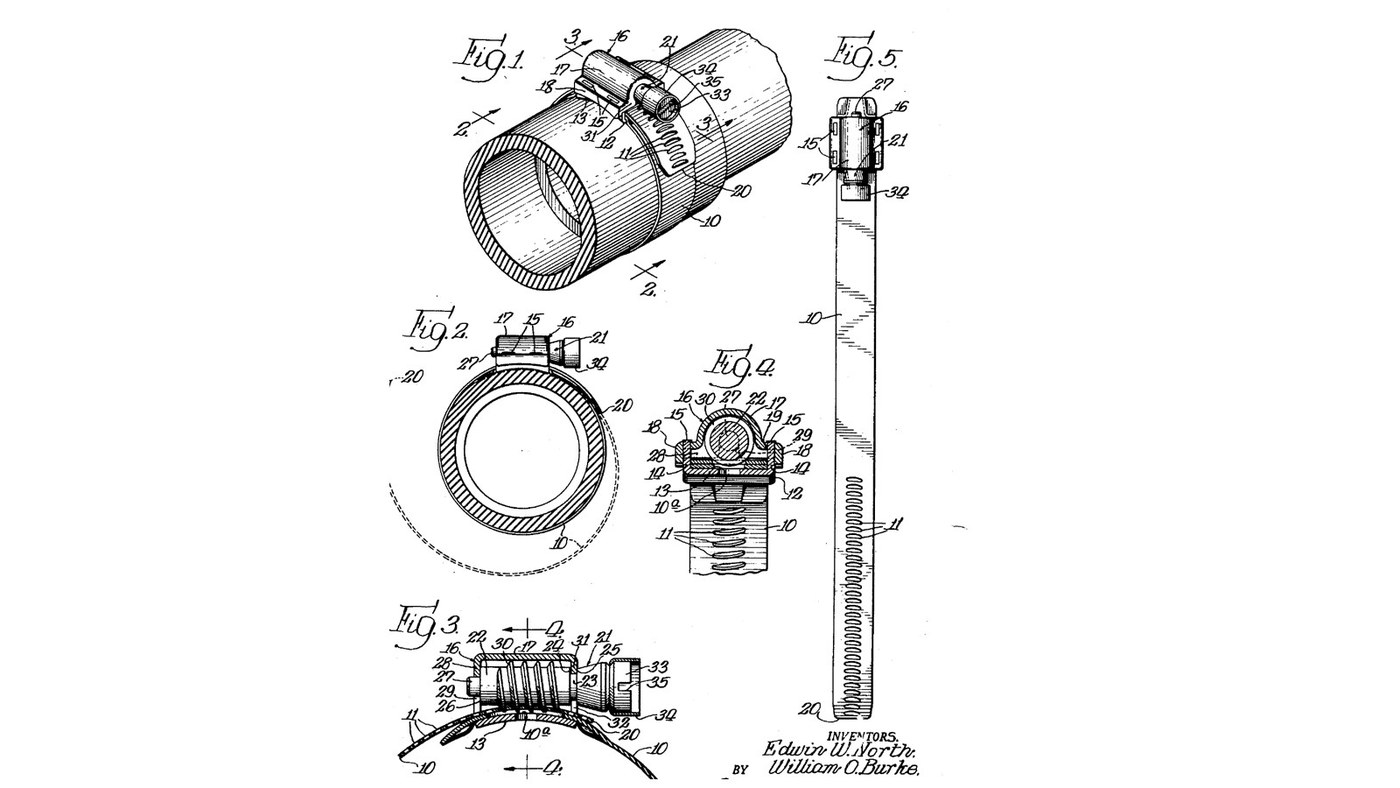


Hose-Clamp Saddle, Screw Housing and Worm Screw (North & Burke, 1945)
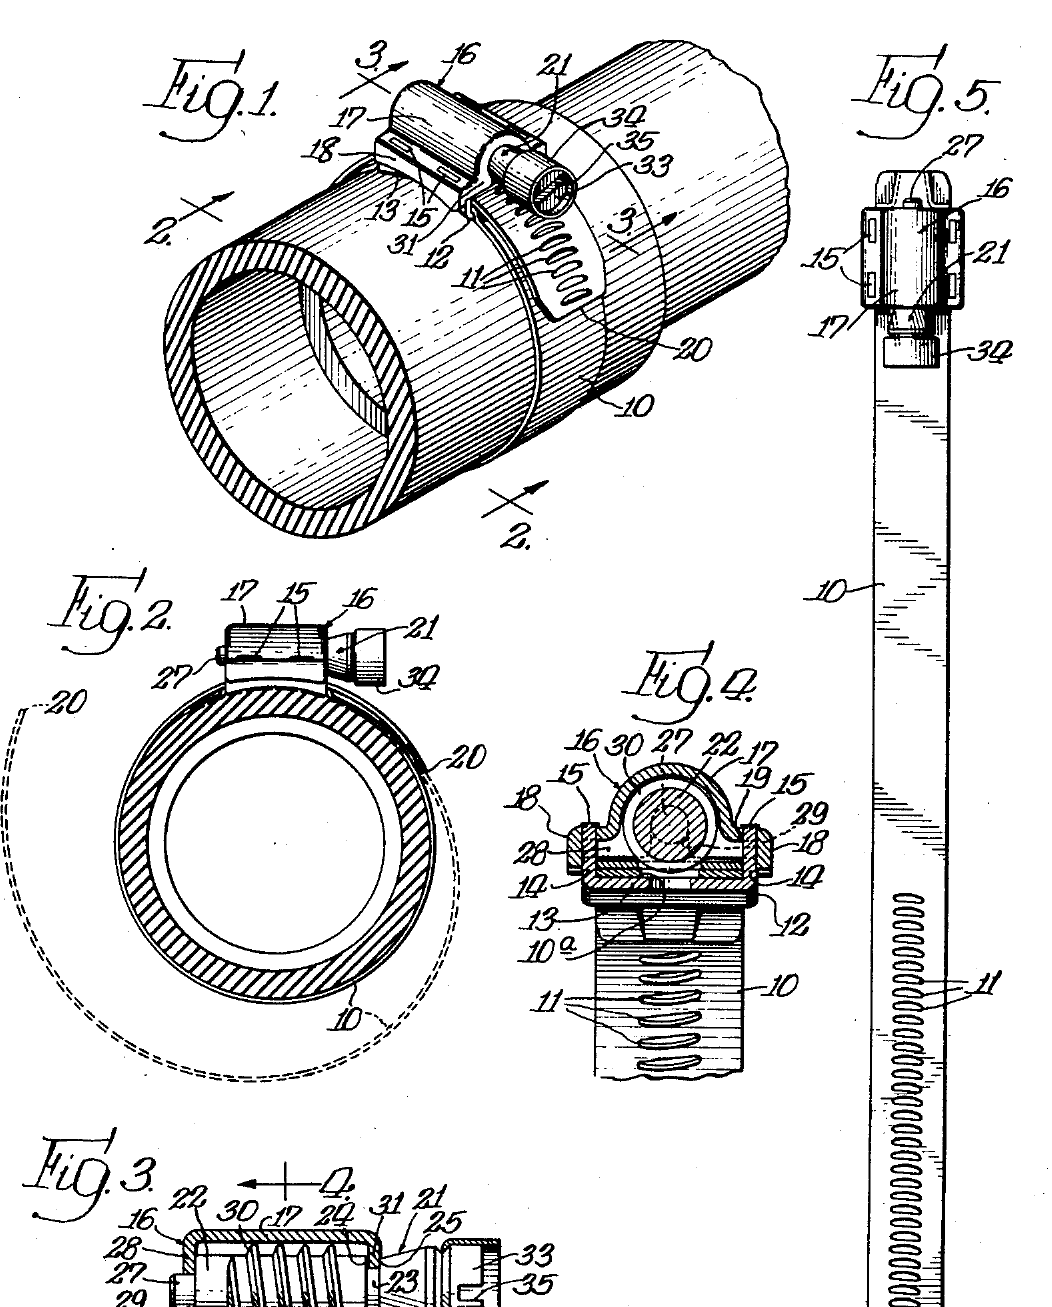
North and Burke's worm-drive hose clamp of 1945 has three small parts on the band: a U-shaped saddle welded to it, a housing that fits over the saddle as the screw's casing, held by prongs riveted through its flanges, and a screw with one continuous thread whose reduced ends sit in slots in the housing's end walls. Here they are made by hand from mild steel sheet and bar instead of being stamped; method and sizes are ours.
The picture: North and Burke's patent drawing, US 2,386,629.
ขั้นสูง
1 day
คำแนะนำ
1
1
Saddle
Saddle
From 0.8 mm mild steel sheet cut a strip as wide as the band, with two narrow tabs on each long edge for the prongs. Bend the long edges up into a U and curve the base slightly along its length to match the band.
วัสดุสำหรับขั้นตอนนี้:
 แผ่นเหล็กกล้าละมุน1 ชิ้น
เครื่องมือที่ต้องใช้:
 เหล็กขีด
 ไม้บรรทัด
 กรรไกรตัดแผ่นโลหะ
 ชุดตะไบ
 ปากกาจับชิ้นงานหน้าโต๊ะ
 ค้อนหัวลิ่มขวาง
 ถุงมือหนังสำหรับทำงาน
2
2
Screw housing
Screw housing
Cut a blank for the casing that fits over the saddle, with a flange along each side and an end wall at each end. Drill a hole in each flange where a prong will pass, and cut a slot down into each end wall for the screw's reduced ends. Bend it to shape.
เครื่องมือที่ต้องใช้:
เหล็กขีดกรรไกรตัดแผ่นโลหะ สว่านมือชุดตะไบปากกาจับชิ้นงานหน้าโต๊ะค้อนหัวลิ่มขวางถุงมือหนังสำหรับทำงาน
3
3
Turn the worm screw
Turn the worm screw
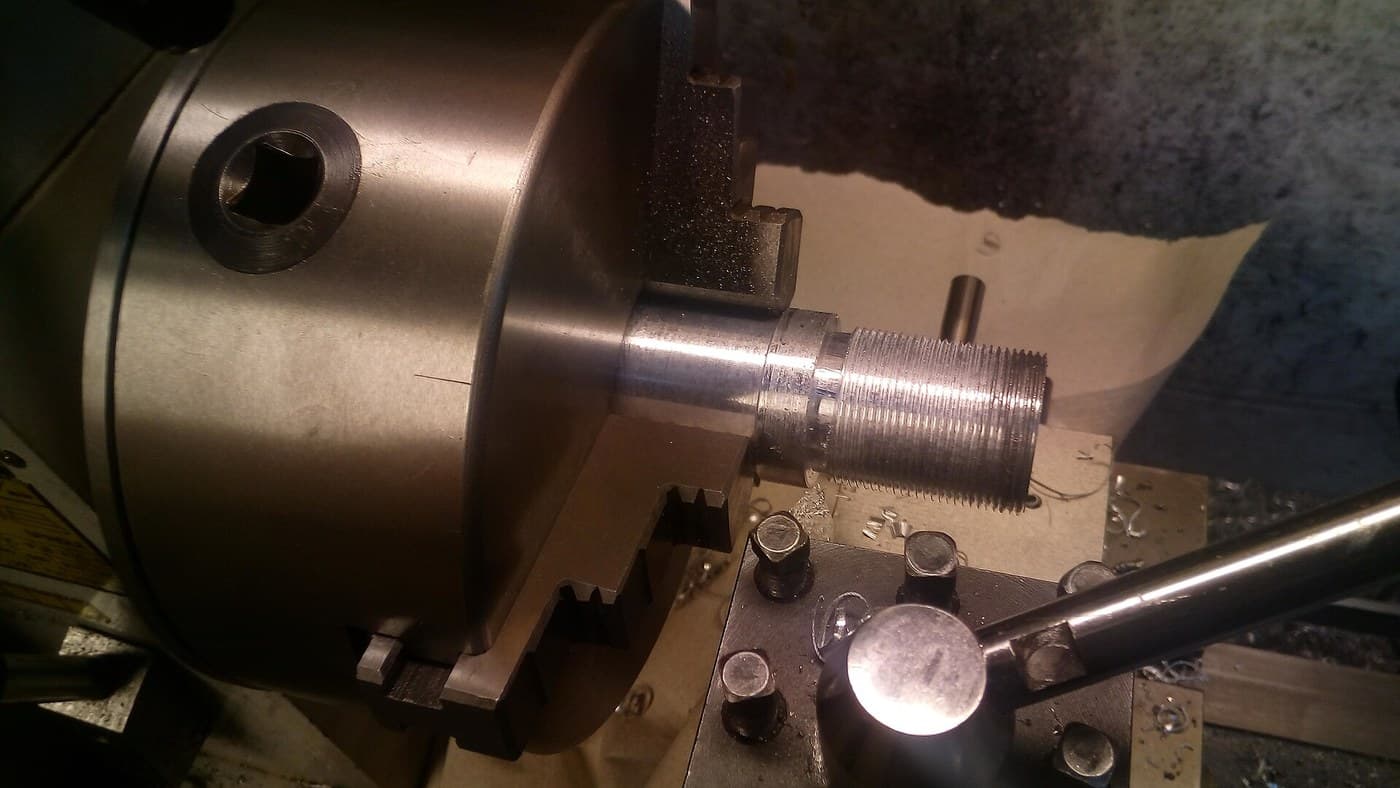
Chuck mild steel bar and turn the screw: a head with a screwdriver slot, a shoulder, the threaded body, and a reduced end at each end that drops into the housing's slots, with shoulders that bear on the end walls.
วัสดุสำหรับขั้นตอนนี้:
 แท่งเหล็กกล้าละมุน1 ชิ้น
เครื่องมือที่ต้องใช้:
 เครื่องกลึงโลหะ
 หัวจับกลึงสามจับ
 มีดกลึง
 มีดตัดงานกลึง
 เลื่อยตัดเหล็ก
 เวอร์เนียร์ดิจิทัล 6 นิ้ว
 น้ำมันตัดกลึง
 แว่นนิรภัย
4
4
Cut the thread
Cut the thread
Single-point cut one continuous thread along the body, its pitch matching the spacing of the band's slots, with a flat working face and a rounded back so it fills the slots.
เครื่องมือที่ต้องใช้:
เครื่องกลึงโลหะมีดกลึง เกจวัดระยะพิตช์เกลียวน้ำมันตัดกลึง
5
5
Trial fit
Trial fit
Lay the screw in the saddle with its ends in the housing's slots, fit the housing over it and check the prongs pass through the flange holes and the screw turns freely without end play. The clamp blueprint then welds, rivets and assembles them.
เครื่องมือที่ต้องใช้:
เวอร์เนียร์ดิจิทัล 6 นิ้วชุดตะไบวัสดุ
2- 1 ชิ้นตัวยึดตำแหน่ง
- 1 ชิ้นตัวยึดตำแหน่ง
เครื่องมือที่จำเป็น
17- ตัวยึดตำแหน่ง
- ตัวยึดตำแหน่ง
- ตัวยึดตำแหน่ง
- ตัวยึดตำแหน่ง
- ตัวยึดตำแหน่ง
- ตัวยึดตำแหน่ง
- ตัวยึดตำแหน่ง
- ตัวยึดตำแหน่ง
- ตัวยึดตำแหน่ง
- ตัวยึดตำแหน่ง
- ตัวยึดตำแหน่ง
- ตัวยึดตำแหน่ง
- ตัวยึดตำแหน่ง
- ตัวยึดตำแหน่ง
- ตัวยึดตำแหน่ง
- ตัวยึดตำแหน่ง
- ตัวยึดตำแหน่ง
พิมพ์เขียวนี้สร้าง
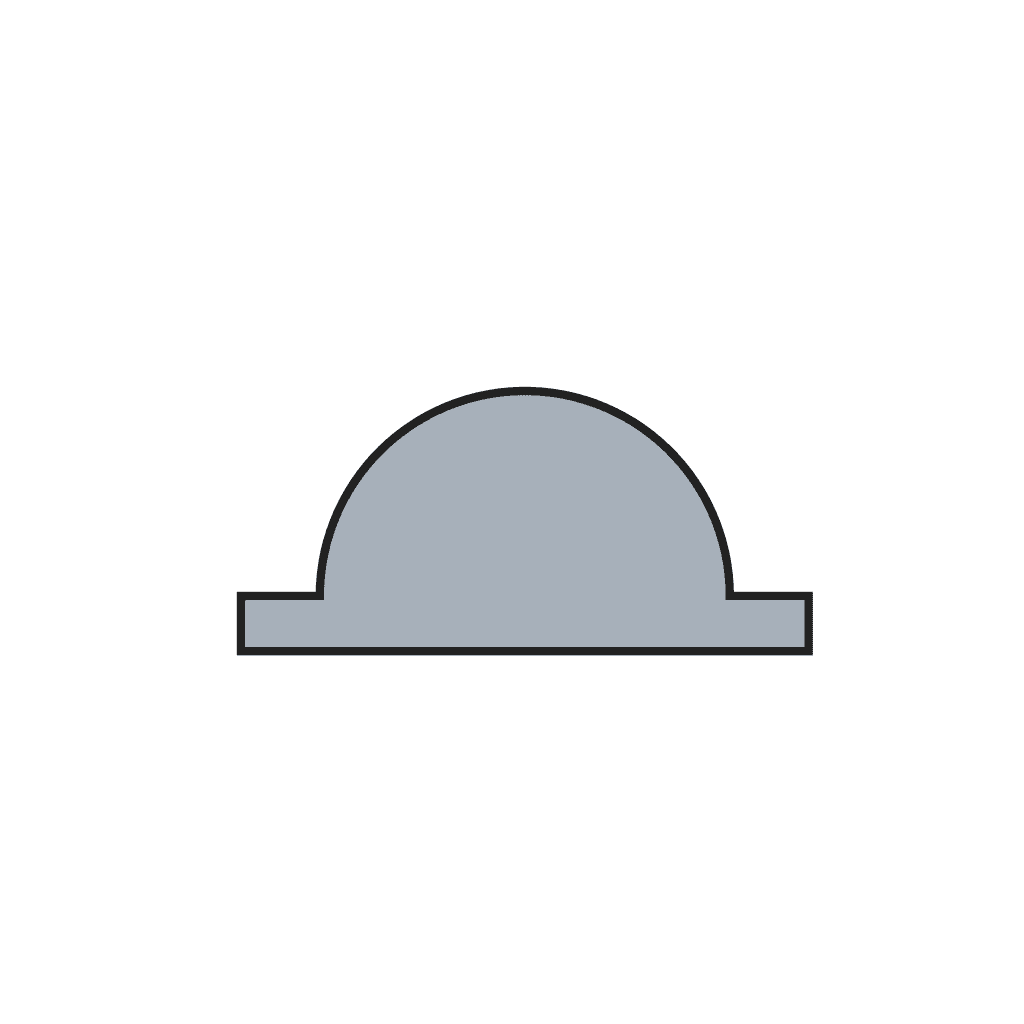
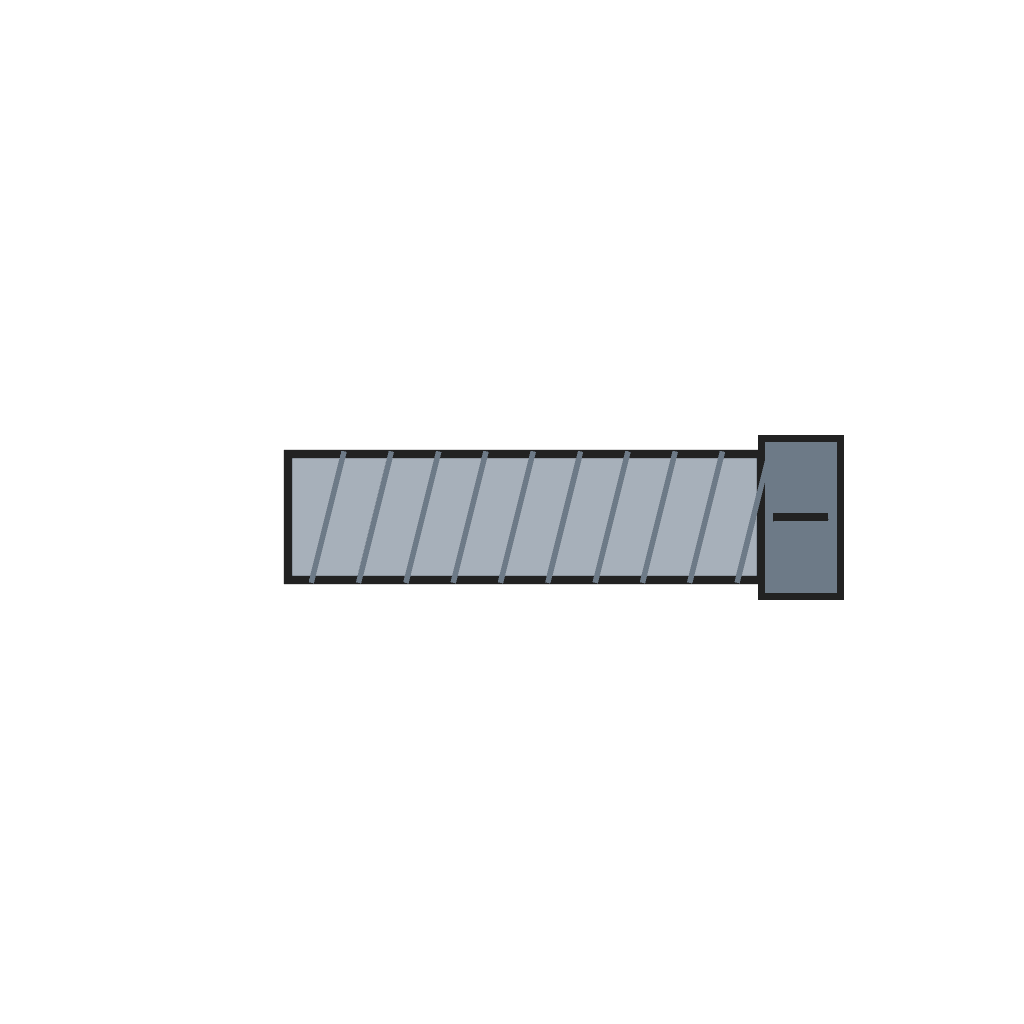
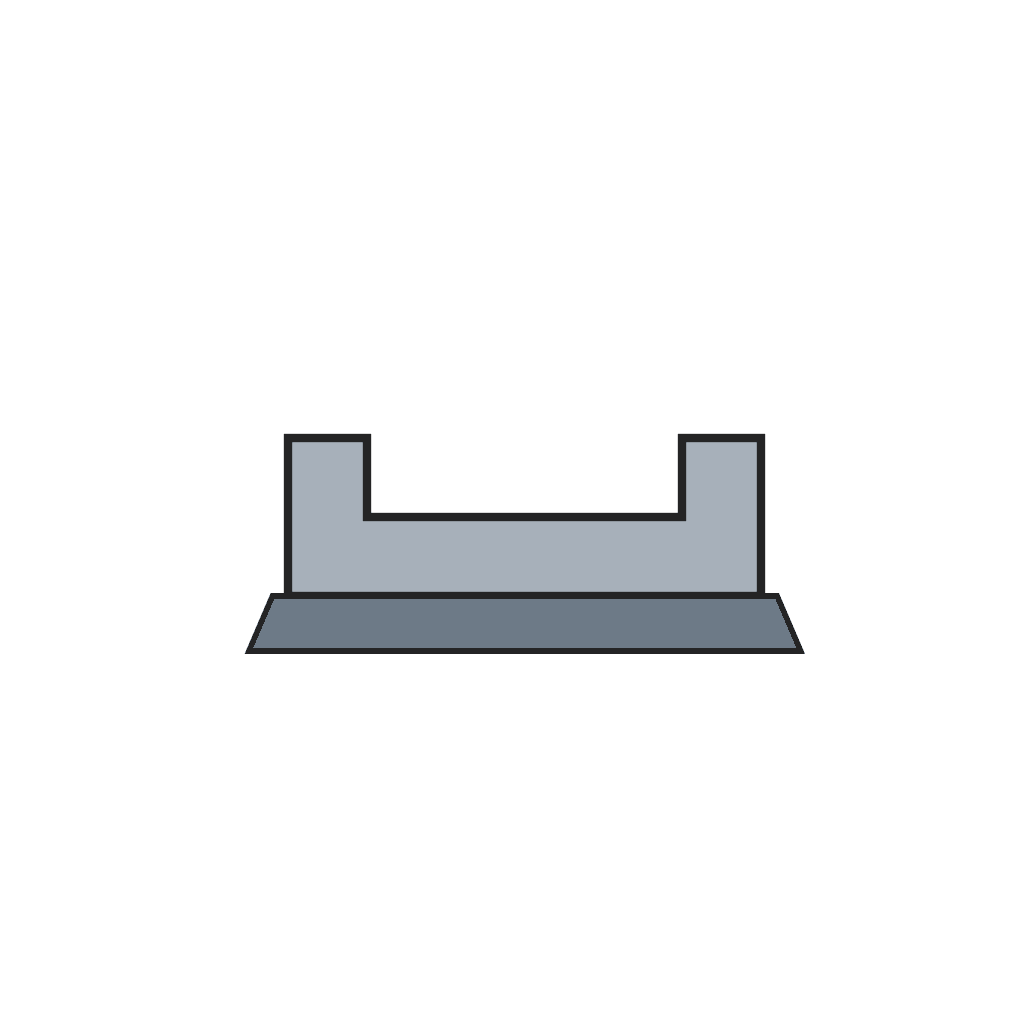
บลูพริ้นท์ที่เกี่ยวข้อง
บลูพริ้นท์เหล่านี้แบ่งปันความรู้ — เทคนิค วัสดุ หรือหลักการ

CC0 สาธารณสมบัติ
พิมพ์เขียวนี้เผยแพร่ภายใต้ CC0 คุณสามารถคัดลอก แก้ไข แจกจ่าย และใช้งานผลงานนี้เพื่อวัตถุประสงค์ใดก็ได้ โดยไม่ต้องขออนุญาต
สนับสนุนเมกเกอร์โดยซื้อสินค้าผ่านพิมพ์เขียวของพวกเขา ซึ่งพวกเขาจะได้รับ ค่าคอมมิชชันเมกเกอร์ ที่ผู้ขายกำหนด หรือสร้างเวอร์ชันใหม่ของพิมพ์เขียวนี้และรวมเป็นการเชื่อมต่อในพิมพ์เขียวของคุณเพื่อแบ่งรายได้