ศิลปะ
ความงามและสุขภาพ
งานฝีมือ
วัฒนธรรมและประวัติศาสตร์
ความบันเทิง
สิ่งแวดล้อม
อาหารและเครื่องดื่ม
วิศวกรรมย้อนรอย
วิทยาศาสตร์
กีฬา
เทคโนโลยี
อุปกรณ์สวมใส่
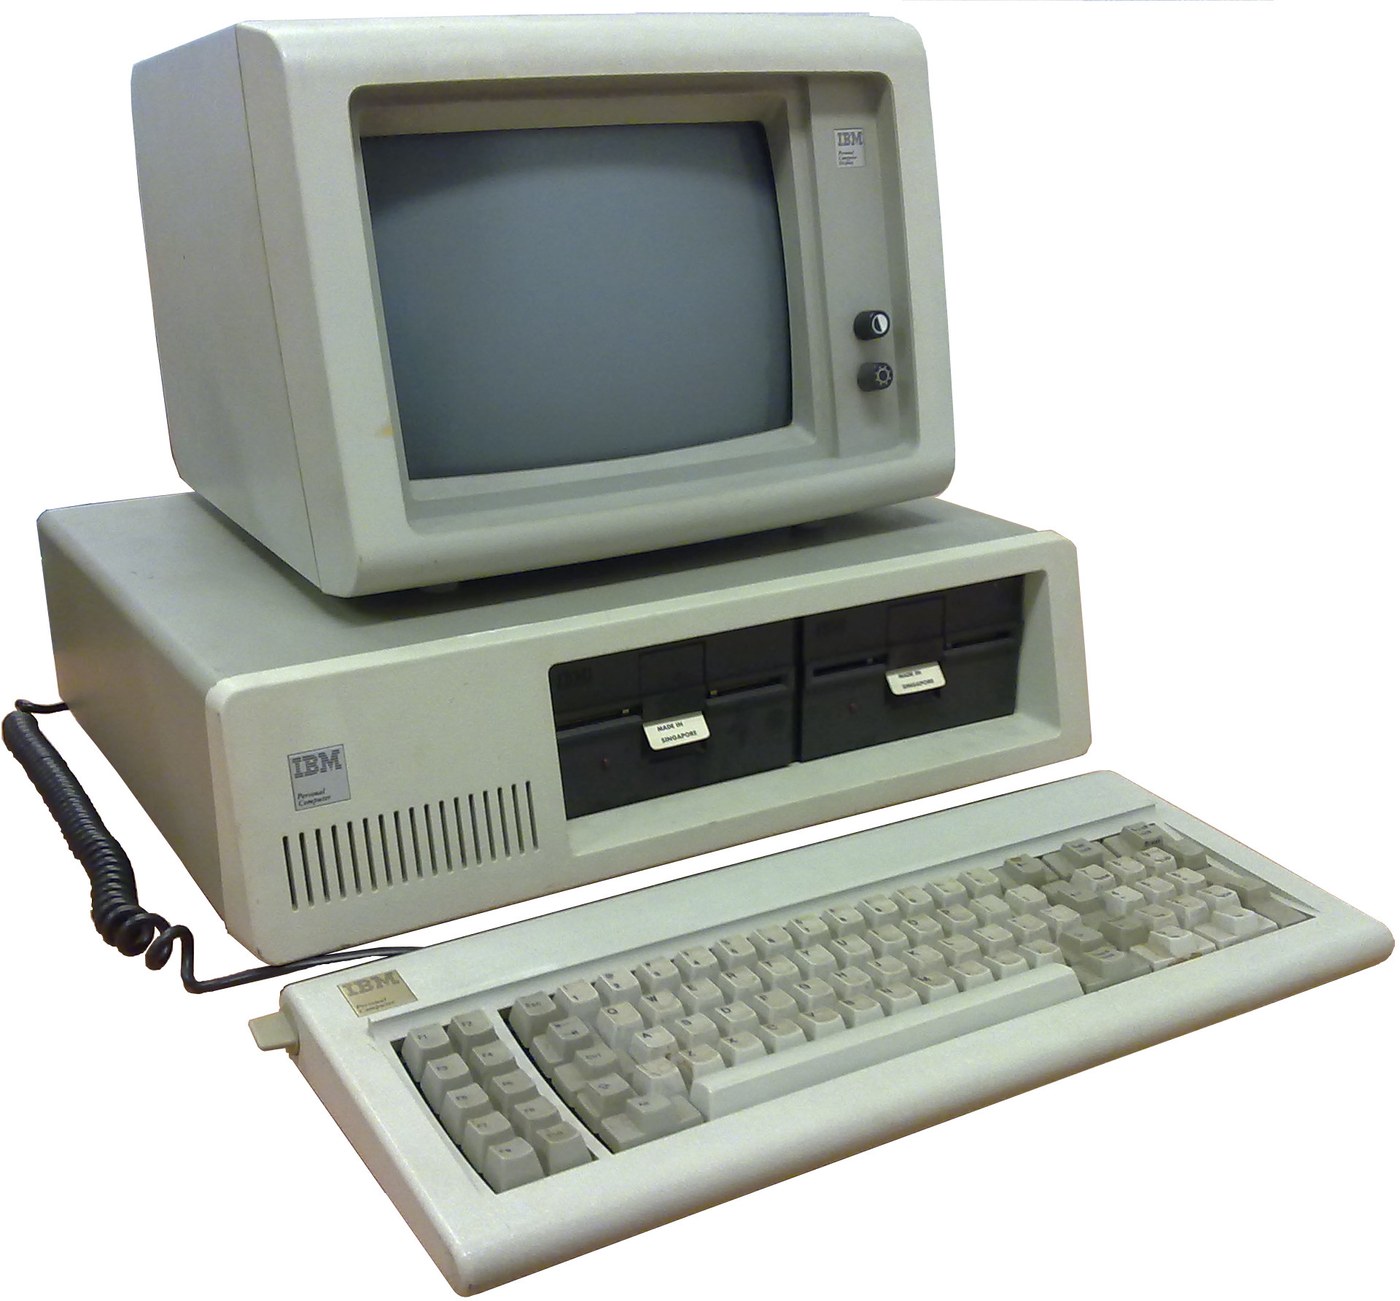


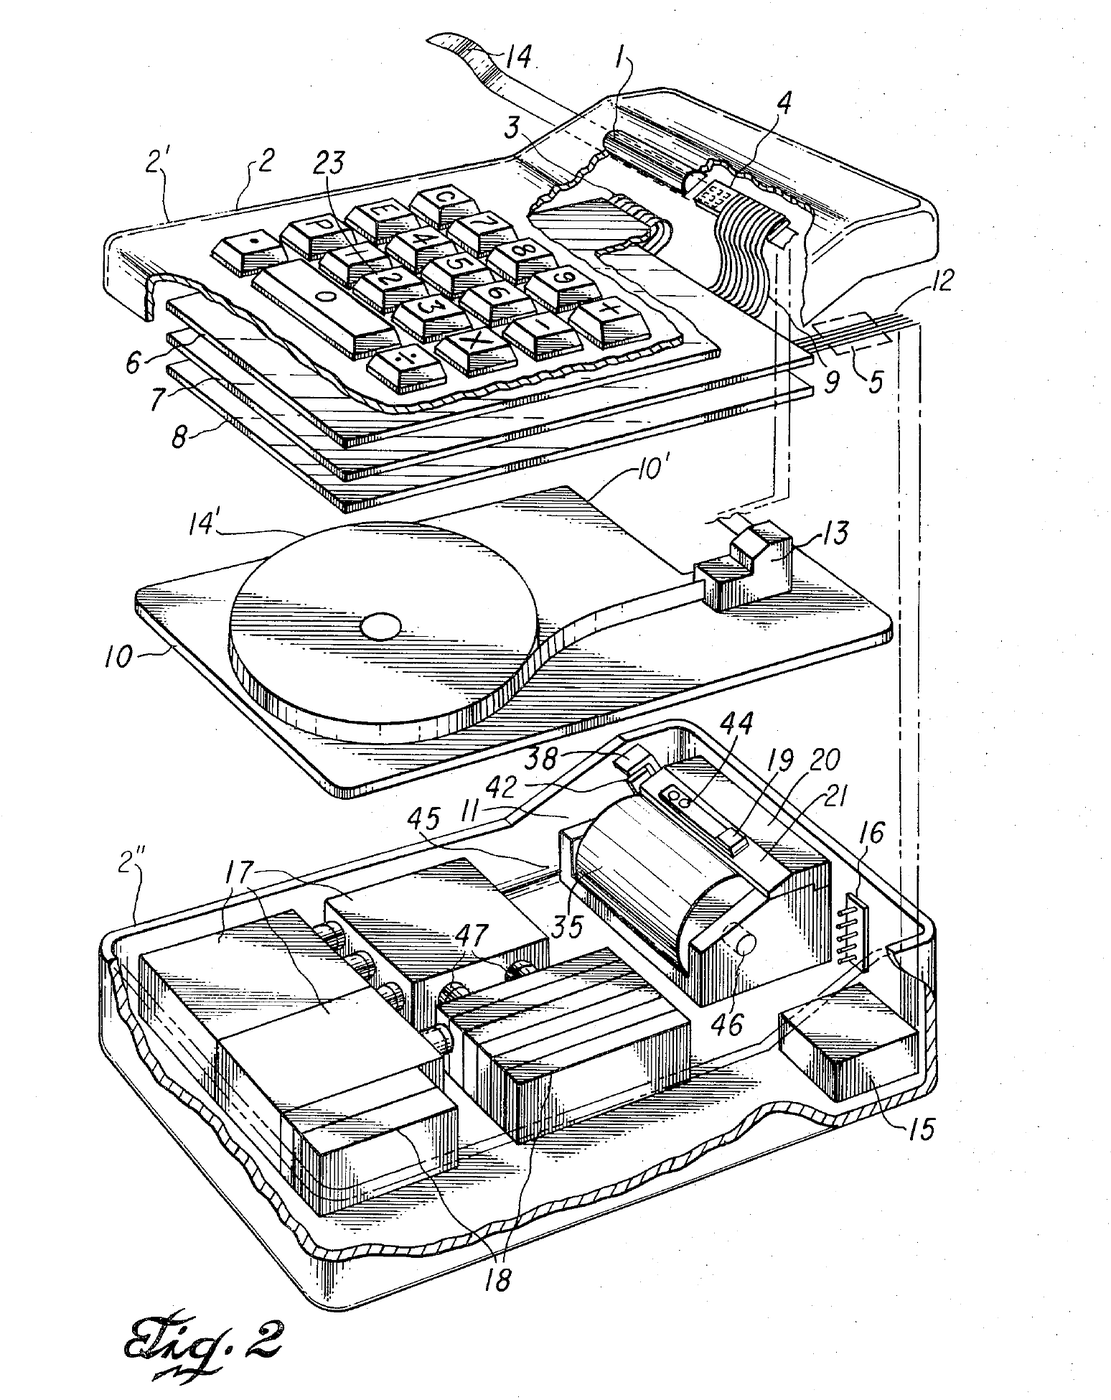
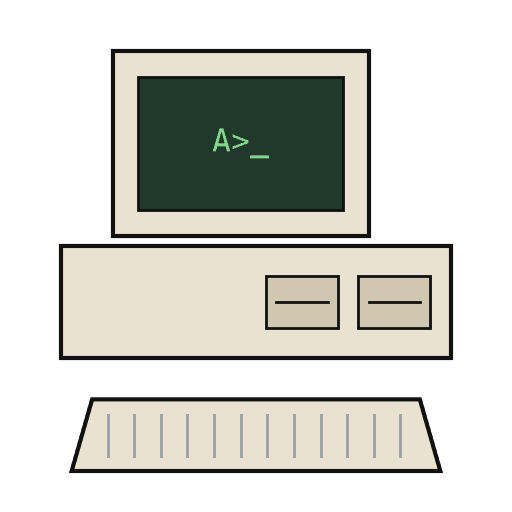
IBM Personal Computer (5150): System Unit, Keyboard and Display (IBM Technical Reference, 1981)
IBM's first personal computer, the machine today's desktop PCs descend from. One system unit holds an Intel 8088 system board, a power supply and five expansion slots. A keyboard, a display and 5-1/4 inch diskette drives complete it. IBM published its whole design, down to the BIOS program, in the Technical Reference.
Result: an IBM PC that tests itself at power-on and starts an operating system from diskette.
Source: IBM Personal Computer Technical Reference (1981; edition of April 1984). Unknown: the chassis and its sizes, the display and diskette adapter cards (described in IBM's separate Options and Adapters volumes), and how each part is made. Ours: the assembly order. Picture: Wikimedia Commons.
ขั้นสูง
1 week
คำแนะนำ
1
1
Populate the system board
Populate the system board
On the system board, fit the Intel 8088 processor. It runs at 4.77 MHz, taken from a 14.31818 MHz crystal divided by 3; divided by 4, the same crystal gives the 3.58 MHz colour-burst signal for colour TVs. Fit its support chips: the 8237A-5 DMA controller, 8259A interrupt controller, 8253-5 timer and 8255A-5 peripheral interface. Add the ROM holding the BIOS, the read/write memory, the speaker circuit, five expansion slots, and 5-pin DIN sockets for the keyboard and a cassette recorder. The 8088 runs in maximum mode, so a coprocessor can be added later. Set switch SW1 to tell the machine what it has: whether to start from a 5-1/4 inch diskette drive, how much read/write memory is on the board, which display adapter is fitted, and how many diskette drives there are. Not given here: the board layout.
วัสดุสำหรับขั้นตอนนี้:
 แผ่นวงจรพิมพ์1 system board
 วงจรรวม1 8088, 8237A-5, 8259A, 8253-5, 8255A-5, ROM, RAM
 ผลึกควอตซ์1 14.31818 MHz
 ไบออสของ IBM PC1 in ROM
 สวิตช์ DIP1 SW1
 ลวดตะกั่วบัดกรี1 as needed
เครื่องมือที่ต้องใช้:
 หัวแร้งบัดกรี
2
2
Fit the board and power supply in the chassis
Fit the board and power supply in the chassis
Screw the system board into the system-unit chassis. Fit the power supply at the right rear; its housing supports the rear panel and its fan cools the whole machine. It is rated for 63.5 W continuous, from a fused 120 V or 220/240 V input. Its four protected outputs are +5 V at 7 A, +12 V at 2 A, -5 V at 0.3 A and -12 V at 0.25 A, bussed to all five slots. It also has a power-good signal, a switched mains socket for the monochrome display and two drive power plugs. Not given: the chassis metal and sizes.
วัสดุสำหรับขั้นตอนนี้:
 โลหะที่ไม่ทราบ1 chassis
 แหล่งจ่ายไฟคอมพิวเตอร์1 63.5 W
 สกรูเกลียวมิล1 ชุด
เครื่องมือที่ต้องใช้:
 ชุดไขควง
 ขนาดที่ไม่ทราบ
 มัลติมิเตอร์
3
3
Add the drives and adapter cards
Add the drives and adapter cards
Fit up to two 5-1/4 inch diskette drives, each powered from its own plug on the supply. Only one drive runs at a time. Plug a diskette drive adapter and a display adapter (monochrome or colour/graphics) into expansion slots, and cable the drives to their adapter. Not given here: the adapter cards and cables, which IBM describes in its separate Options and Adapters volumes.
วัสดุสำหรับขั้นตอนนี้:
 ไดรฟ์ดิสเก็ตต์ 5¼ นิ้ว2 up to two
 การ์ดขยาย2 diskette adapter, display adapter
 สายแพ1 drive cable
เครื่องมือที่ต้องใช้:
ชุดไขควง4
4
Connect keyboard and display, and power on
Connect keyboard and display, and power on
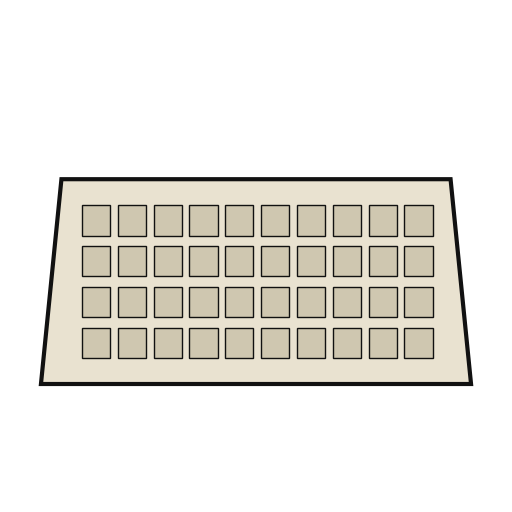
Plug in the keyboard: 83 keys, with the typewriter keys in the middle, 10 function keys on the left and a 15-key pad on the right. It sends scan codes, not letters, so the software decides what each key does. Connect the display to its adapter and to the switched socket. Switch on: the power-on self-test in the BIOS checks the machine, sets up its interrupt vectors, and looks for extra ROM on the adapter cards. The bootstrap loader then starts the operating system from a diskette.
วัสดุสำหรับขั้นตอนนี้:
 แป้นพิมพ์คอมพิวเตอร์1 83 keys
 จอภาพคอมพิวเตอร์1 ชิ้น
เครื่องมือที่ต้องใช้:
 แผ่นดิสเกตต์
วัสดุ
14- 1 system boardตัวยึดตำแหน่ง
- 1 8088, 8237A-5, 8259A, 8253-5, 8255A-5, ROM, RAMตัวยึดตำแหน่ง
- 1 14.31818 MHzตัวยึดตำแหน่ง
- 1 in ROMตัวยึดตำแหน่ง
- ตัวยึดตำแหน่ง
- 1 as neededตัวยึดตำแหน่ง
- 1 chassisตัวยึดตำแหน่ง
- 1 63.5 Wตัวยึดตำแหน่ง
- 1 ชุดตัวยึดตำแหน่ง
- 2 up to twoตัวยึดตำแหน่ง
- 2 diskette adapter, display adapterตัวยึดตำแหน่ง
- ตัวยึดตำแหน่ง
- 1 83 keysตัวยึดตำแหน่ง
- 1 ชิ้นตัวยึดตำแหน่ง
เครื่องมือที่จำเป็น
5- 2 vendors sell this, none ship to you yetตัวยึดตำแหน่ง
- ตัวยึดตำแหน่ง
- ตัวยึดตำแหน่ง
- ตัวยึดตำแหน่ง
- ตัวยึดตำแหน่ง
วัสดุจากพิมพ์เขียวที่เชื่อมต่อ
พิมพ์เขียวนี้สร้าง
CC0 สาธารณสมบัติ
พิมพ์เขียวนี้เผยแพร่ภายใต้ CC0 คุณสามารถคัดลอก แก้ไข แจกจ่าย และใช้งานผลงานนี้เพื่อวัตถุประสงค์ใดก็ได้ โดยไม่ต้องขออนุญาต
สนับสนุนเมกเกอร์โดยซื้อสินค้าผ่านพิมพ์เขียวของพวกเขา ซึ่งพวกเขาจะได้รับ ค่าคอมมิชชันเมกเกอร์ ที่ผู้ขายกำหนด หรือสร้างเวอร์ชันใหม่ของพิมพ์เขียวนี้และรวมเป็นการเชื่อมต่อในพิมพ์เขียวของคุณเพื่อแบ่งรายได้