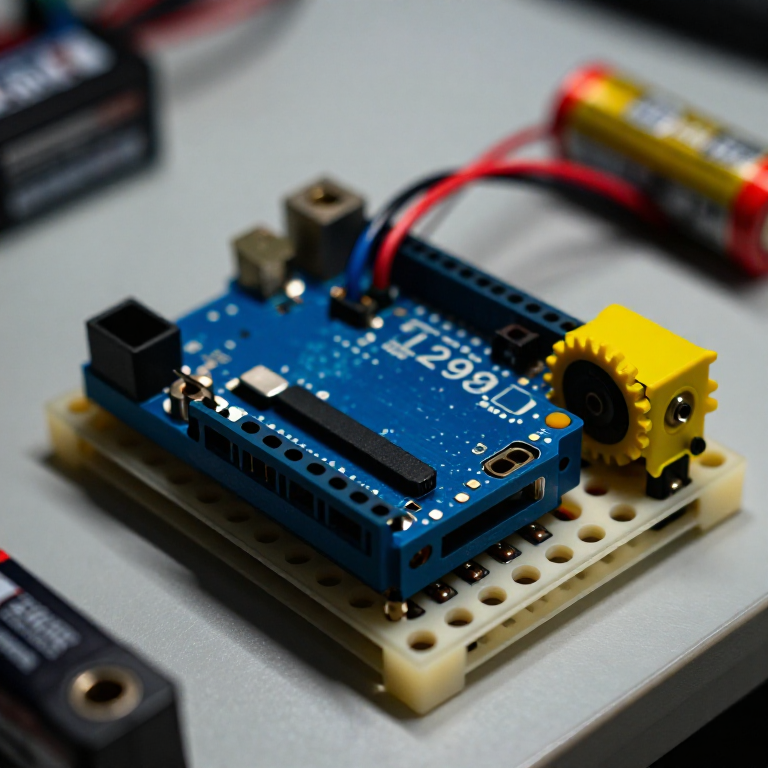


Controlling a DC Motor with an L298N Driver
An Arduino pin can't power a motor directly — it can't supply enough current, and it can't reverse the flow. An L298N H-bridge solves both: the Arduino sends low-power control signals, and the driver switches the motor's own battery to run it forwards, backwards and at any speed. This is the core building block of every wheeled robot.
Зааварчилгаа
Wire the driver, motor and battery
Wire the driver, motor and battery
Push the L298N's control header into the breadboard. From the Arduino, jumper pin 8 to IN1, pin 9 to IN2, and pin 10 to ENA. Connect the DC motor's two wires to the OUT1/OUT2 screw terminals, and a 4×AA battery pack to the +12V and GND motor terminals. IMPORTANT: join all the grounds together — Arduino GND, driver GND and battery GND — or the motor won't run.
Энэ алхмын материал:
 Arduino Uno R31 ширхэг
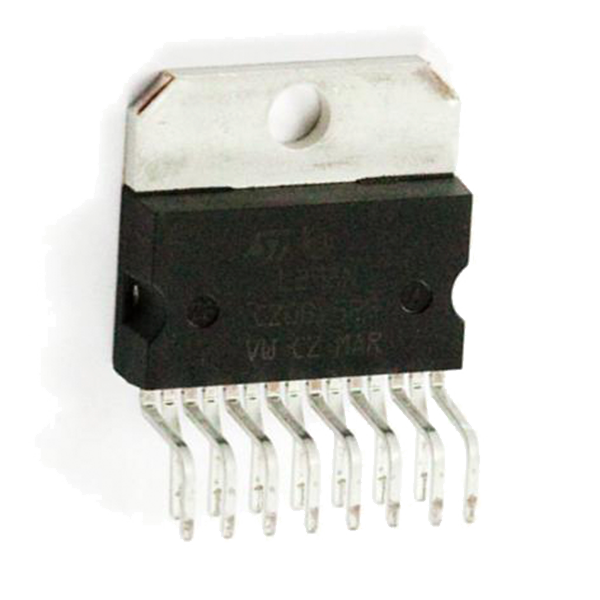 Full-Bridge Motor Driver Dual - L298N1 ширхэг
 Хурд хасагчтай мотор1 ширхэг
 Зайны суурь1 ширхэг
 Макет самбар1 ширхэг
 Холбогч утас1 баглаа
Connect and open the IDE
Connect and open the IDE
Plug the Arduino into your computer with the USB cable, open the Arduino IDE, and select Arduino Uno and its serial port. Leave the motor battery switched off until the code is uploaded.
Шаардлагатай багаж:
 Arduino IDE суулгасан компьютер
 USB-B кабель
Upload the motor sketch
Upload the motor sketch
Paste this sketch and upload, then switch on the battery. The motor runs forward, stops, reverses, and stops — on a loop.
Test and control it
Test and control it
Watch the motor go forward, stop, reverse. IN1/IN2 set the direction (swap which is HIGH to flip it); the number in analogWrite(ENA, ...) sets the speed from 0 (off) to 255 (full). If the motor doesn't spin, check that all three grounds are joined and the battery is on.
Make it a robot
Make it a robot
The L298N drives TWO motors. Wire a second motor to OUT3/OUT4 and control it with IN3, IN4 and ENB on three more Arduino pins. Two motors on a chassis with wheels gives you a robot base you can drive — turn by running the wheels at different speeds or directions.
Материал
6- Түр орлуулагч
- Full-Bridge Motor Driver Dual - L298N10% комисс1 ширхэг$3.60
- Түр орлуулагч
- Түр орлуулагч
- Түр орлуулагч
- Түр орлуулагч
Шаардлагатай багаж
2- Түр орлуулагч
- 1 vendor sell this, none ship to you yetТүр орлуулагч
Холбоотой загварууд
Эдгээр загварууд мэдлэг хуваалцдаг — арга техник, материал эсвэл зарчим


CC0 Нийтийн домэйн
Энэ загвар CC0 дор гаргагдсан. Та зөвшөөрөл авахгүйгээр хуулах, өөрчлөх, түгээх, ашиглах боломжтой.
Загвараар дамжуулан бүтээгдэхүүн худалдаж авч Бүтээгчийг дэмжээрэй Бүтээгчийн шимтгэл Борлуулагчаар тогтоосон, эсвэл энэ загварын шинэ хувилбар үүсгэж орлогоо хуваахын тулд өөрийн загварт холбоос болгон оруулна уу.