ARTE
BELLEZA Y BIENESTAR
ARTESANÍA
CULTURA E HISTORIA
ENTRETENIMIENTO
MEDIO AMBIENTE
COMIDA Y BEBIDAS
INGENIERÍA INVERSA
CIENCIAS
DEPORTES
TECNOLOGÍA
TECNOLOGÍA VESTIBLE
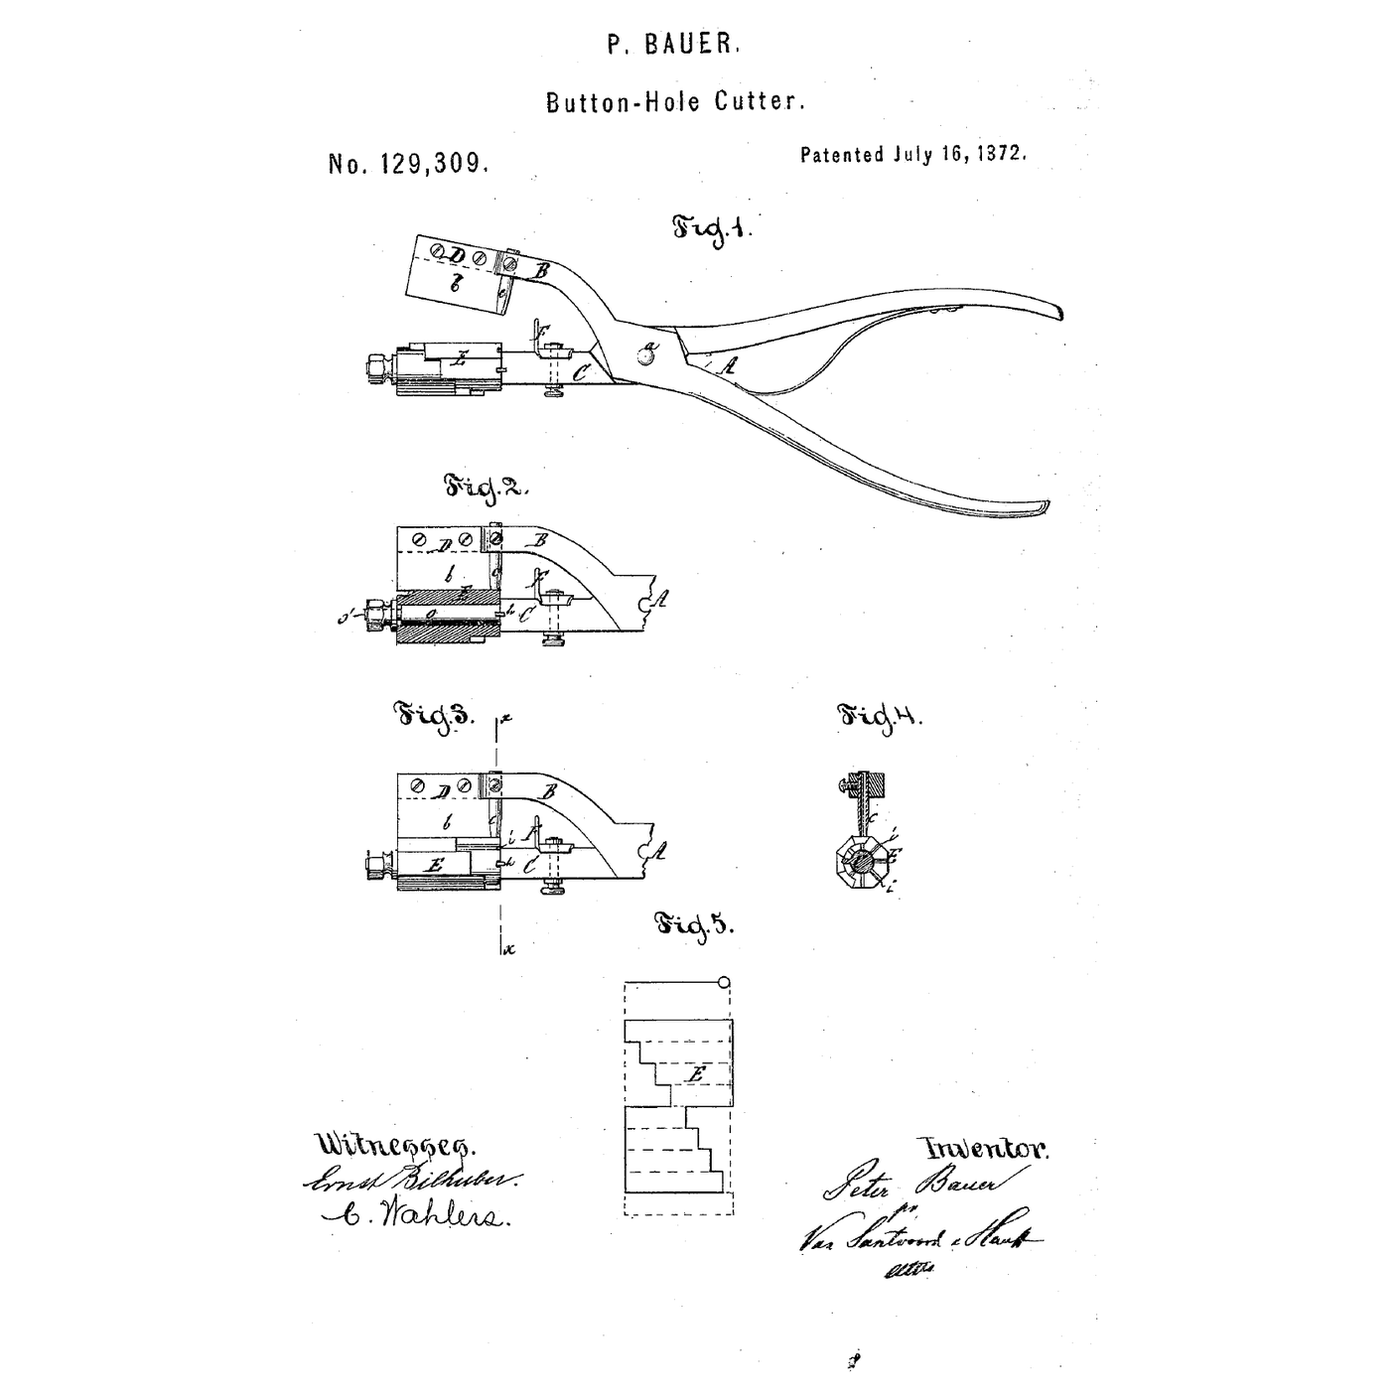


The Adjustable Buttonhole Cutter: A Turning Anvil of Many Lengths
Every buttonhole must be the right length for its button: too short and the button will not pass, too long and it slips out. Cutting each one by eye with scissors is slow and uneven.
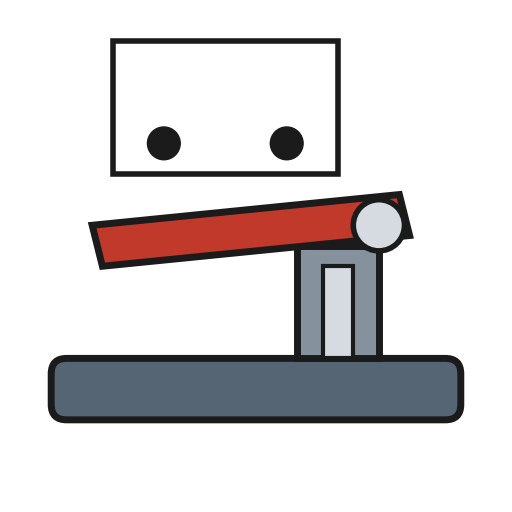
Peter Bauer of Newark, New Jersey, received US 129,309, dated 16 July 1872, for a cutter with "a hollow anvil or barrel provided with a series of faces of unequal length", turned on the lower jaw so that "button-holes of different lengths, with or without an eye, can be cut with facility".
This rung works out how long a slit a button needs, then cuts test buttonholes on scrap cloth and checks them against the buttons.
Principiante
About 2 hours
Instrucciones
1
1
Slit length for a button
Slit length for a button
Cargando el cuaderno de Jupyter…
2
2
The other half of the fastening
The other half of the fastening
The embedded blueprint sews a button on. The buttonhole has to be cut to fit it.
3
3
Read US 129,309
Read US 129,309
"The faces of the anvil are of different length, as shown in Fig. 5, and by turning the same round to the position shown in Fig. 2 a long button-hole can be cut with an eye corresponding to the punch c".
"If desired, however, the anvil can be turned to the position shown in Fig. 3, and in this case the punch does not come into action and the button-hole produced is without an eye."
"A gauge, F, is applied on the jaw C to determine the distance of the button-hole from the edge of the material."
4
4
Cut test buttonholes and fit the buttons
Cut test buttonholes and fit the buttons
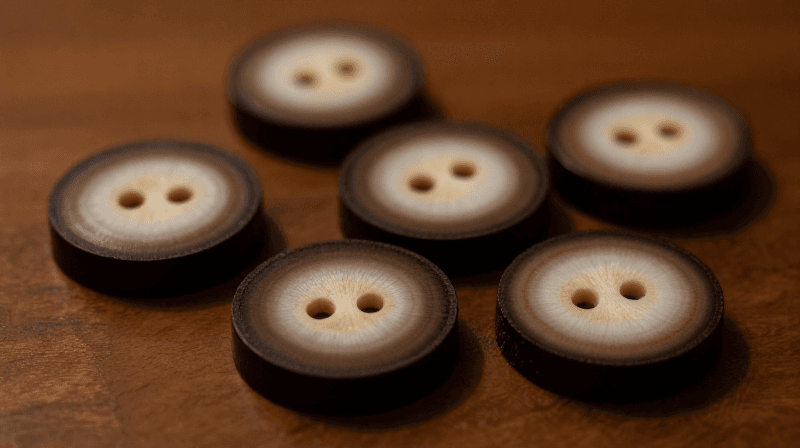
Measure each button's diameter and thickness with the ruler, and work out its slit length with the notebook.
On a doubled strip of scrap cloth, mark each slit with tailor's chalk, the same distance in from the edge, as Bauer's gauge does. Work a line of small stitches round each mark so the cut edge cannot fray. Lay the cloth on the cutting mat and cut the slit with the craft knife, or with the buttonhole cutter set to that length. For a shank button, punch a small eye at one end.
Push each button through its hole. Note which pass easily, which stick and which slip out.
Materiales para este paso:
 Tejido de algodón (ligero)1 pieza
 Hilo de coser1 pieza
Herramientas necesarias:
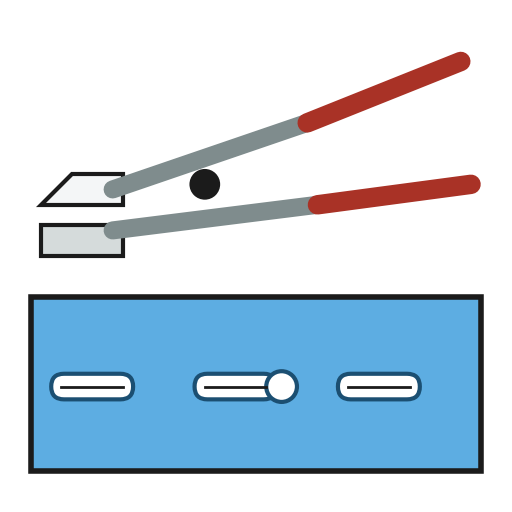 Cortador de ojales
 Cúter de precisión
 Base de corte autocicatrizante
 Perforadora
 Jaboncillo de sastre
 Agujas de coser a mano
 Regla
Regla Juego de botones de camisa
5
5
A buttonhole that frays, sticks or gapes
A buttonhole that frays, sticks or gapes
Buttonhole troubleshooting.
Flow
Loading...
6
6
History and honest limits
History and honest limits
**Peter Bauer** of Newark, Essex County, New Jersey, received US 129,309, dated 16 July 1872. The patent prints no filing date. He disclaims a solid spiral-grooved cylinder already known for the same purpose.
**Honest limits.** Diameter plus thickness is a rule of thumb, not a standard; stiff or stretchy cloth and the stitching round the hole change the fit. The button sizes and anvil lengths are examples. Your test holes are the measurement.
Materiales
2- 1 piezaMarcador de posición
- 1 piezaMarcador de posición
Herramientas requeridas
8- Marcador de posición
- Marcador de posición
- Marcador de posición
- Marcador de posición
- Marcador de posición
- Marcador de posición
- Marcador de posición
- Marcador de posición
Blueprints relacionados
Estos blueprints comparten conocimiento — técnicas, materiales o principios



CC0 Dominio público
Este Blueprint se publica bajo CC0. Eres libre de copiar, modificar, distribuir y usar este trabajo para cualquier propósito, sin pedir permiso.
Apoya al Maker comprando productos a través de su Blueprint, donde gana una Comisión del Maker establecida por los vendedores, o crea una nueva iteración de este Blueprint e inclúyela como conexión en tu propio Blueprint para compartir ingresos.