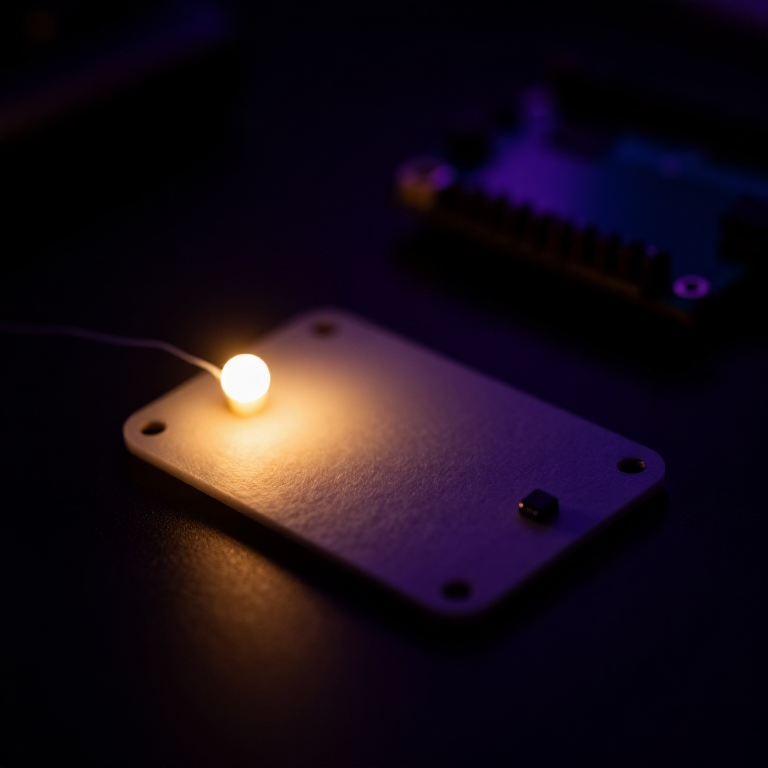


Making a LilyPad Night-Light
Give your fabric a sense of sight. A LilyPad light sensor tells the microcontroller how bright the room is, and a short program switches an LED on when it gets dark. Sew it into a bag, a hat or a bedside patch for a soft glow that only appears at night — your first sensor-driven wearable.
Ìlànà
Sew the board, sensor and LED
Sew the board, sensor and LED
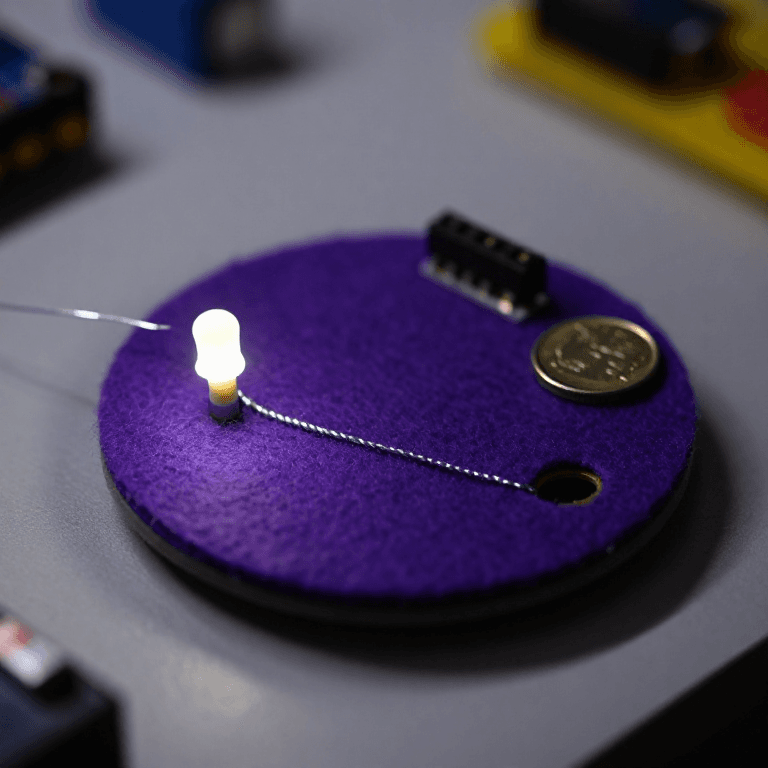
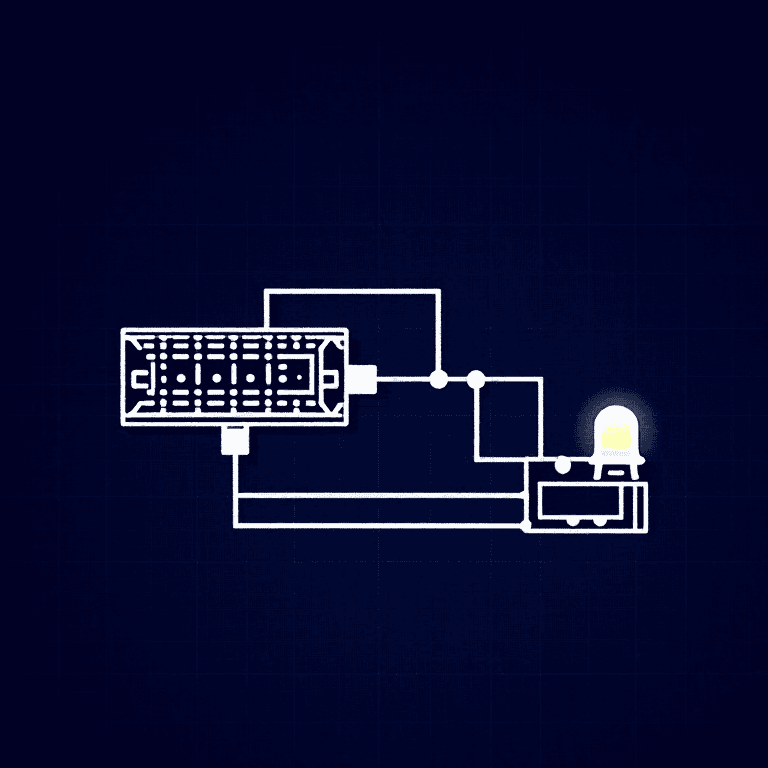
Sew a LilyPad Arduino, a LilyPad light sensor and a LilyPad LED onto felt. Wire it: the LED's + tab to pin 5 and its - tab to -; the sensor's + tab to the board's +, its - tab to -, and its signal (S) tab to analog pin A2. Keep the power (+), ground (-) and signal lines from crossing anywhere.
Àwọn ohun èlò fún ìgbésẹ̀ yìí:
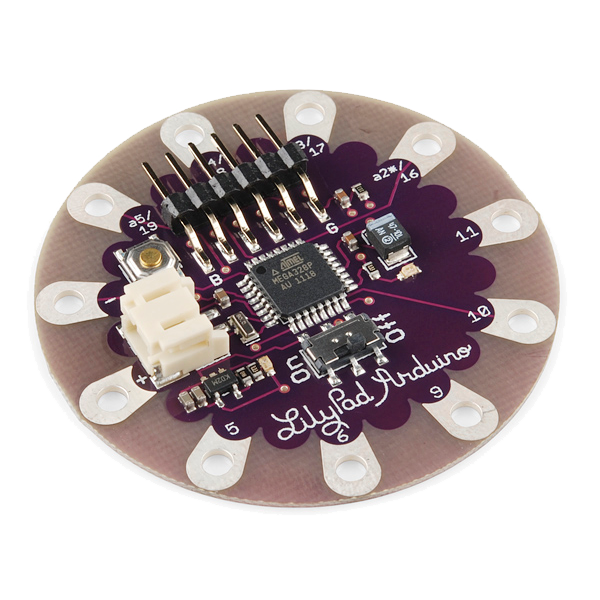 LilyPad Arduino Simple Board1 ẹyọ
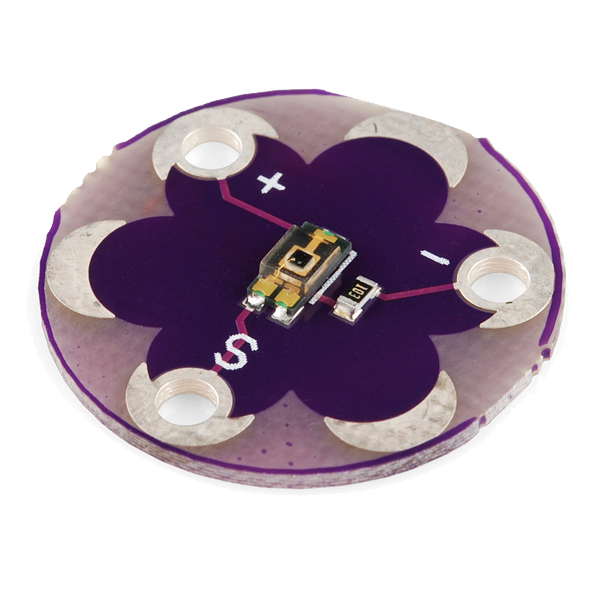 LilyPad Light Sensor1 ẹyọ
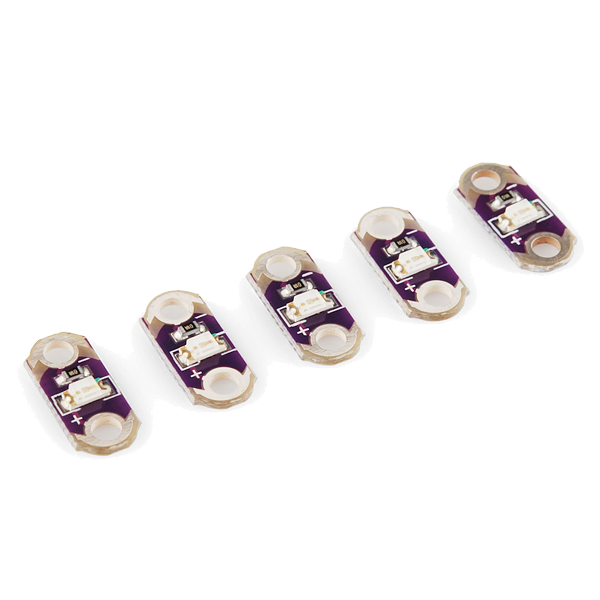 LilyPad LED - 5 pcs1 àkópọ̀
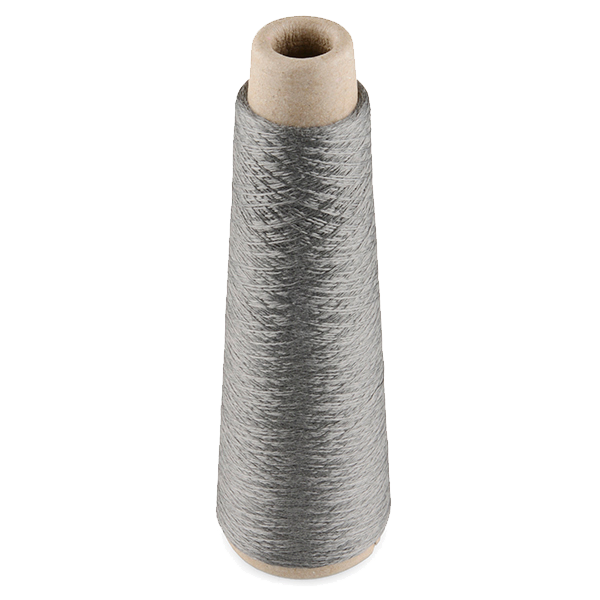 Conductive Thread - 60g (Stainless Steel)1 ìkẹ́kẹ́ okùn
 Àwo aṣọ irun àgùtàn1 ewé
Àwọn irinṣẹ́ tí a nílò:
 Abẹ́rẹ́ ìránṣọ ọwọ́
Connect the programmer
Connect the programmer
Plug the LilyPad FTDI onto the programming header and connect the USB cable to your computer. Open the Arduino IDE and select the LilyPad Arduino board and its serial port.
Àwọn irinṣẹ́ tí a nílò:
 Kọ̀ǹpútà Tí Ó Ní Arduino IDE
 LilyPad FTDI Basic Breakout - 5V
 Okùn USB-B
Upload the night-light sketch
Upload the night-light sketch
Paste this sketch and click Upload. It reads the light sensor and turns the LED on whenever the room is darker than the threshold.
Calibrate the threshold
Calibrate the threshold
Cover the sensor with your hand — the LED should come on; in a bright room it should stay off. If it triggers too early or too late, change the threshold number in the sketch and re-upload: higher turns it on in more light, lower waits for darker.
Go wireless and wear it
Go wireless and wear it
Unplug the FTDI, sew a LilyPad coin-cell holder to the board (+ to +, - to -), drop in a CR2032 and switch on. Sew the felt onto a bag, hat or cushion — it now glows on its own whenever the light drops.
Àwọn ohun èlò fún ìgbésẹ̀ yìí:
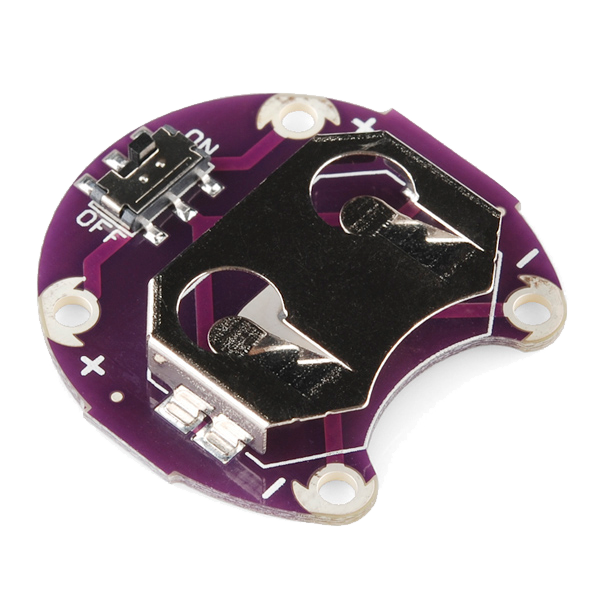 LilyPad Coin Cell Battery Holder - w/Switch - 20mm1 ẹyọ
 Bátìrì owó ẹyọ CR20321 ẹyọ
Àwọn ohun-èlò
7- LilyPad Arduino Simple Boardìdá 10%1 ẹyọ$19.81
- LilyPad Light Sensorìdá 10%1 ẹyọ$7.70
- LilyPad LED - 5 pcsìdá 10%1 àkópọ̀$4.24
- 1 ìkẹ́kẹ́ okùn$40.56
- 1 ewéÀyè
- $5.11
- Àyè
Àwọn irinṣẹ́ tó nílò
4- $14.53
- 1 vendor sell this, none ship to you yetÀyè
Blueprint tó jọra
Àwọn blueprint wọ̀nyí pín ìmọ̀ — ọ̀nà, ohun-èlò tàbí ìlànà
CC0 Àgbègbè Gbogbogbò
Blueprint yìí ti jáde lábẹ́ CC0. O lè ṣe àdàkọ, yí padà, pín, àti lò láìsí ìyọ̀ǹda.
Ṣàtìlẹ́yìn Olùṣẹ́dá nípa rírà àwọn ọjà nipasẹ̀ Blueprint wọn Ẹ̀san Olùṣẹ́dá tí àwọn Olùtajà gbé kalẹ̀, tàbí ṣẹ̀dá àtúnṣe tuntun ti Blueprint yìí kí o sì fi sínú Blueprint rẹ gẹ́gẹ́ bí ìsopọ̀ láti pín owó-wíwọlé.