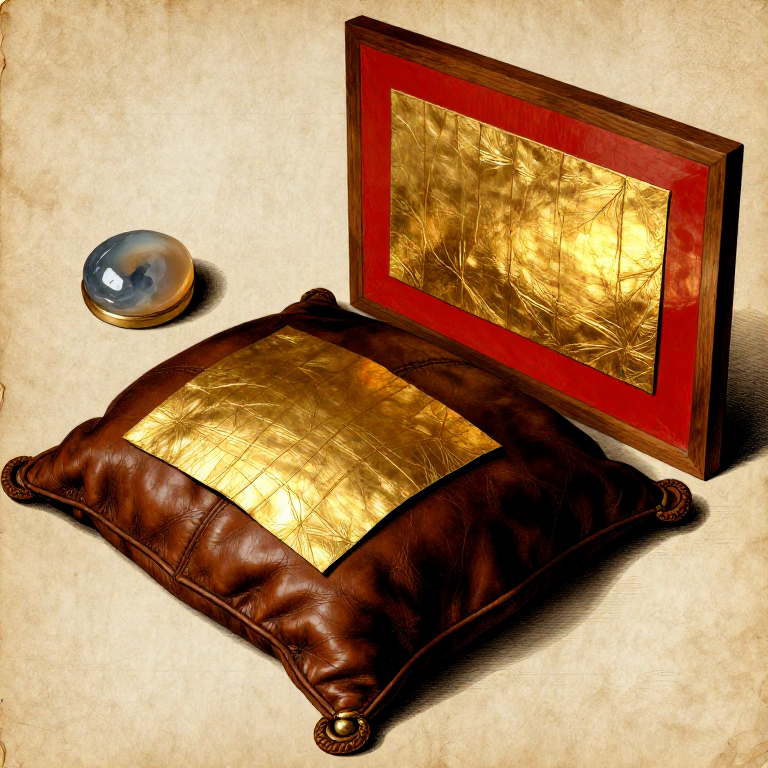
Water Gilding with Gold Leaf — Applying Gold to Gesso and Bole for a Mirror Finish
Water gilding is the traditional technique of applying thin sheets of gold leaf onto a prepared surface using water as the adhesive agent. It is the oldest and most refined gilding method, producing a brilliant, mirror-like gold finish that no other technique can match. Water gilding has been practised since at least ancient Egypt (c. 2500 BCE), and it remains the standard method for high-quality gilding on picture frames, altarpieces, icons, furniture, and architectural ornament to this day.
The technique requires a carefully prepared ground: a smooth, hard gesso surface is coated with several layers of 'bole' — a fine clay (traditionally red Armenian bole) mixed with dilute hide glue. The bole serves as both a cushion for the fragile gold leaf and a colour base — red bole gives water-gilded gold its characteristic warm, deep glow because minute gaps and thin areas in the gold leaf allow the red to show through subtly. Yellow bole produces a cooler, more uniform gold appearance.
The actual gilding process is elegant: the bole surface is dampened with water (which briefly re-activates the glue binder in the bole), and a sheet of gold leaf is laid onto the wet surface using a flat brush called a 'gilder's tip.' As the water is absorbed and the glue sets, the gold leaf bonds firmly to the bole. After drying, the gold can be burnished — polished with a smooth agate stone — to a mirror-bright finish. This burnishing step is what distinguishes water gilding from all other methods: oil gilding and modern adhesive gilding cannot be burnished because the adhesive layer remains soft. Only the hard, re-wettable hide-glue bole of water gilding provides a surface firm enough to polish gold leaf to a mirror finish.
Ìlànà
Prepare the bole mixture
Prepare the bole mixture
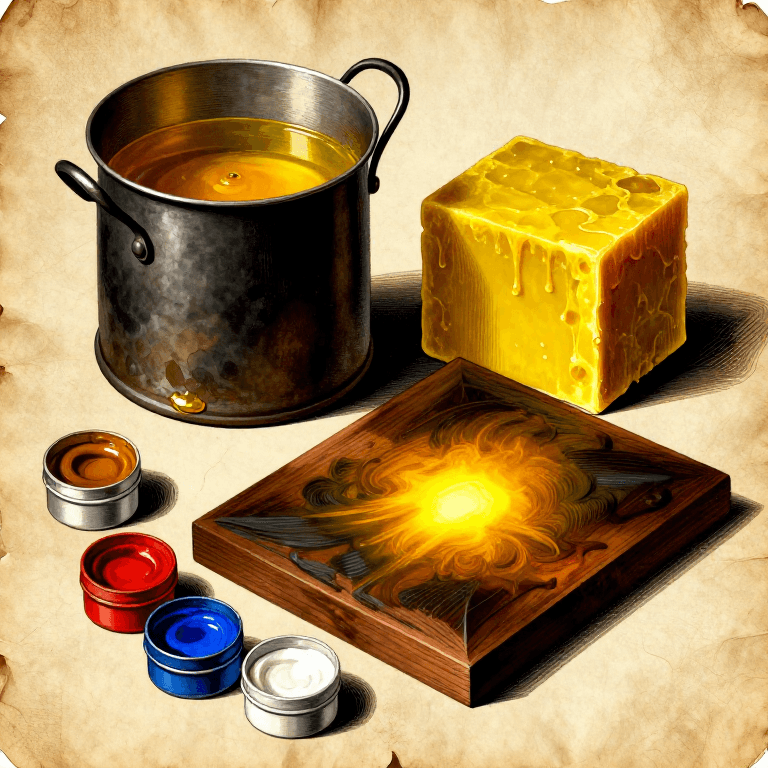
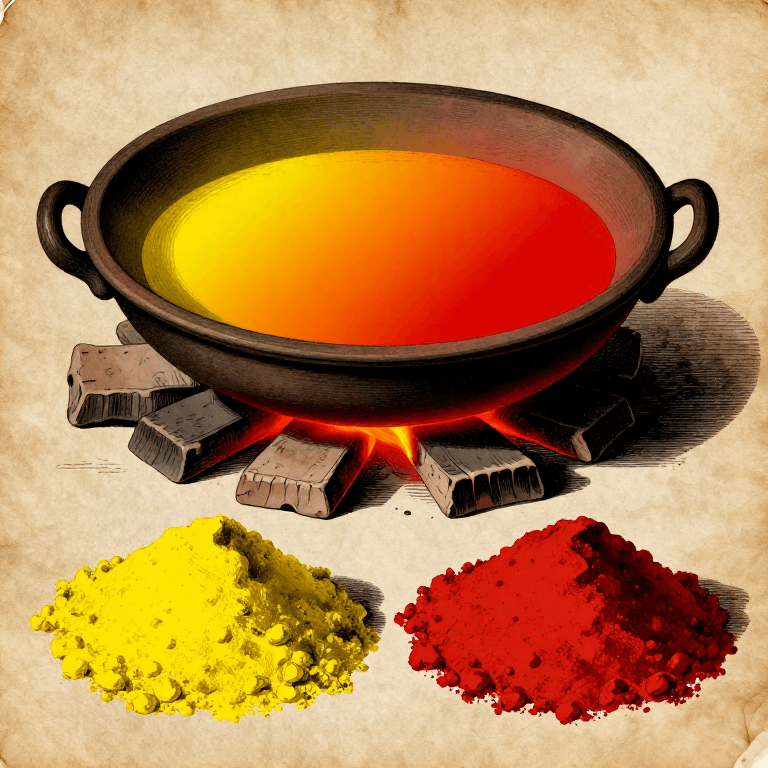
Mix red Armenian bole (a fine, naturally occurring iron-oxide-rich clay) with warm, dilute rabbit skin glue solution (approximately 1:15 glue-to-water ratio — weaker than the glue used for gesso). The ratio is roughly 1 part bole to 1 part glue solution by volume. Stir gently to create a smooth, creamy paste with no lumps. The consistency should be like thin cream — it should flow easily from a brush but leave a thin, even colour when dry. Strain through a fine mesh strainer to remove any grit or lumps. Keep the bole warm in a water bath throughout application.
Materials for this step:
 Red Bole (Armenian Bole)50 g
 Rabbit Skin Glue (Granules)10 g
Tools needed:
 Fine Mesh Strainer
 Stock Pot
Apply bole coats over gesso
Apply bole coats over gesso
The surface to be gilded must already have a smooth, sanded traditional gesso ground (see the Traditional Gesso blueprint). Using a soft brush, apply 4-6 thin coats of bole over the gesso, letting each coat dry completely (30-60 minutes) before applying the next. Brush each coat in alternating directions (horizontal, then vertical) for even coverage. The bole should build up into a smooth, uniformly red surface with a slight sheen. After the final coat has dried completely, polish the bole gently with a soft cotton cloth — the surface should feel silky-smooth. Any brush marks or rough spots will show through the gold leaf.
Tools needed:
 Wide Paint Brush
 Soft Cotton Cloth
Wet the bole and lay the gold leaf
Wet the bole and lay the gold leaf
Place a sheet of loose gold leaf onto a gilder's cushion (a padded leather surface) and cut to size with a gilder's knife if needed. Using a wide, flat brush, dampen the bole surface with water — the water re-activates the glue in the bole, making it briefly adhesive. Work in small sections (10-15 cm at a time). Pick up the gold leaf with a gilder's tip (a flat brush of squirrel or badger hair, slightly charged with static by brushing against your hair or cheek) and lay it gently onto the wet bole. The gold leaf floats down onto the surface and bonds as the water is absorbed. Overlap each sheet by 1-2 mm to ensure complete coverage. Work quickly — the bole must still be damp when the gold is laid.
Materials for this step:
 Gold Leaf Sheets (loose)25 sheet
Tools needed:
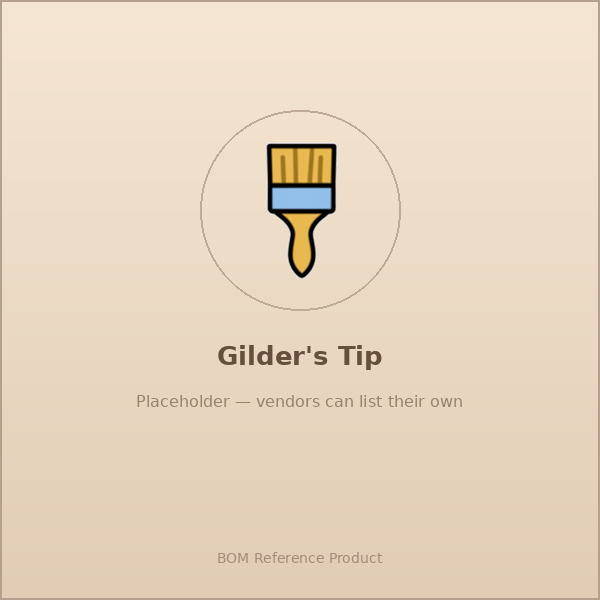 Gilder's Tip
 Gilder's Cushion
 Gilder's Knife
Let dry and patch any gaps
Let dry and patch any gaps
Let the gilded surface dry completely — at least 2-4 hours, overnight is better. The gold leaf should be firmly bonded to the bole. Gently brush off any loose gold 'skewings' (tiny flakes from the overlap areas) with a soft brush — save these for patching. Inspect for any gaps, tears, or areas where the gold did not adhere (visible as red bole showing through). To patch: re-wet the exposed bole with a tiny drop of water applied with a small brush, and lay a small piece of gold leaf over the gap. Let dry again before burnishing.
Tools needed:
 Small Hand Brush
Burnish with an agate stone to a mirror finish
Burnish with an agate stone to a mirror finish
Once the gold is completely dry and firmly bonded (the surface should feel hard, not soft or tacky), burnish with a polished agate burnisher. Press the smooth, curved agate tip gently against the gold surface and rub with short, firm, overlapping strokes — always moving in one direction. The gold immediately begins to brighten under the agate, transforming from a matte, slightly wrinkled surface to a brilliant, mirror-like shine. The pressure compresses the gold leaf against the smooth bole, flattening any wrinkles and creating a continuous, reflective surface. Burnish all gilded areas evenly. The finished water-gilded surface should be a brilliant, warm, mirror-like gold — the distinctive quality that has made water gilding the standard for fine gilding for over 4,000 years.
Tools needed:
 Agate Burnisher
Àwọn ohun-èlò
3- Placeholder
- Placeholder
- 25 sheetPlaceholder
Àwọn irinṣẹ́ tó nílò
9- Placeholder
- Placeholder
- Placeholder
- Placeholder
- Placeholder
- Placeholder
- Placeholder
- Placeholder
Connected Blueprint Materials


Blueprint tó jọra
Àwọn blueprint wọ̀nyí pín ìmọ̀ — ọ̀nà, ohun-èlò tàbí ìlànà

Making Egg Tempera Paint — The Medieval Panel Painting Medium
láti ọwọ́ Charlie![]()
ART

Making Oil Paint from Raw Pigments — Grinding Pigments in Linseed Oil
láti ọwọ́ Charlie![]()
ART
Making Encaustic Paint — The Hot Beeswax Medium of Ancient Greek and Egyptian Painters
láti ọwọ́ Charlie![]()
ART
Making Red Ochre by Calcining Yellow Ochre — The Oldest Deliberate Pigment Transformation
láti ọwọ́ Charlie![]()
ART

Making Chalk White Pigment (Whiting) — Grinding and Levigating Natural Chalk
láti ọwọ́ Charlie![]()
ART

Making Lampblack Pigment — Collecting Carbon Soot from a Burning Flame
láti ọwọ́ Charlie![]()
ART

Making Ultramarine from Lapis Lazuli — Extracting the Most Precious Pigment in History
láti ọwọ́ Charlie![]()
ART

Making a Lake Pigment from Plant Dye — Precipitating Soluble Colour onto an Insoluble Substrate
láti ọwọ́ Charlie![]()
ART

Making Casein Paint from Milk and Lime — The Ancient Protein-Based Wall Paint
láti ọwọ́ Charlie![]()
ART

Egyptian Cartonnage — Making Cartonnage from Linen and Gesso
láti ọwọ́ Mary![]()
Textile & Leather

Making Lime Wash — The Oldest and Simplest Wall Paint in the World
láti ọwọ́ Charlie![]()
ART

Painting a Buon Fresco on Wet Lime Plaster — Roman Wall Painting
láti ọwọ́ Charlie![]()
Masonry
CC0 Àgbègbè Gbogbogbò
Blueprint yìí ti jáde lábẹ́ CC0. O lè ṣe àdàkọ, yí padà, pín, àti lò láìsí ìyọ̀ǹda.
Ṣàtìlẹ́yìn Olùṣẹ́dá nípa rírà àwọn ọjà nipasẹ̀ Blueprint wọn Ẹ̀san Olùṣẹ́dá tí àwọn Olùtajà gbé kalẹ̀, tàbí ṣẹ̀dá àtúnṣe tuntun ti Blueprint yìí kí o sì fi sínú Blueprint rẹ gẹ́gẹ́ bí ìsopọ̀ láti pín owó-wíwọlé.