Making Soda-Lime Glass from Raw Materials — The Recipe That Has Not Changed in 5,000 Years
Glass is one of humanity's oldest engineered materials. The recipe — silica sand, soda ash, and lime — was discovered in Mesopotamia around 3500 BCE and has remained fundamentally unchanged for five millennia. The same three-component system that ancient Egyptian craftsmen used to make faience beads is the basis of 90% of all glass manufactured today: windows, bottles, laboratory glassware, and optical lenses all begin with sand, soda, and lime.
The chemistry is elegant. Silica (SiO₂) forms the glass network — an amorphous, non-crystalline solid where silicon and oxygen atoms are locked in a disordered lattice. Pure silica melts at 1713 °C, far too hot for ancient furnaces. Adding soda ash (Na₂CO₃) breaks some of the Si–O bonds and lowers the melting point to around 1000–1100 °C, but the resulting sodium silicate glass dissolves in water — it is literally 'water glass,' used today as an adhesive and sealant. Adding lime (from limestone, CaCO₃) stabilizes the network: calcium ions bridge the broken bonds without raising the melting point excessively, producing a glass that is hard, clear, and water-resistant.
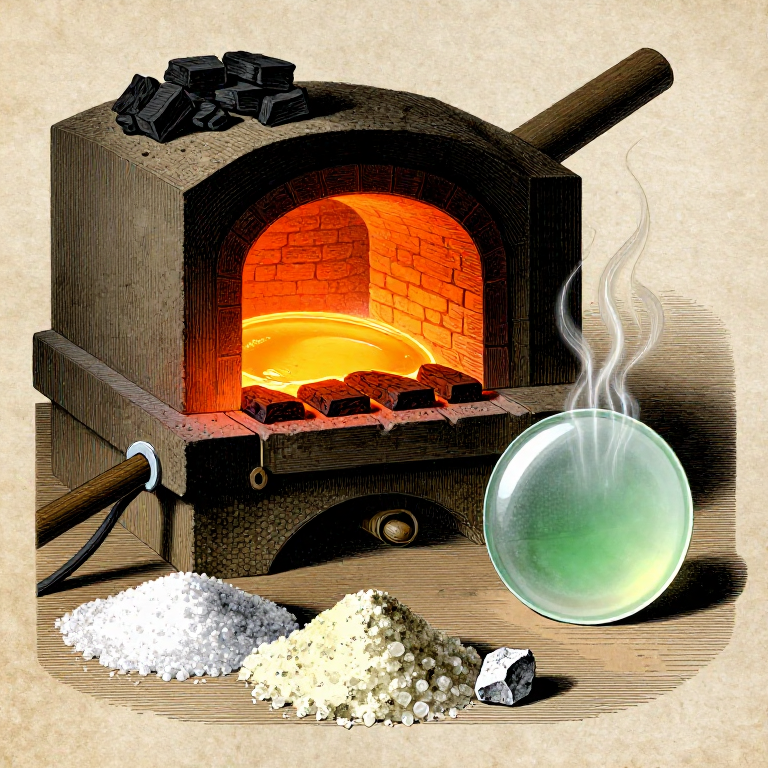
This blueprint walks through the complete process: sourcing and preparing raw materials, batching the correct proportions, melting in a crucible furnace at 1400–1500 °C, fining to remove gas bubbles, casting, and annealing. The result is a lump or sheet of clear soda-lime glass — the same material that has carried light through cathedral windows, preserved specimens in laboratory flasks, and lenses that extended human vision to the stars.
HAZARD: This process involves sustained temperatures above 1400 °C. Molten glass causes severe, deep burns on contact and adheres to skin. The furnace produces carbon monoxide from charcoal combustion — work outdoors or in a very well-ventilated space. Wear heat-resistant gloves, a leather apron, and safety goggles at all times when working near the furnace or molten glass. Never look directly into the crucible without shaded eye protection — the glare from molten glass at 1400 °C can cause retinal damage.
निर्देशनहरू
Understand glass chemistry and the three-component system
Understand glass chemistry and the three-component system
Soda-lime glass is a three-component system: silica (SiO₂, the glass former), soda (Na₂O from sodium carbonate, the flux), and lime (CaO from limestone, the stabilizer). Each component is essential. Silica alone melts at 1713 °C and forms the random network of Si–O bonds that gives glass its amorphous structure. Soda breaks some Si–O–Si bridges, reducing the melting point to approximately 1000–1100 °C — but soda-silica glass without lime is water-soluble (sodium silicate, commercially known as 'water glass'). Lime bridges the gaps left by soda without raising the melting point excessively, producing a stable, water-resistant glass.
The typical composition of soda-lime glass by oxide weight: 72–74% SiO₂, 12–14% Na₂O, 8–12% CaO, with small amounts of MgO, Al₂O₃, and Fe₂O₃ from impurities in the raw materials. Iron is the most important impurity — even 0.1% Fe₂O₃ imparts a green tint. Ancient glass is almost always green or amber because the sand contained iron. Clear glass requires either very pure sand or the addition of a decolorizer such as manganese dioxide (MnO₂), which oxidizes Fe²⁺ (green) to Fe³⁺ (yellow), and the purple of Mn³⁺ complements the yellow to produce near-colorless glass.
Source high-purity silica sand
Source high-purity silica sand
Select the cleanest quartz sand available. Ideal glassmaking sand is at least 95% SiO₂ with minimal iron content — iron is the primary cause of unwanted color in glass. River sand, beach sand, and crushed quartz all work, but the purer the source, the clearer the final glass. Look for white or pale sand; orange, red, or dark sand indicates high iron content and will produce green or amber glass.
You need approximately 365 grams of sand for a 500-gram batch. If using natural sand from a riverbed or beach, it will require thorough washing to remove clay, organic debris, shell fragments, and iron-bearing minerals. Commercially available silica sand ('play sand' or 'pool filter sand') is pre-washed and often purer than natural sources.
Materials for this step:
 Quartz Sand (clean)400 grams
Wash the sand to remove impurities
Wash the sand to remove impurities
Place the sand in a bucket and fill with clean water. Stir vigorously to suspend fine clay particles and organic matter, then let the sand settle for 30 seconds — the heavy quartz grains sink immediately while clay and lightweight debris remain suspended. Pour off the cloudy water carefully. Repeat this washing 3–5 times until the rinse water runs clear.
After the final wash, spread the wet sand on a flat surface in a thin layer (under 2 cm). Let it dry completely in sunlight or near a gentle heat source. Any remaining moisture in the sand will cause violent steam eruptions when charged into a hot crucible — the sand must be bone dry before use.
Tools needed:
 Fine Mesh Sieve (60-80 mesh)
Sieve the sand to uniform grain size
Sieve the sand to uniform grain size
Pass the dried sand through a fine mesh sieve (60–80 mesh, approximately 0.18–0.25 mm openings). This removes oversized grains, pebbles, and any remaining organic fragments. Uniform grain size ensures even melting — large grains take longer to dissolve in the melt and leave undissolved inclusions (called 'stones' in glassmaking) that weaken the final product.
Collect the sieved sand and weigh out exactly 365 grams. Set aside in a clean, dry container.
Tools needed:
Fine Mesh Sieve (60-80 mesh)Crush limestone to fine powder
Crush limestone to fine powder
Limestone (CaCO₃) provides the calcium oxide (CaO) that stabilizes the glass. Crush limestone into a fine powder using a mortar and pestle or by wrapping chunks in cloth and hammering them. The finer the powder, the faster it dissolves in the melt — aim for a consistency similar to flour, with no visible grains larger than 1 mm.
Limestone decomposes in the melt at approximately 900 °C: CaCO₃ → CaO + CO₂↑. The CO₂ gas released contributes to bubble formation in the melt, which must later be removed during fining. Finer limestone powder decomposes faster and more evenly, producing fewer large bubbles.
Weigh out 60 grams of crushed limestone powder.
Materials for this step:
 Calcium Carbonate (limestone, crushed)60 grams
Tools needed:
 Mortar and Pestle
Weigh and measure the soda ash
Weigh and measure the soda ash
Sodium carbonate (Na₂CO₃), known as soda ash, is the flux. Weigh out 75 grams. In the melt, soda ash decomposes at approximately 850 °C: Na₂CO₃ → Na₂O + CO₂↑. The sodium oxide (Na₂O) disrupts the silica network, lowering the melting point from 1713 °C to approximately 1400–1500 °C for this batch composition.
The batch ratio by weight is: 73% silica sand, 15% soda ash, 12% crushed limestone (365g + 75g + 60g = 500g total batch). This produces a standard soda-lime glass composition after the carbonates decompose. Ancient Egyptian glassmakers used natron (a naturally occurring sodium carbonate mineral from evaporite lake deposits) as their flux — chemically identical to modern soda ash.
Materials for this step:
 Sodium Carbonate (soda ash)75 grams
Mix the batch thoroughly
Mix the batch thoroughly
Combine the 365 grams of sieved silica sand, 75 grams of soda ash, and 60 grams of crushed limestone in a clean, dry container. Mix by hand or with a wooden paddle for several minutes until the components are evenly distributed throughout. The mixture should appear uniform in color with no visible clumps or layers.
Thorough mixing is critical. If soda ash concentrates in one area of the crucible, that zone melts first and forms a low-viscosity pool that does not effectively dissolve the surrounding sand. Unmixed patches of sand remain as 'cord' (streaks of different composition) or 'stones' (undissolved grains) in the finished glass — both are defects that weaken the product.
Tools needed:
 Wooden Paddle
Build and prepare the furnace
Build and prepare the furnace
Construct a small charcoal furnace from firebricks, stacked to form an insulated chamber approximately 30 cm internal diameter and 40 cm tall with an air inlet at the base for the bellows. The furnace must sustain 1400–1500 °C for several hours — this requires good insulation (firebrick walls at least 10 cm thick) and a strong forced-air supply.
Position the bellows nozzle at the base of the furnace, angled slightly upward. Fill the furnace with hardwood charcoal (lump, not briquettes) to approximately two-thirds full. Light the charcoal and begin pumping the bellows gently to establish a base fire. Work outdoors or under a very well-ventilated shelter — charcoal combustion produces carbon monoxide.
Materials for this step:
 Firebricks20 टुक्रा
 Charcoal10 केजी
Tools needed:
 Bellows
Pre-heat the crucible gradually
Pre-heat the crucible gradually
Place the refractory clay crucible at the edge of the furnace opening and let it warm gradually over 20–30 minutes. A cold crucible placed directly into a hot furnace will crack from thermal shock — refractory clay expands unevenly when heated too rapidly. Move the crucible progressively closer to the heat, then lower it into the furnace chamber once it has reached a dull red glow (approximately 600–700 °C).
The crucible must be deep enough to hold the 500-gram batch with room for the melt to expand and bubble during the initial gas-release phase. A crucible with an internal volume of at least 500 ml is recommended. Graphite crucibles withstand higher temperatures than clay but are more expensive — either works for this process.
Tools needed:
 Clay Crucible (refractory)
 Crucible Tongs (long-handled)
Charge the batch into the hot crucible
Charge the batch into the hot crucible
Once the crucible is glowing orange-red inside the furnace, add the mixed batch in small portions — approximately one-quarter at a time, waiting 5–10 minutes between additions. Adding the entire batch at once drops the crucible temperature significantly and can cause the melt to solidify around unmixed material. Each addition will foam vigorously as carbonates decompose and release CO₂.
After each addition, increase bellows work to maintain temperature. The batch first sinters (the grains fuse at their contact points around 800–900 °C), then gradually melts into a viscous liquid as temperature rises. White foam on the surface is normal — this is CO₂ escaping from the decomposing soda ash and limestone.
Tools needed:
 Leather Gauntlet Gloves
 Safety Goggles
Raise temperature to full melt
Raise temperature to full melt
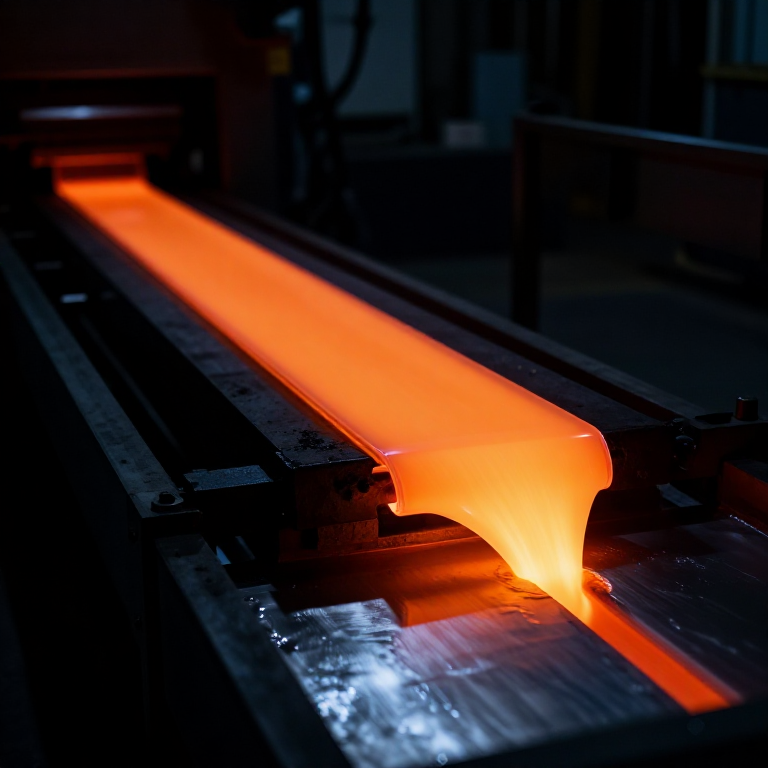
With all batch material charged, increase bellows work to maximum sustained rate. The goal is 1400–1500 °C — at this temperature the interior of the furnace glows brilliant yellow-white and the glass melt becomes a fluid, glowing orange liquid. Sustained vigorous bellows work is essential; without forced air, a charcoal furnace typically reaches only 1100–1200 °C, which is insufficient for a complete melt.
At 1400 °C, the last sand grains dissolve into the melt. The melt is extremely viscous compared to water — more like thick honey — but fluid enough to flow and be poured. Maintain this temperature for at least 30 minutes to ensure all raw materials have fully dissolved. Undissolved sand grains appear as white specks in the orange melt.
Materials for this step:
Charcoal5 केजीTools needed:
BellowsFine the melt to remove gas bubbles
Fine the melt to remove gas bubbles
Fining is the process of removing gas bubbles (called 'seeds' in glassmaking) from the melt. CO₂ from carbonate decomposition, trapped air, and water vapor all form bubbles that must rise to the surface and escape. At 1400–1500 °C, the glass viscosity is low enough for small bubbles to rise — but this takes time. Hold the melt at maximum temperature for 1–2 hours.
During fining, maintain steady bellows work and keep the charcoal bed replenished. The melt surface should be smooth and glowing orange without visible foam. If foam persists, the temperature is still too low or the carbonates have not fully decomposed. Patience during this step determines glass clarity — rushing produces glass full of tiny bubbles.
Stir the melt to homogenize
Stir the melt to homogenize
Insert a preheated steel or iron rod (at least 1 meter long to keep your hands clear of the furnace opening) into the melt and stir slowly in a circular motion. Stirring serves two purposes: it homogenizes the composition (eliminating 'cord' — streaks of different refractive index caused by composition gradients) and helps smaller bubbles coalesce into larger ones that rise faster.
Stir for 2–3 minutes, then withdraw the rod. Molten glass will cling to the rod — this is normal. Do not shake the rod to remove glass near the furnace. Set the rod aside on a heat-safe surface (firebrick or sand) and let the adhering glass cool and contract; it will crack off once cool.
Tools needed:
 Long Iron Stirring Rod (1.5 m)
Test the melt for readiness
Test the melt for readiness
Dip the tip of the preheated iron rod into the melt and withdraw it slowly. A thread of molten glass should stretch from the surface. Observe the thread: if it is transparent and smooth, the glass is well-melted and fined. If it appears grainy, opaque, or contains visible bubbles, continue fining at maximum temperature for another 30 minutes and test again.
The color of the cooled thread indicates iron content. Pale green or blue-green means moderate iron — typical for natural sand sources and perfectly acceptable. Nearly colorless means low-iron sand was used or the melt is very well oxidized. Amber or brown indicates high iron content, also normal for natural sand.
Tools needed:
Long Iron Stirring Rod (1.5 m)Prepare the casting surface
Prepare the casting surface
While the melt fines, prepare a flat, heat-resistant surface for casting. A thick stone slab, a steel plate, or a bed of clean dry sand all work. If using a stone slab or steel plate, preheat it by placing it near the furnace — pouring molten glass onto a cold surface causes instant surface cracking from thermal shock.
For a simple flat disc or slab of glass, a preheated steel plate or flat stone is ideal. For a shaped piece, press a form into damp sand to create a simple mold cavity. Ancient glassmakers cast into open stone molds or onto flat surfaces, then shaped the still-soft glass with tools while it was hot.
Tools needed:
 Flat Stone Slab
 Long-Handled Tongs
Pour the molten glass
Pour the molten glass
Using long-handled crucible tongs, carefully lift the crucible from the furnace. Move deliberately — do not rush. The crucible and its contents are at 1400+ °C. Tilt the crucible steadily to pour the molten glass onto the preheated casting surface in a single, continuous stream. Do not stop and restart — interrupted pours create layering defects (called 'laps').
The glass spreads into a thick puddle or disc depending on the surface. On a flat plate it will form a rounded disc approximately 8–12 cm in diameter and 1–2 cm thick from a 500-gram batch. The glass glows bright orange as it is poured and transitions through yellow to dark red as it begins to cool. Work quickly — the glass stiffens rapidly once removed from the furnace.
Tools needed:
Crucible Tongs (long-handled)Leather Gauntlet Gloves Leather ApronSafety Goggles
Begin annealing immediately
Begin annealing immediately
Annealing is the controlled slow cooling of glass to relieve internal stress. Without annealing, glass cools unevenly — the surface contracts while the interior is still hot, locking in enormous tension. Unannealed glass can crack, shatter, or explode hours or even days after casting. The annealing point of soda-lime glass is approximately 510–520 °C; the strain point is approximately 470 °C.
Transfer the hot glass piece (still glowing red) into an insulated chamber for slow cooling. The simplest annealing oven is a firebrick box filled with vermiculite, dry ash, or dry sand. Bury the glass piece in the insulating material and close the box. This slows the cooling rate dramatically — the glass should take at least 8–12 hours to reach room temperature.
Tools needed:
Long-Handled TongsCool slowly to room temperature
Cool slowly to room temperature
Do not open the annealing chamber or disturb the glass for at least 8 hours — preferably overnight. The critical cooling range is between 520 °C and 470 °C (the annealing point to the strain point). If the glass cools too quickly through this range, permanent stress is locked in. Below 470 °C, faster cooling is safe but there is no benefit to rushing.
Resist the temptation to check the glass early. Even briefly opening the insulated chamber allows cool air to reach the glass surface, creating the exact stress gradient that annealing is designed to prevent. Leave it undisturbed until the insulating material is cool to the touch.
Inspect the finished glass
Inspect the finished glass
Remove the cooled glass from the annealing chamber. Brush off any adhering ash or sand. The finished piece should be a solid disc or slab with a smooth bottom (contact surface) and a slightly textured top (free surface). Hold it up to the light to assess clarity, color, and bubble content.
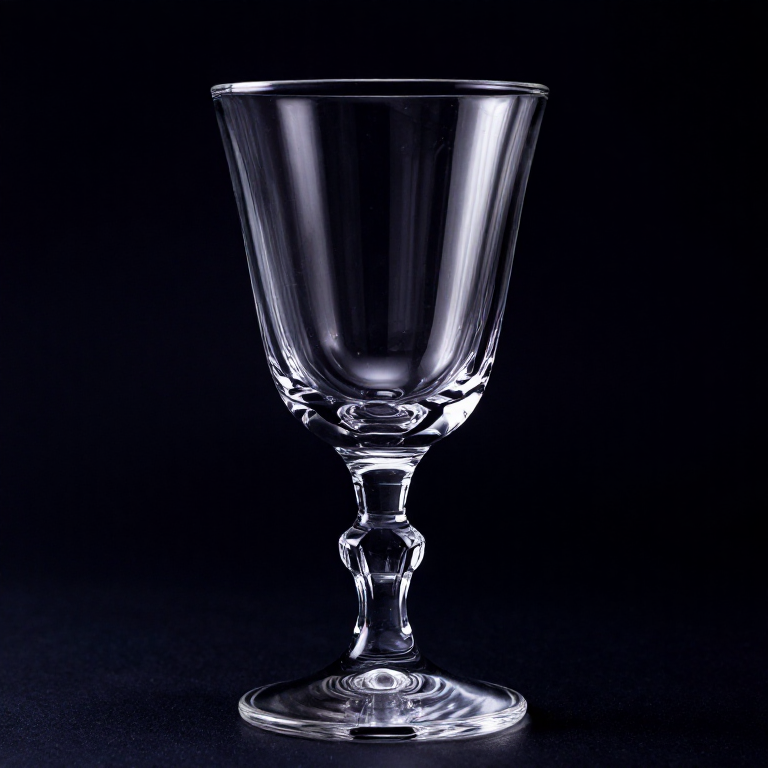
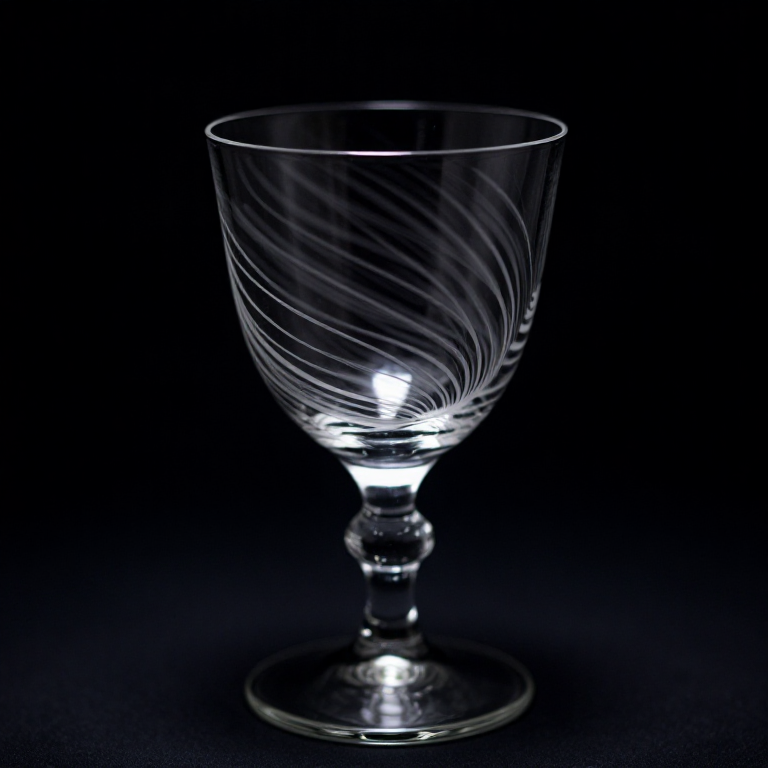
Well-made soda-lime glass from clean sand is pale green to nearly colorless and partially transparent. Some bubbles are normal in furnace-melted glass — complete bubble removal requires temperatures and holding times beyond what a small charcoal furnace can sustain. Surface imperfections can be ground and polished with successively finer abrasives if a smooth finish is desired.
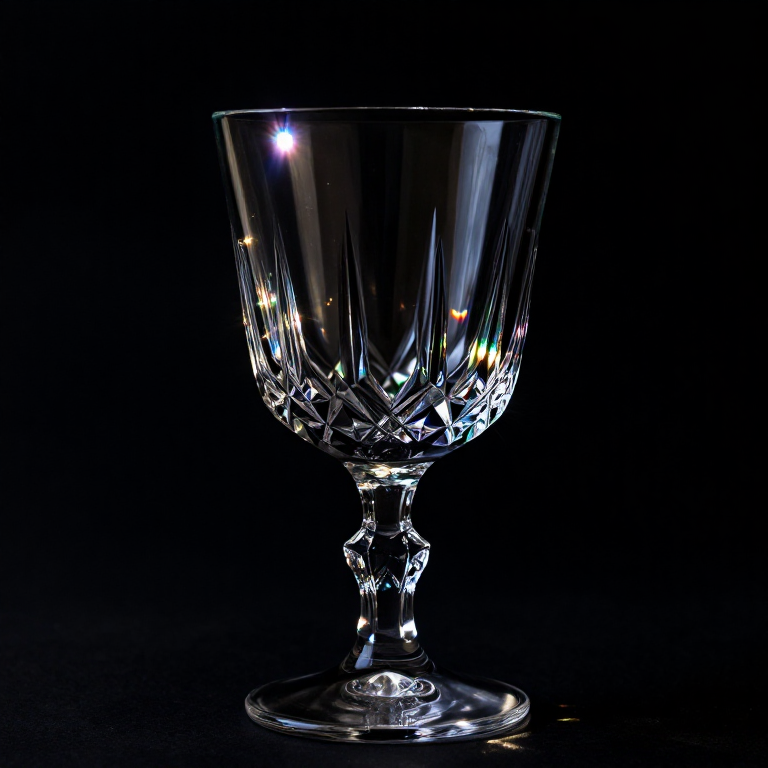
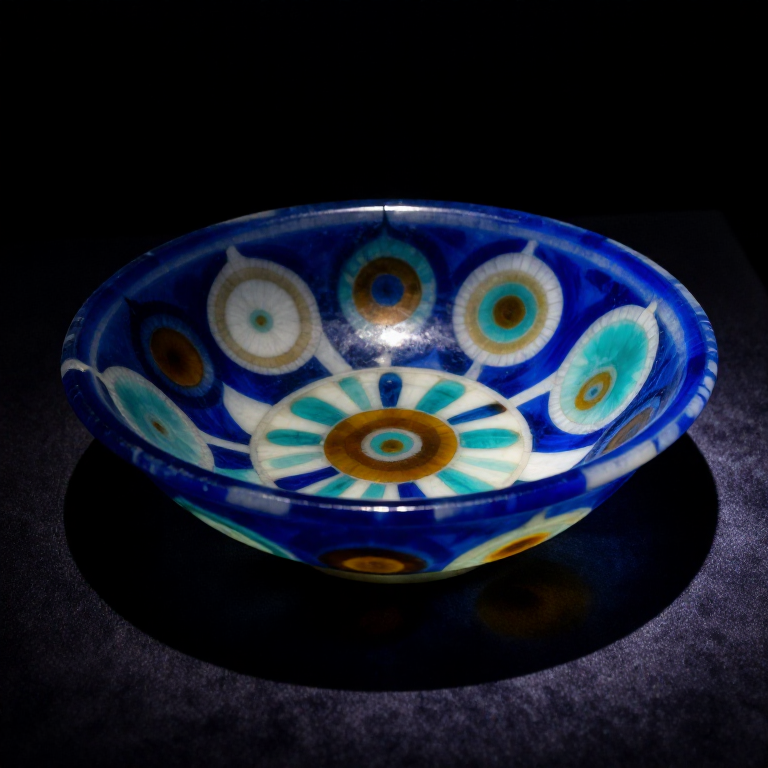
You have produced the same material that Mesopotamian craftsmen first created around 3500 BCE — a vitreous solid from three common minerals. From this starting point, every form of glasswork becomes possible: blowing, casting, staining, lampworking, and optical grinding all begin with this fundamental melt.
सामग्री
5- 400 gramsप्लेसहोल्डर
- प्लेसहोल्डर
- 75 gramsप्लेसहोल्डर
- 20 टुक्राप्लेसहोल्डर
- 15 केजीप्लेसहोल्डर
आवश्यक उपकरणहरू
12- प्लेसहोल्डर
- प्लेसहोल्डर
- प्लेसहोल्डर
- प्लेसहोल्डर
- प्लेसहोल्डर
- प्लेसहोल्डर
- प्लेसहोल्डर
- प्लेसहोल्डर
- प्लेसहोल्डर
- प्लेसहोल्डर
- प्लेसहोल्डर
- प्लेसहोल्डर
Connected Blueprint Materials
सम्बन्धित ब्लुप्रिन्ट
यी ब्लुप्रिन्टहरूले ज्ञान साझा गर्छन् — प्रविधि, सामग्री वा सिद्धान्त
Related blueprints
Other builds that share materials, tools, or techniques with this one.

CC0 सार्वजनिक डोमेन
यो ब्लुप्रिन्ट CC0 अन्तर्गत जारी गरिएको छ। तपाईं अनुमति नसोधी प्रतिलिपि, परिमार्जन, वितरण र प्रयोग गर्न सक्नुहुन्छ।
ब्लुप्रिन्ट मार्फत उत्पादनहरू किनेर सिर्जनाकर्तालाई सहयोग गर्नुहोस् सिर्जनाकर्ता कमिसन विक्रेताले तोकेको, वा यो ब्लुप्रिन्टको नयाँ संस्करण बनाउनुहोस् र आम्दानी बाँड्न आफ्नो ब्लुप्रिन्टमा जडानको रूपमा समावेश गर्नुहोस्।