Warping a Treadle Loom — Measuring, Beaming, and Threading Warp for Broadcloth
Warping is the long, meticulous process of preparing a horizontal treadle loom for weaving. Every thread of the warp — the lengthwise threads that form the skeleton of the cloth — must be measured to exact length, wound onto the warp beam in perfect tension, drawn through the heddle eyes in the correct sequence, and sleyed through the reed at the proper spacing. A single error in threading or a single crossed thread will produce a visible flaw in every centimetre of cloth woven afterwards. Medieval weavers warped their looms with thousands of threads for broadcloth — a full warp for a standard bolt might contain 2,000 to 4,000 individual threads, each one measured, counted, and threaded by hand. The process could take a full day or more, but the quality of the warping determined the quality of every bolt of cloth the loom would produce. This blueprint covers the complete warping sequence from winding the warp on a warping board through beaming, threading heddles, and sleying the reed.
निर्देशनहरू
Calculate the warp
Calculate the warp
Prepare the yarn
Prepare the yarn
Materials for this step:
 Warp Yarn1 केजी
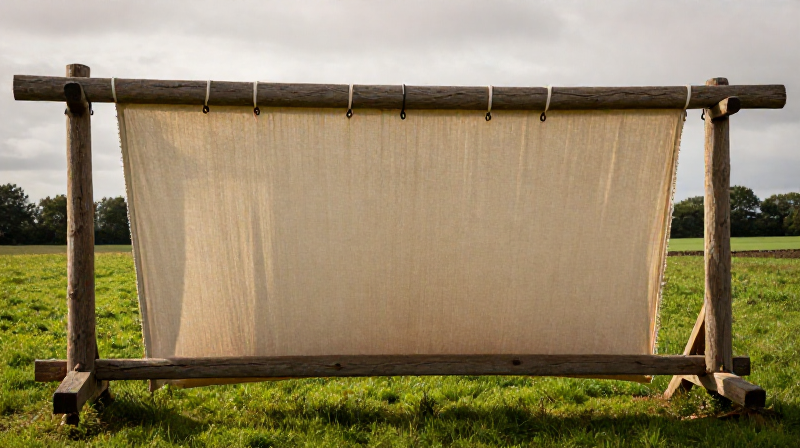
Set up the warping board
Set up the warping board
Tools needed:
 Warping Board
Wind the warp threads
Wind the warp threads
Tie the cross and chain the warp
Tie the cross and chain the warp
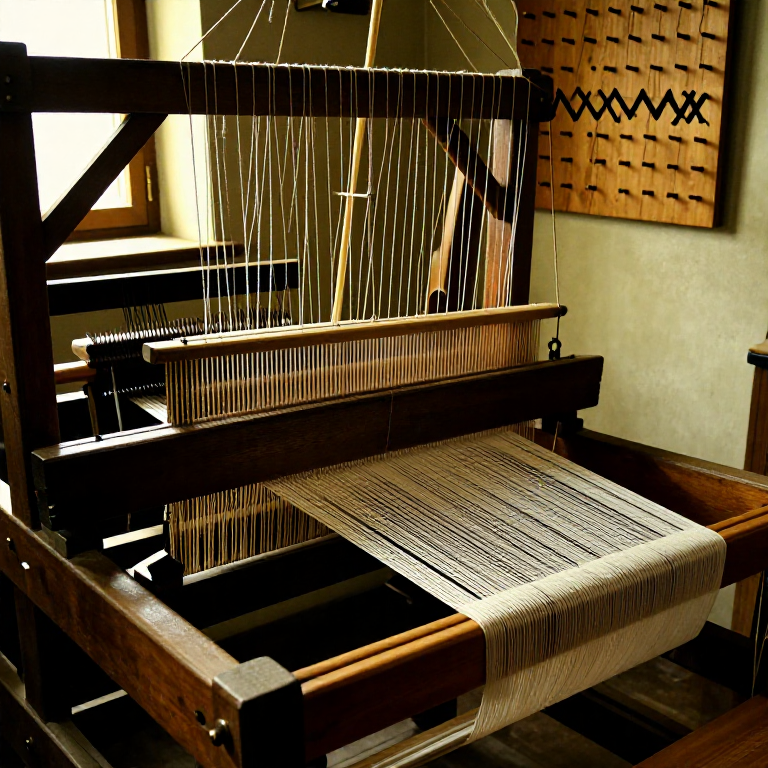
Prepare the loom
Prepare the loom
Tools needed:
 Treadle Loom
Beam the warp
Beam the warp
Thread the heddles
Thread the heddles
Tools needed:
 Threading Hook
Sley the reed
Sley the reed
Tools needed:
 Reed Hook
Tie onto the cloth beam
Tie onto the cloth beam
Tie up the treadles
Tie up the treadles
Check the shed
Check the shed
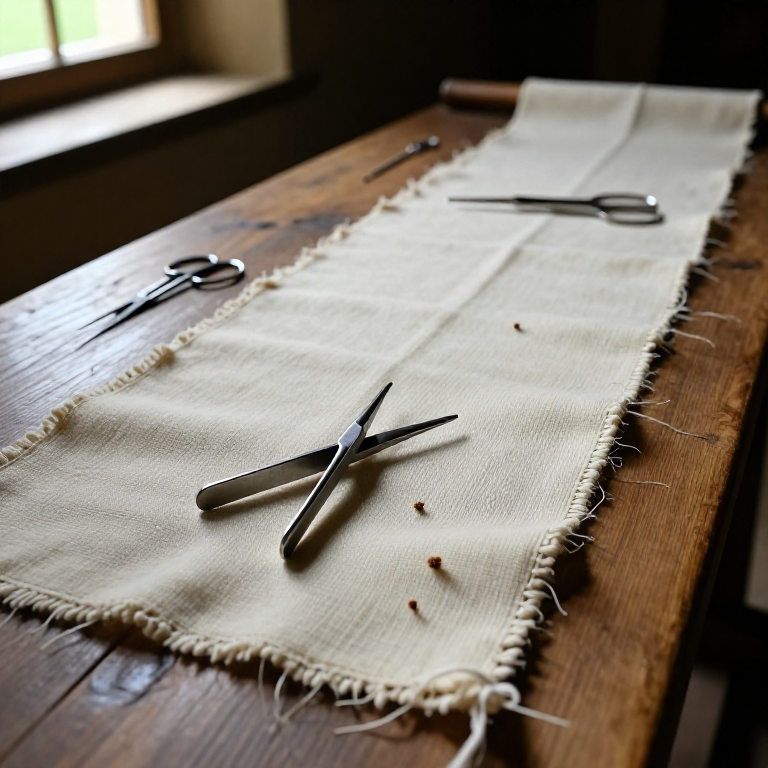
Weave a test header
Weave a test header
Materials for this step:
 Scrap Yarn1 गुच्छा
The loom is ready
The loom is ready
सामग्री
2- 1 केजीप्लेसहोल्डर
- 1 गुच्छाप्लेसहोल्डर
आवश्यक उपकरणहरू
4- प्लेसहोल्डर
- प्लेसहोल्डर
- प्लेसहोल्डर
- प्लेसहोल्डर
Connected Blueprint Materials
सम्बन्धित ब्लुप्रिन्ट
यी ब्लुप्रिन्टहरूले ज्ञान साझा गर्छन् — प्रविधि, सामग्री वा सिद्धान्त
Related blueprints
Other builds that share materials, tools, or techniques with this one.

CC0 सार्वजनिक डोमेन
यो ब्लुप्रिन्ट CC0 अन्तर्गत जारी गरिएको छ। तपाईं अनुमति नसोधी प्रतिलिपि, परिमार्जन, वितरण र प्रयोग गर्न सक्नुहुन्छ।
ब्लुप्रिन्ट मार्फत उत्पादनहरू किनेर सिर्जनाकर्तालाई सहयोग गर्नुहोस् सिर्जनाकर्ता कमिसन विक्रेताले तोकेको, वा यो ब्लुप्रिन्टको नयाँ संस्करण बनाउनुहोस् र आम्दानी बाँड्न आफ्नो ब्लुप्रिन्टमा जडानको रूपमा समावेश गर्नुहोस्।