Drying Medicinal Herbs for Winter Storage — Preserving Nature's Pharmacy
निर्देशनहरू
Choose Herbs at Peak Potency
Choose Herbs at Peak Potency
Materials for this step:
 Yarrow (Achillea millefolium)200 ग्राम
Harvest in Dry Morning Conditions
Harvest in Dry Morning Conditions
Inspect Each Plant for Quality
Inspect Each Plant for Quality
Shake Off Insects and Debris
Shake Off Insects and Debris
Rinse Roots and Bark Only
Rinse Roots and Bark Only
Materials for this step:
 Clean Water500 मिलि
Sort Herbs by Type
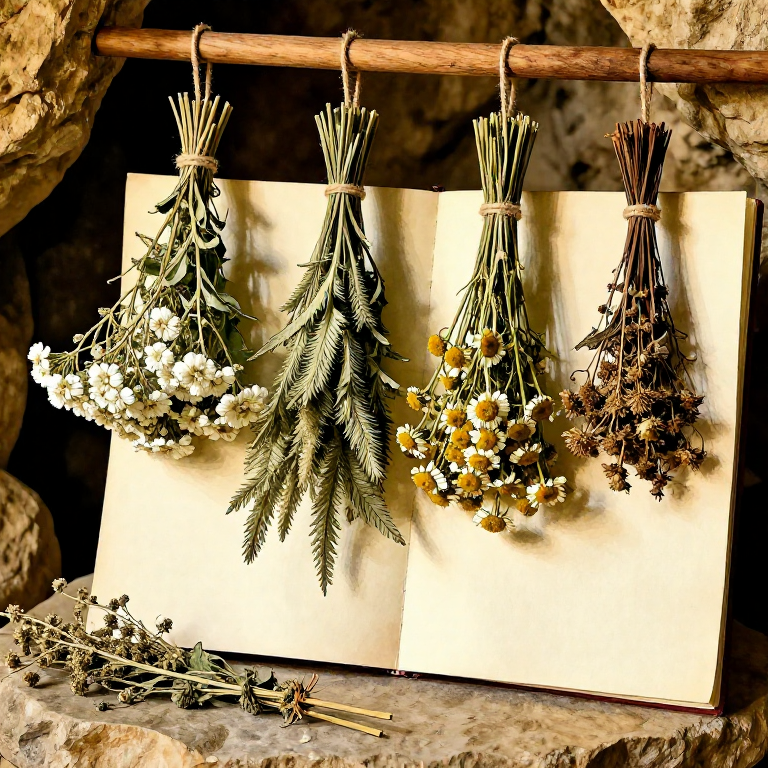
Sort Herbs by Type
Bundle Stems in Small Groups
Bundle Stems in Small Groups
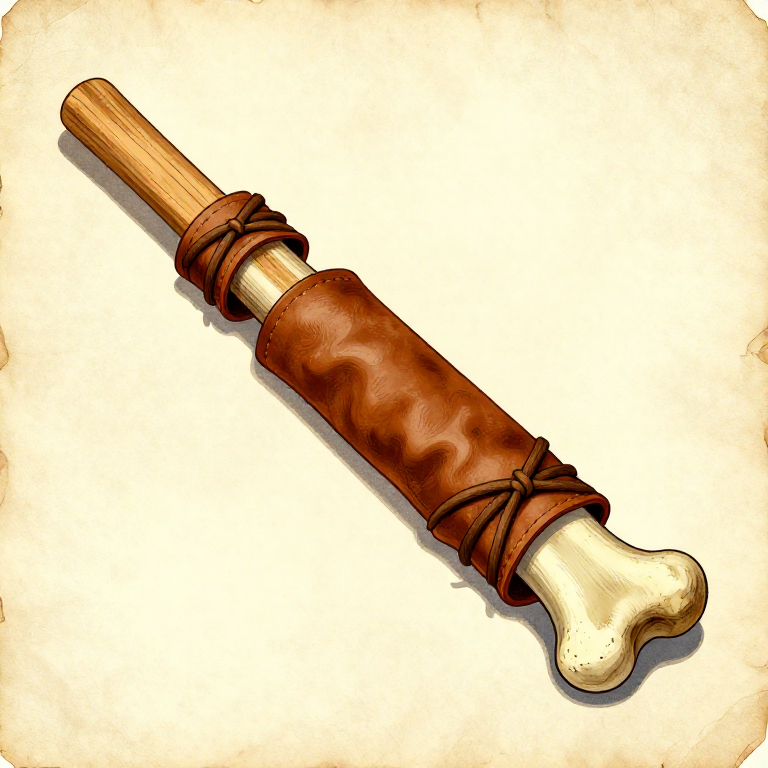
Tie Bundles at the Stem Ends
Tie Bundles at the Stem Ends
Materials for this step:
 Cordage3 मिटर
Select a Warm, Dry, Shaded Location
Select a Warm, Dry, Shaded Location
Hang Bundles Upside Down
Hang Bundles Upside Down
Materials for this step:
Cordage2 मिटरSpace Bundles for Air Circulation
Space Bundles for Air Circulation
Lay Thick Roots on a Flat Stone Surface
Lay Thick Roots on a Flat Stone Surface
Tools needed:
 Flat Stone Slab
Check Daily for Mould
Check Daily for Mould
Test Dryness After 7 to 14 Days
Test Dryness After 7 to 14 Days
Strip Dried Leaves from Stems
Strip Dried Leaves from Stems
Tools needed:
Flat Stone SlabCrush to Desired Size
Crush to Desired Size
Tools needed:
 Smooth Stone
Prepare Storage Containers
Prepare Storage Containers
Materials for this step:
 Broad Dock Leaf4 टुक्रा
Fill Containers by Species
Fill Containers by Species
Store in a Cool, Dark, Dry Place
Store in a Cool, Dark, Dry Place
सामग्री
4- 200 ग्रामप्लेसहोल्डर
- 500 मिलिप्लेसहोल्डर
- 5 मिटरप्लेसहोल्डर
- 4 टुक्राप्लेसहोल्डर
आवश्यक उपकरणहरू
2- प्लेसहोल्डर
- प्लेसहोल्डर
Connected Blueprint Materials
You can swap these in
Can't get one of the materials? Swap it for an equivalent — these work just as well.
- Instead of Broad Dock Leaf, try:
 Bay Leaf
 Gold Leaf
 - Instead of Distilled Water, try:
 Distilled Water (1 Liter)
 Water
Water - Instead of Smooth Stone, try:
 Stone
Stone Pumice Stone
 Stone Block
 Crushed Stone
 Sharpening Stone
 Lapis Lazuli Stone
 - Instead of Flat Stone Slab, try:
 Live Edge Maple Slab
 - Instead of Cordage, try:
 Strong Cordage
Recommended for this build
Products makers often use with builds like this one.
 Flint KnifeFrequently used with this build's materials
 HammerstoneFrequently used with this build's materials
 CharcoalFrequently used with this build's materials
 Hardwood SaplingFrequently used with this build's materialsWaterFrequently used with this build's materials
 Leather Gauntlet GlovesFrequently used with this build's materials
 Crucible Tongs (long-handled)Frequently used with this build's materials
 Charcoal Furnace (small)Frequently used with this build's materials
सम्बन्धित ब्लुप्रिन्ट
यी ब्लुप्रिन्टहरूले ज्ञान साझा गर्छन् — प्रविधि, सामग्री वा सिद्धान्त
Related blueprints
Other builds that share materials, tools, or techniques with this one.
CC0 सार्वजनिक डोमेन
यो ब्लुप्रिन्ट CC0 अन्तर्गत जारी गरिएको छ। तपाईं अनुमति नसोधी प्रतिलिपि, परिमार्जन, वितरण र प्रयोग गर्न सक्नुहुन्छ।
ब्लुप्रिन्ट मार्फत उत्पादनहरू किनेर सिर्जनाकर्तालाई सहयोग गर्नुहोस् सिर्जनाकर्ता कमिसन विक्रेताले तोकेको, वा यो ब्लुप्रिन्टको नयाँ संस्करण बनाउनुहोस् र आम्दानी बाँड्न आफ्नो ब्लुप्रिन्टमा जडानको रूपमा समावेश गर्नुहोस्।