
Współpraca
SZTUKA
Piękno i dobre samopoczucie
RZEMIOSŁO
KULTURA I HISTORIA
ROZRYWKA
ŚRODOWISKO
JEDZENIE I NAPOJE
INŻYNIERIA ODWROTNA
NAUKI
LEKKOATLETYKA
TECHNOLOGIA
URZĄDZENIA DO NOSZENIA
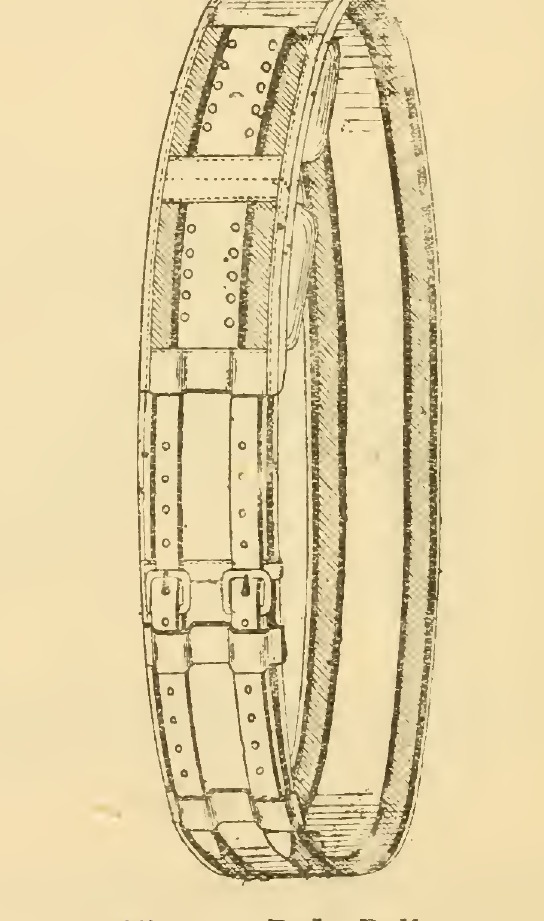
Body Roller: Web Band With a Quilted, Flock-Stuffed Pad and Two Buckled Straps (Hasluck, Saddlery, 1904)
Tex

Autor

Tex

13. listopad 2026FO
6
0
0
0
0

Body Roller: Web Band With a Quilted, Flock-Stuffed Pad and Two Buckled Straps (Hasluck, Saddlery, 1904)

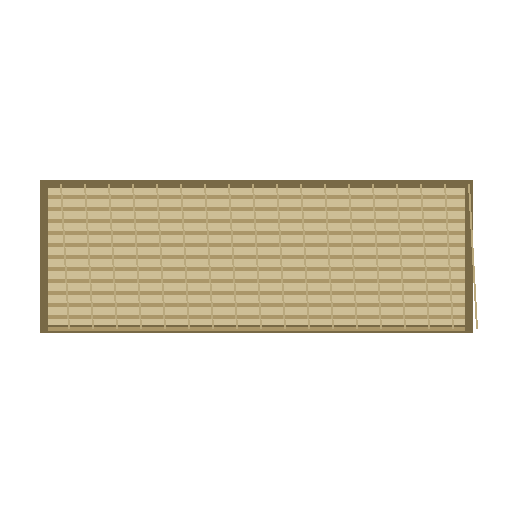
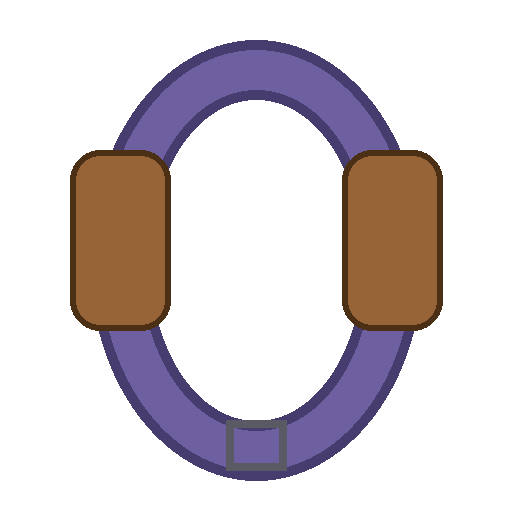
A body roller is buckled round a horse behind the withers to keep its rug or sheet in place. This is the two-strap roller from Paul N. Hasluck's Saddlery (1904): a 6 ft 2 in web band with a stuffed pad of two compartments, faced with hogskin, lined with serge, quilted with twenty small leather rounds, and fastened with two buckled straps. Every size is his. Rollers may be of worsted, linen, union, webbing or leather.
Zaawansowany
About 2 days

Instrukcje

1

The marks on the roller

Wczytywanie notatnika Jupyter…
2

Read Saddlery, ch. IX

"Body rollers are made of worsted, linen, union, webbing, or leather, with one, two, or three straps, a full-sized roller being 6 ft. 2 in. long."
3

Bind the ends and mark the pad

Cut the roller 6 ft 2 in long; the pad sits about 10 in from one point. Bind the short end near the pad with leather 1 in wide on each side, stitched with single thread. Bind the other end the same way, 1 in wide on the front, but line the girth for about 6 in below and stitch along the edge of the roller; raise a stitch over the edge of the leather without running through. With a lead pencil, mark a line across 10 in from the end without lining, a second line 1 ft away, and two more 5-1/4 in from each line, leaving a 1-1/2 in space between them.

Materiały do tego kroku:

Taśma popręgowaTaśma popręgowa1 sztuka
Skóra świńskaSkóra świńska1 sztuka
Nić lnianaNić lniana1 sztuka
Wosk pszczeliWosk pszczeli1 sztuka
OłówekOłówek1 sztuka

Potrzebne narzędzia:

Nóż do skóryNóż do skóry

SzydłoSzydło
Dwie igły rymarskieDwie igły rymarskie
Kozioł rymarskiKozioł rymarski
Miara zwijanaMiara zwijana
4

Cut the card, lining and facings

Cut stiff cardboard the width of the roller, reaching 1 in below each end line, and thin its edges. Cut white serge (basil or hogskin for a leather girth) to reach 2 in below the two end lines and 1/2 in wider on each side. Cut two hogskin facings 1 ft 4 in by 1-1/4 in, narrowed at the centre to a little less than half opposite the space between the inner lines; round the corners and cut slanting towards the ends until each is about 1/2 in wide at the point. Turn the serge down 1/4 in along its long edges and whip it to the facings along the shaped edge, centre to centre, with the full and narrow parts matching on each side.

Materiały do tego kroku:

Tektura klejonaTektura klejona1 sztuka
Serża wełnianaSerża wełniana1 sztuka
Skóra świńskaSkóra świńska1 sztuka
Nić lnianaNić lniana1 sztuka
Wosk pszczeliWosk pszczeli1 sztuka

Potrzebne narzędzia:

Nóż do skóryNóż do skóry

NożyczkiNożyczki
Dwie igły rymarskieDwie igły rymarskie
Miara zwijanaMiara zwijana
5

Make and set the straps

Cut two pieces of leather 2-1/4 in deep and the width of the roller and crease them along the long sides with a hot iron; cut two similar pieces of basil. Cut two strong 1-1/4 in brown leather straps 1 ft 6 in long, point one end, shave the other, crease them double and make eight holes in each. Put one basil piece underneath, level with the roller edges, reaching a little above the line nearer the short end. Place the straps within 1/4 in of that line, pointing towards the short end, and stitch them down firmly through roller and basil.

Materiały do tego kroku:

Skóra świńskaSkóra świńska1 sztuka
Skóra owcza (basil)Skóra owcza (basil)1 sztuka
Skóra uprzężowaSkóra uprzężowa1 sztuka
Nić lnianaNić lniana1 sztuka
Wosk pszczeliWosk pszczeli1 sztuka

Potrzebne narzędzia:

Nóż do skóryNóż do skóry
BigownicaBigownica
Dziurkacz do skóryDziurkacz do skóry
SzydłoSzydło
Dwie igły rymarskieDwie igły rymarskie
6

Build the pad

Place the hogskin end pieces on the ends of the pad, their upper edges about 1/8 in above the end lines, and the other basil piece under the end without straps; tack the basil down. Tack a creased piece 1-3/4 in wide across the centre to cover the two central lines, then tack the cardboard underneath, centred. The end piece at the strap end covers the stitched ends of the straps. Stitch the end pieces through roller and card along their upper cross lines and the ends of the centre piece at the edges, leaving the two central lines unstitched.

Materiały do tego kroku:

Skóra świńskaSkóra świńska1 sztuka
Ćwieki montażoweĆwieki montażowe1 sztuka
Nić lnianaNić lniana1 sztuka
Wosk pszczeliWosk pszczeli1 sztuka

Potrzebne narzędzia:

MłotekMłotek
BigownicaBigownica
SzydłoSzydło
Dwie igły rymarskieDwie igły rymarskie
7

Line, bind and stuff

Put the serge lining and facing centre to centre on each side and whip the facing to the roller along both edges through web and card, the ends reaching just below the stitched end lines. Bind both edges with a thin hogskin strip about 1/2 in wide from end piece to end piece. Stitch the two centre lines through from side to side, making two compartments. Make two rows of stitches down through the leather between and close to the straps, and two at the other end. Stuff both sides firm and level with flock through the bottom opening, turn in the serge edge, and raise a stitch to hold the leather lining opposite the serge.

Materiały do tego kroku:

Skóra świńskaSkóra świńska1 sztuka
Wypełnienie wełnianeWypełnienie wełniane1 sztuka
Nić lnianaNić lniana1 sztuka
Wosk pszczeliWosk pszczeli1 sztuka

Potrzebne narzędzia:

Nóż do skóryNóż do skóry
SzydłoSzydło
Dwie igły rymarskieDwie igły rymarskie
8

Quilt the pad

Cut twenty small round or scalloped pieces of coloured roan or hogskin, a little smaller than a threepenny bit. Quilt five on each side of each part, twenty in all, in a perfectly straight line 1 in from the edge: drive the needle up from below, through the leather round, down again through it and the roller, and knot it below over a small tuft of coloured wool.

Materiały do tego kroku:

Skóra owcza barwiona (roan)Skóra owcza barwiona (roan)1 sztuka
Barwiona przędza wełnianaBarwiona przędza wełniana1 sztuka
Nić lnianaNić lniana1 sztuka
Wosk pszczeliWosk pszczeli1 sztuka

Potrzebne narzędzia:

Nóż do skóryNóż do skóry
Dwie igły rymarskieDwie igły rymarskie
9

Fit the buckles and loops

Cut two chapes for two 1-1/4 in buckles and two loops, and stitch the chapes with the outside of the buckles flush with the end of the roller, straight to the straps. Make a loop long enough to reach across the girth, stitched across at both ends and with two cross rows in the centre, leaving room for the two straps, about 6 in below the chapes. Block, crease and finish the loops; he puts a fancy stamp in the centre of each.

Materiały do tego kroku:

Skóra uprzężowaSkóra uprzężowa1 sztuka
Żelazna klamra z kolcemŻelazna klamra z kolcem2 sztuk
Nić lnianaNić lniana1 sztuka
Wosk pszczeliWosk pszczeli1 sztuka

Potrzebne narzędzia:

Nóż do skóryNóż do skóry
BigownicaBigownica
Wzornik do szlufekWzornik do szlufek
SzydłoSzydło
Dwie igły rymarskieDwie igły rymarskie
10

Troubleshooting

Body roller troubleshooting.

Flow

Loading...
11

History and honest limits

From **Saddlery**, edited by Paul N. Hasluck, David McKay, 1904 (archive.org saddlery00hasl), chapter IX, "Horse Clothing", body rollers, pp. 75-80, Figs. 31-32; every fraction was read on the scan. His wording on the end pieces is brief; check them against Figs. 31 and 32. The stallion roller, surcingle, sheets and hood are not made here. The thread, tools and metric figures are ours.

Materiały

14

Wymagane narzędzia

10

Według tego planu powstaje

CC0 Domena publiczna

Ten plan jest udostępniany na licencji CC0. Możesz go swobodnie kopiować, modyfikować, rozpowszechniać i wykorzystywać do dowolnych celów, bez konieczności uzyskiwania zgody.

Wesprzyj Makera kupując produkty przez jego plan, za co zarabia Prowizja Makera ustalony przez sprzedawców, lub stwórz nową iterację tego planu i dołącz go jako połączenie w swoim własnym planie, aby dzielić się przychodami.

Dyskusja

(0)

Zaloguj się aby dołączyć do dyskusji

Ładowanie komentarzy...