Współpraca
SZTUKA
Piękno i dobre samopoczucie
RZEMIOSŁO
KULTURA I HISTORIA
ROZRYWKA
ŚRODOWISKO
JEDZENIE I NAPOJE
INŻYNIERIA ODWROTNA
NAUKI
LEKKOATLETYKA
TECHNOLOGIA
URZĄDZENIA DO NOSZENIA
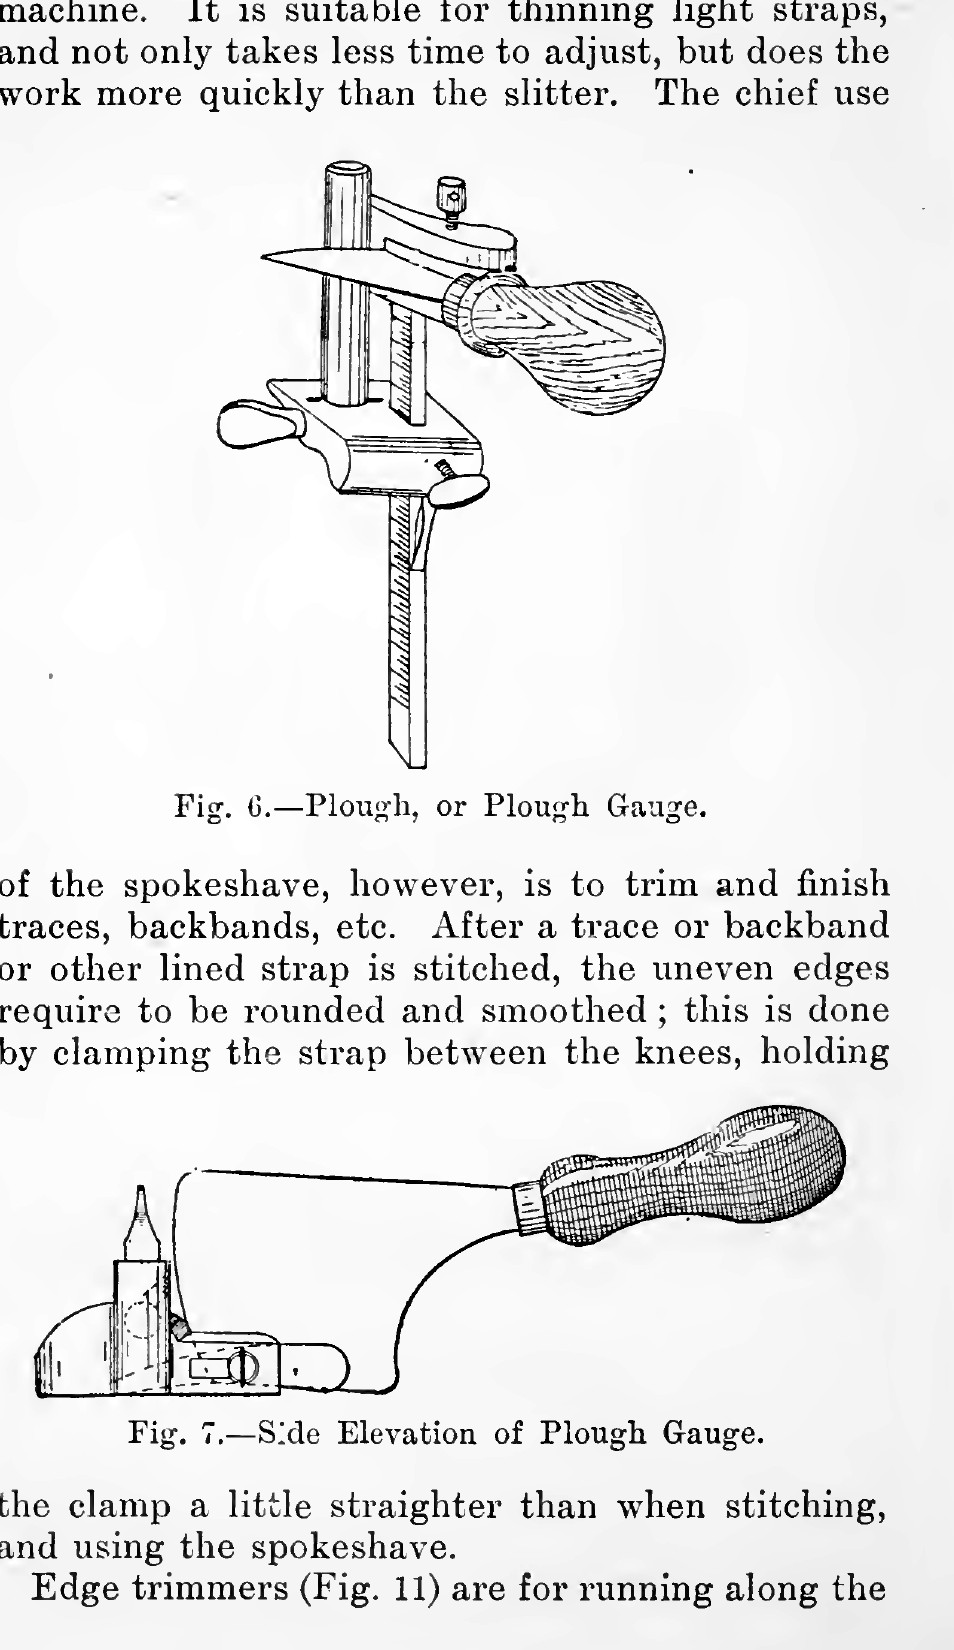


Harness Straps: Cut Along the Hide With Compass and Round Knife (or Plough), Edges Finished With Bone (Hasluck, 1904)
How a harness maker cuts and finishes straps, from P. N. Hasluck's Harness Making (1904): marked along the hide with an 8 ft straightedge or a compass, cut with the round knife on a cutting-board (or with a plough gauge, 1/2 to 5-1/2 in), always along the hide, then the edges knocked, trimmed with the spokeshave, scraped, sanded and polished with gum and a smooth bone.
Początkujący
About 1 hour
Instrukcje
1
1
Widths
Widths
Wczytywanie notatnika Jupyter…
2
2
Read Harness Making
Read Harness Making
"Straps are always cut along the hide and not across it, the hide being much stronger lengthways."
3
3
Lay out
Lay out
Lay the side on the bench with the back toward you. Mark straight lines with a blunt-pointed awl or seat-awl against a straightedge at least 8 ft long, without cutting the grain. Do not cut lower into the hide than the strap's width; cut shaped pieces from patterns.
Materiały do tego kroku:
 Skóra uprzężowa1 sztuka
Potrzebne narzędzia:
 Liniał krawędziowy
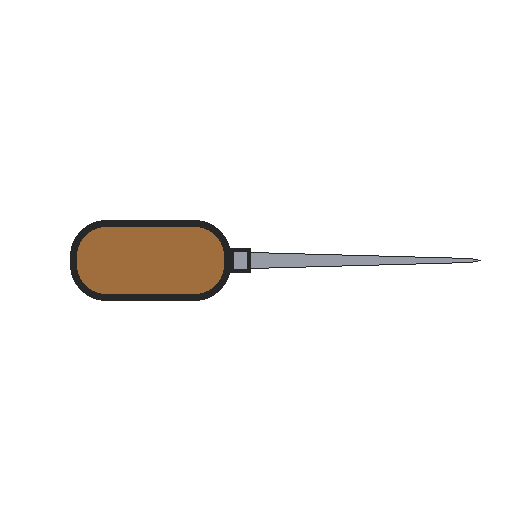 Szydło rymarskie do wypełnień
4
4
Cut
Cut
With the round knife: set the compass to the width, run one point along the edge and draw it toward you to leave a line, then cut from the right-hand end on a cutting-board, holding the leather steady with the left hand. With the plough: set the knife on the gauge (1/2 to 5-1/2 in) with the thumb-screw, hold the leather flat and press it forward with the guard tight to the edge. Cut reins first, then traces, back-bands and the rest; linings from the belly.
Potrzebne narzędzia:
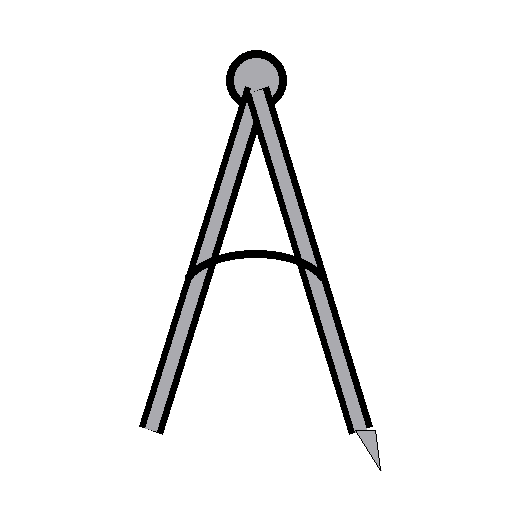 Cyrkiel rymarski do rowkowania
 Nóż do skóry
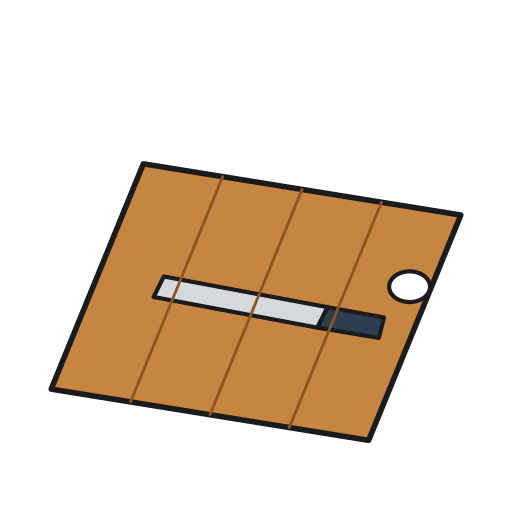 Deska do krojenia
5
5
Finish the edges
Finish the edges
Knock the edges along to consolidate them, trim them round and level with the spokeshave, run a glass scraper over them and sandpaper. For brown work, wipe with a thin solution of gum and water and rub with brown paper and a smooth bone to a polish. For black, dye, rub dry with a rag, and polish with brown paper and bone.
Materiały do tego kroku:
 Guma arabska1 sztuka
 Brązowy papier pakowy (szary)1 sztuka
 Papier ścierny1 sztuka
Potrzebne narzędzia:
 Strug kabłąkowy
 Stłuczka szklana
 Kostka introligatorska
 Młotek
6
6
Troubleshooting
Troubleshooting
Strap troubleshooting.
Flow
Loading...
7
7
History and honest limits
History and honest limits
From Paul N. Hasluck, **Harness Making** (1904) (checked on the archive.org scan harnessmaking00hasl, pp. 12, 42-44). Using broken glass (cullet) as the glass scraper, the tools and the metric figures are ours.
Materiały
4- 1 sztukaZastępnik
- 1 sztukaZastępnik
- 1 sztukaZastępnik
- 1 sztukaZastępnik
Wymagane narzędzia
9- Zastępnik
- Zastępnik
- Zastępnik
- Zastępnik
- Zastępnik
- Zastępnik
- Zastępnik
- Zastępnik
- Zastępnik
Według tego planu powstaje

Powiązane blueprinty
Te blueprinty dzielą się wiedzą — technikami, materiałami lub zasadami
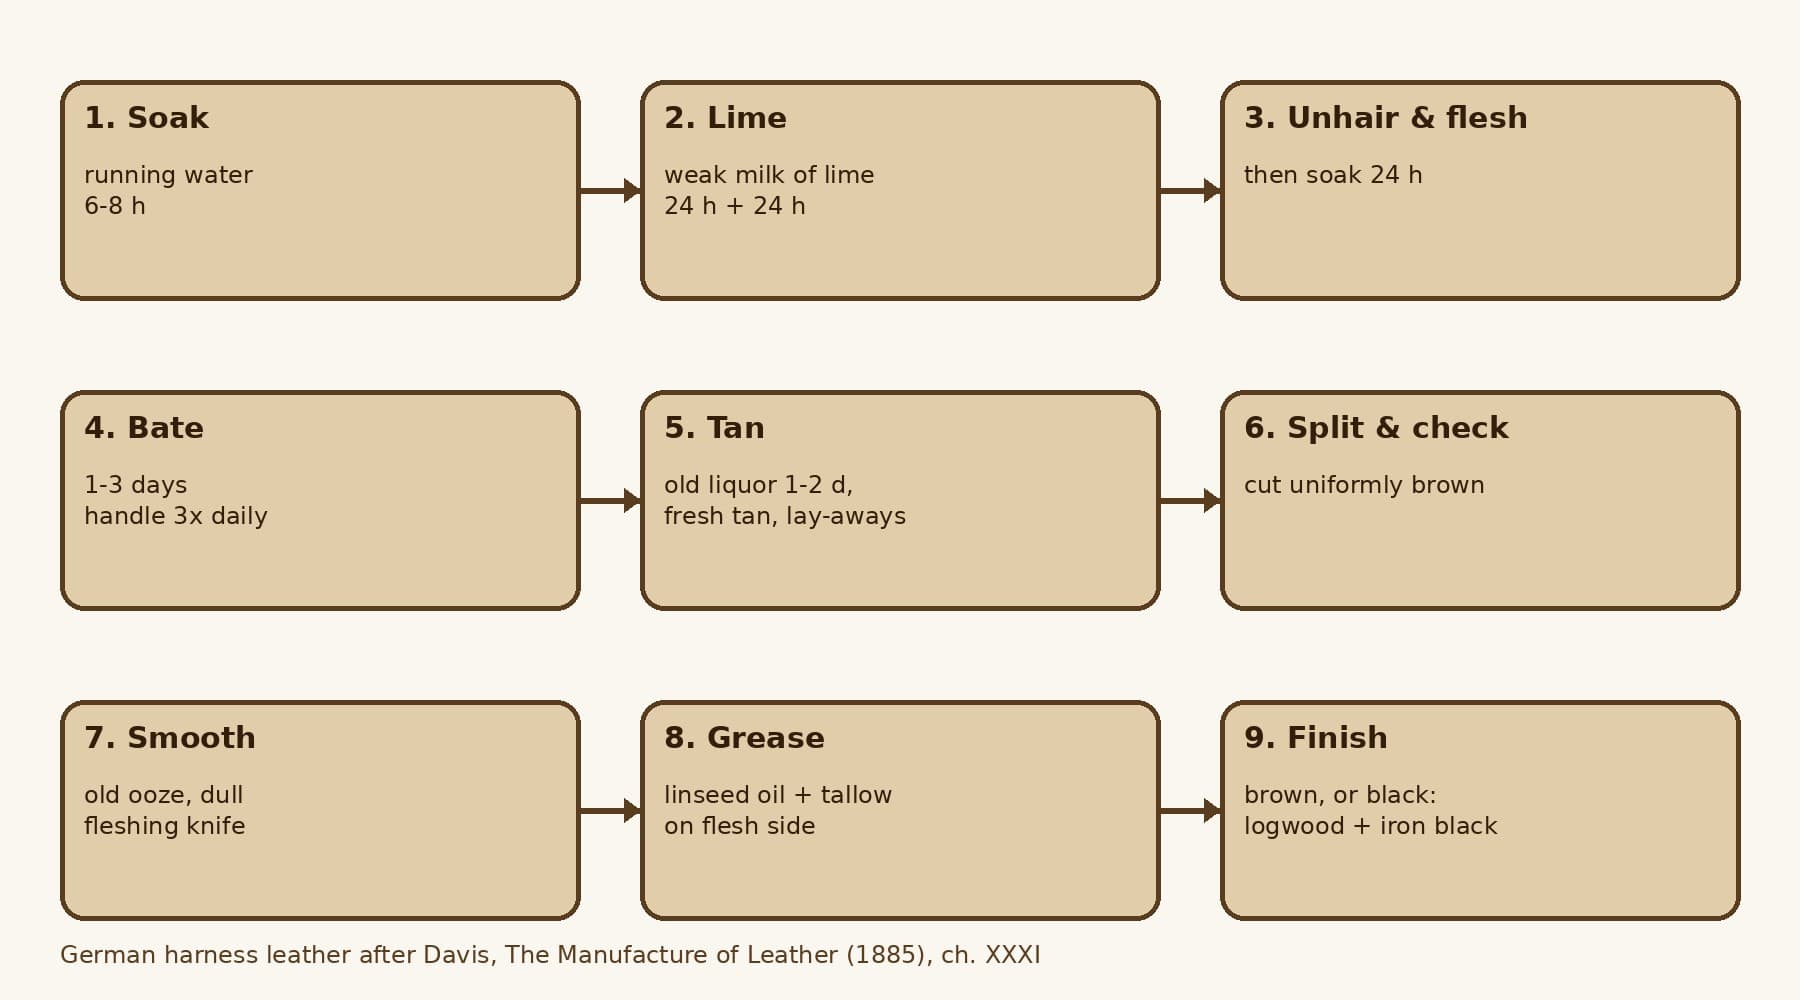
CC0 Domena publiczna
Ten plan jest udostępniany na licencji CC0. Możesz go swobodnie kopiować, modyfikować, rozpowszechniać i wykorzystywać do dowolnych celów, bez konieczności uzyskiwania zgody.
Wesprzyj Makera kupując produkty przez jego plan, za co zarabia Prowizja Makera ustalony przez sprzedawców, lub stwórz nową iterację tego planu i dołącz go jako połączenie w swoim własnym planie, aby dzielić się przychodami.