Building a Bloomery & Smelting Iron — The Iron Age
Instrukcje
Prerequisite: Making Charcoal
Prerequisite: Making Charcoal
Iron smelting requires 40kg minimum of charcoal. Consider making multiple batches in advance.

Plan wymagany wstępnie
Making Charcoal — The First Chemical Process
Materiały do tego kroku:
 Iron (Reference)1 odniesienie
Tools needed:
 Bellows (large, dual-chamber)
 Anvil
Anvil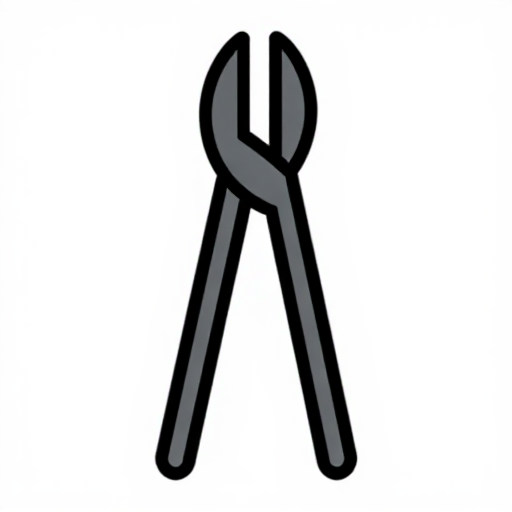 Blacksmith tongs
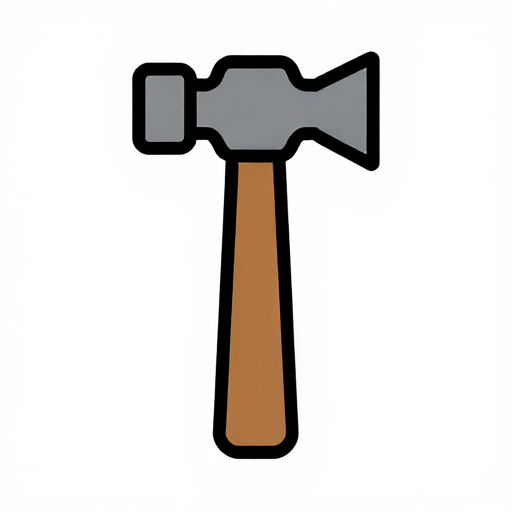 Ball peen hammer (heavy)
 Bench vise
Prerequisite: Building a Clay Kiln
Prerequisite: Building a Clay Kiln
Same clay-working skills, scaled up for the bloomery furnace.
Plan wymagany wstępnie
Building a Clay Kiln — The First Furnace
Materiały do tego kroku:
Prerequisite: Casting & Metalworking
Prerequisite: Casting & Metalworking
You need hammering skills for bloom consolidation from this blueprint.
Plan wymagany wstępnie
Casting Copper Tools — Shaping the First Metal
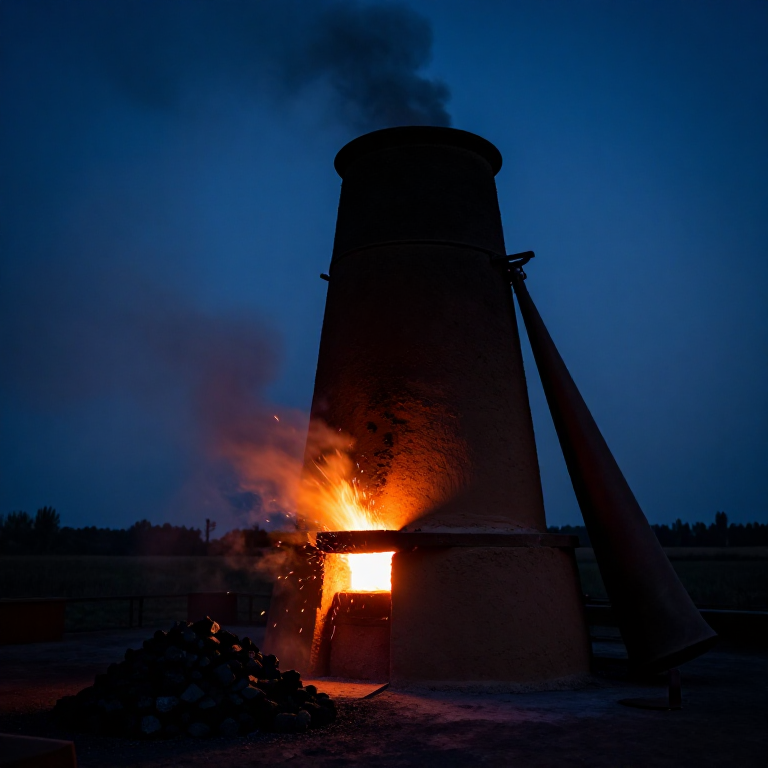
Building the Bloomery Furnace
Building the Bloomery Furnace
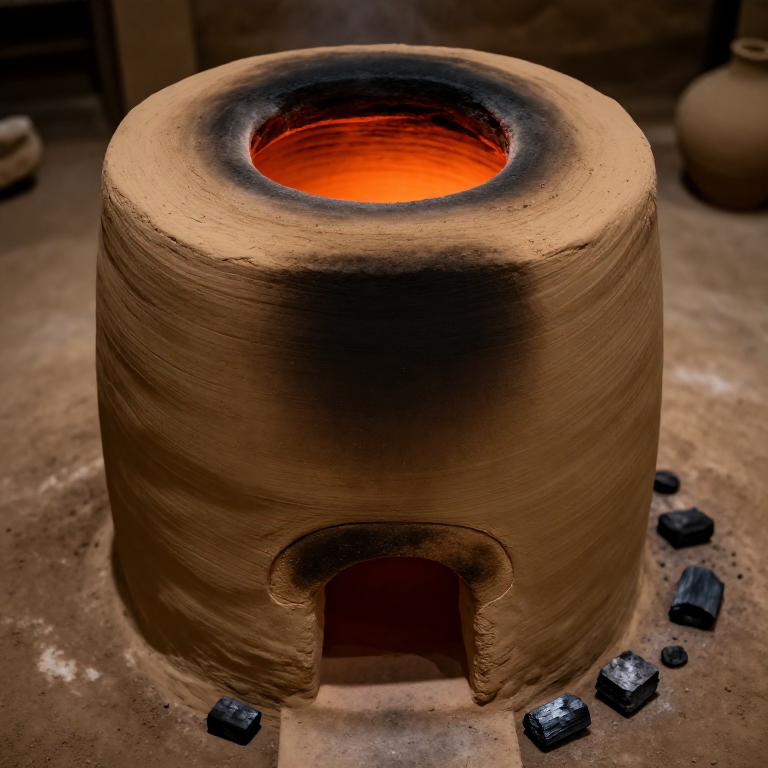
Design: The Shaft Furnace
A bloomery is a tall shaft that creates a reducing column — ore and charcoal are loaded from the top, air is blown in from the bottom, and a bloom of iron collects at the base.
Specifications
- Height: 80-120cm (taller = better reduction)
- Internal diameter: 25-35cm
- Wall thickness: 10-15cm (clay/sand mix, same as kiln)
- Tuyère: 3-5cm diameter, positioned 10cm above the base, angled 15° downward
- Tap arch (optional): An opening at the base for extracting the bloom, sealed with clay during the smelt
Construction
- Build a circular clay base with a shallow bowl depression (the hearth). This is where the bloom forms.
- Use the coil-building technique from Blueprint 02, scaled taller.
- Install the tuyère pipe (a clay tube) through the wall, 10cm above the hearth.
- Let dry for 5-7 days. A bloomery is thicker than a kiln — needs more drying time.
- Cure with progressively hotter fires (same protocol as Blueprint 02).
Materiały do tego kroku:
Iron (Reference)1 odniesienieThe Iron Smelt
The Iron Smelt
Ore Preparation
- Roast the ore in an open fire for 2-3 hours. This drives off moisture, converts hydrated oxides, and makes the ore crumbly for crushing.
- Crush roasted ore to hazelnut size (1-2cm). Not too fine — needs air to flow through.
- Wash crushed ore to remove clay and light impurities.
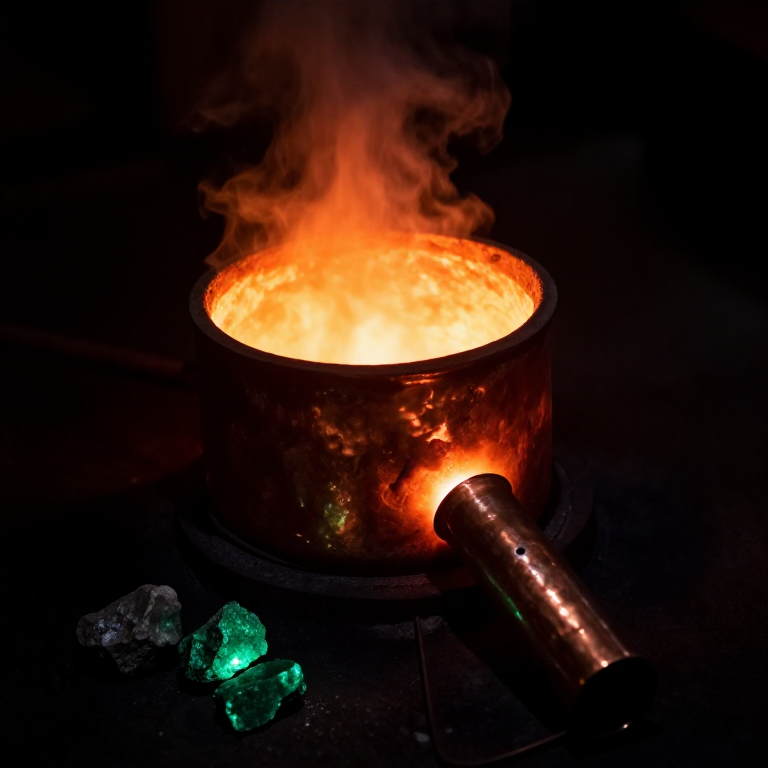
The Smelt (6-10 hours)
- Pre-heat: Fill the bloomery with charcoal and light from the top. Let it burn down for 1 hour with bellows. The entire shaft should be glowing.
- First charge: Add a layer of charcoal (5cm), then a layer of ore (2-3cm). This ratio (~3:1 charcoal:ore by volume) maintains the reducing atmosphere.
- Continue charging: Every 15-20 minutes, as the column burns down, add another charcoal-then-ore layer from the top.
- Bellows — CONTINUOUS: Two people alternating, or a double-action bellows. Air supply must not stop for more than 30 seconds. Temperature drops rapidly without forced air.
- Slag tapping: Molten slag (liquid glass at ~1200°C) collects above the bloom. If the furnace has a tap hole, open it periodically to drain slag. If not, it flows out the tuyère — messy but functional.
- Duration: 6-10 hours of continuous operation. The smelt is done when you've processed all your ore.
What's Happening Inside
Fe₂O₃ + 3CO → 2Fe + 3CO₂ (at ~800-1200°C)
Carbon monoxide (from charcoal) reduces iron oxide to metallic iron. But unlike copper, the iron never melts — it forms as solid particles that weld together into a spongy mass (the bloom) sitting in a pool of liquid slag.
Materiały do tego kroku:
Iron (Reference)1 odniesienieExtracting and Consolidating the Bloom
Extracting and Consolidating the Bloom
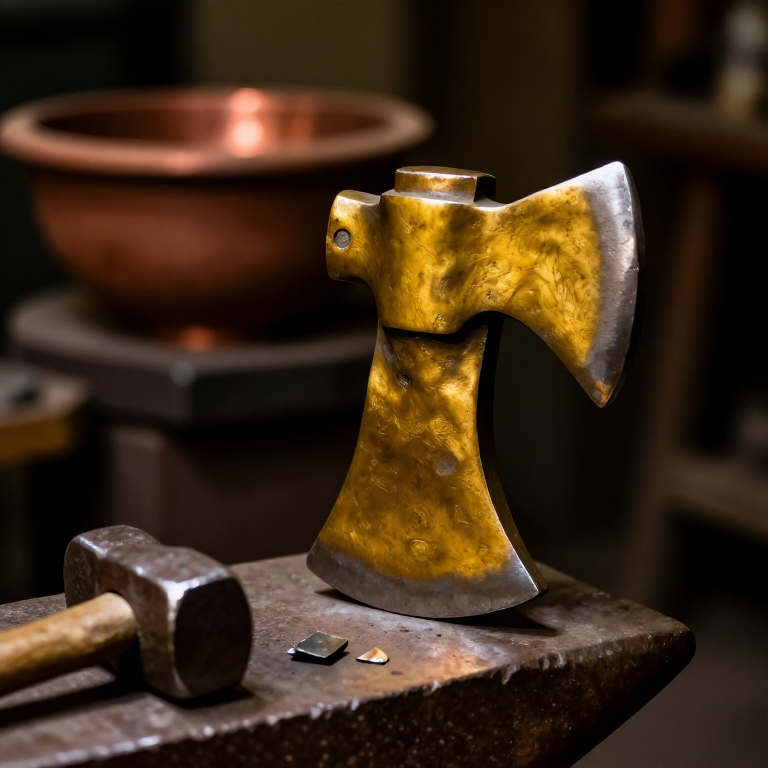
Bloom Extraction
- Let the furnace cool enough to work near it (2-3 hours), but NOT completely cold — the bloom must still be hot for consolidation.
- If you have a tap arch: break the clay seal and pull the bloom out with tongs.
- If no tap arch: break open the lower section of the furnace to extract the bloom. (The furnace is expendable — many historical bloomeries were single-use.)
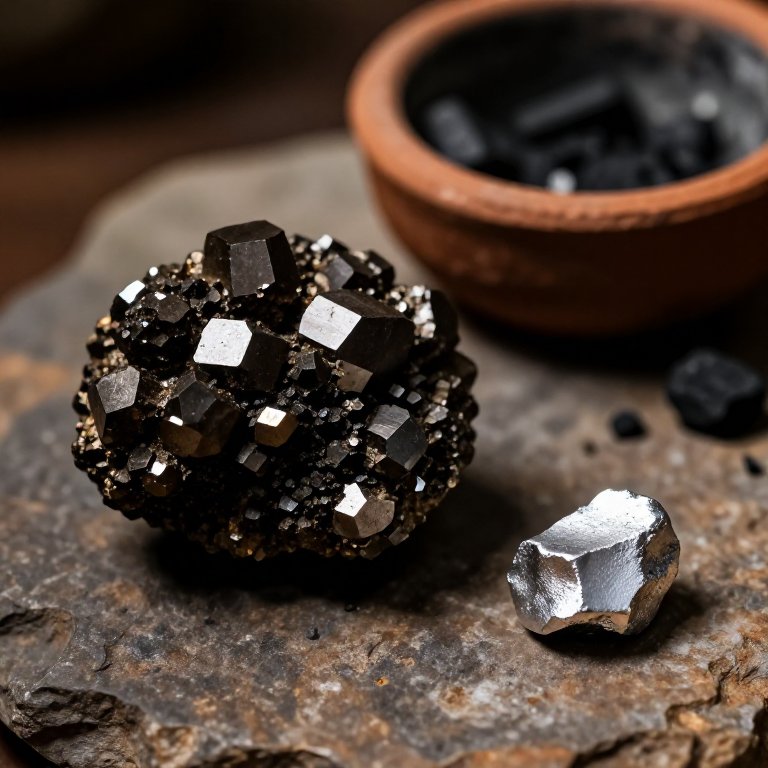
What You Should See
A rough, porous mass the size of a large grapefruit — reddish-brown to dark grey, spongy, with glassy slag trapped throughout. This is your bloom.
Consolidation (Critical Step)
Raw bloom is full of slag, charcoal bits, and voids. It must be hammered while hot to squeeze out impurities and weld the iron particles together:
- Reheat the bloom to yellow-white heat (~1100°C) in a forge or kiln.
- Place on anvil. Hammer vigorously — slag sprays out as sparks and droplets. This is spectacular and dangerous.
- Fold the bloom over itself and hammer again. Repeat 5-10 times.
- Each fold welds the iron tighter and expels more slag.
- After consolidation, you have a rough bar of wrought iron.
The Innovation Chain Complete
You've now traced the path from wood → charcoal → kiln → copper → bronze → iron. Each step built on the previous. Each required compounding knowledge. This is how innovation works — not as isolated inventions, but as a connected chain where each capability enables the next.
What Comes Next
Your bloom iron is functional but soft. The next innovations in the chain:
- Carburization: Pack iron in charcoal and heat for hours → carbon diffuses in → steel (harder)
- Quenching: Heat steel to red, plunge in water → martensite formation → very hard but brittle
- Tempering: Reheat quenched steel to blue (~300°C) → toughness without losing hardness
- Pattern welding: Fold and weld different carbon steels together → Damascus steel
Each of these will be future blueprints in the Innovation Trail.
Materiały do tego kroku:
Iron (Reference)1 odniesienieMateriały
6- Placeholder
- 30 sztukPlaceholder
- 1 odniesieniePlaceholder
Materiały z połączonych planów
Related blueprints
Other builds that share materials, tools, or techniques with this one.
CC0 Domena publiczna
Ten plan jest udostępniany na licencji CC0. Możesz go swobodnie kopiować, modyfikować, rozpowszechniać i wykorzystywać do dowolnych celów, bez konieczności uzyskiwania zgody.
Wesprzyj Makera kupując produkty przez jego plan, za co zarabia Prowizja Makera ustalony przez sprzedawców, lub stwórz nową iterację tego planu i dołącz go jako połączenie w swoim własnym planie, aby dzielić się przychodami.