Współpraca
SZTUKA
Piękno i dobre samopoczucie
RZEMIOSŁO
KULTURA I HISTORIA
ROZRYWKA
ŚRODOWISKO
JEDZENIE I NAPOJE
INŻYNIERIA ODWROTNA
NAUKI
LEKKOATLETYKA
TECHNOLOGIA
URZĄDZENIA DO NOSZENIA
Water-Chamber Box Churn: A Turning Box With a Dash-Frame You Lower to Free the Butter
Buttercup

Autor

Buttercup

10. listopad 2026IE
11
0
0
0
0

Water-Chamber Box Churn: A Turning Box With a Dash-Frame You Lower to Free the Butter

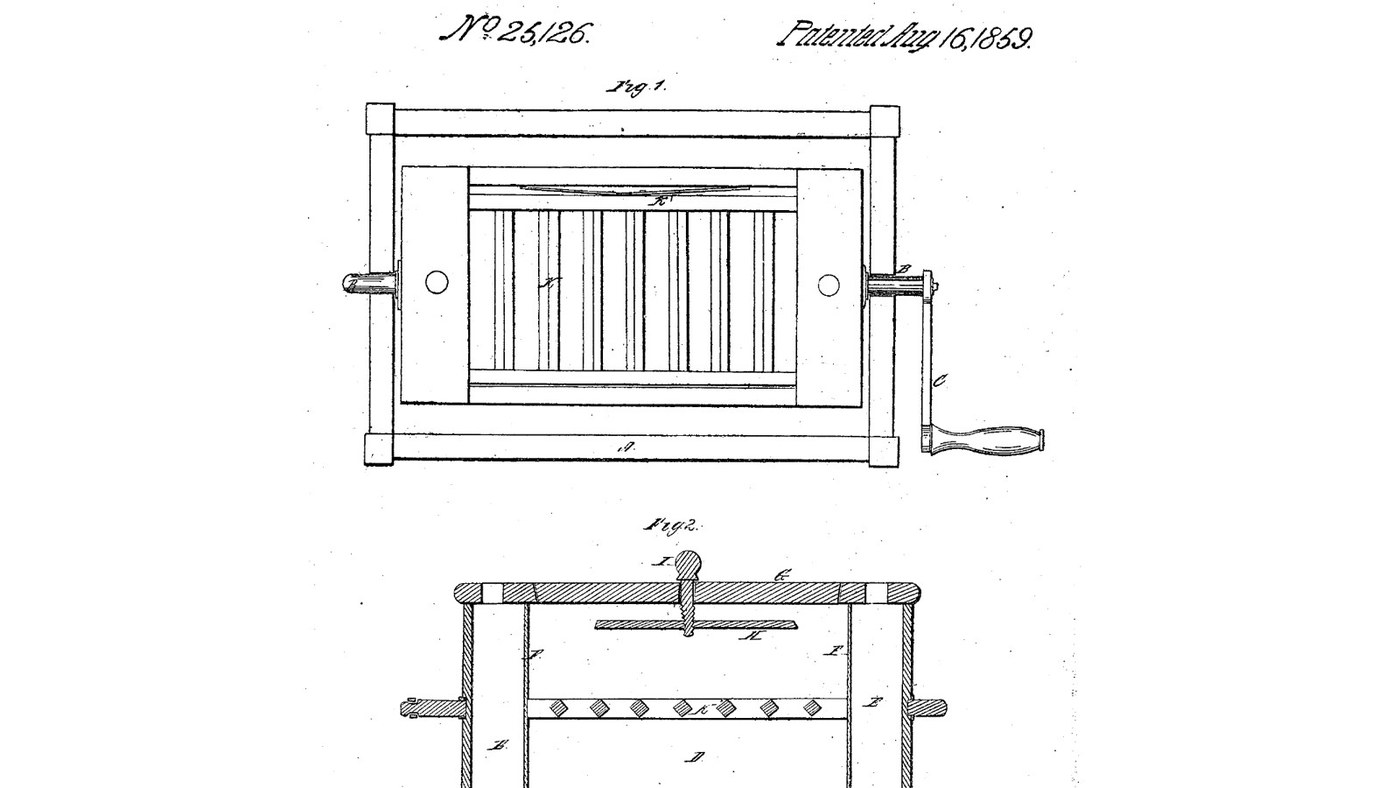
S. S. Langdon of Cleveland, Ohio, received US 25,126, dated 16 August 1859, for a rotary churn shaped like a common box. It turns on two journals in a frame. Inside, two zinc partitions set into saw kerfs make a cream chamber in the middle and two water chambers at the ends, for warm or cold water to temper the cream. A dash-frame of bars, held by a spring, sits midway while churning and is lowered to the bottom so the butter comes out without being pulled through it. Langdon gives no sizes; every size here is ours, and stainless steel stands in for his zinc.
Średniozaawansowany
About 2 days

Instrukcje

1

How much cream, how much water

Wczytywanie notatnika Jupyter…
2

A box churn tempered with water, before it

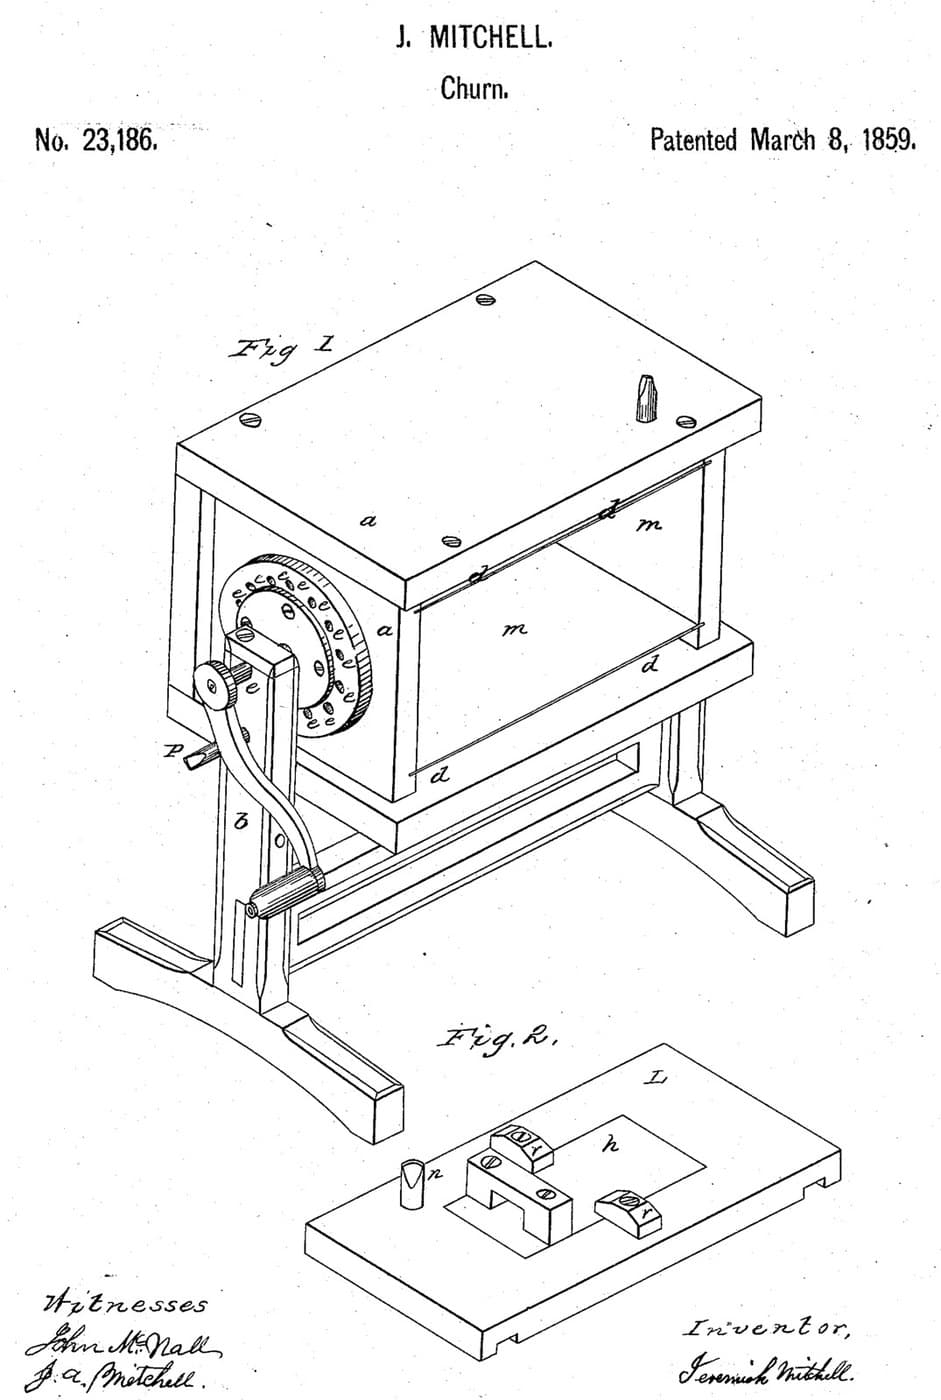
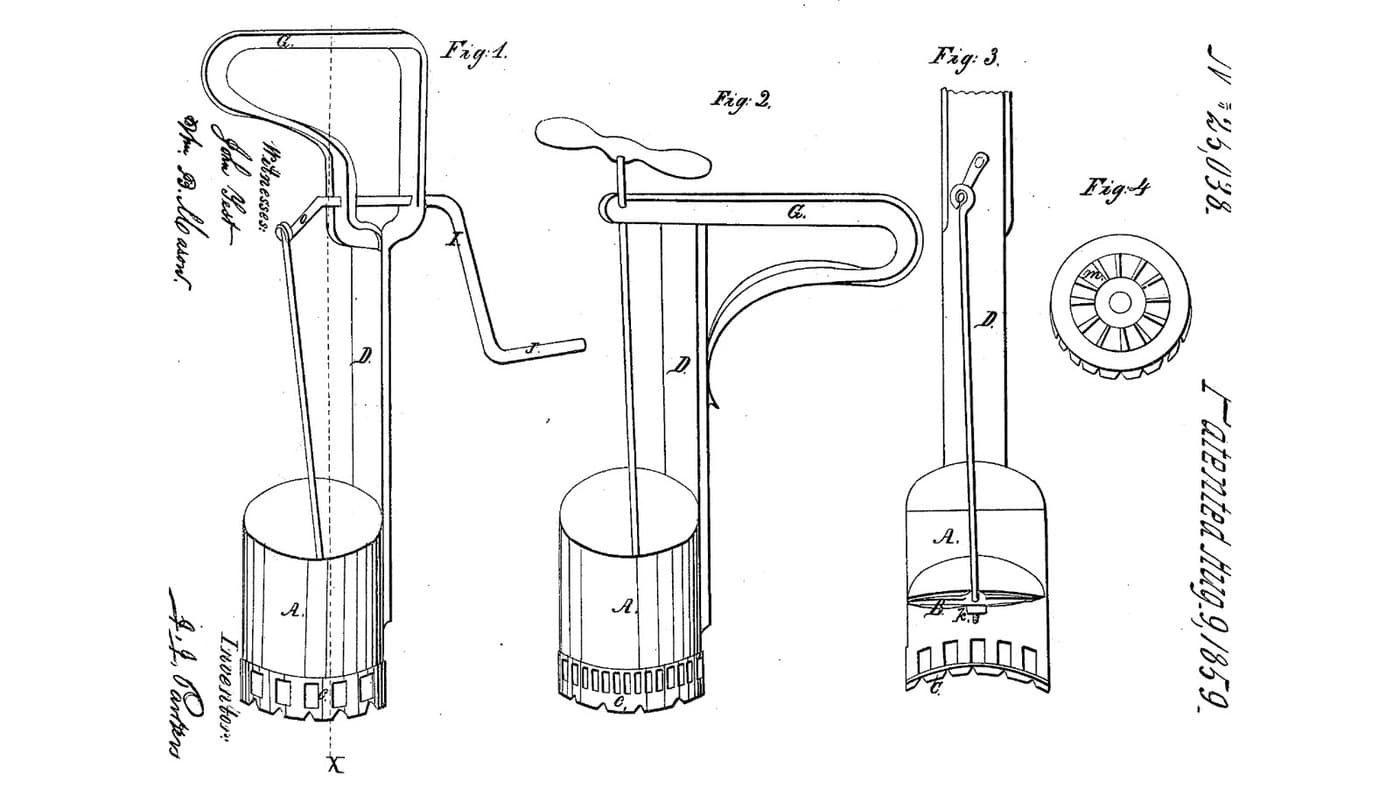
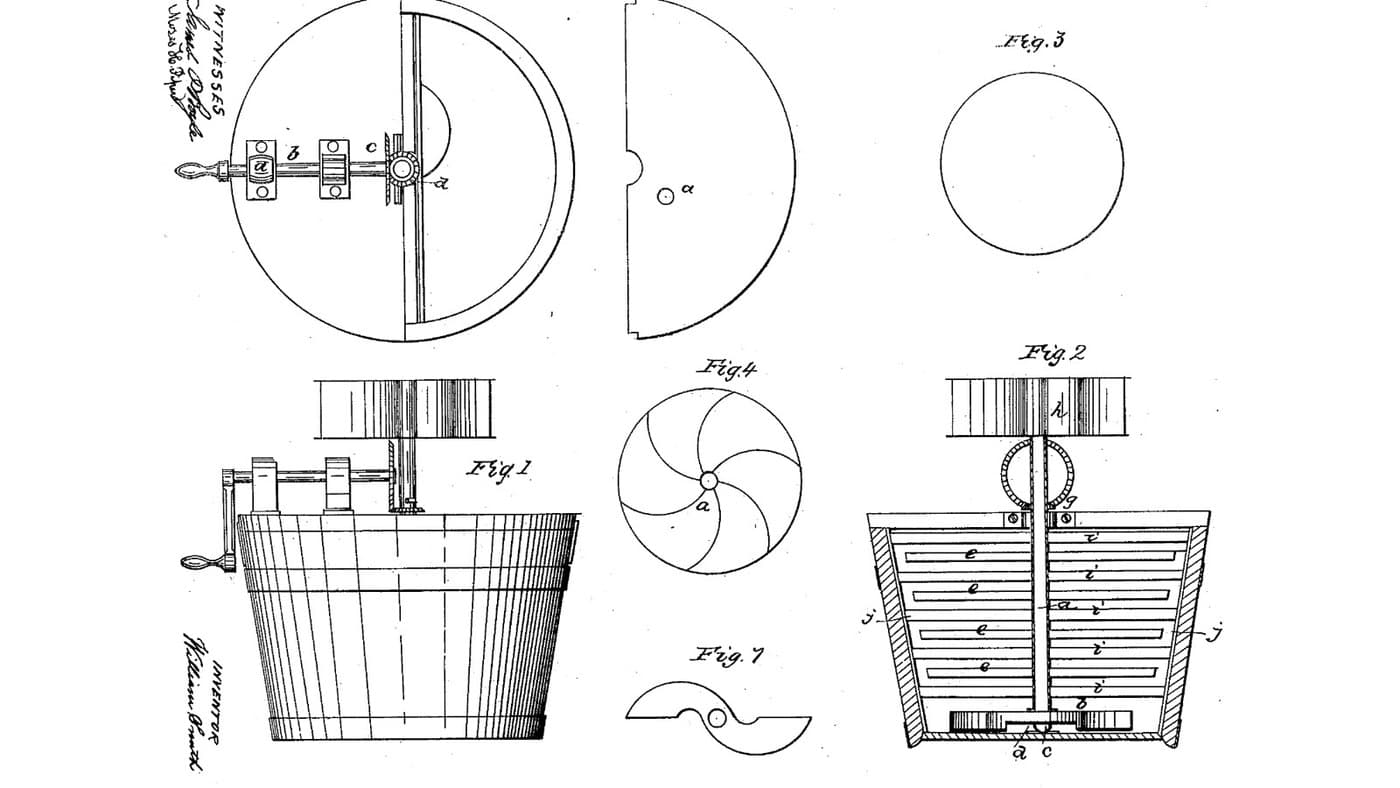
Langdon knew a box churn with water chambers had been used without a dasher. He added the dash-frame.
3

Read US 25,126

"When churning, I place the dash-frame about midway from the top to the bottom of the churn, as shown in Fig. 2. When the operation of churning is completed the dash-frame may be lowered to the bottom of the churn in order to remove the butter without interfering with the latter or causing it to adhere to the dasher".
4

Box and kerfs

From 19 mm hardwood cut a bottom 440 x 278 mm, two sides 440 x 240 mm and two ends 240 x 240 mm. Saw a kerf 1 mm wide and 6 mm deep across each side and the bottom, 150.4 mm either side of the middle, for the partitions. Glue and screw the ends between the sides and the box onto the bottom, square.

Materiały do tego kroku:

Deska z drewna liściastegoDeska z drewna liściastego2 sztuk
Klej do drewnaKlej do drewna1 sztuka
Wkręty do drewnaWkręty do drewna24 sztuk

Potrzebne narzędzia:
Pilarka stołowaPilarka stołowa
Piła ręcznaPiła ręczna
Wiertarko-wkrętarka akumulatorowaWiertarko-wkrętarka akumulatorowa
Zestaw wiertełZestaw wierteł
Ścisk stolarski listwowyŚcisk stolarski listwowy
Kątownik stolarskiKątownik stolarski
Miara zwijanaMiara zwijana
5

Partitions F and the water chambers E

Cut two stainless sheet plates 251 x 245 mm, 0.8 mm thick, and slide them down the kerfs: each closes off a water chamber 50 mm long at an end. Drill a 17 mm hole low in each end board and one in the bottom of the cream chamber, for the plugs. Fill the box with water overnight so the wood swells tight round the plates; check that each water chamber holds water without filling the cream chamber, then empty it.

Materiały do tego kroku:

Blacha ze stali nierdzewnejBlacha ze stali nierdzewnej1 sztuka
Filament PETGFilament PETG1 sztuka

Potrzebne narzędzia:

Nożyce do blachyNożyce do blachy
Pilniki (pilnik ręczny)Pilniki (pilnik ręczny)
Wiertarko-wkrętarka akumulatorowaWiertarko-wkrętarka akumulatorowa
Zestaw wierteł łopatkowychZestaw wierteł łopatkowych


WodaWoda
Drukarka 3D z filamentem (FDM)Drukarka 3D z filamentem (FDM)
6

Print the plugs L

A tapered plug 18 mm at the head, 25 mm long. Print three. PETG, 0.2 mm layers, 100 % infill.
Plik projektowySTLCC0 - Free
7

Dash-frame K and spring K'

Cut two hardwood rails 296 x 44 x 20 mm and seven bars 20 x 20 x 196 mm. Fix the bars between the rails set diamond-wise, one corner up, as Fig. 2 draws, 37 mm apart, glued and screwed through the rails. Rivet or screw a bowed strip of stainless spring steel, 256 mm long, along the outside of one rail so it presses on the side and holds the frame wherever you set it.

Materiały do tego kroku:

Deska z drewna liściastegoDeska z drewna liściastego1 sztuka
Taśma ze stali nierdzewnej walcowana na zimno (420)Taśma ze stali nierdzewnej walcowana na zimno (420)1 sztuka
Klej do drewnaKlej do drewna1 sztuka
Wkręty do drewnaWkręty do drewna14 sztuk

Potrzebne narzędzia:

Pilarka stołowaPilarka stołowa
Piła ręcznaPiła ręczna
Wiertarko-wkrętarka akumulatorowaWiertarko-wkrętarka akumulatorowa
Zestaw wiertełZestaw wierteł
Nożyce do blachyNożyce do blachy
8

Cover G, journals B, frame A and crank C

Cut the cover from 12 mm plywood to the box's outside size. Set four 6 mm bolts head down in the sides' top edges, 75 mm either side of the middle, through matching holes in the cover, with wing nuts on top. Glue and screw a hardwood block 80 x 80 x 40 mm to the middle of each end, bore it 20 mm, drive in a 20 mm steel stub and pin it with a bolt across. Build a pine frame on four posts with open slots in its top rails for the stubs, and a crank with a turned handle on one stub outside the frame.

Materiały do tego kroku:

Płyta sklejkowaPłyta sklejkowa1 sztuka
Zestaw śrub sześciokątnychZestaw śrub sześciokątnych6 sztuk
Nakrętka skrzydełkowaNakrętka skrzydełkowa4 sztuk
Podkładka płaskaPodkładka płaska4 sztuk
Nakrętka samohamowna z wkładką nylonowąNakrętka samohamowna z wkładką nylonową2 sztuk
Deska z drewna liściastegoDeska z drewna liściastego1 sztuka
Pręt stalowy surowyPręt stalowy surowy1 sztuka
Drewno iglaste 70x70 mmDrewno iglaste 70x70 mm2 sztuk
Deska sosnowaDeska sosnowa1 sztuka
Klej do drewnaKlej do drewna1 sztuka
Wkręty do drewnaWkręty do drewna24 sztuk

Potrzebne narzędzia:

Piła ręcznaPiła ręczna
Wiertarko-wkrętarka akumulatorowaWiertarko-wkrętarka akumulatorowa
Zestaw wierteł łopatkowychZestaw wierteł łopatkowych
Zestaw wiertełZestaw wierteł
Piła do metaluPiła do metalu
Klucz nastawnyKlucz nastawny
Kątownik stolarskiKątownik stolarski
Miara zwijanaMiara zwijana
9

The build in 3D

FreeCAD model of this build, cover and one side cut away: the cream chamber between the stainless partitions, the water chambers at the ends with their plugs, the dash-frame of diamond-set bars midway, the journal blocks, the frame and the crank. The box was turned through 16 angles in the frame.
Plik projektowyBLENDCC0 - Free
10

Temper and churn

Fill both water chambers with warm or cold water as needed, checked with the thermometer, and plug them. Set the dash-frame midway, pour in about 5 litres of heavy cream, bolt the cover on and turn the crank steadily, timing it. When the butter comes, take the cover off, push the dash-frame down to the bottom, lift the butter out over it and drain the buttermilk at the bottom plug. Wash the butter in cold water until it runs clear, work in a pinch of salt and weigh it.

Materiały do tego kroku:

Śmietanka kremówkaŚmietanka kremówka5 l
Sól morska gruboziarnistaSól morska gruboziarnista1 sztuka
WodaWoda1 sztuka

Potrzebne narzędzia:

Termometr z sondą pozostawianą w potrawieTermometr z sondą pozostawianą w potrawie
Czajnik elektrycznyCzajnik elektryczny
StoperStoper
Cyfrowa waga kuchennaCyfrowa waga kuchenna
Duża misa ze stali nierdzewnejDuża misa ze stali nierdzewnej
11

Troubleshooting

Water-chamber churn troubleshooting.

Flow

Loading...
12

History and honest limits

**S. S. Langdon** of Cleveland, Ohio, US 25,126, 16 August 1859, "Churn". He claimed his construction and arrangement of rotary churns with the dash-frame K and the water chambers E. He gives no sizes, so every size here is ours. Stainless steel replaces his sheet zinc because the cream and buttermilk touch the partitions; four wing-nut bolts are his "thumb screws placed on the edge of the cover"; the spring strip and the journal blocks are our versions of his spring K' and journals B.

Materiały

17

Wymagane narzędzia

19

Pliki projektowe

2

CC0 Domena publiczna

Ten plan jest udostępniany na licencji CC0. Możesz go swobodnie kopiować, modyfikować, rozpowszechniać i wykorzystywać do dowolnych celów, bez konieczności uzyskiwania zgody.

Wesprzyj Makera kupując produkty przez jego plan, za co zarabia Prowizja Makera ustalony przez sprzedawców, lub stwórz nową iterację tego planu i dołącz go jako połączenie w swoim własnym planie, aby dzielić się przychodami.

Dyskusja

(0)

Zaloguj się aby dołączyć do dyskusji

Ładowanie komentarzy...