Współpraca
SZTUKA
Piękno i dobre samopoczucie
RZEMIOSŁO
KULTURA I HISTORIA
ROZRYWKA
ŚRODOWISKO
JEDZENIE I NAPOJE
INŻYNIERIA ODWROTNA
NAUKI
LEKKOATLETYKA
TECHNOLOGIA
URZĄDZENIA DO NOSZENIA
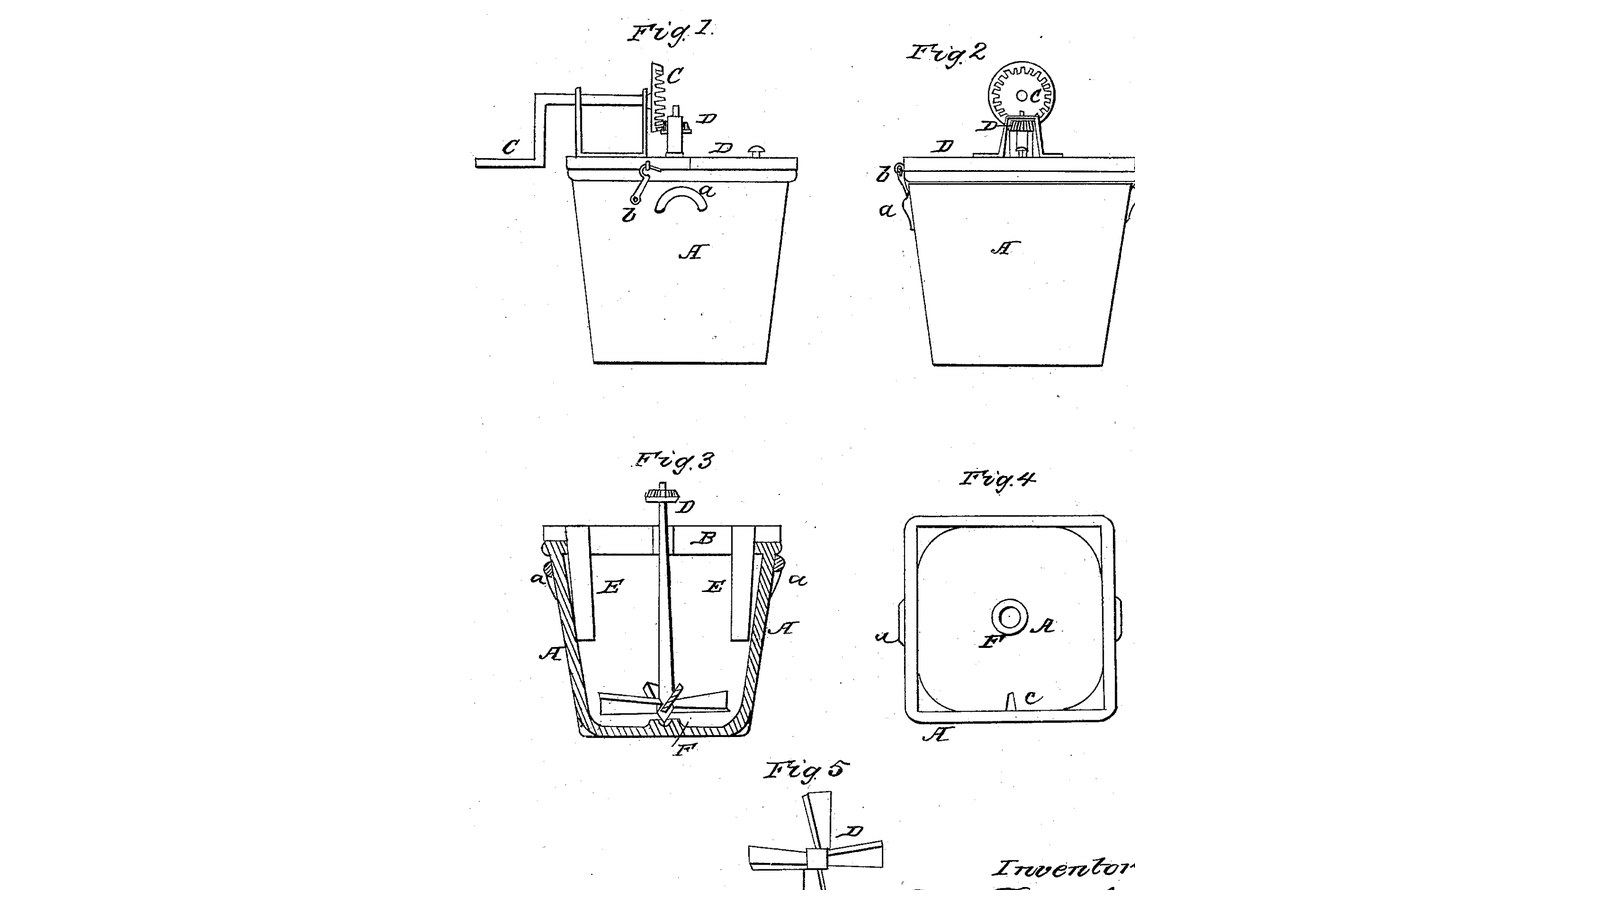

Round-Bottom Square Churn: A Geared Dasher Turns in a Vessel Round Up to Its Blades and Square Above, Breakers From the Lid
Thomas R. Markillie of Winchester, Illinois, received US 33,154, dated 27 August 1861, for the shape of a churn vessel: round at the bottom as high as the dasher, square above. A geared crank on the lid turns a dasher with sloping blades near the bottom; the blades lift and swirl the cream in the round part, and it is thrown from side to side and corner to corner against two breakers hanging from the lid and a rib on the wall. He made the vessel of earthenware, as easiest to keep sweet.
The patent gives no sizes; every size here is ours.
Średniozaawansowany
About 3 days
Instrukcje
1
1
Round below, square above
Round below, square above
Wczytywanie notatnika Jupyter…
2
2
A turning dasher against breakers on the wall, six months before
A turning dasher against breakers on the wall, six months before
Stirewatt lines a round body with notched ribs. Markillie shapes the vessel itself, round below and square above.
3
3
Read US 33,154
Read US 33,154
"The shape of the dasher-blades and their inclined position to the bottom when revolving is such as to give a lifting and revolving motion to the cream, while the shape of the cream-vessel further assists in lessening the time usually required to churn, for the cream when driven by the dasher against the breakers E and c and from side to side and corner to corner of the cream-vessel is very greatly agitated."
4
4
Print the corner fillets (four)
Print the corner fillets (four)
A corner fillet: fills one corner of the square vessel so the bottom 110 mm is a 260 mm round, with a flare above. Print four. PETG, 0.2 mm layers, 30 % infill, 4 walls.
5
5
Print the bottom skirt
Print the bottom skirt
The rounded edge ring for the floor: 260 mm across, 12 high, sloping inside. Needs a 270 mm bed, or print in quarters. PETG, 0.2 mm layers, 30 % infill, 4 walls.
6
6
Print the step F
Print the step F
The step for the dasher's pin: 36 mm across, 10 high, with an 8.6 mm hole 7 deep. PETG, 0.2 mm layers, 30 % infill, 4 walls.
7
7
Print the breaker c
Print the breaker c
The breaker on the wall: a curved rib 16 mm deep and 98 high, to stand on the round part's wall. PETG, 0.2 mm layers, 30 % infill, 4 walls.
8
8
Vessel A: square box with a round bottom, lugs a
Vessel A: square box with a round bottom, lugs a
Glue up a square hardwood box 260 x 260 mm inside and 300 deep from 20 mm boards with a 20 mm bottom. Seal the four corner fillets into the corners with food-safe silicone so the lower 110 mm is round, the skirt round the floor's edge, the step at the centre of the floor and the rib c on one side of the round part. Seal every joint. Screw a hardwood lug a 60 x 25 mm to two opposite sides near the top to lift it.
Materiały do tego kroku:
 Deska z drewna liściastego4 sztuk
 Klej do drewna1 sztuka
 Filament PETG1 sztuka
 Uszczelniacz silikonowy2 sztuk
 Wkręty do drewna24 sztuk
Potrzebne narzędzia:
 Drukarka 3D z filamentem (FDM)
 Pilarka stołowa
 Wiertarko-wkrętarka akumulatorowa
 Zestaw wierteł
 Ścisk stolarski listwowy
 Zestaw wkrętaków
 Miara zwijana
9
9
Print the dasher blades (four)
Print the dasher blades (four)
A dasher blade: 93 x 30 x 6 mm on a 28 mm hub with a 12.2 mm bore. Print four; set each at 30 degrees. PETG, 0.2 mm layers, 30 % infill, 4 walls.
10
10
Print the pinion D
Print the pinion D
The bevel pinion on the dasher shaft: 14 teeth, module 2.5, 12.2 mm bore. PETG, 0.2 mm layers, 30 % infill, 4 walls.
11
11
Print the driving wheel C
Print the driving wheel C
The driving wheel: a crown wheel of 42 teeth, module 2.5, 16.2 mm bore. PETG, 0.2 mm layers, 30 % infill, 4 walls.
12
12
Dasher D, lid B with breakers E, wheel C and crank
Dasher D, lid B with breakers E, wheel C and crank
Cut a 12 mm stainless dasher shaft 360 mm long with a pin turned on its foot to fit the step. Fix the four blades on a printed or hardwood hub 25 to 45 mm above its foot, a quarter turn apart, each sloping 30 degrees. Cut a 12 mm HDPE lid B to the box's outside in two halves; hinge one half to the box and leave the other loose, with hooks and eyes b to fasten them. Screw two hardwood breakers E 12 x 80 mm, 140 long, under the lid 70 mm either side of the centre, reaching down to 160 mm above the floor. Bore the lid 14 mm at the centre for the shaft. Screw two hardwood bearing blocks 50 x 25 x 118 mm on the fixed half, bored 16.6 mm across 93 mm up; pin the pinion on the shaft 40 mm above the lid, and run a 16 mm stainless shaft 150 mm long through the blocks with the wheel C pinned on meshing it, a shaft collar, and a crank of mild steel flat bar, 100 mm throw, with a hardwood handle.
Materiały do tego kroku:
 Pręt ze stali nierdzewnej2 sztukFilament PETG1 sztuka
 Płyta HDPE1 sztuka
 Zawias meblowy czopowy2 sztuk
 Haftka2 sztukDeska z drewna liściastego1 sztukaWkręty do drewna12 sztuk
 Shaft Collar1 sztuka
 Zawleczka3 sztuk
 Płaskownik ze stali miękkiej1 sztuka
 Kołki z twardego drewna1 sztuka
Potrzebne narzędzia:
Drukarka 3D z filamentem (FDM) Wyrzynarka
 Zestaw wierteł łopatkowychWiertarko-wkrętarka akumulatorowaZestaw wierteł
 Piła do metalu
 Pilniki (pilnik ręczny)
 Imadło warsztatoweZestaw wkrętaków
13
13
The build in 3D
The build in 3D
FreeCAD model of this build, half cut away: the square vessel with its four corner fillets making the bottom round, the skirt, step and wall rib, the dasher with four sloping blades, the two breakers from the lid, and the gearing and crank on the fixed half of the lid.
14
14
Churn
Churn
Set the dasher in its step, pour about 9 litres of heavy cream at about 15 °C, checked with the thermometer, into the vessel so it stands a little above the round part, close the loose half of the lid and hook it. Turn the crank steadily, timing it. When the butter comes, lift the loose half, take out the dasher by lifting the fixed half on its hinges, take out the butter, pour the buttermilk into a bowl, wash the butter in cold water until it runs clear, salt and weigh it.
Materiały do tego kroku:
 Śmietanka kremówka9 l
 Sól morska gruboziarnista1 sztuka
 Woda1 sztuka
Potrzebne narzędzia:
 Termometr z sondą pozostawianą w potrawie
 Stoper
 Cyfrowa waga kuchenna
 Duża misa ze stali nierdzewnej
15
15
Troubleshooting
Troubleshooting
Round-bottom churn troubleshooting.
Flow
Loading...
16
16
History and honest limits
History and honest limits
**Thomas R. Markillie** of Winchester, Scott County, Illinois, US 33,154, 27 August 1861, "Improvement in Churns". He claimed "the cream-vessel constructed round at the bottom as high up as the height of the dashers, with the rest of the body of the vessel square, and this in combination with the revolving dasher". He made the vessel of earthenware, finding it the easiest to clean and keep sweet; ours keeps his shape in a sealed hardwood box with printed fillets, which must be scalded and dried with care; his vessel narrows toward the bottom, ours has straight sides. His gearing was a bevel wheel and pinion; ours is a printed crown wheel and pinion. The patent gives no sizes; every size here is ours.
Materiały
16- 4 sztukZastępnik
- 1 sztukaZastępnik
- 2 sztukZastępnik
- 2 sztukZastępnik
- 36 sztukZastępnik
- 2 sztukZastępnik
- 1 sztukaZastępnik
- 2 sztukZastępnik
- 2 sztukZastępnik
- 1 sztukaZastępnik
- 3 sztukZastępnik
- 1 sztukaZastępnik
- 1 sztukaZastępnik
- Zastępnik
- 1 sztukaZastępnik
- 1 sztukaZastępnik
Wymagane narzędzia
16- Zastępnik
- 1 vendor sell this, none ship to you yetZastępnik
- 1 vendor sell this, none ship to you yetZastępnik
- Zastępnik
- Zastępnik
- Zastępnik
- 1 vendor sell this, none ship to you yetZastępnik
- 1 vendor sell this, none ship to you yetZastępnik
- Zastępnik
- Zastępnik
- Zastępnik
- Zastępnik
- Zastępnik
- Zastępnik
- Zastępnik
Pliki projektowe
8Według tego planu powstaje


Powiązane blueprinty
Te blueprinty dzielą się wiedzą — technikami, materiałami lub zasadami
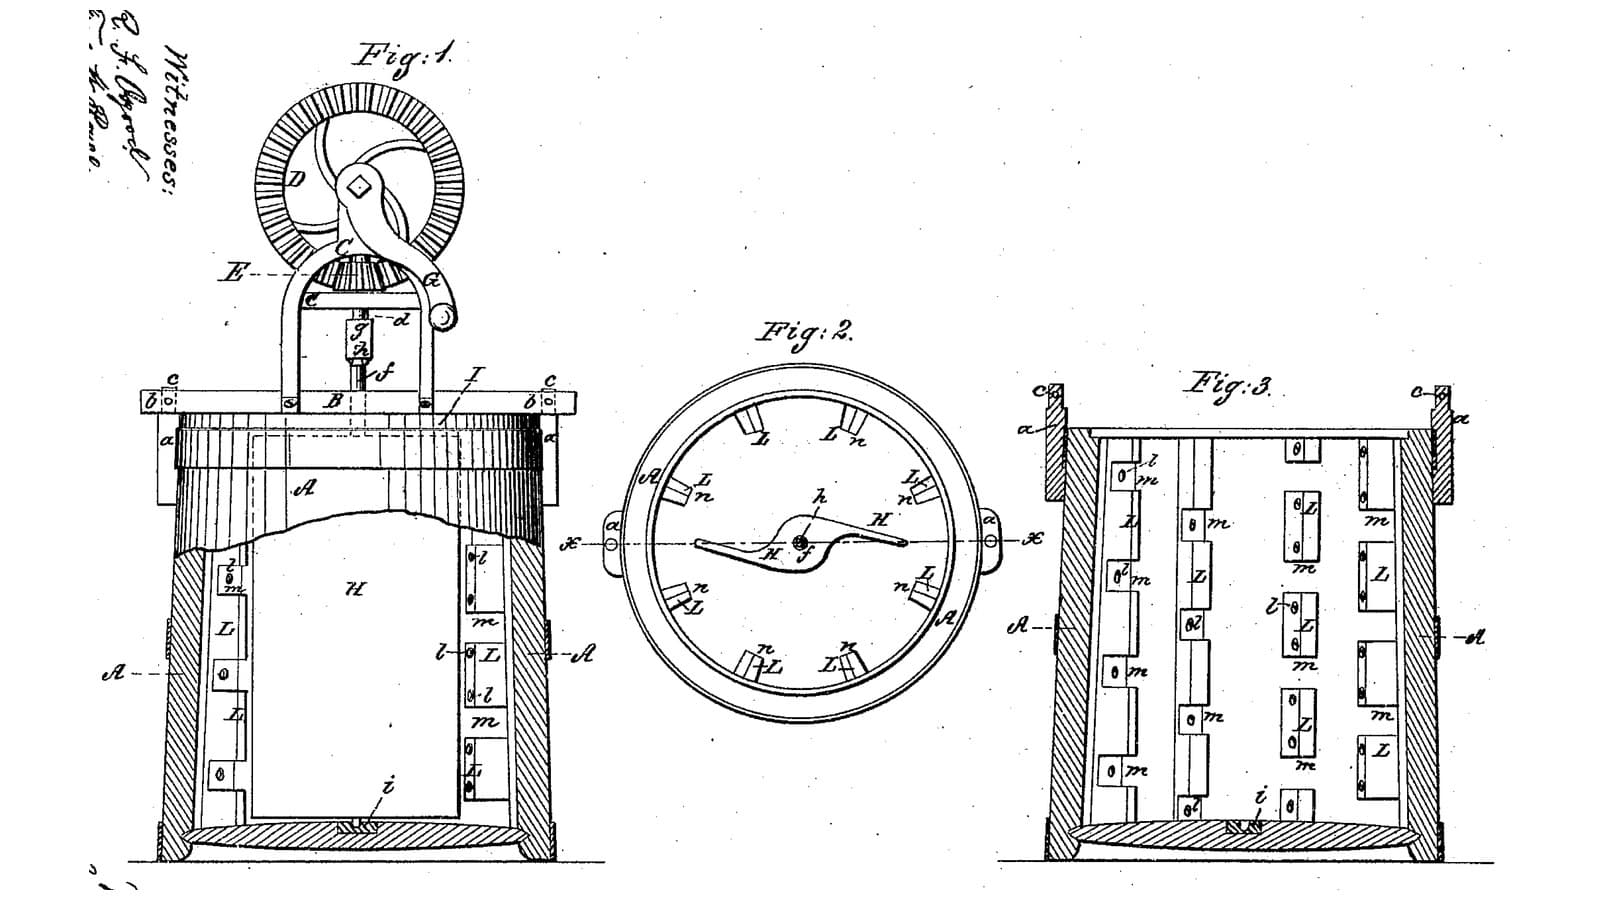
Notched-Rib Churn: A Solid S-Winged Dasher Turns Inside Upright Ribs Whose Notches Alternate, Crossing the Cream's Currents
autor: Buttercup
Obróbka drewna
8
0
0
0
0
0
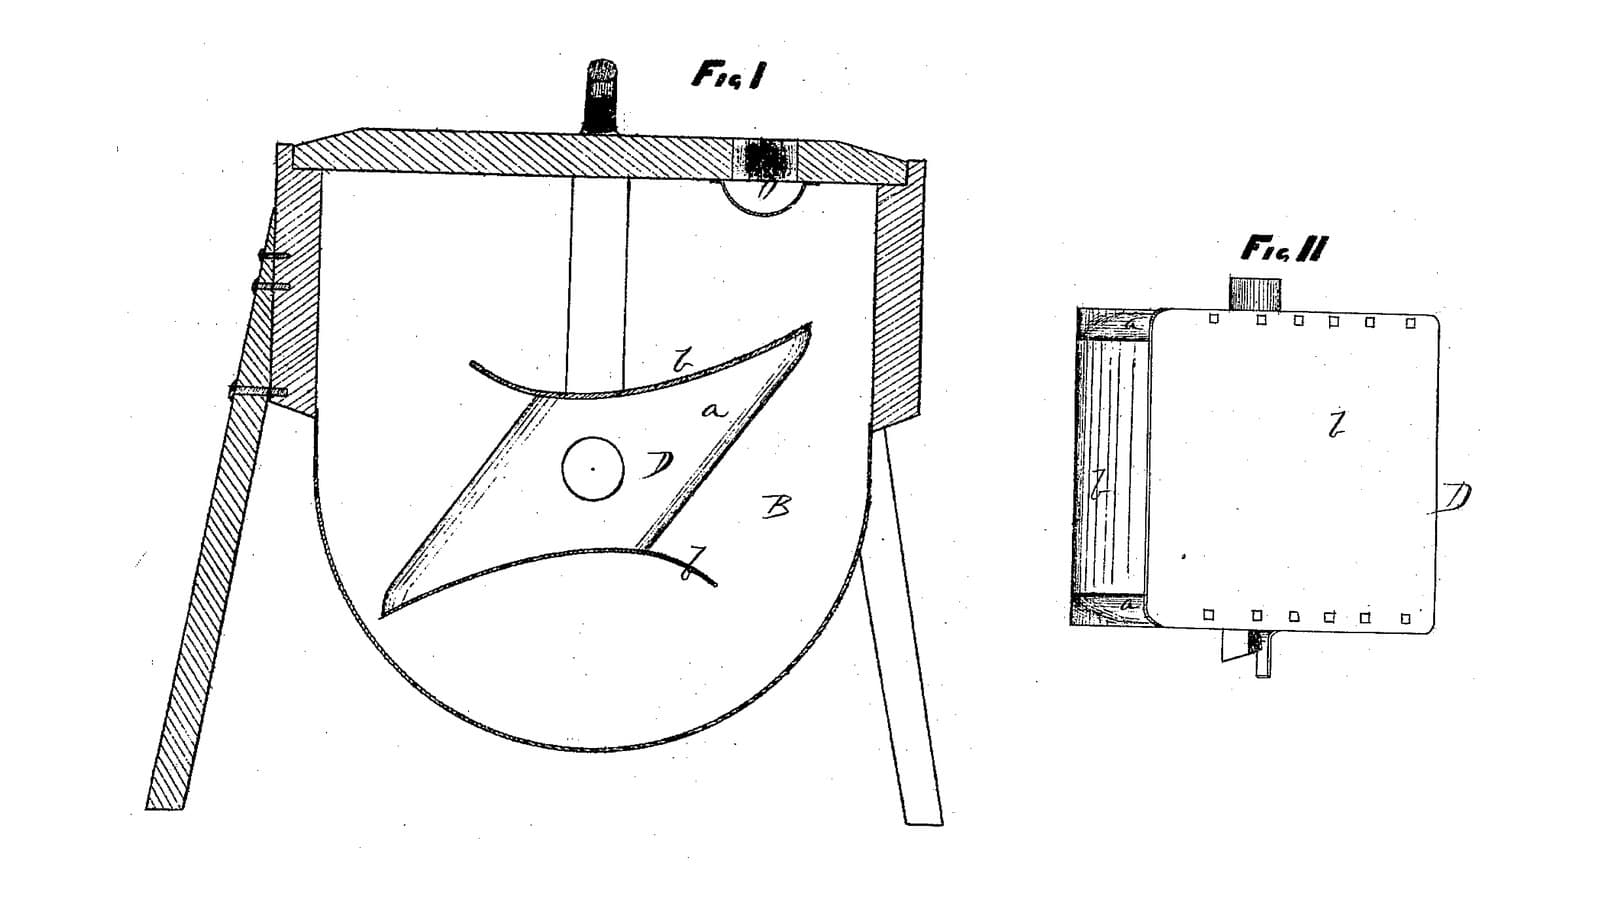
Oblique Box-Dasher Churn: A Hollow Slanted Dasher, Open on Two Sides, Churns Fast and Gathers the Butter Inside It Turned Slow
autor: Buttercup
Obróbka drewna
8
0
0
0
0
0
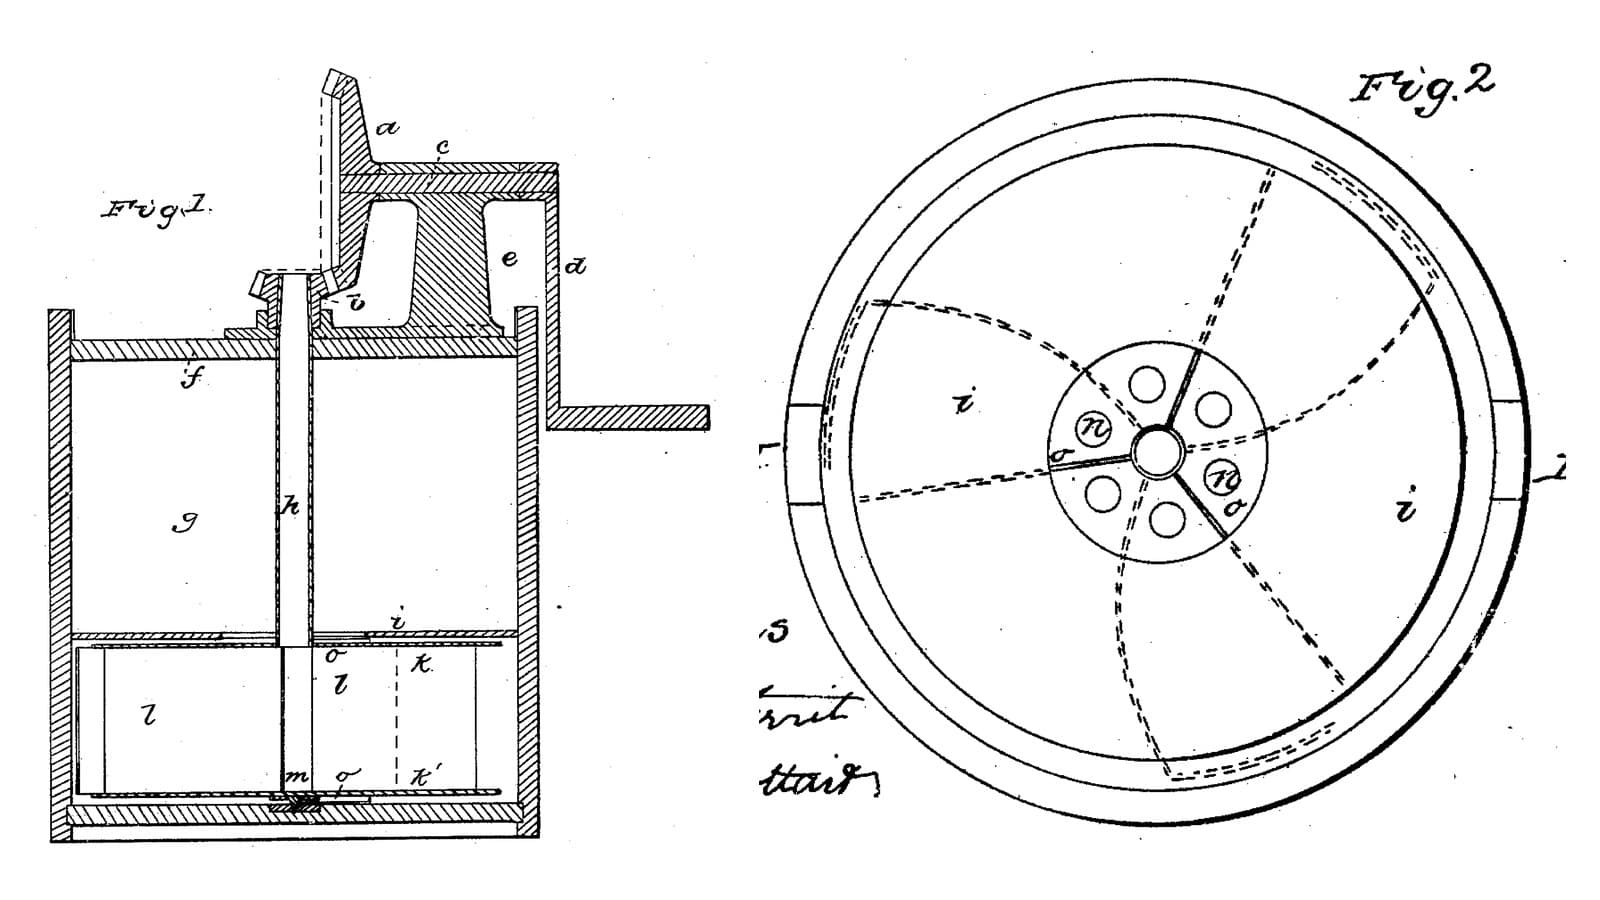
Centrifugal-Dasher Churn: Curved Wings on a Hollow Shaft Throw the Cream at the Wall, a Fixed Disk Turns It Back
autor: Buttercup
Obróbka drewna
6
0
0
0
0
0

Churning Butter from Cream — The 5,000-Year-Old Fat Separation
autor: TheChef
RZEMIOSŁO
63
0
0
0
0
0
CC0 Domena publiczna
Ten plan jest udostępniany na licencji CC0. Możesz go swobodnie kopiować, modyfikować, rozpowszechniać i wykorzystywać do dowolnych celów, bez konieczności uzyskiwania zgody.
Wesprzyj Makera kupując produkty przez jego plan, za co zarabia Prowizja Makera ustalony przez sprzedawców, lub stwórz nową iterację tego planu i dołącz go jako połączenie w swoim własnym planie, aby dzielić się przychodami.