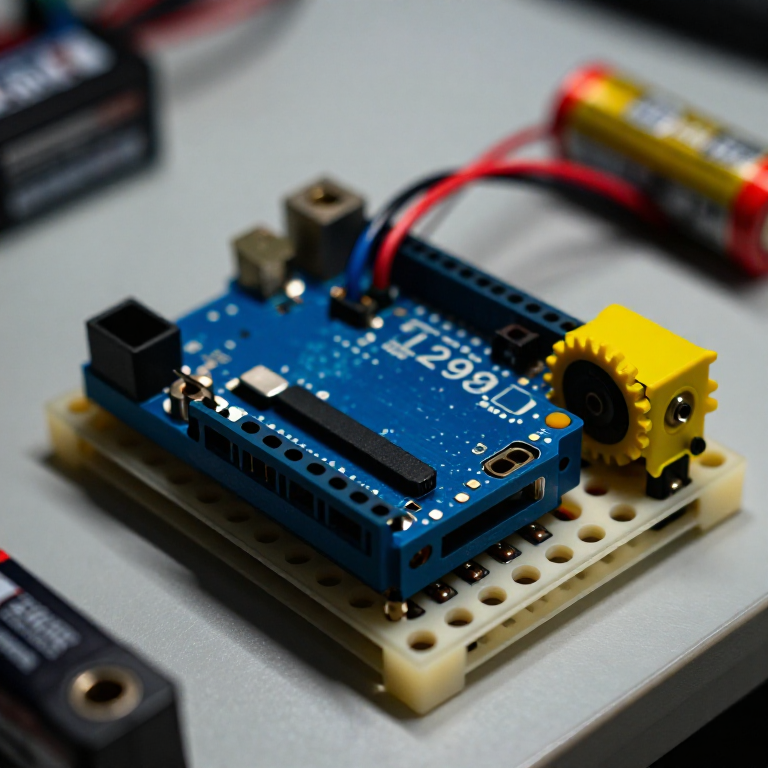


Controlling a DC Motor with an L298N Driver
An Arduino pin can't power a motor directly — it can't supply enough current, and it can't reverse the flow. An L298N H-bridge solves both: the Arduino sends low-power control signals, and the driver switches the motor's own battery to run it forwards, backwards and at any speed. This is the core building block of every wheeled robot.
Talimatlar
Wire the driver, motor and battery
Wire the driver, motor and battery
Push the L298N's control header into the breadboard. From the Arduino, jumper pin 8 to IN1, pin 9 to IN2, and pin 10 to ENA. Connect the DC motor's two wires to the OUT1/OUT2 screw terminals, and a 4×AA battery pack to the +12V and GND motor terminals. IMPORTANT: join all the grounds together — Arduino GND, driver GND and battery GND — or the motor won't run.
Bu adım için malzemeler:
 Arduino Uno R3 SMD1 adet
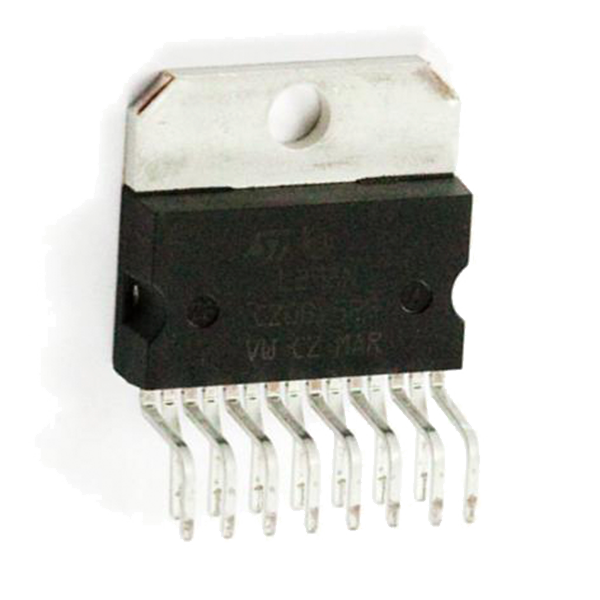 Full-Bridge Motor Driver Dual - L298N1 adet
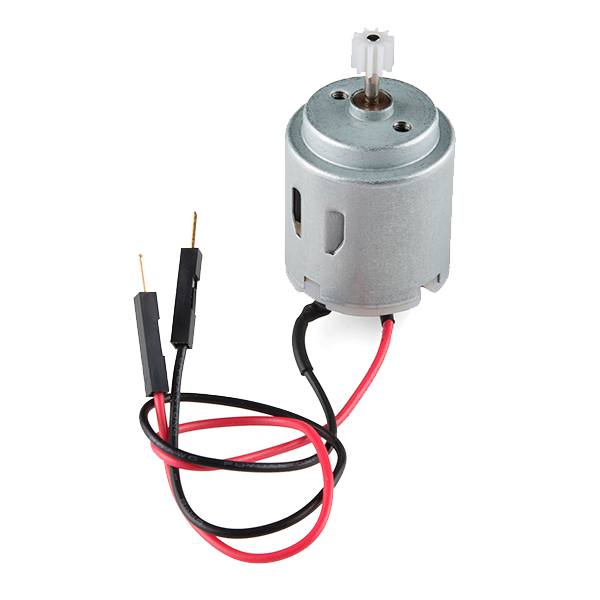 Hobby Motor - Gear1 adet
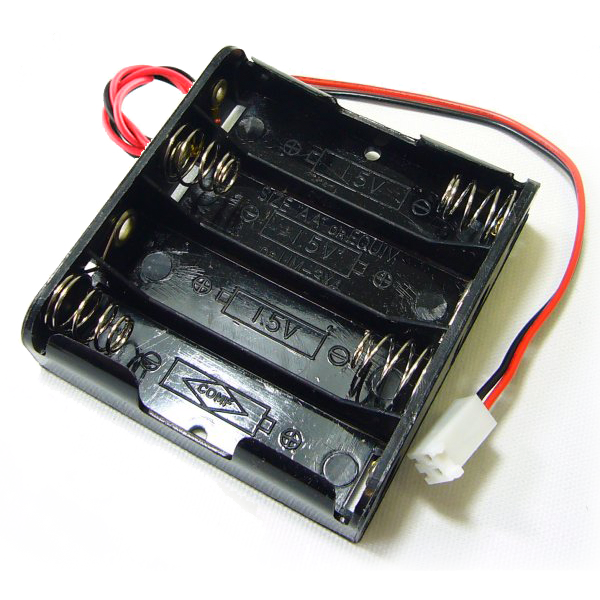 Battery Holder - 4xAA Square Terminated1 adet
 Breadboard - Classic1 adet
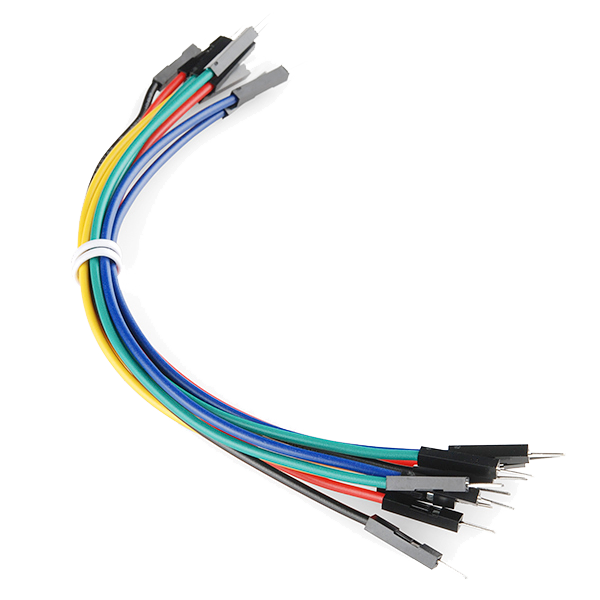 Jumper Wires Premium M/M 20 AWG - 15.5 cm1 paket
Connect and open the IDE
Connect and open the IDE
Plug the Arduino into your computer with the USB cable, open the Arduino IDE, and select Arduino Uno and its serial port. Leave the motor battery switched off until the code is uploaded.
Bu adım için malzemeler:
 SparkFun Cerberus USB Cable - 1.8 meter1 adet
Gerekli aletler:
 Arduino IDE Kurulu Bilgisayar
Upload the motor sketch
Upload the motor sketch
Paste this sketch and upload, then switch on the battery. The motor runs forward, stops, reverses, and stops — on a loop.
Test and control it
Test and control it
Watch the motor go forward, stop, reverse. IN1/IN2 set the direction (swap which is HIGH to flip it); the number in analogWrite(ENA, ...) sets the speed from 0 (off) to 255 (full). If the motor doesn't spin, check that all three grounds are joined and the battery is on.
Make it a robot
Make it a robot
The L298N drives TWO motors. Wire a second motor to OUT3/OUT4 and control it with IN3, IN4 and ENB on three more Arduino pins. Two motors on a chassis with wheels gives you a robot base you can drive — turn by running the wheels at different speeds or directions.
Malzemeler
7- Arduino Uno R3 SMD%10 komisyon1 adet$26.69
- Full-Bridge Motor Driver Dual - L298N%10 komisyon1 adet$3.52
- Hobby Motor - Gear%10 komisyon1 adet$2.51
- Battery Holder - 4xAA Square Terminated%10 komisyon1 adet$4.10
- Breadboard - Classic%10 komisyon1 adet$9.38
- 1 paket$4.94
- SparkFun Cerberus USB Cable - 1.8 meter%10 komisyon1 adet$5.61
Gerekli Aletler
1- Yer Tutucu
İlgili Blueprint'ler
Bu blueprint'ler bilgi paylaşır — teknikler, malzemeler veya ilkeler


CC0 Kamu Malı
Bu plan CC0 lisansıyla yayınlanmıştır. İzin almadan kopyalayabilir, değiştirebilir, dağıtabilir ve herhangi bir amaçla kullanabilirsiniz.
Planı üzerinden ürün satın alarak Maker'ı destekleyin, böylece Maker Komisyonu Satıcılar tarafından belirlenen komisyonu kazanırlar veya bu Planın yeni bir versiyonunu oluşturun ve gelir paylaşımı için kendi Planınıza bağlantı olarak ekleyin.