İşbirliği
SANAT
GÜZELLİK & SAĞLIK
ZANAAT
KÜLTÜR & TARİH
EĞLENCE
ÇEVRE
YİYECEK & İÇECEK
TERS MÜHENDİSLİK
BİLİMLER
SPOR
TEKNOLOJİ
GİYİLEBİLİR ÜRÜNLER
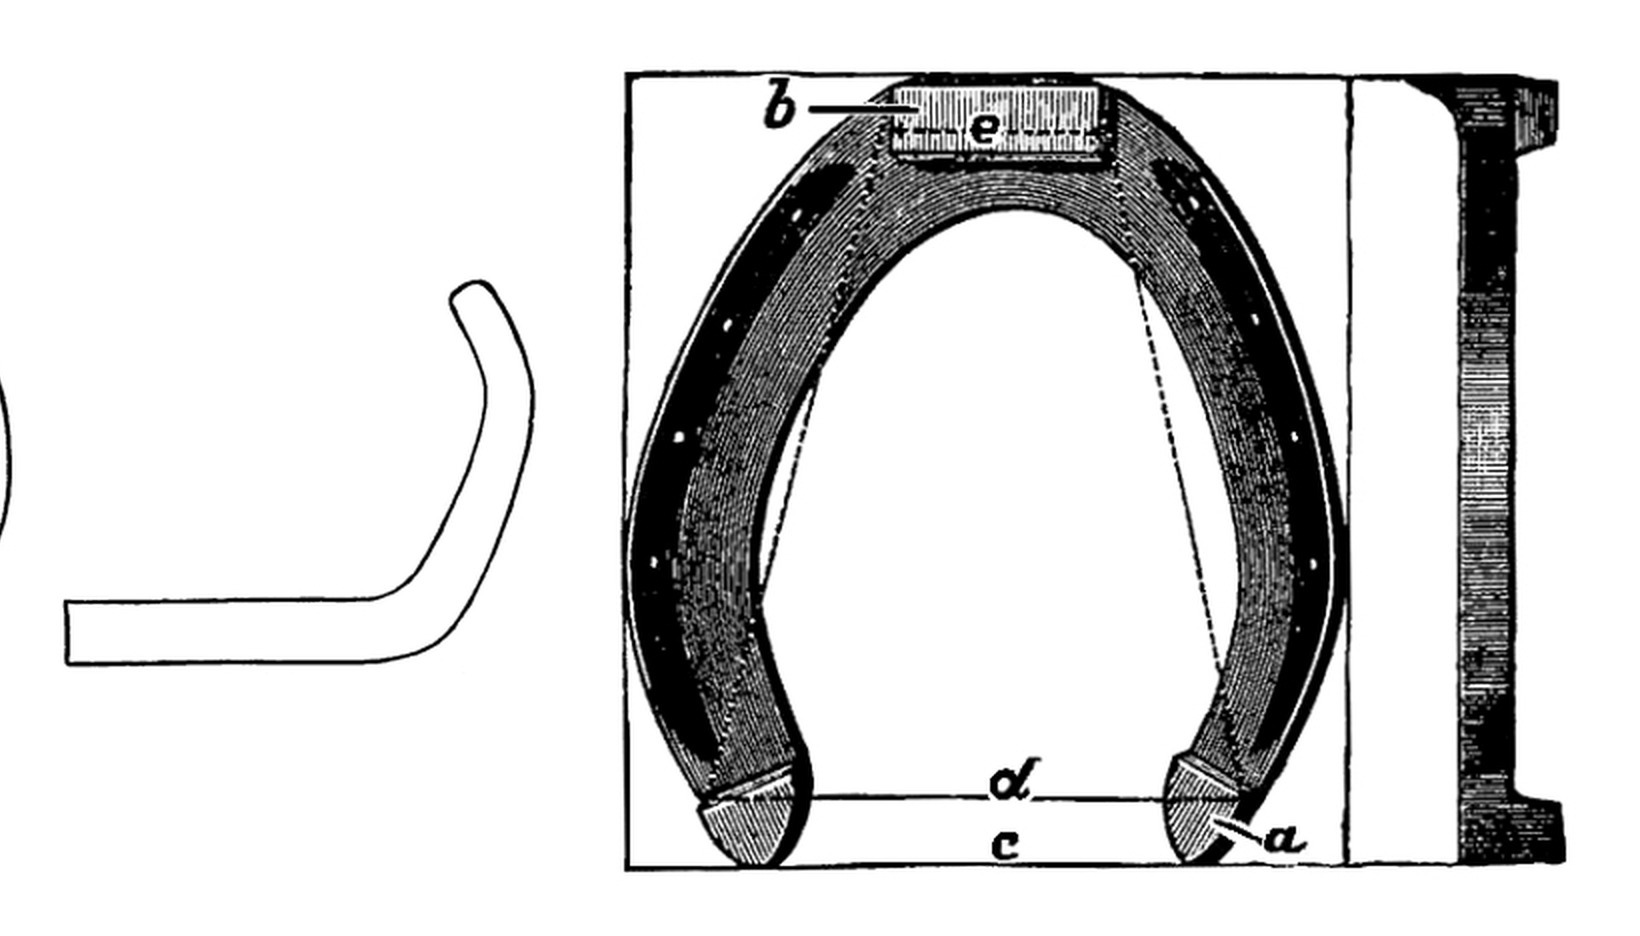


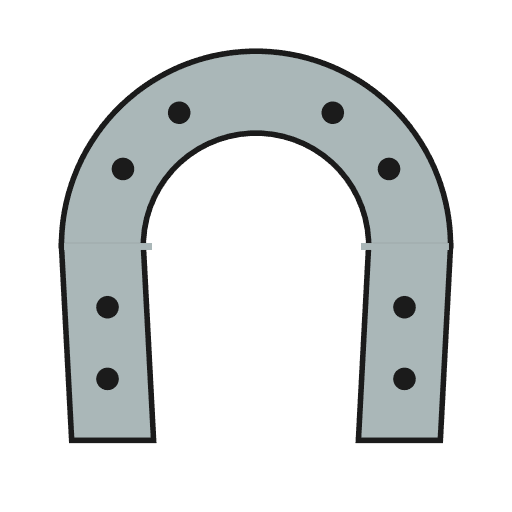
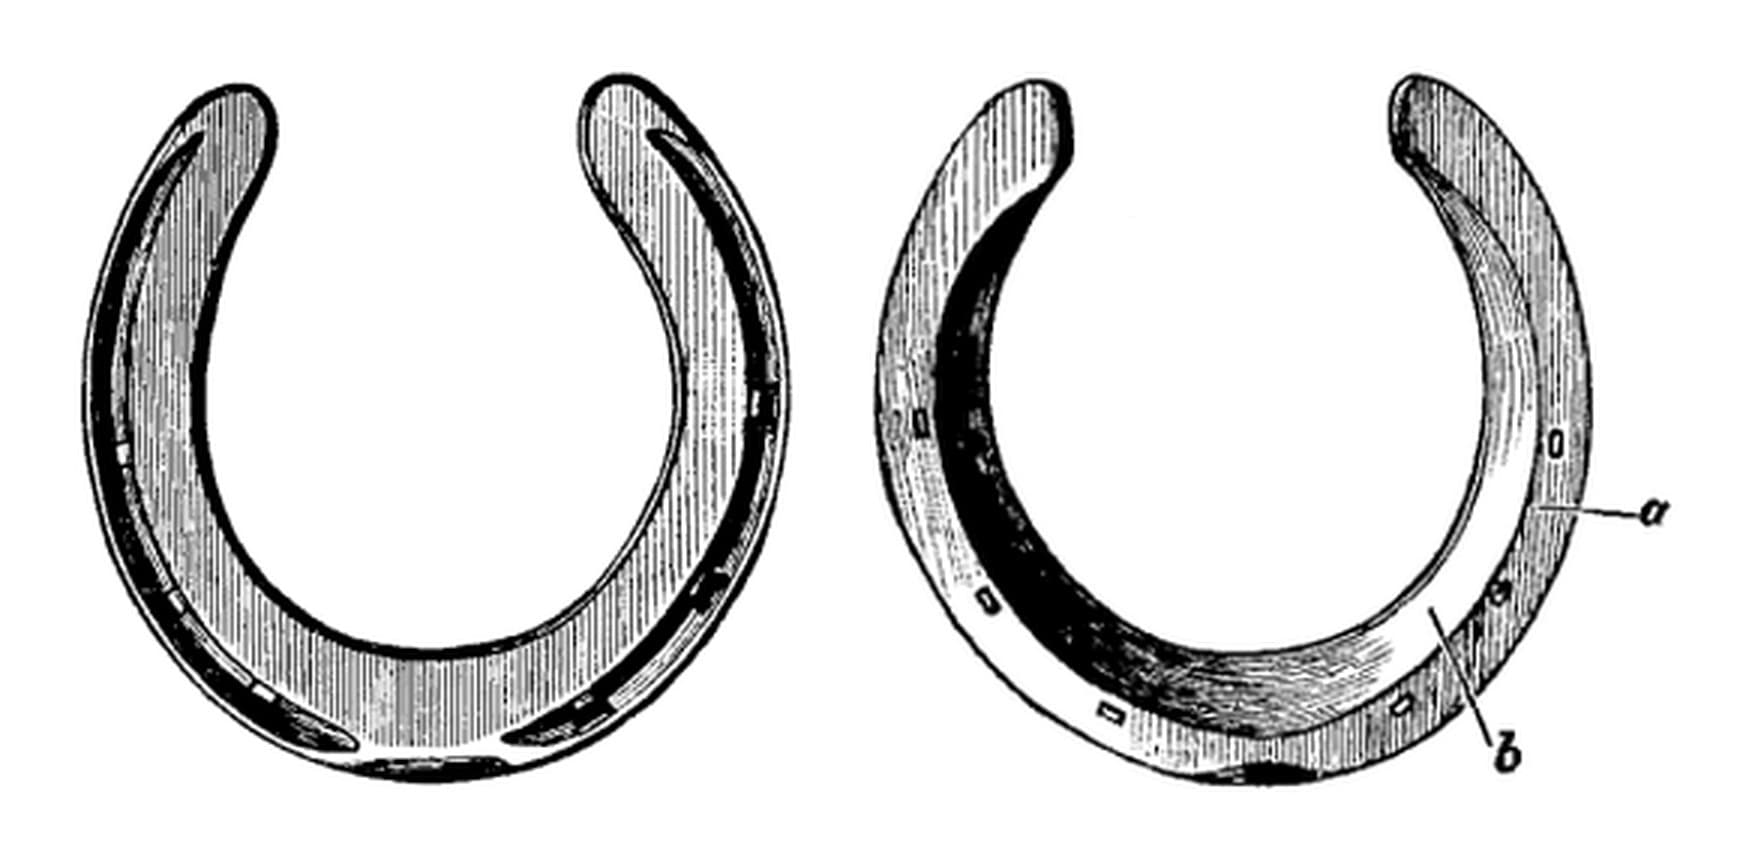
Hind Horseshoe: Round-Pointed Toe, No Seating, Nail Holes in the Front Two-Thirds (Lungwitz and Adams, Text-Book of Horseshoeing, 1913)
A flat hind horseshoe from Lungwitz and Adams, A Text-Book of Horseshoeing (1913). It is made "in like manner" as the front shoe, but the branches are bent to a different curve, giving a round-pointed toe, the hoof side is not concaved, and the nail holes run further back.
Fitting and nailing the shoe to the horse, calks and clips are not covered here.
Orta
8-15 minutes a pair, once practised
Talimatlar
1
1
Bar length and sizes
Bar length and sizes
Jupyter defteri yükleniyor…
2
2
Read Lungwitz and Adams
Read Lungwitz and Adams
"The hind shoe is made in like manner, but the branches are not bent in a circle but given that form shown in Fig. 106."
3
3
Measure and cut the bar
Measure and cut the bar
Measure the hoof from the point of the toe to the buttress and its greatest width; add them for the bar length. Trace the outline on stiff paper if you want to keep it. Cut the bar.
Bu adım için malzemeler:
 Dövme demir çubuk1 adet
Gerekli aletler:
 Şerit Metre
 Kurşun kalem
 Kalın kâğıt tabakaları
 Demirci ocağı
 Örs kesme keskisi
 Demirci Maşası
4
4
Bend the outer branch to the hind curve
Bend the outer branch to the hind curve
Heat the bar white-hot just beyond its middle and bend it over the sledge head on the anvil face with the turning hammer, as for the front shoe, but bend the branch to the flatter, angled curve of his Fig. 106, not to a circle. The outer branch is made first, the right shoe first in a pair. Draw out the end with the sledge.
Gerekli aletler:
Demirci ocağı Gagalı örs
 Yük kızağı
 Yuvarlatma çekiciDemirci Maşası
5
5
Bevel, flatten and shape
Bevel, flatten and shape
Bevel the branch on the horn, then flatten it. Bending the toe of a hind shoe backs up the inner edge and thins the outer, so hammer the shoe smooth and even. Shape it so the toe is round-pointed, "yet not too much so", as in his Fig. 116.
Gerekli aletler:
Gagalı örsYuvarlatma çekiciDemirci Maşası6
6
Round the inner edge and fuller
Round the inner edge and fuller
Concaving is not necessary: just round the inner edge of the web. Fuller the ground side as for the front shoe, to about two-thirds of the thickness.
Gerekli aletler:
Gagalı örs Fuller (oluk açma demiri)Yük kızağıYuvarlatma çekiciDemirci Maşası
7
7
Stamp the nail holes
Stamp the nail holes
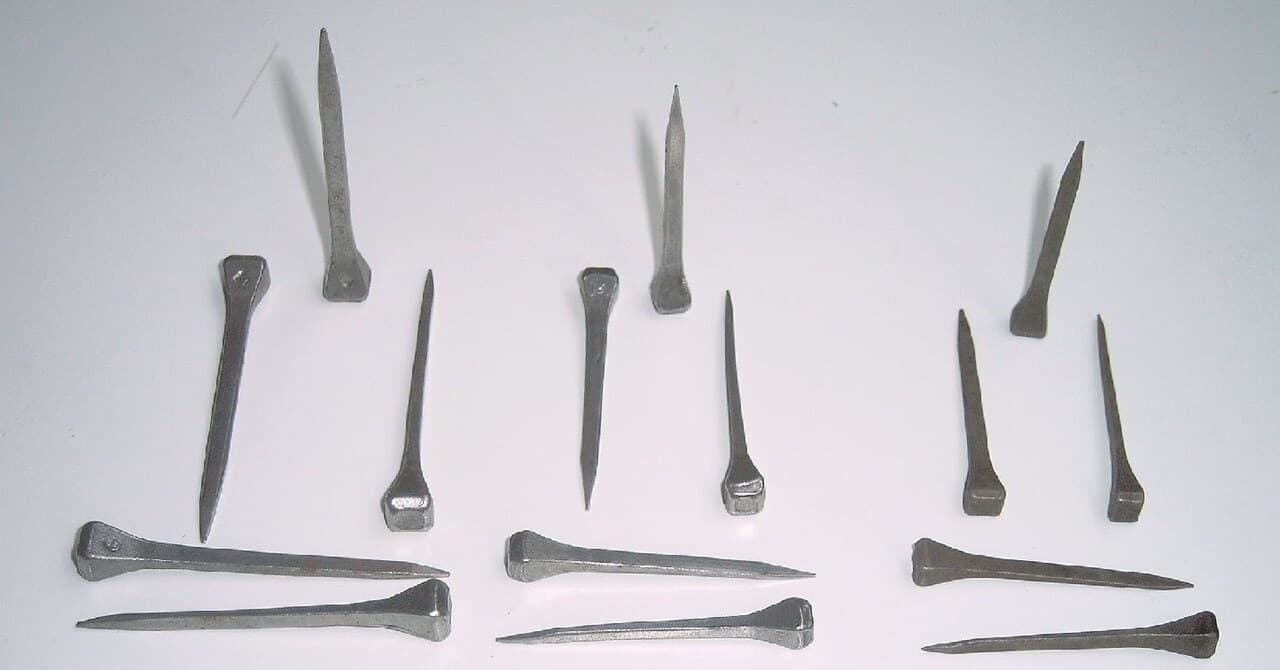
Stamp and pritchel the nail holes in the front two-thirds of the shoe, none at the toe: usually one more than a front shoe, seldom more than eight. Set each as far from the outer edge as the wall is thick; on a hind hoof the wall is nearly as thick at the quarters as at the toe.
Gerekli aletler:
Gagalı örs Sıcak zımba
 Nal delme zımbasıYuvarlatma çekiciDemirci Maşası
8
8
Make the second branch and finish
Make the second branch and finish
Make the inner branch the same way, turned to the left. Go over the outer edge on the horn and hammer the bearing surface smooth and level. Rough it out in two heats if you can.
Gerekli aletler:
Demirci ocağıGagalı örsYuvarlatma çekiciFuller (oluk açma demiri)Sıcak zımbaNal delme zımbasıDemirci Maşası9
9
Troubleshooting
Troubleshooting
Hind shoe troubleshooting.
Flow
Loading...
10
10
History and honest limits
History and honest limits
From **A Text-Book of Horseshoeing**, by A. Lungwitz and John W. Adams, 11th edition, J. B. Lippincott, 1913 (Project Gutenberg 66786), chapter III F. His Fig. 116 shows a hind shoe with toe- and heel-calks; the calks and the toe-clip are not made here, as this chapter gives no method for forging heel-calks or drawing clips. Fitting and nailing are not covered. The metric figures are ours.
Malzemeler
1- 1 adetYer Tutucu
Gerekli Aletler
12- 1 vendor sell this, none ship to you yetYer Tutucu
- 1 vendor sell this, none ship to you yetYer Tutucu
- Yer Tutucu
- Yer Tutucu
- Yer Tutucu
- Yer Tutucu
- Yer Tutucu
- Yer Tutucu
- Yer Tutucu
- Yer Tutucu
- Yer Tutucu
- Yer Tutucu
Bu planla yapılan
İlgili Blueprint'ler
Bu blueprint'ler bilgi paylaşır — teknikler, malzemeler veya ilkeler
CC0 Kamu Malı
Bu plan CC0 lisansıyla yayınlanmıştır. İzin almadan kopyalayabilir, değiştirebilir, dağıtabilir ve herhangi bir amaçla kullanabilirsiniz.
Planı üzerinden ürün satın alarak Maker'ı destekleyin, böylece Maker Komisyonu Satıcılar tarafından belirlenen komisyonu kazanırlar veya bu Planın yeni bir versiyonunu oluşturun ve gelir paylaşımı için kendi Planınıza bağlantı olarak ekleyin.