Collaboration
ART
BEAUTY & WELLNESS
CRAFT
CULTURE & HISTORY
ENTERTAINMENT
ENVIRONMENT
FOOD & DRINKS
REVERSE ENGINEERING
SCIENCES
SPORTS
TECHNOLOGY
WEARABLES
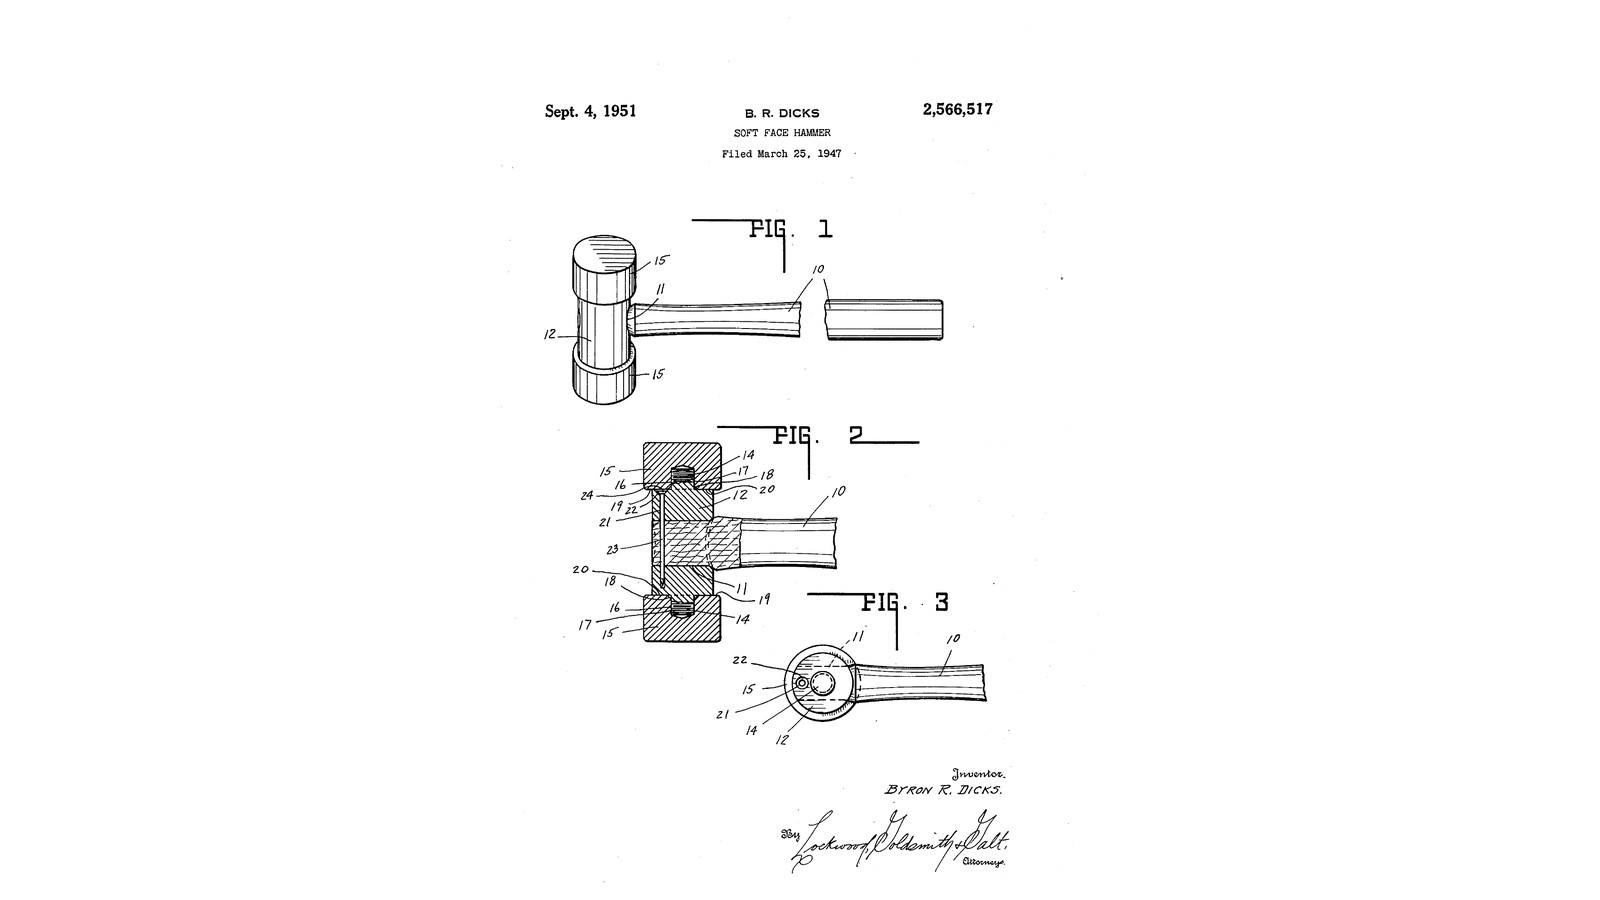


Threaded-Stud Rubber-Head Hammer: Heads Screw Onto the Body's Own Studs and Lock the Handle's Nail In (Dicks, 1951)
Byron R. Dicks of Lebanon, Indiana, received US 2,566,517, dated 4 September 1951, for a hammer made cheaply from bar stock with heads of any material. Each end of the cylindrical body has a threaded stud turned in one piece with it. Each head has a threaded socket chamfered at its mouth, so it bears on the body's flat end face in a true ring and the stud only connects. A nail driven down a bore beside the stud locks the handle. Its head sits in a counterbore, and the screwed-on head keeps it from ever coming out.
We give it two rubber heads, from his list of materials. The sizes are ours.
Intermediate
About 2 days
Instructions
1
1
Where the locking nail goes
Where the locking nail goes
Loading Jupyter Notebook...
2
2
Read US 2,566,517
Read US 2,566,517
"The nail when driven home obviously forms its own hole through the handle." "Obviously application of the head 15 retains the nail against loss if the same ever became somewhat loose in the handle."
3
3
Turn the body 12
Turn the body 12
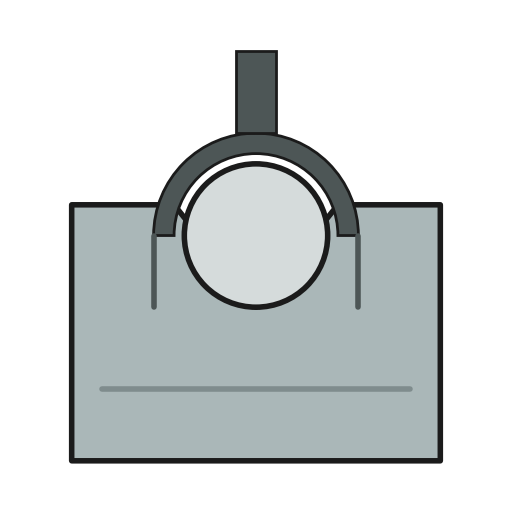
From 38 mm steel round bar turn a body 80 mm long between end faces cut truly square, with a stud 14 16 mm across and 18 mm long standing out of each end; cut M16 threads on them with the die. Drill a 20 mm eye 11 through the middle, square to the axis, in a V-block, and flare its ends a little with a half-round file.
Materials for this step:
 Mild Steel Round Bar1 piece
 Cutting Oil1 piece
Tools needed:
 Metal Lathe
 Lathe Chuck 3-Jaw
 Lathe Cutting Tool
 Parting Tool
 Tap and Die Set
 Die Stock
 Bench Vise
 Drill Press
 V-Block
 Drill Bit Set
 File Set
 Digital Caliper 6-Inch
 Safety Glasses
4
4
Bore for the locking nail 21
Bore for the locking nail 21
Scribe a line across one end face along the eye's direction. Centre-punch it 13 mm from the centre and drill 4.2 mm parallel to the axis, down into the eye, and counterbore the mouth 7 mm across and 4 mm deep for the nail's head.
Tools needed:
 Scriber
 Center PunchDrill PressV-BlockDrill Bit SetDigital Caliper 6-Inch
5
5
Rubber heads 15
Rubber heads 15
For each head saw an M16 coupling nut to 25 mm and chamfer one end's thread 1 mm with a countersink: the socket 16 with its chamfered mouth 18. Cut 4 mm rubber discs 50 mm across: seven with a hole just round the nut and five solid. Bond them up round the nut with contact cement, the chamfered end flush with the head's inner face, and the solid discs at the striking face; clamp overnight and trim round.
Materials for this step:
 Hex Nut2 pieces
 Natural Rubber Sheet1 piece
 Contact Cement1 piece
Tools needed:
 HacksawBench Vise
 Countersink Drill Bit SetDrill Press
 Compass
 Craft Knife
 Bar Clamp
6
6
Handle, nail and heads
Handle, nail and heads
Turn an ash handle 300 mm long to drive tight into the eye. Drive it home, then drive a 4 mm nail 23 down the bore through the handle until its head sits in the counterbore below the end face. Screw the rubber heads onto the studs until each bears hard on its end face.
Materials for this step:
 Hardwood Board1 piece
 Nails1 piece
Tools needed:
 Wood Lathe
 Lathe Tool Set (HSS)
 Ball Peen Hammer
7
7
Troubleshooting
Troubleshooting
Threaded-stud hammer troubleshooting.
Flow
Loading...
8
8
History and honest limits
History and honest limits
**Byron R. Dicks** of Lebanon, Indiana, US 2,566,517, dated 4 September 1951, filed 25 March 1947. He claimed a cylindrical body "having flat faces at both ends disposed at true right angles to the axis", "threaded extensions integral with said body", detachable heads with threaded sockets "in face to face contact" with the body, a transverse handle opening, a longitudinal bore offset from the extensions through it, and "a safety pin" in the bore sealed in by the heads. His heads were turned from bar or made of any of the materials he lists, rubber among them; ours are rubber discs bonded round a threaded steel insert. He gives no sizes; every size here is ours.
Materials
7- 1 piecePlaceholder
- 1 piecePlaceholder
- 2 piecesPlaceholder
- 1 piecePlaceholder
- 1 piecePlaceholder
- 1 piecePlaceholder
- 1 piecePlaceholder
Tools Required
23- Placeholder
- Placeholder
- Placeholder
- Placeholder
- Placeholder
- Placeholder
- Placeholder
- Placeholder
- Placeholder
- Placeholder
- Placeholder
- Placeholder
- Placeholder
- Placeholder
- Placeholder
- Placeholder
- Placeholder
- Placeholder
- Placeholder
- Placeholder
- Placeholder
- Placeholder
- Placeholder
This blueprint makes

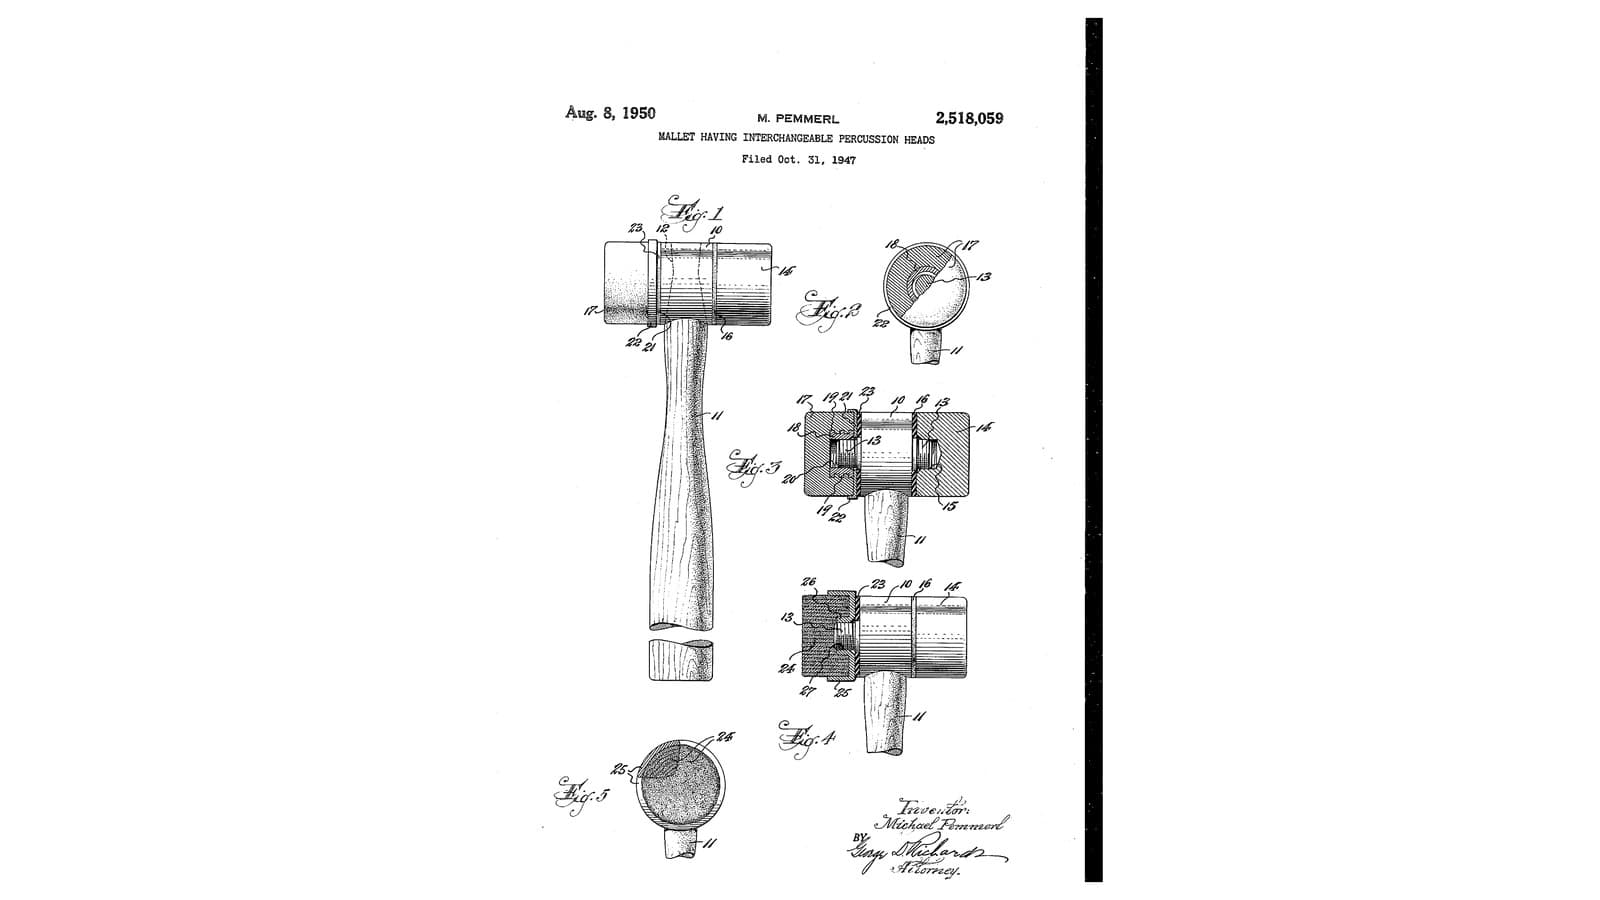
Related Blueprints
These blueprints share knowledge with this one — techniques, materials, or principles that connect them in the learning graph.
CC0 Public Domain
This blueprint is released under CC0. You are free to copy, modify, distribute, and use this work for any purpose, without asking permission.
Support the Maker by purchasing products through their Blueprint where they earn a Maker Commission set by Vendors, or create a new iteration of this Blueprint and include it as a connection in your own Blueprint to share revenue.