Collaboration
ART
BEAUTY & WELLNESS
CRAFT
CULTURE & HISTORY
ENTERTAINMENT
ENVIRONMENT
FOOD & DRINKS
REVERSE ENGINEERING
SCIENCES
SPORTS
TECHNOLOGY
WEARABLES
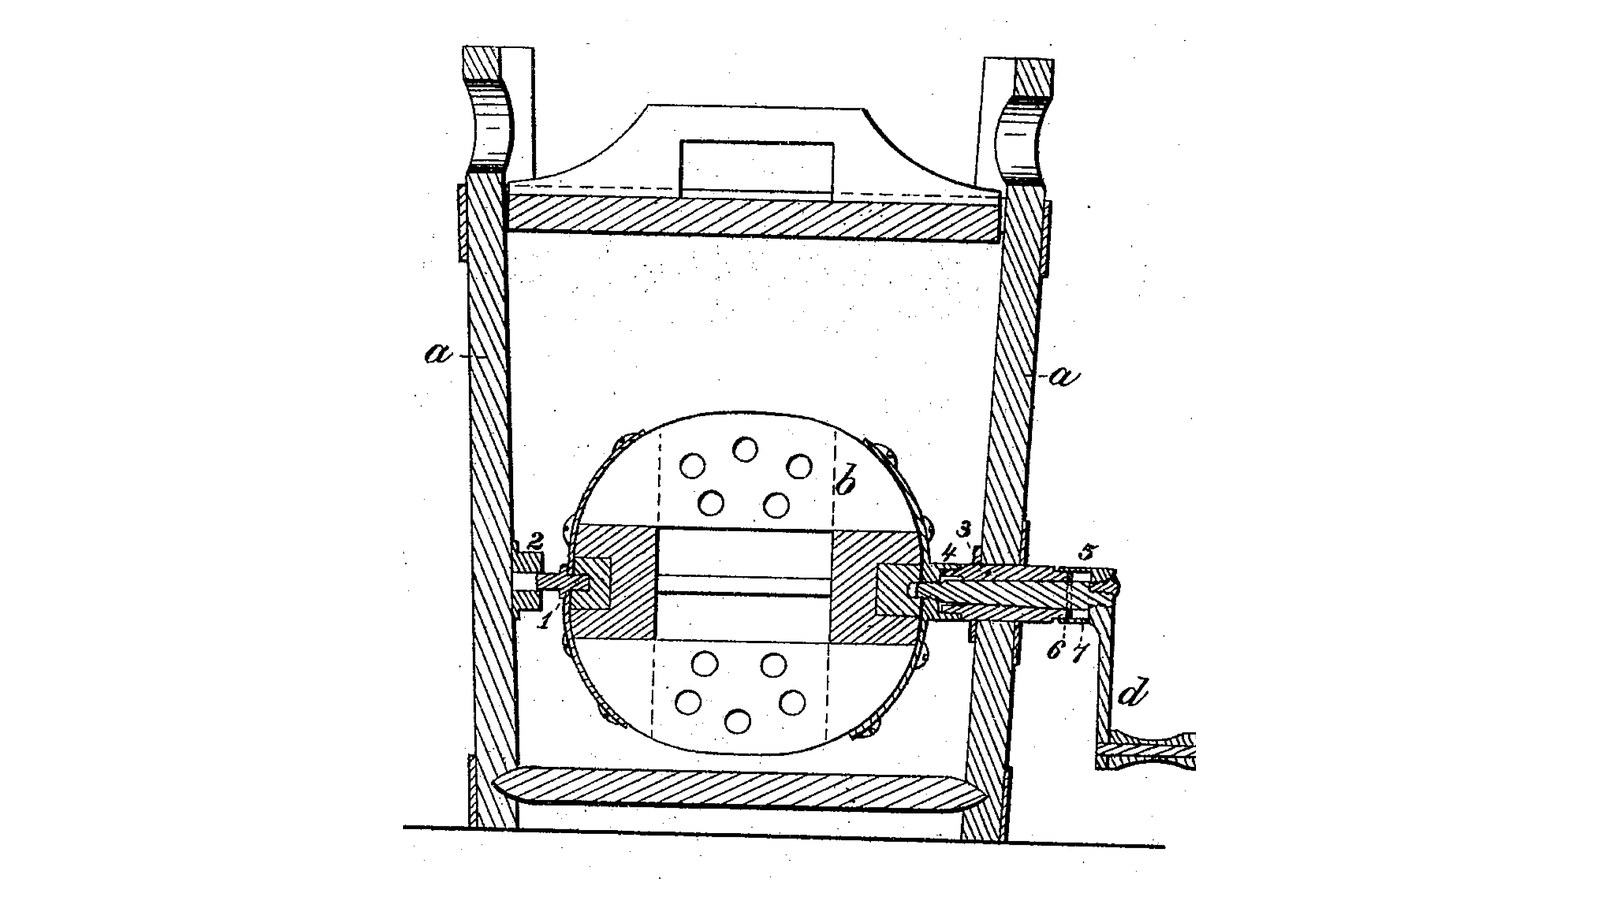

Sealed Screw-Axis Drum Churn: The Dasher's Axis Screws Into It Through a Pipe in the Side, a Sprung Washer Keeps It Tight
Peter Dunwald of Corning, New York, received US 31,447, dated 19 February 1861, for the shaft of a churn whose perforated dasher turns on a horizontal axis. The axis passes through a pipe set in the churn's side and screws into a socket on the dasher, drawing the dasher tight against the pipe's inner end; at the outer end a washer, pressed by an india-rubber spring inside a cup on the crank, seals the pipe. Unscrew the crank and the dasher comes out for cleaning.
The patent gives no sizes; every size here is ours.
Intermediate
About 2 days
Instructions
1
1
Two seals from one screw
Two seals from one screw
Loading Jupyter Notebook...
2
2
A dasher on a horizontal shaft through the end, two months before
A dasher on a horizontal shaft through the end, two months before
Pike's shaft runs through the end of a box and is set by thumb screws. Dunwald's screws into the dasher and seals itself.
3
3
Read US 31,447
Read US 31,447
"By this construction the act of screwing the axis c, into the part 4 draws the dasher tight against the inner end of the pipe 3, and the washer 6, sets with the spring pressure against the other end, keeping the axis water or milk tight. By unscrewing the axis c, the dasher can be removed when required."
4
4
Print the pipe collars (two)
Print the pipe collars (two)
A collar 40 mm across and 7 thick with a 20.1 mm bore, one each side of the bucket's wall round the pipe 3. Print two. PETG, 0.2 mm layers, 30 % infill, 4 walls.
5
5
Print the eye 2
Print the eye 2
The eye on the inside of the far wall: 40 mm across, 13 thick, with a 12.6 mm hole for the centre 1. PETG, 0.2 mm layers, 30 % infill, 4 walls.
6
6
Body a, pipe 3 and eye 2
Body a, pipe 3 and eye 2
Use a 20-litre food-grade bucket as the body a. Bore a 20.4 mm hole through one side, 170 mm above the inside floor, and a 12.6 mm hole opposite. Cut a 20 mm stainless tube with a 14 mm bore, 52 mm long, push it through the first hole between the two printed collars so 35 mm stands inside, and seal it all with silicone. Screw the eye 2 inside over the opposite hole with silicone, and seal the hole outside. Cut an HDPE lid to the top.
Materials for this step:
 20-Liter Bucket1 piece
 Stainless Steel Tube1 piece
 PETG Filament1 piece
 Silicone Sealant1 piece
 Wood Screws4 pieces
 HDPE Sheet1 piece
Tools needed:
 FDM 3D Printer
 Spade Bit Set
 Cordless Drill
 Drill Bit Set
 Hacksaw
 Files (Hand File)
 Screwdriver Set
 Jigsaw
 Compass
7
7
Print the socket 4
Print the socket 4
The socket on the dasher's hub: 22 mm across and 30 long with a flange, a 21 mm recess 5.5 deep for the pipe's end, and a hexagon pocket for an M12 nut behind it. PETG, 0.2 mm layers, 30 % infill, 4 walls.
8
8
Dasher b with socket 4 and centre 1
Dasher b with socket 4 and centre 1
Turn two hardwood ends 180 mm across and 20 thick, each with a boss 70 mm across and 20 long on its inner face and a hub 50 mm across standing out 10 mm (pipe side) or 8 mm (far side). Bore eight 15 mm holes through each end on a 120 mm circle. Roll a sheet of stainless 164 mm wide into a drum 180 mm across, drill three rings of twelve 15 mm holes in it, and rivet it round the ends. Bore the pipe-side hub 22 mm, 30 deep, and glue in the socket 4 with an M12 nut pressed into its pocket. Drive a 12 mm stainless pin 40 mm long into the far hub as the centre 1.
Materials for this step:
 Hardwood Board1 piece
 Stainless Steel Sheet1 piece
 Pop Rivets24 pieces
 Hex Nut1 piece
 Wood Glue1 piece
 Stainless Steel Rod1 piece
Tools needed:
 Wood LatheCordless DrillDrill Bit SetSpade Bit Set
 Tin Snips
 Pop Rivet Gun KitHacksaw
9
9
Print the cylinder 5
Print the cylinder 5
The small cylinder on the handle: 32 mm across and 22 long, a 21 mm bore 19 deep for the pipe's end, washer and rubber spring, and a 12.1 mm hole for the axis. PETG, 0.2 mm layers, 30 % infill, 4 walls.
10
10
Axis c, washer 6, spring 7 and handle d
Axis c, washer 6, spring 7 and handle d
Cut a 12 mm stainless rod 93 mm long for the axis c. Thread its inner 15 mm M12 with the die, and turn it down to 10 mm for 8 mm where the washer sits, 24 to 32 mm from its outer end. Cut a stainless washer 6 to 20.6 mm across with a 10.2 mm hole, and a rubber washer 7 13 mm long (squeezed to 11), 20.6 across with a 13 mm hole, from natural rubber sheet. Cut a crank d of mild steel flat bar, 100 mm throw, with a hardwood handle, and bolt the cylinder 5 to it. To assemble: set the dasher in the bucket with its centre in the eye, push the axis through the pipe and screw it into the socket until the dasher is drawn up to the pipe's end; slide on the washer and rubber over the axis's narrow part, then the cylinder and crank, and pin the crank to the axis's end.
Materials for this step:
Stainless Steel Rod1 piece Flat Washer1 piece
 Natural Rubber Sheet1 piece
 Mild Steel Flat Bar1 piece
 Hardwood Dowels1 piece
 Split Pin1 piecePETG Filament1 piece
Tools needed:
FDM 3D Printer Tap and Die Set
 Metal LatheHacksawFiles (Hand File)
 Bench ViseCordless DrillDrill Bit SetScrewdriver Set
11
11
The build in 3D
The build in 3D
FreeCAD model of this build, the bucket cut open: the pipe through the wall in its collars, the drum dasher with its socket and centre in the eye, the axis screwed into the socket, the washer, rubber spring, cylinder and crank.
12
12
Churn
Churn
Pour about 8 litres of heavy cream at about 15 °C, checked with the thermometer, into the bucket, so it stands below the pipe, and put on the lid. Turn the crank steadily, timing it. When the butter comes, take off the lid, pull the pin and the crank, unscrew the axis and lift the dasher out. Take out the butter, pour the buttermilk into a bowl, wash the butter in cold water until it runs clear, salt and weigh it.
Materials for this step:
 Heavy Cream8 l
 Coarse Sea Salt1 piece
 Water1 piece
Tools needed:
 Leave-In Probe Thermometer
 Stopwatch
 Digital Kitchen Scale
 Stainless Steel Mixing Bowl (Large)
13
13
Troubleshooting
Troubleshooting
Screw-axis churn troubleshooting.
Flow
Loading...
14
14
History and honest limits
History and honest limits
**Peter Dunwald** of Corning, Steuben County, New York, US 31,447, 19 February 1861, "Churn". He claimed "the axis c, provided with the washer 6, kept to the end of the pipe 3, by a spring 7, said axis c, screwing into the socket 4, on the dasher b", and did not claim the revolving dasher on a horizontal shaft. His one figure is printed turned on its side. He does not give the dasher's form beyond "perforated as usual"; ours is a riveted drum, his drawing shows a rounded one. The patent gives no sizes; every size here is ours.
Materials
20- 1 piecePlaceholder
- 1 piecePlaceholder
- 2 piecesPlaceholder
- 1 piecePlaceholder
- 4 piecesPlaceholder
- 1 piecePlaceholder
- 1 piecePlaceholder
- 1 piecePlaceholder
- 24 piecesPlaceholder
- 1 piecePlaceholder
- 1 piecePlaceholder
- 1 piecePlaceholder
- 1 piecePlaceholder
- 1 piecePlaceholder
- 1 piecePlaceholder
- 1 piecePlaceholder
- 1 piecePlaceholder
- 8 lPlaceholder
- 1 piecePlaceholder
- 1 piecePlaceholder
Tools Required
19- Placeholder
- Placeholder
- 1 vendor sell this, none ship to you yetPlaceholder
- Placeholder
- Placeholder
- Placeholder
- Placeholder
- 1 vendor sell this, none ship to you yetPlaceholder
- Placeholder
- Placeholder
- Placeholder
- Placeholder
- Placeholder
- Placeholder
- Placeholder
- Placeholder
- Placeholder
- Placeholder
- Placeholder
Design Files
5This blueprint makes


Related Blueprints
These blueprints share knowledge with this one — techniques, materials, or principles that connect them in the learning graph.
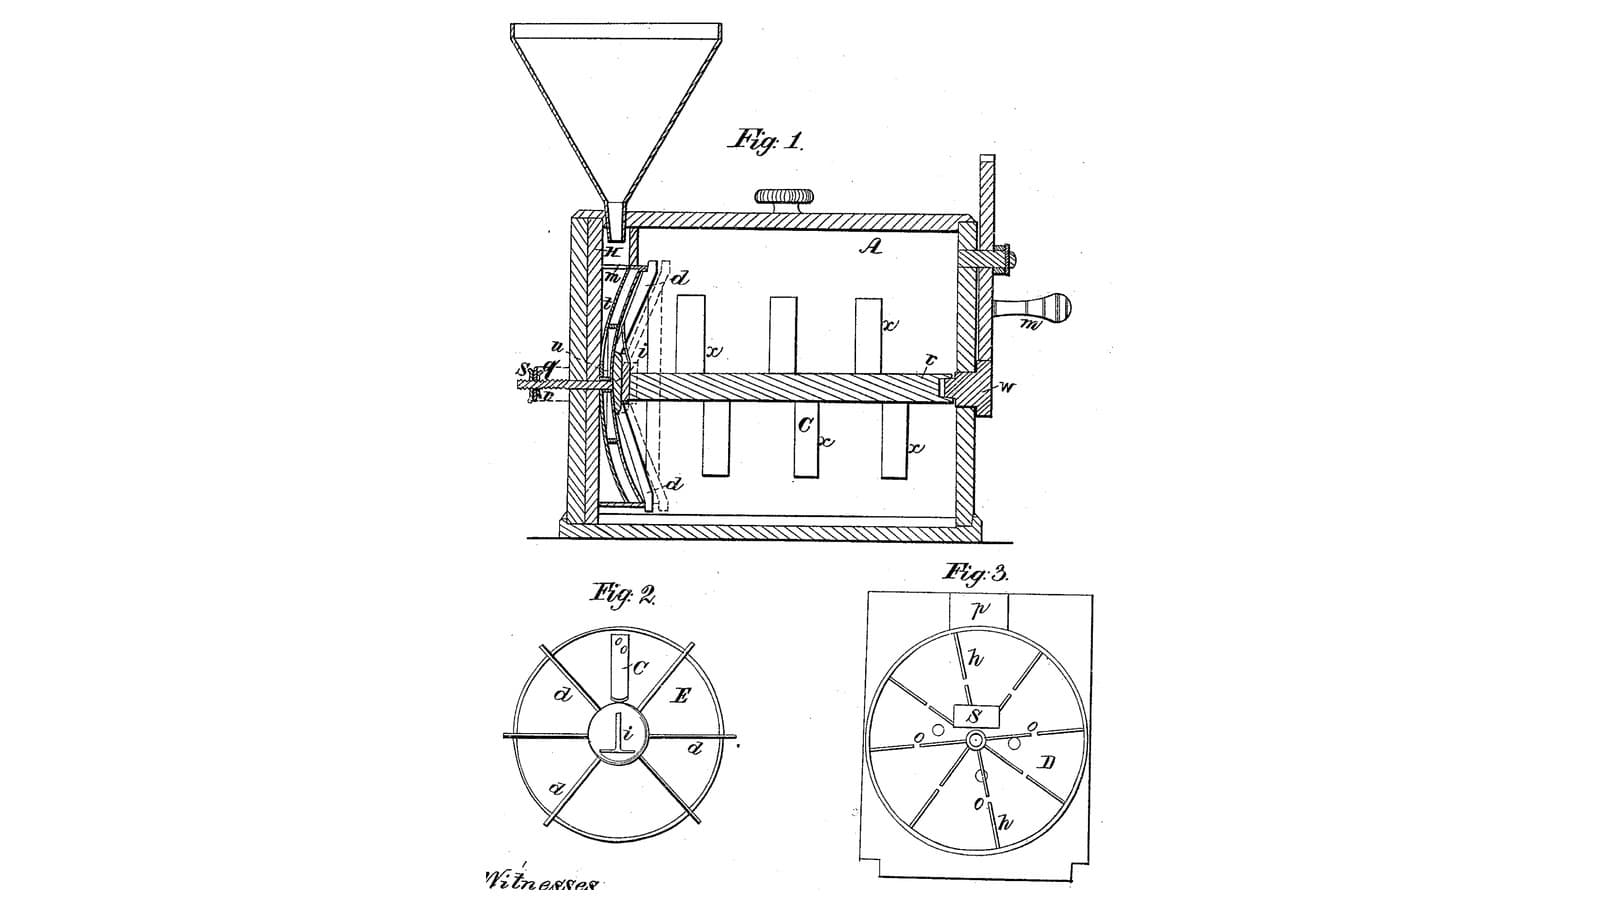
Adjustable-Dish Churn: Cream Is Poured Between a Fixed Ribbed Dish and a Turning One, Then Beaten by Wings and Dashers
by Buttercup
Woodworking
1
0
0
0
0
0
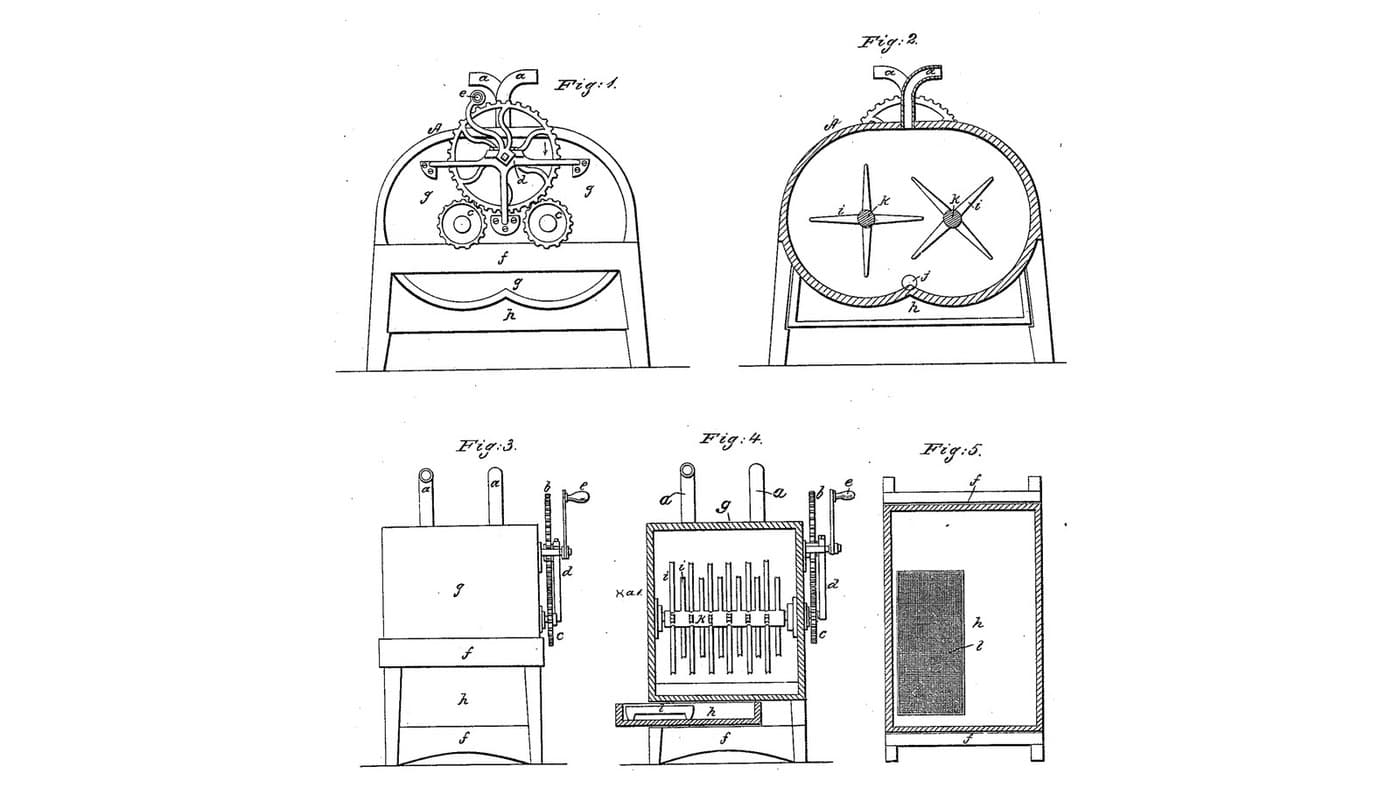
Double Rotary Crag Churn: Two Shafts of Four-Edged Arms Turn Through Each Other in Twin Half-Cylinders
by Buttercup
Woodworking
1
0
0
0
0
0
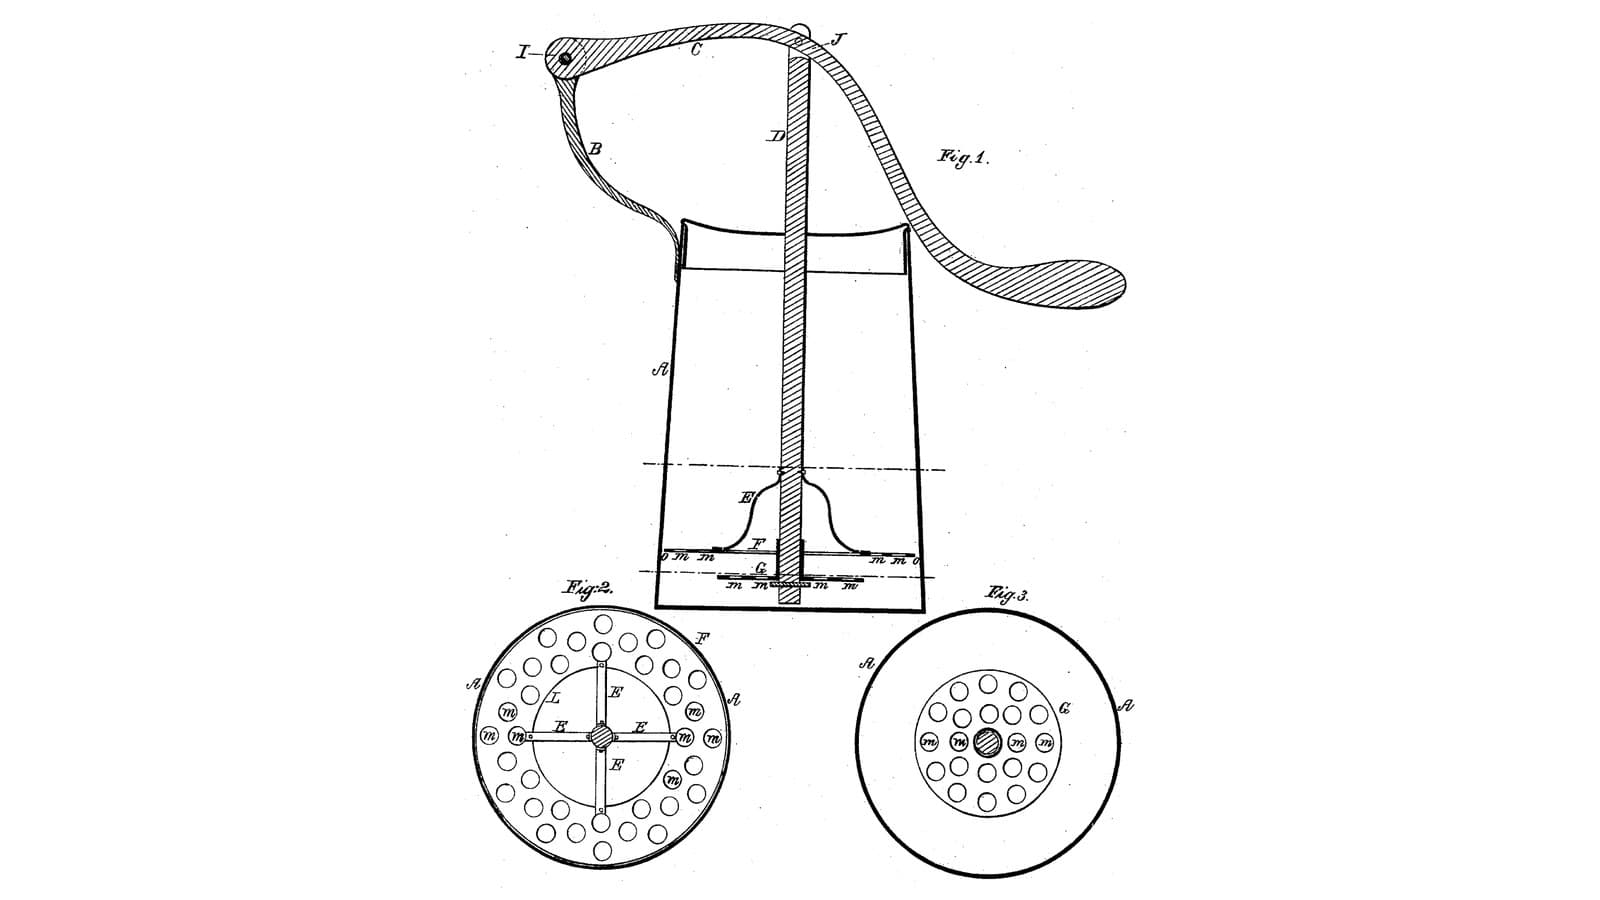
Star Valve-Dash Churn: A Lever Drives a Close-Fitting Perforated Dash, Its Centre Valve Shuts Going Down and Opens Coming Up
by Buttercup
Woodworking
0
0
0
0
0
0

Churning Butter from Cream — The 5,000-Year-Old Fat Separation
by TheChef
CRAFT
60
0
0
0
0
0
CC0 Public Domain
This blueprint is released under CC0. You are free to copy, modify, distribute, and use this work for any purpose, without asking permission.
Support the Maker by purchasing products through their Blueprint where they earn a Maker Commission set by Vendors, or create a new iteration of this Blueprint and include it as a connection in your own Blueprint to share revenue.