ART
BEAUTY & WELLNESS
CRAFT
CULTURE & HISTORY
ENTERTAINMENT
ENVIRONMENT
FOOD & DRINKS
REVERSE ENGINEERING
SCIENCES
SPORTS
TECHNOLOGY
WEARABLES
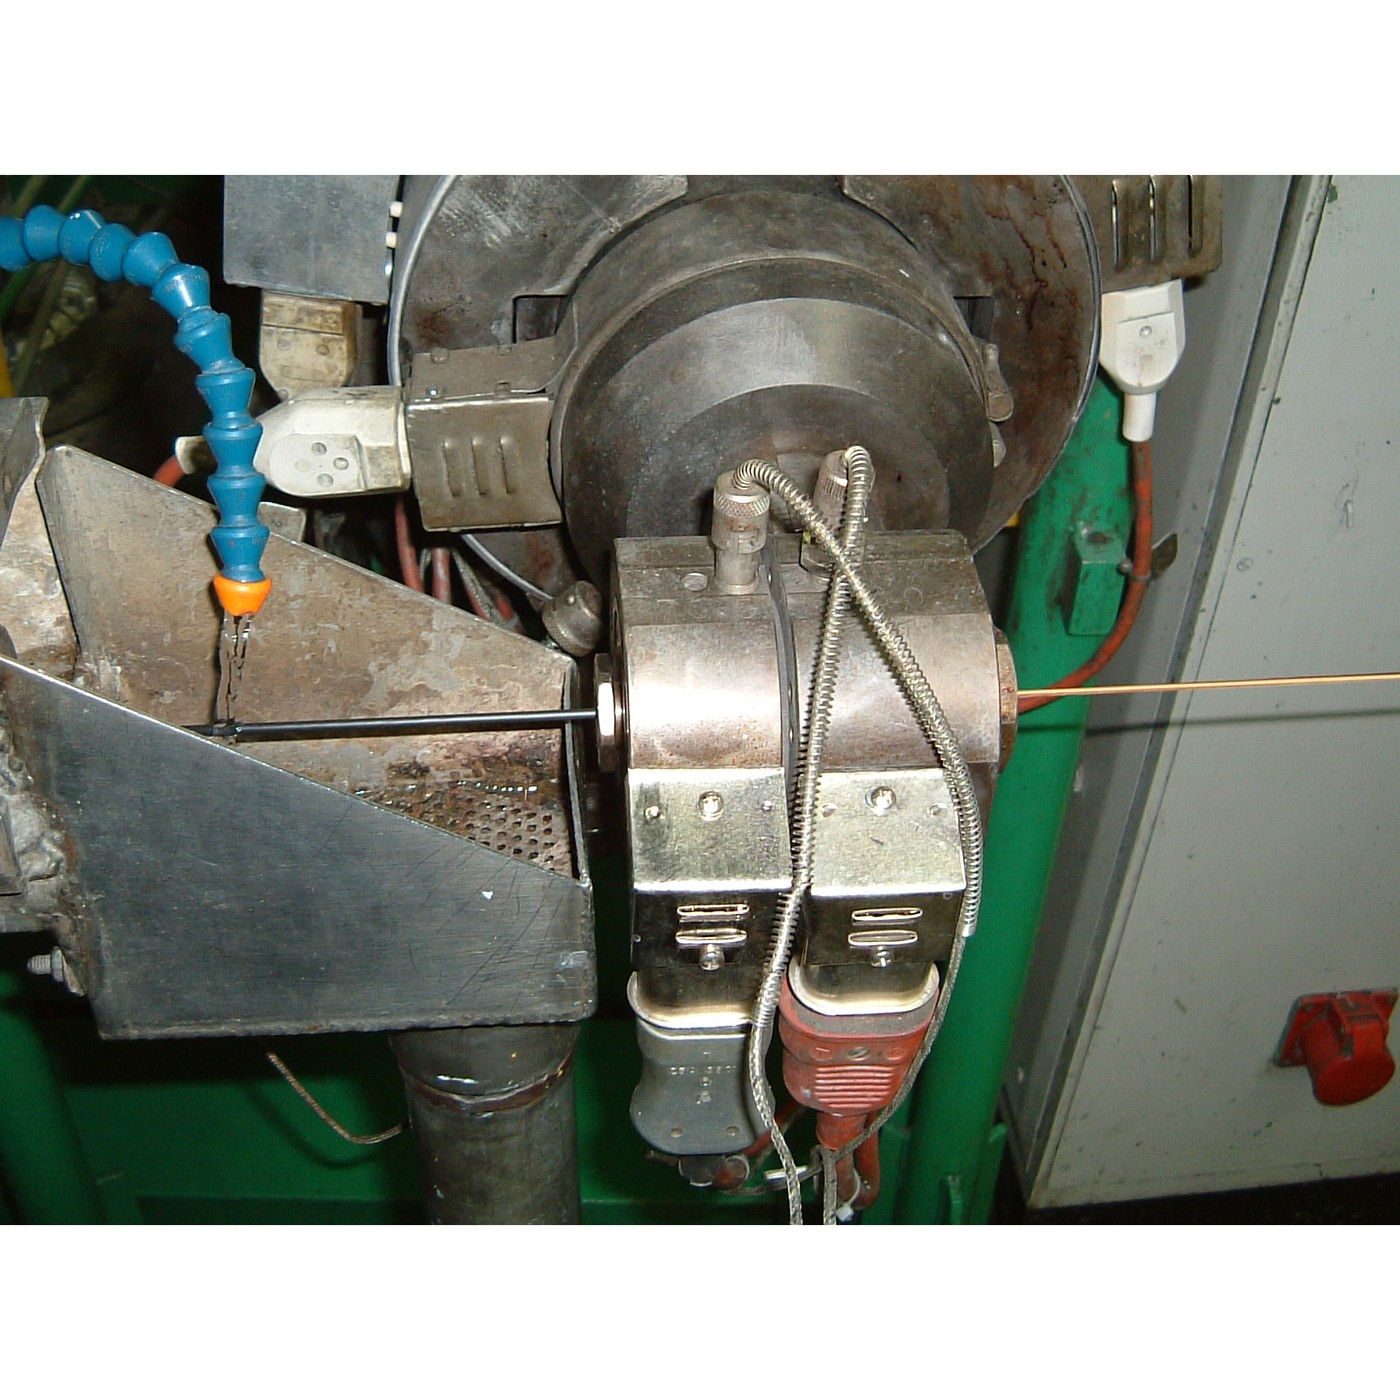


Extruding a Profile, and Blowing Film
Moulding makes one part at a time and needs a tool for each. Extrusion does the opposite: one die makes a continuous length of constant section, for as long as you feed it, and the tool cost is spread over kilometres rather than parts.
Pipe, window frame, cable insulation, filament, garden hose, weatherstrip, the sheet that rung 2's vacuum forming starts from, and — after a further stretch — the thinnest packaging film in the world all come off an extruder.
The catch is that **the die does not decide the shape**. Polymer recoils as it leaves — die swell — and the haul-off stretches it back down. Getting a section right is a matter of cutting the die wrong in exactly the way that cancels both.
Intermediate
About 3 hours
Instructions
1
1
Watch die swell happen on a machine you already have
Watch die swell happen on a machine you already have
A 3D printer nozzle is an extrusion die, and it swells like one. This is the cleanest demonstration available on a bench.
Heat the hot end to printing temperature with the nozzle clear of the bed, and extrude slowly into air. Catch the strand, let it cool, and measure it with the micrometer.
It is **larger than the nozzle**. A 0.4 mm nozzle typically gives a free strand of 0.45 to 0.55 mm, depending on polymer and temperature. Do it for PLA, PETG and ABS and tabulate the swell ratio for each.
Then change the conditions and watch the ratio move:
- **Extrude faster.** Swell increases, because the chains are stretched harder in the die and recoil more.
- **Extrude hotter.** Swell decreases, because the chains have time to relax before they freeze.
Now cancel it. Extrude into air and, with tweezers, pull the strand away faster than it emerges. Measure again: the strand is thinner than the nozzle. That is **draw-down**, and in a real line it is the haul-off doing exactly this at a controlled rate.
Those two effects, in opposition, are the whole of profile extrusion control. Step 4 puts numbers on the combination.
Materials for this step:
 PLA Filament1 piece
 PETG Filament1 piece
 ABS Filament1 piece
Tools needed:
 3D Printer
 Micrometer
 Digital Caliper 6-Inch
 Infrared Thermometer
 Stopwatch
 Fine-Tip Tweezers
 Clear Safety Glasses
 Lab Notebook (Carbon Copy)
2
2
Pull a profile, and find the land
Pull a profile, and find the land
Now make a shaped section rather than a round one. You need a small die: a plate with a slot or a cross cut through it, mounted where the strand leaves.
The cheapest working version is a **die plate for a printer nozzle**: a thin brass or aluminium plate, drilled and filed with a 2 mm slot, held a millimetre below the nozzle in a clamp so the extrudate is forced through it. Crude, hot and fiddly, and it demonstrates the two things that matter.
**The land.** The parallel section of the die, after the taper. A short land gives more swell and a rougher surface; a longer land lets the chains relax inside the die and gives a steadier, more accurate section. Make two plates, one with a 1 mm land and one with 4 mm, and compare the extrudate.
**Uneven flow.** Extrude through a slot that is wider at one end. The melt comes out faster where the die is more open, so the profile bends towards the slow side as it leaves. Every asymmetric profile does this, and a real die is cut with deliberately uneven land lengths to balance the flow — which is why an extrusion die is hand-tuned on the machine and not finished at the CAD stage.
Cool the extrudate as a real line does: run it through a shallow tray of water a few centimetres from the die. Note that cooling too fast freezes the outside while the inside is still shrinking, and the section bows.
Molten polymer at 200–260 °C, a hot brass plate and water in close proximity. Face shield, gloves, a stable clamp, and never chase a falling hot strand with your hands.
Materials for this step:
PLA Filament1 piece Aluminium Sheet1 piece
Tools needed:
3D Printer Files (Hand File)
 File Set
 Drill Press
 Bench ViseDigital Caliper 6-InchMicrometerInfrared Thermometer
 Face ShieldClear Safety Glasses
 Leather Work Gloves
 Fume Hood (Ducted)Lab Notebook (Carbon Copy)
3
3
Blow a film, and feel the difference orientation makes
Blow a film, and feel the difference orientation makes
Blown film is extrusion with the stretch turned up: melt leaves an annular die as a thin tube, air inflates it to several times its diameter while a nip pulls it upward many times faster than it left. It freezes mid-air, stretched both ways at once.
You cannot blow film on a bench, but you can produce the *property* it has and prove it matters, which is the part worth knowing.
Take a carrier bag or a piece of packaging film. Cut two strips, one along the roll direction and one across it — the roll direction is usually obvious from the fold lines or from any print.
Tear both by hand. One tears cleanly and easily in a straight line; the other resists and wanders. Then pull both to destruction with the spring scale and record the force.
That difference is **orientation**: the chains are lined up more in one direction than the other, so the film is strong along them and splits between them. A bag that tears beautifully down its length and not across it is a bag whose blow-up ratio and draw-down were not balanced.
Now do the same test on a piece of **cast** film — cling film, or a sheet cut from the vacuum-forming rung's stock. It behaves much more evenly in both directions, and it is also weaker. That is the trade: orientation buys strength in the direction you orient, and takes it from the other one.
Hold that result. The next rung takes it much further and makes a bottle out of it.
Materials for this step:
 Polyethylene Film2 pieces
Tools needed:
 Force Meter (Spring Scale)Digital Caliper 6-InchMicrometer
 Steel Ruler
 Craft Knife
 Digital Microscope
 Graph PaperClear Safety GlassesLab Notebook (Carbon Copy)
 Polypropylene Sheet (A4)
4
4
Swell, draw-down and the film gauge
Swell, draw-down and the film gauge
Loading Jupyter Notebook...
Tools needed:
Graph Paper5
5
History and context
History and context
**Attribution, stated honestly.** No single patent is claimed for this rung. Screw extrusion of plastics grew out of the rubber industry across the nineteenth century and was thoroughly established by the 1930s, and the catalogue already holds the lead pipe extrusion rung as its metal-working ancestor. Dozens of filings cover particular dies, screws and die-swell compensations; none of them is *the* extrusion patent, and asserting one would be inventing a tidiness that history does not have.
**What it does for economics.** Extrusion is the cheapest way to convert polymer into useful geometry, because the tool runs continuously and its cost is spread over length rather than over parts. That is why the cheapest plastic objects in the world — film, bag, pipe, profile — are extruded, and why a small moulded part can cost more than a metre of extruded section that weighs ten times as much.
**Orientation is the idea to carry forward.** Everything downstream of the die in a film or fibre line is there to stretch the polymer while it freezes, because stretching lines the chains up and lined-up chains are far stronger. The next rung is that same principle, done deliberately in two directions, to make a bottle that holds five bar.
**Honest limits.** Extrusion makes constant sections and nothing else — any variation along the length has to be added afterwards. Tolerances are much looser than moulding, and they wander with line speed, melt temperature and cooling. Die swell is not calculable to useful accuracy for a real compound, so dies are cut, run, measured and recut; the bench work in step 2 is a small honest version of exactly that loop. And the process is unforgiving of wet feedstock: hygroscopic polymers must be dried or the water flashes to steam in the die and the extrudate comes out foamed and streaked.
Materials
5- 1 piecePlaceholder
- 1 piecePlaceholder
- 1 piecePlaceholder
- 1 piecePlaceholder
- 2 piecesPlaceholder
Tools Required
21- Placeholder
- Placeholder
- Placeholder
- Placeholder
- Placeholder
- Placeholder
- Placeholder
- Lab Notebook (Carbon Copy)10% commissionPlaceholder
- Placeholder
- Placeholder
- Placeholder
- Placeholder
- Placeholder
- Placeholder
- Placeholder
- Placeholder
- Placeholder
- Placeholder
- Placeholder
- Placeholder
- Placeholder
Related Blueprints
These blueprints share knowledge with this one — techniques, materials, or principles that connect them in the learning graph.


CC0 Public Domain
This blueprint is released under CC0. You are free to copy, modify, distribute, and use this work for any purpose, without asking permission.
Support the Maker by purchasing products through their Blueprint where they earn a Maker Commission set by Vendors, or create a new iteration of this Blueprint and include it as a connection in your own Blueprint to share revenue.