Collaboration
ART
BEAUTY & WELLNESS
CRAFT
CULTURE & HISTORY
ENTERTAINMENT
ENVIRONMENT
FOOD & DRINKS
REVERSE ENGINEERING
SCIENCES
SPORTS
TECHNOLOGY
WEARABLES

Roller-and-Concave Churn: Cream Falls Between a Turning Roller and an Adjustable Concave, Then Onto a Dasher Below
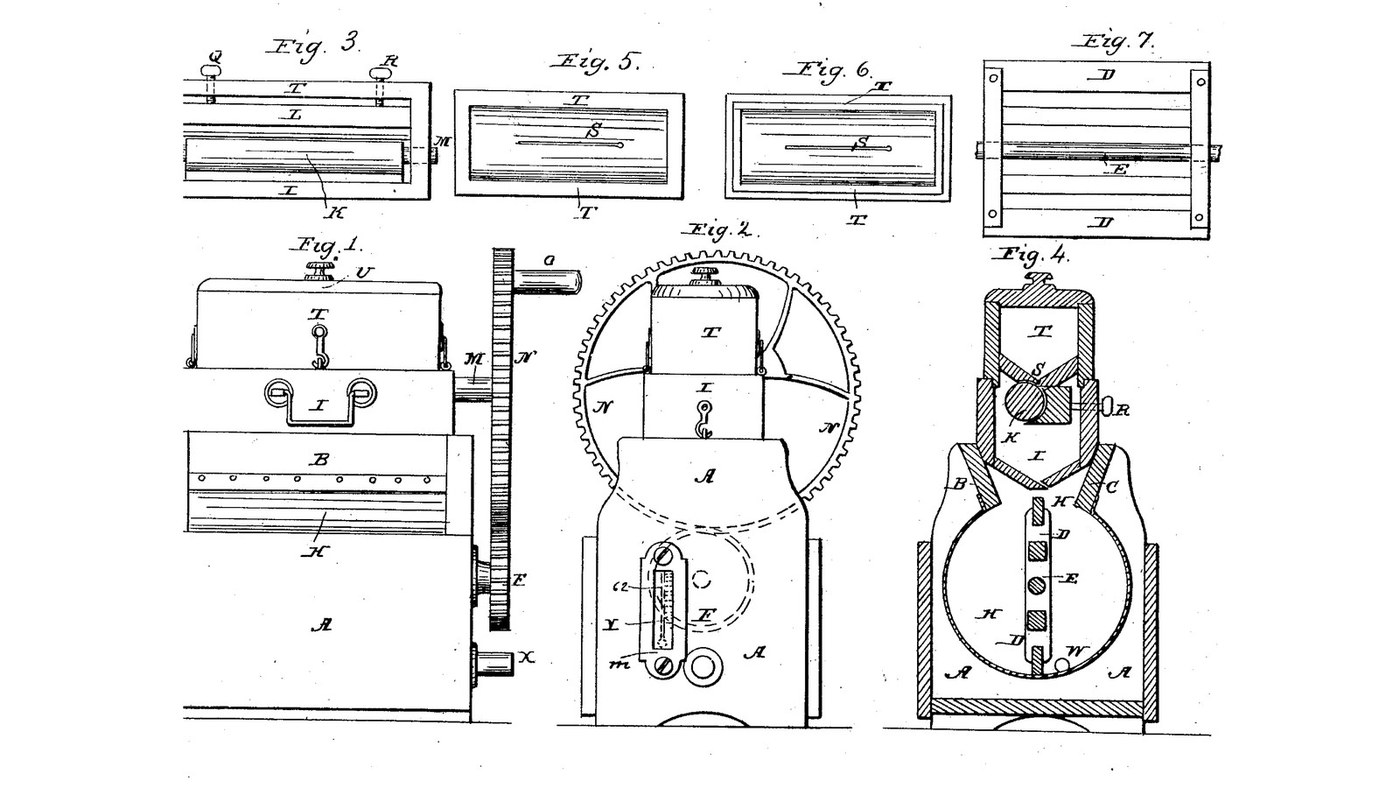
Reuben G. Holmes of Worcester, Massachusetts, received US 28,177, dated 8 May 1860, for a churn. Cream poured into a trough on top runs out through a long slot into the angle between a turning roller and a concave set close against it by thumb screws, where its globules are crushed; it falls into a cylinder below, where a dasher on its own shaft gathers the butter. One handle turns both through a large wheel and a gear, at different speeds, and a thermometer in the frame's end shows the cream's temperature.
The patent gives no sizes; every size here is ours.
Advanced
About 3 days, plus printing
Instructions
1
1
Roller and dasher at different speeds
Roller and dasher at different speeds
Loading Jupyter Notebook...
2
2
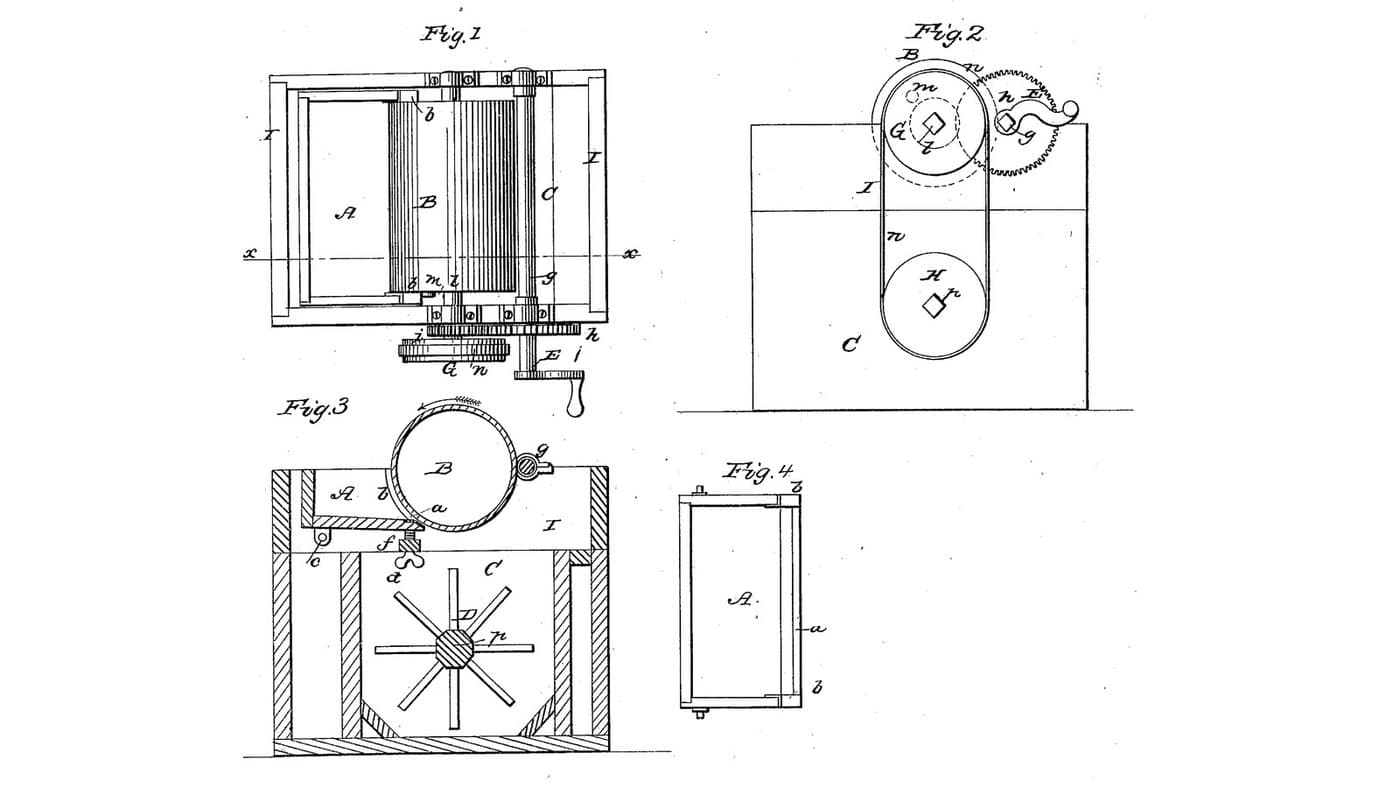
Cream crushed by a cylinder and a plate, two months before
Cream crushed by a cylinder and a plate, two months before
Hardie warms his cylinder and sets a plate against it. Holmes keeps the roller cool and the dasher separate.
3
3
Read US 28,177
Read US 28,177
"The milk is next to be poured into the receiver T; and through the aperture or slot formed in its bottom, the milk will fall into the angle between the cylinder and concave; and in passing between the same, the globules of cream will be crushed, spread or flattened or torn apart and caused to fall into the reservoir, H, when by being acted on by the dasher, they will readily be collected in a mass or into masses."
4
4
Print the roller K
Print the roller K
Roller section 70 mm across and 97.5 long, bored 12.4 mm. Print four and slide them onto the shaft. PETG, 0.2 mm layers, 40 % infill, 4 walls.
5
5
Print the wheel N
Print the wheel N
Spur gear, module 4, 60 teeth, 18 mm wide, with a hub; bored 12.4 mm. PETG, 0.2 mm layers, 40 % infill, 4 walls.
6
6
Print the gear F
Print the gear F
Spur gear, module 4, 40 teeth, 18 mm wide, with a hub; bored 16.4 mm. PETG, 0.2 mm layers, 40 % infill, 4 walls.
7
7
Frame A, reservoir H, thermometer chamber m and outlet W
Frame A, reservoir H, thermometer chamber m and outlet W
Cut 400 mm of food-grade PE pipe 250 mm across with a 10 mm wall and saw a 110 mm opening along its top. Cut two HDPE ends to fit, bored 16.6 mm on the axis; bore one 20 mm, 100 mm below the axis, and fit the spigot as the outlet W. Seal the ends in with silicone sealant. Make a hardwood frame round it: base, two sides, two ends bored for the shaft, a cradle under the pipe, and bars B and C along its top edges. In one end cut a chamber 24 x 100 mm down to the pipe's end for the thermometer's probe.
Materials for this step:
 HDPE Pipe1 piece
 HDPE Sheet1 piece
 PVC Spigot1 piece
 Silicone Sealant1 piece
 Hardwood Board4 pieces
 Wood Glue1 piece
 Wood Screws40 pieces
Tools needed:
 Jigsaw
 Hole Saw Kit
 Table Saw
 Router
 Cordless Drill
 Drill Bit Set
 Spade Bit Set
 Bar Clamp
 Screwdriver Set
8
8
Dasher D and shaft E
Dasher D and shaft E
Fix two hardwood crosses, each two arms 210 x 30 x 20 mm, on a 16 mm stainless shaft 15 mm in from the reservoir's ends, and screw four hardwood slats 20 x 20 mm, 390 long, across their ends 85 mm from the shaft. Pass the shaft through the ends, with the gear F outside the frame's end, held by collars.
Materials for this step:
 Stainless Steel Rod1 pieceHardwood Board1 pieceWood Glue1 pieceWood Screws16 pieces
 Shaft Collar2 pieces
 PETG Filament1 piece
Tools needed:
 FDM 3D PrinterTable Saw
 Hacksaw
 Files (Hand File)Cordless DrillDrill Bit SetScrewdriver Set
9
9
Case I, roller K, concave L and thumb screws Q, R
Case I, roller K, concave L and thumb screws Q, R
Make a hardwood case 424 x 180 mm and 150 deep, open at top and bottom, with two sloping boards inside its foot leading down to a 90 mm opening, to sit on bars B and C. Bore its ends 12.6 mm, 75 mm above its foot, for a 12 mm stainless shaft M carrying the roller; cut a slot 18 x 24 mm in each end beside it for the concave's ends. Cut a hardwood concave 398 x 22 x 60 mm, hollowed on one face to 74 mm across, with tongues on its ends in the slots. Run a 70 mm length of threaded rod through a nut in each end of the case against the concave's back, with a wing nut on the outside as the thumb screws Q and R, and set the concave 2 mm from the roller. Fit the wheel N on the shaft's outer end with a dowel handle O in its face, meshing gear F. Hold the case down with hooks and eyes.
Materials for this step:
Hardwood Board2 piecesWood Glue1 pieceWood Screws16 piecesStainless Steel Rod1 piece Threaded Rod1 piece
 Hex Nut2 pieces
 Wing Nut2 pieces
 Hardwood Dowels1 pieceShaft Collar2 pieces
 Hook and Eye2 piecesPETG Filament1 piece
Tools needed:
FDM 3D PrinterTable SawRouterCordless DrillDrill Bit SetHacksaw Adjustable SpannerBar Clamp
 Tape Measure
10
10
Trough T, slot S and top U
Trough T, slot S and top U
Make a hardwood trough to sit on the case, its bottom two boards sloping to a V, with a slot S 300 x 6 mm along the V right above the gap between roller and concave. Fit a lid U with a knob.
Materials for this step:
Hardwood Board1 pieceWood Glue1 pieceWood Screws10 piecesTools needed:
Table SawJigsawCordless DrillDrill Bit SetScrewdriver Set11
11
The build in 3D
The build in 3D
FreeCAD model of this build, cut through the middle: the reservoir with the dasher on its shaft, the frame with the thermometer chamber, the case with the roller and the concave on its thumb screws, the trough with its slot and top, and the wheel N meshing gear F.
12
12
Churn
Churn
Put the thermometer's probe in the chamber m against the reservoir. Start turning the handle, then pour about 6 litres of heavy cream at about 15 °C into the trough a little at a time, timing it; it runs through the slot, between the roller and the concave, and down onto the dasher. Keep turning until the butter gathers. Draw the buttermilk off at the outlet into a bowl, lift off the trough and case, take out the butter, wash it in cold water until it runs clear, salt and weigh it.
Materials for this step:
 Heavy Cream6 l
 Coarse Sea Salt1 piece
 Water1 piece
Tools needed:
 Leave-In Probe Thermometer
 Stopwatch
 Digital Kitchen Scale
 Stainless Steel Mixing Bowl (Large)
13
13
Troubleshooting
Troubleshooting
Roller-and-concave churn troubleshooting.
Flow
Loading...
14
14
History and honest limits
History and honest limits
**Reuben G. Holmes** of Worcester, Massachusetts, US 28,177, 8 May 1860, "Churn". He disclaims squeeze rollers over a dasher in one chamber (US 21,001), a concave working with a reservoir, a dasher against a concave, and US 23,968, and claims his churn as a whole, with roller and concave in their own chamber above the dasher's. He says butter comes "in three or four minutes". His reservoir's sides are metal; ours is PE pipe, and every size is ours.
Materials
18- 1 piecePlaceholder
- 1 piecePlaceholder
- 1 piecePlaceholder
- 1 piecePlaceholder
- 4 piecesPlaceholder
- 4 piecesPlaceholder
- 82 piecesPlaceholder
- 1 piecePlaceholder
- 2 piecesPlaceholder
- 2 piecesPlaceholder
- 1 piecePlaceholder
- 2 piecesPlaceholder
- 2 piecesPlaceholder
- 1 piecePlaceholder
- 2 piecesPlaceholder
- 6 lPlaceholder
- 1 piecePlaceholder
- 1 piecePlaceholder
Tools Required
18- 1 vendor sell this, none ship to you yetPlaceholder
- Placeholder
- 1 vendor sell this, none ship to you yetPlaceholder
- Placeholder
- 1 vendor sell this, none ship to you yetPlaceholder
- Placeholder
- Placeholder
- Placeholder
- Placeholder
- Placeholder
- Placeholder
- Placeholder
- Placeholder
- 1 vendor sell this, none ship to you yetPlaceholder
- Placeholder
- Placeholder
- Placeholder
- Placeholder
Design Files
4This blueprint makes


Related Blueprints
These blueprints share knowledge with this one — techniques, materials, or principles that connect them in the learning graph.
Hot-Water Cylinder Churn: Cream Is Crushed Between a Warm Turning Cylinder and an Adjustable Plate, Then Falls to a Dasher
by Buttercup
Woodworking
0
0
0
0
0
0
Pendulum Churn: A Treadle Swings the Hung Churn, Arms From the Base Plunge the Dasher and a Twisted Strip Turns It
by Buttercup
Woodworking
0
0
0
0
0
0

Churning Butter from Cream — The 5,000-Year-Old Fat Separation
by TheChef
CRAFT
60
0
0
0
0
0
CC0 Public Domain
This blueprint is released under CC0. You are free to copy, modify, distribute, and use this work for any purpose, without asking permission.
Support the Maker by purchasing products through their Blueprint where they earn a Maker Commission set by Vendors, or create a new iteration of this Blueprint and include it as a connection in your own Blueprint to share revenue.