Collaboration
ART
BEAUTY & WELLNESS
CRAFT
CULTURE & HISTORY
ENTERTAINMENT
ENVIRONMENT
FOOD & DRINKS
REVERSE ENGINEERING
SCIENCES
SPORTS
TECHNOLOGY
WEARABLES
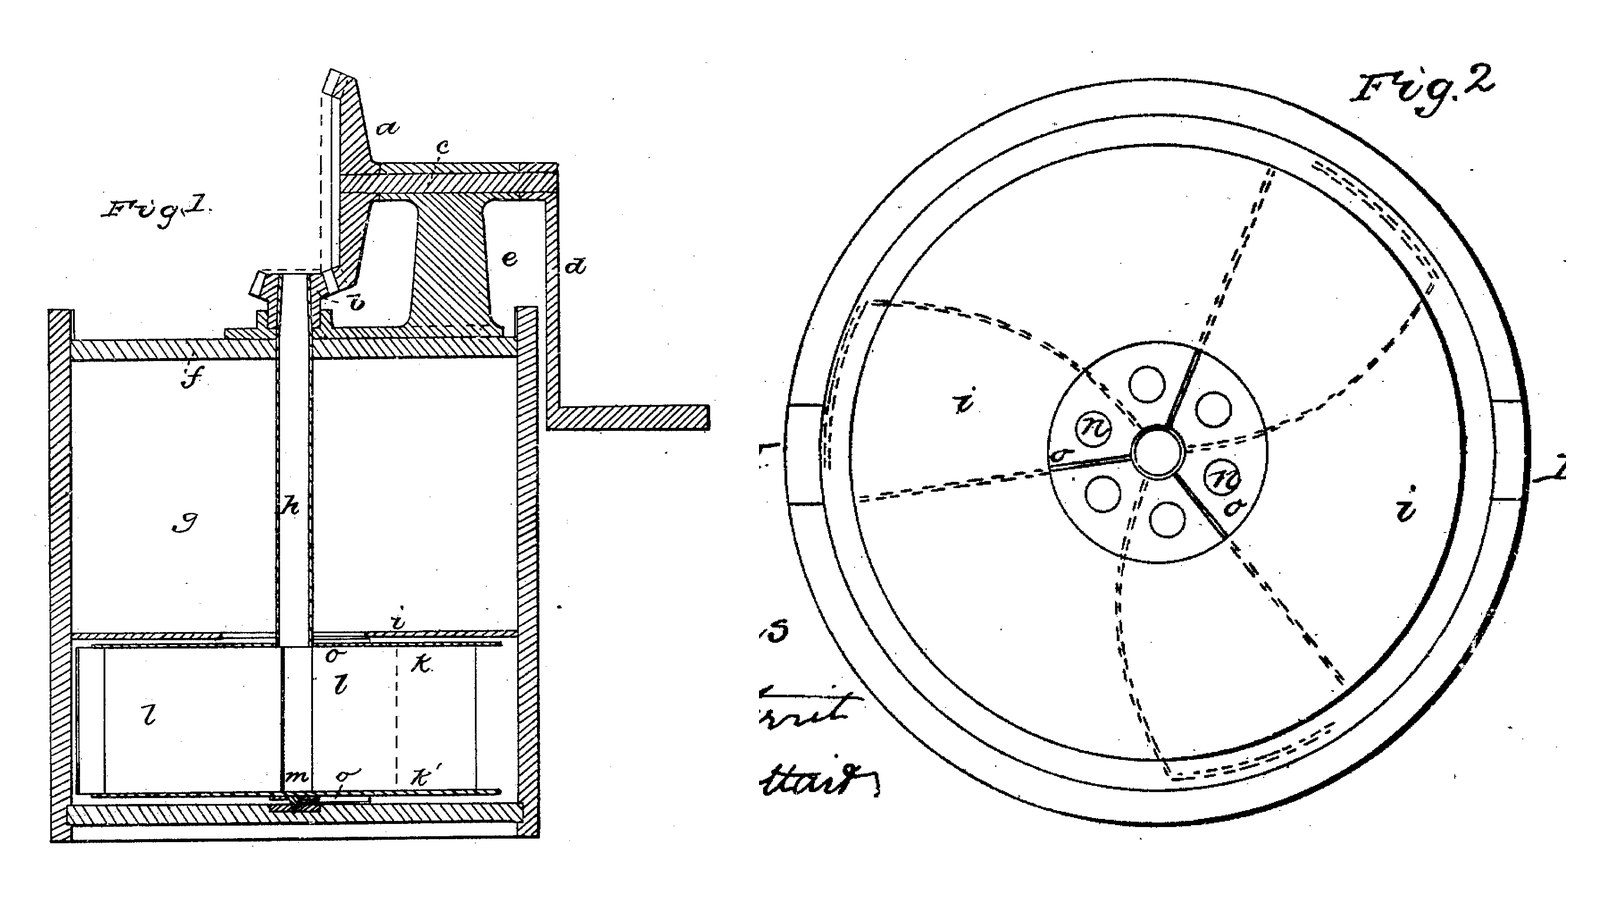

Centrifugal-Dasher Churn: Curved Wings on a Hollow Shaft Throw the Cream at the Wall, a Fixed Disk Turns It Back
John W. Kellberg of Pittsburgh received US 30,409, dated 16 October 1860, for a churn whose dasher is two plates joined by three curved wings on a hollow shaft. A crank and bevel gearing on the lid spin it fast: the wings throw the cream out against the wall with friction, air is drawn down the hollow shaft through the cream, and a fixed disk above stops the cream and sends what comes over it back to the middle. He wrote that his churn finished in four to six minutes.
The patent gives no sizes; every size here is ours.
Intermediate
About 2 days
Instructions
1
1
How high the dasher throws the cream
How high the dasher throws the cream
Loading Jupyter Notebook...
2
2
Air piped to the middle of the cream, a year before
Air piped to the middle of the cream, a year before
Rohrer pipes air to the middle of a barrel churn. Kellberg draws it down the dasher's own hollow shaft.
3
3
Read US 30,409
Read US 30,409
"When the shaft h is made to revolve quickly the curved wings cause the cream to be thrown from the center to the circumference of the churn with so much force as to create a large amount of friction when it is being pressed between the wing or dasher extensions and the sides of the churn, and at the same time a strong current of air is carried through the body of the cream, and any cream that is forced out over the disk i, flows back into the center to be worked over."
4
4
Print the step m
Print the step m
The step the dasher turns on: 60 mm across, 10 high, with a 10.6 mm hole 9 deep. It sits loose on the bucket's floor. PETG, 0.2 mm layers, 30 % infill, 4 walls.
5
5
Dasher: plates k and k', wings l, ribs o and tube h
Dasher: plates k and k', wings l, ribs o and tube h
Cut two 10 mm HDPE plates 256 mm across. Bore the top plate k 20.2 mm at the centre and six 20 mm openings n on a circle 80 mm across. Press a 10 mm stainless rod 20 mm long into the centre of the bottom plate k' so 10 mm stands below it as the pin m. Cut three stainless sheet wings 1.5 mm thick and 105 mm high, with three 15 mm tabs on each long edge; bend the tabs, curve each wing from 30 mm out at the hub to 122 mm out over 70 degrees and on for 30 degrees more nearly along the edge, and screw the tabs to both plates so the wings stand 105 mm between them. Screw three hardwood ribs 10 x 5 mm on the top of k and three under k', radial. Pass a 20 mm stainless tube 313 mm long down through k until its end is flush with k's underside, and hold it with a shaft collar each side of k. The tube is open at the top: it is the air pipe.
Materials for this step:
 HDPE Sheet1 piece
 Stainless Steel Sheet1 piece
 Stainless Steel Rod1 piece
 Stainless Steel Tube1 piece
 Shaft Collar2 pieces
 Hardwood Board1 piece
 Wood Screws30 pieces
Tools needed:
 Compass
 Jigsaw
 Spade Bit Set
 Cordless Drill
 Drill Bit Set
 Tin Snips
 Files (Hand File)
 Bench Vise
 Hacksaw
 Screwdriver Set
6
6
Body g, disk i and lid f
Body g, disk i and lid f
Use a 20-litre food-grade bucket as the body g. Set the step m on its floor and stand the dasher on it. Cut a 6 mm HDPE disk i to fit the bucket 150 mm up (282 mm across for ours), with a 100 mm opening in the middle, slide it down over the tube and press it until it wedges in the bucket's taper, so it cannot turn. Cut a 12 mm HDPE lid f to the bucket's top with a 32 mm hole, fit the printed bush in it, and screw three hardwood cleats under its edge that touch the wall; fix the lid by a screw through the wall into each cleat, above the cream.
Materials for this step:
 20-Liter Bucket1 pieceHDPE Sheet2 piecesHardwood Board1 pieceWood Screws9 pieces
 PETG Filament1 piece
Tools needed:
 FDM 3D PrinterCompassJigsawSpade Bit SetCordless DrillDrill Bit SetScrewdriver Set
 Tape Measure
7
7
Print the lid bush
Print the lid bush
The bush the tube turns in, fitted in the lid's hole: 32 mm across, 18 high, 20.6 mm bore. PETG, 0.2 mm layers, 30 % infill, 4 walls.
8
8
Print the crown wheel a
Print the crown wheel a
The driving wheel a on the crank shaft c: a crown wheel of 42 teeth, module 2.5, 16.2 mm bore. PETG, 0.2 mm layers, 30 % infill, 4 walls.
9
9
Print the pinion b
Print the pinion b
The pinion b on the tube h: 14 teeth, module 2.5, 14 mm face, 20.4 mm bore. PETG, 0.2 mm layers, 30 % infill, 4 walls.
10
10
Stand e, shaft c, wheel a, pinion b and crank d
Stand e, shaft c, wheel a, pinion b and crank d
Pin the pinion b on the tube with its teeth centred 40 mm above the lid. Cut two hardwood posts 50 x 25 x 118 mm, bore them 16.6 mm across 92 mm up, and screw them to the lid either side of the tube, one 60 to 85 mm in front of it and one 25 to 50 mm behind, as the stand e. Run a 16 mm stainless shaft c 180 mm long through them, pin the crown wheel a on it meshing the pinion, hold it with a shaft collar, and pin on a crank d of mild steel flat bar, 100 mm throw, with a hardwood handle.
Materials for this step:
Stainless Steel Rod1 pieceHardwood Board1 pieceShaft Collar1 piece Split Pin3 pieces
 Mild Steel Flat Bar1 piece
 Hardwood Dowels1 pieceWood Screws4 piecesPETG Filament1 piece
Tools needed:
FDM 3D Printer Table SawCordless DrillDrill Bit SetHacksawFiles (Hand File)Bench Vise
 Bar ClampScrewdriver Set
11
11
The build in 3D
The build in 3D
FreeCAD model of this build, the bucket cut open: the step, the dasher with its two plates, curved wings, openings and ribs on the hollow tube, the fixed disk above it, the lid with its bush and cleats, and the stand with the crank, crown wheel and pinion.
12
12
Churn
Churn
Before fitting the lid, pour about 8 litres of heavy cream at about 15 °C, checked with the thermometer, into the bucket, so it stands just under the disk i. Fit the lid and pin the pinion. Turn the crank briskly, timing it. When the butter comes, unpin the pinion, take off the lid, lift out the disk and the dasher, take out the butter, pour the buttermilk into a bowl, wash the butter in cold water until it runs clear, salt and weigh it.
Materials for this step:
 Heavy Cream8 l
 Coarse Sea Salt1 piece
 Water1 piece
Tools needed:
 Leave-In Probe Thermometer
 Stopwatch
 Digital Kitchen Scale
 Stainless Steel Mixing Bowl (Large)
13
13
Troubleshooting
Troubleshooting
Centrifugal-dasher churn troubleshooting.
Flow
Loading...
14
14
History and honest limits
History and honest limits
**John W. Kellberg** of Pittsburg, Allegheny County, Pennsylvania, US 30,409, 16 October 1860, "Churn". He claimed "the dasher and disk, made and operating substantially as described", and wrote that a churn on his plan completed a churning "in from four to six minutes"; we have not tested that. His gears were a bevel wheel and pinion on a cast stand; ours are a printed crown wheel and pinion on wooden posts. The patent does not say how the disk i is fastened; ours wedges in the bucket's taper. The patent gives no sizes; every size here is ours.
Materials
15- 2 piecesPlaceholder
- 1 piecePlaceholder
- 1 piecePlaceholder
- 1 piecePlaceholder
- 2 piecesPlaceholder
- 1 piecePlaceholder
- 43 piecesPlaceholder
- 1 piecePlaceholder
- 2 piecesPlaceholder
- 3 piecesPlaceholder
- 1 piecePlaceholder
- 1 piecePlaceholder
- 8 lPlaceholder
- 1 piecePlaceholder
- 1 piecePlaceholder
Tools Required
18- Placeholder
- 1 vendor sell this, none ship to you yetPlaceholder
- Placeholder
- 1 vendor sell this, none ship to you yetPlaceholder
- Placeholder
- Placeholder
- Placeholder
- Placeholder
- Placeholder
- Placeholder
- Placeholder
- 1 vendor sell this, none ship to you yetPlaceholder
- 1 vendor sell this, none ship to you yetPlaceholder
- Placeholder
- Placeholder
- Placeholder
- Placeholder
- Placeholder
Design Files
5This blueprint makes


Related Blueprints
These blueprints share knowledge with this one — techniques, materials, or principles that connect them in the learning graph.
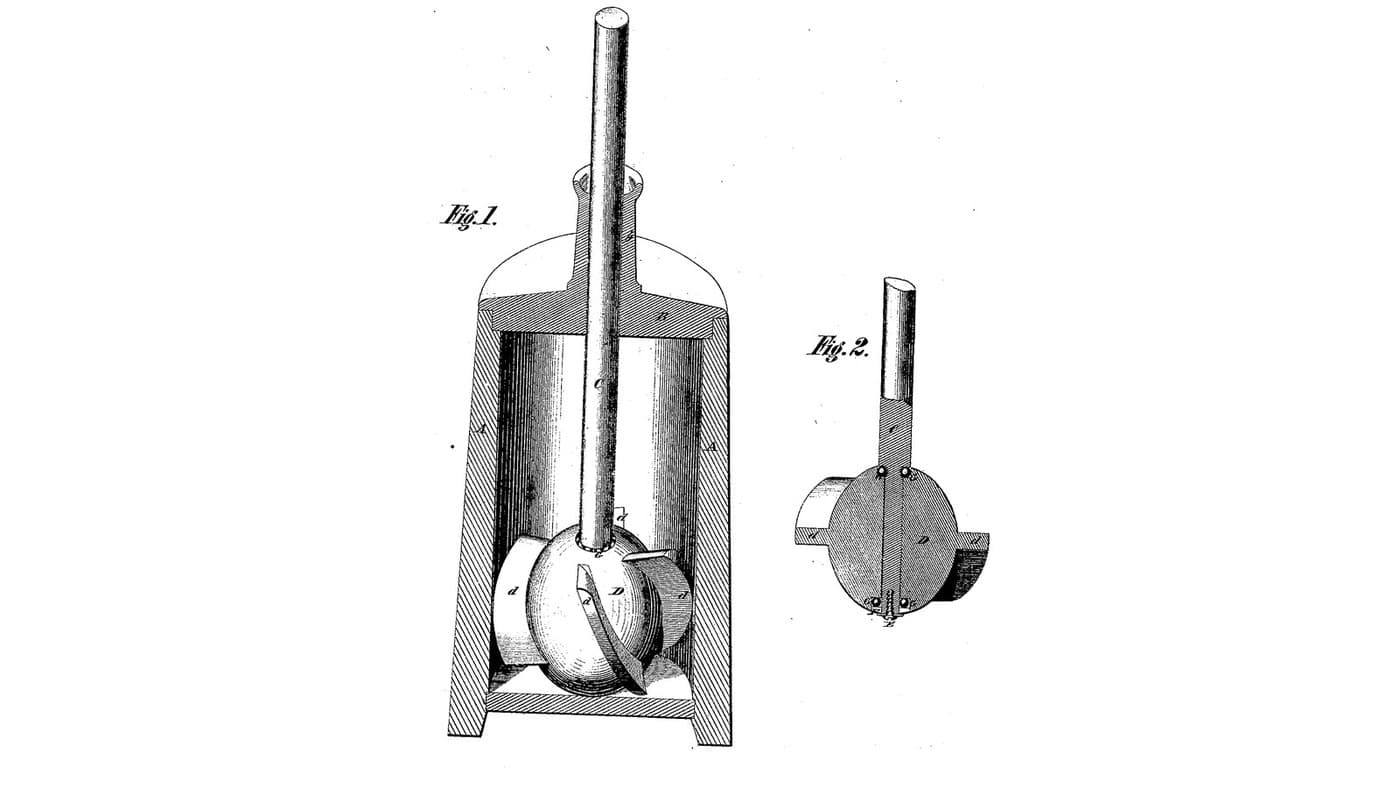
Spiral-Wing Spheroid Churn: A Ball Dasher on Balls Turns Freely on Its Rod, Its Spiral Wings Spinning It Each Stroke
by Buttercup
Woodworking
0
0
0
0
0
0
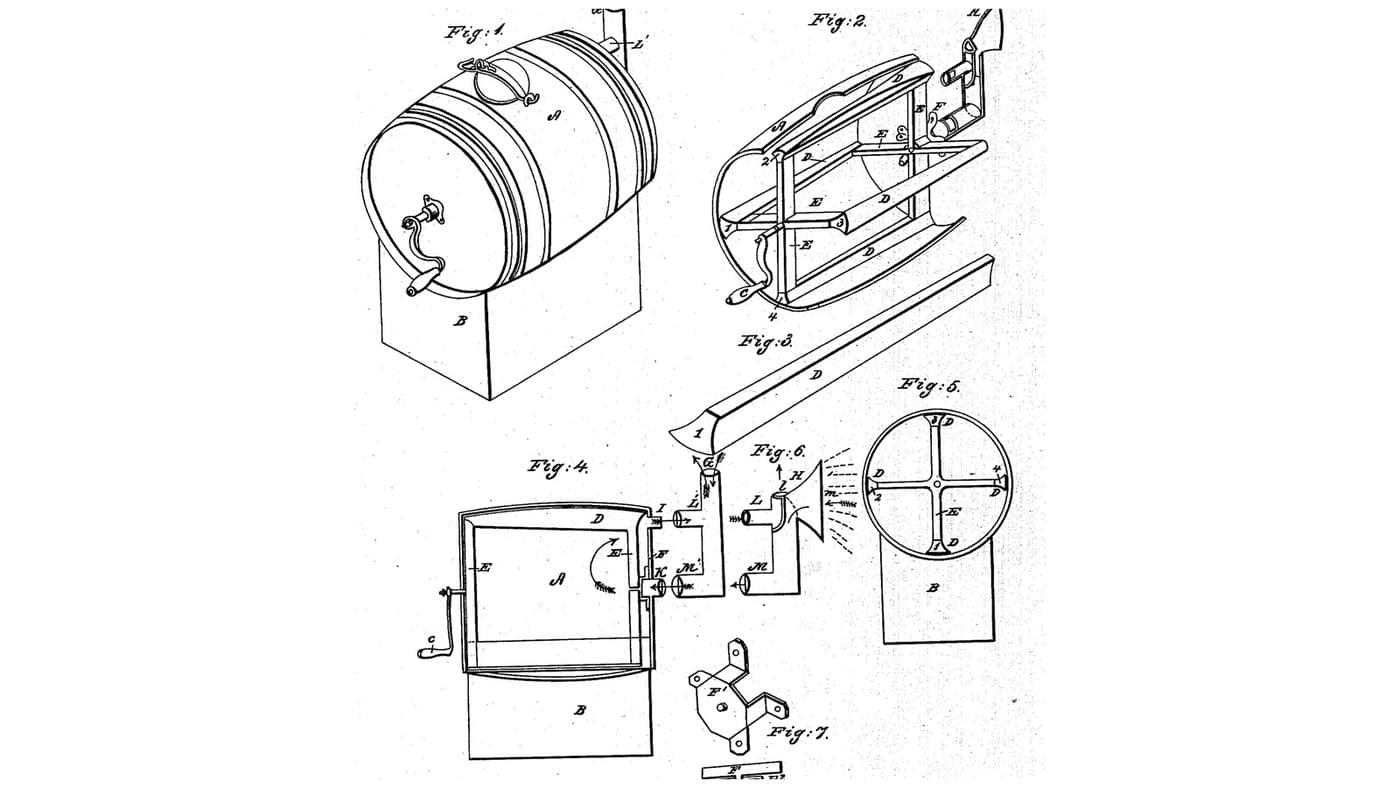
Atmospheric Barrel Churn: Reversed Concave Dashers Close to the Staves, Fresh or Warmed Air Piped to the Middle
by Buttercup
Woodworking
0
0
0
0
0
0
Spiral-Corrugated Water-Jacket Churn: A Bevelled Strip Dasher Throws Cream Against Diagonal Corrugations in a Warmed or Cooled Chamber
by Buttercup
Woodworking
0
0
0
0
0
0

Churning Butter from Cream — The 5,000-Year-Old Fat Separation
by TheChef
CRAFT
60
0
0
0
0
0
CC0 Public Domain
This blueprint is released under CC0. You are free to copy, modify, distribute, and use this work for any purpose, without asking permission.
Support the Maker by purchasing products through their Blueprint where they earn a Maker Commission set by Vendors, or create a new iteration of this Blueprint and include it as a connection in your own Blueprint to share revenue.