ART
BEAUTY & WELLNESS
CRAFT
CULTURE & HISTORY
ENTERTAINMENT
ENVIRONMENT
FOOD & DRINKS
REVERSE ENGINEERING
SCIENCES
SPORTS
TECHNOLOGY
WEARABLES
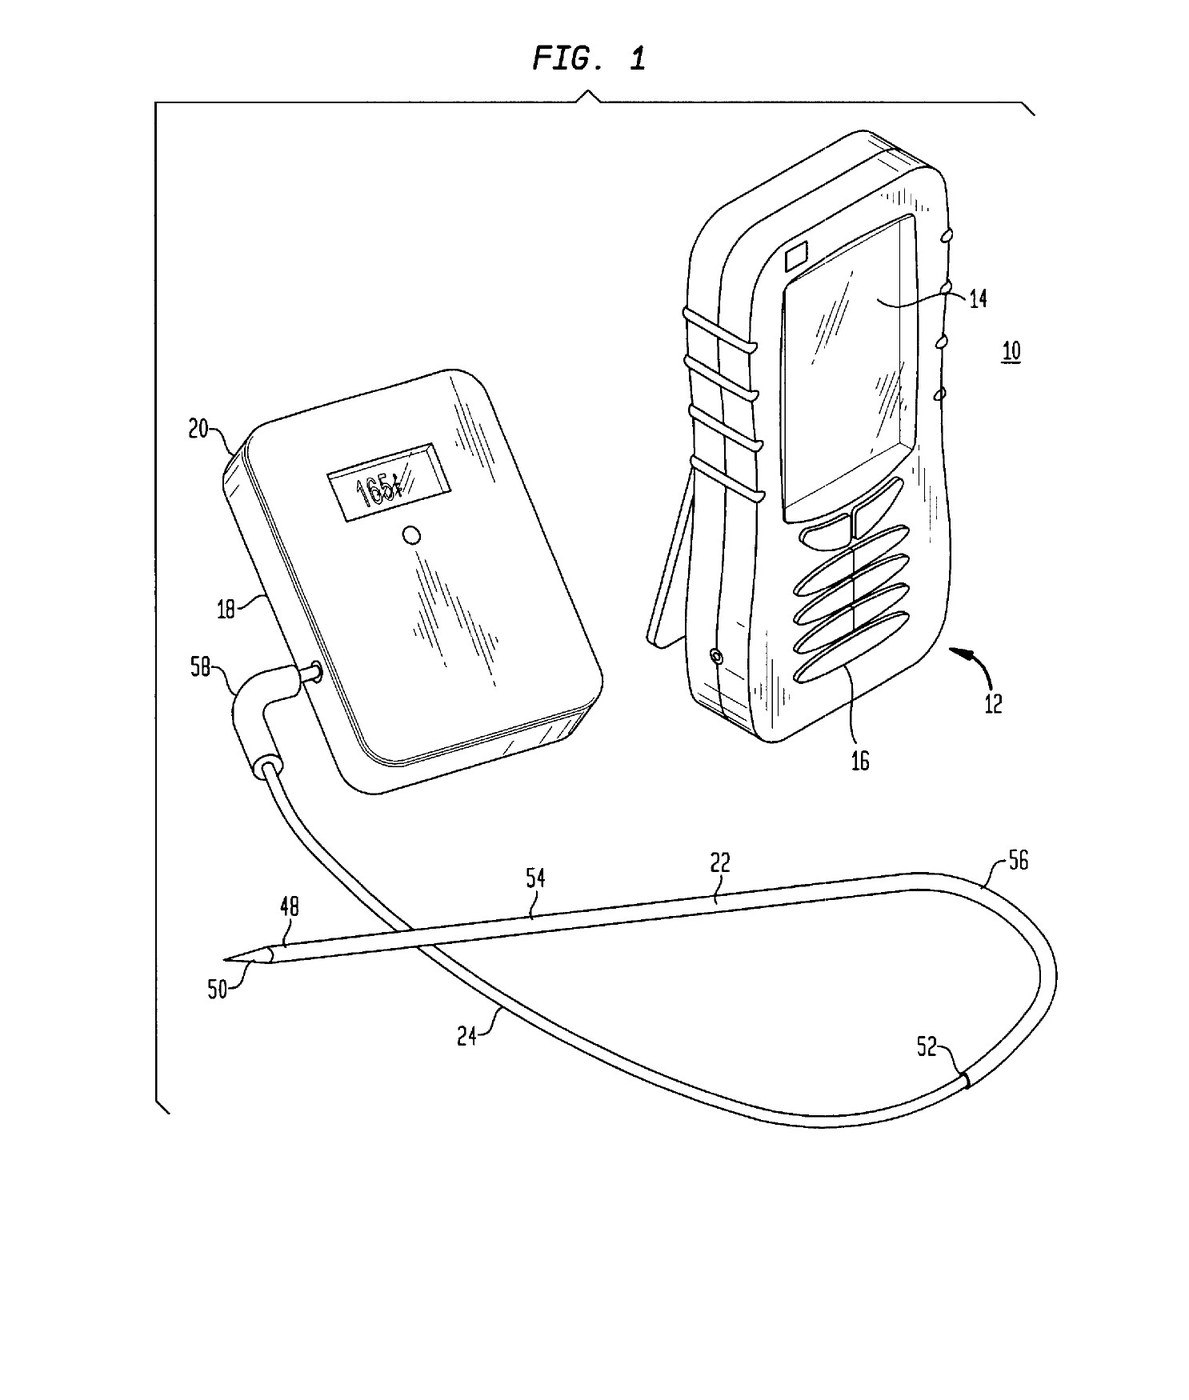


Leave-In Probe Thermometer: Stainless Probe on a Flexible Lead to a Programmable Timer (Chapman, US 6,568,848, 2003)
A meat thermometer you leave in the roast. A pointed stainless steel probe stays in the meat. A flexible lead runs out of the oven to a battery timer unit with a display, keys and a beeper. You pick the meat and how well done you want it; the unit shows the temperature and the time left, and beeps when it is done.
Result: continuous reading of the inside of the meat without opening the oven.
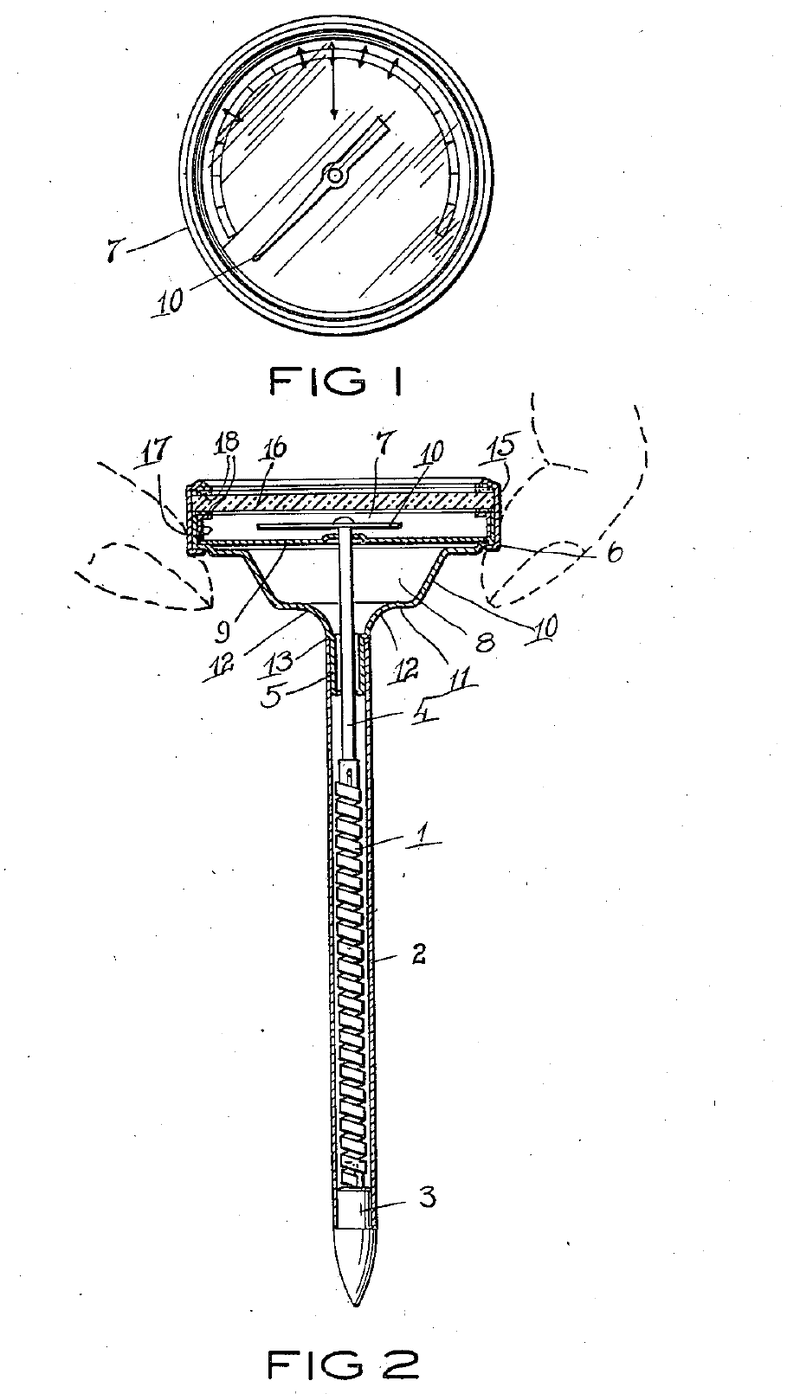
Source: P. A. Chapman and C.-A. Chang (Maverick Industries), US 6,568,848 (2003). The patent's main form sends the readings by radio; it also states this wired form. Unknown: the sensor, the circuit, the target temperatures and the materials. Picture: the patent drawing.
Intermediate
Unknown
Instructions
1
1
Make the probe
Make the probe
Make the probe of a rigid material such as stainless steel. It has a pointed end that goes into the meat, a straight section from the point, then a curved section to the other end. The temperature sensor sits inside. Not given: the type of sensor, sizes.
Materials for this step:
 Thermometer Tube with Pointed Plug1 stainless steel
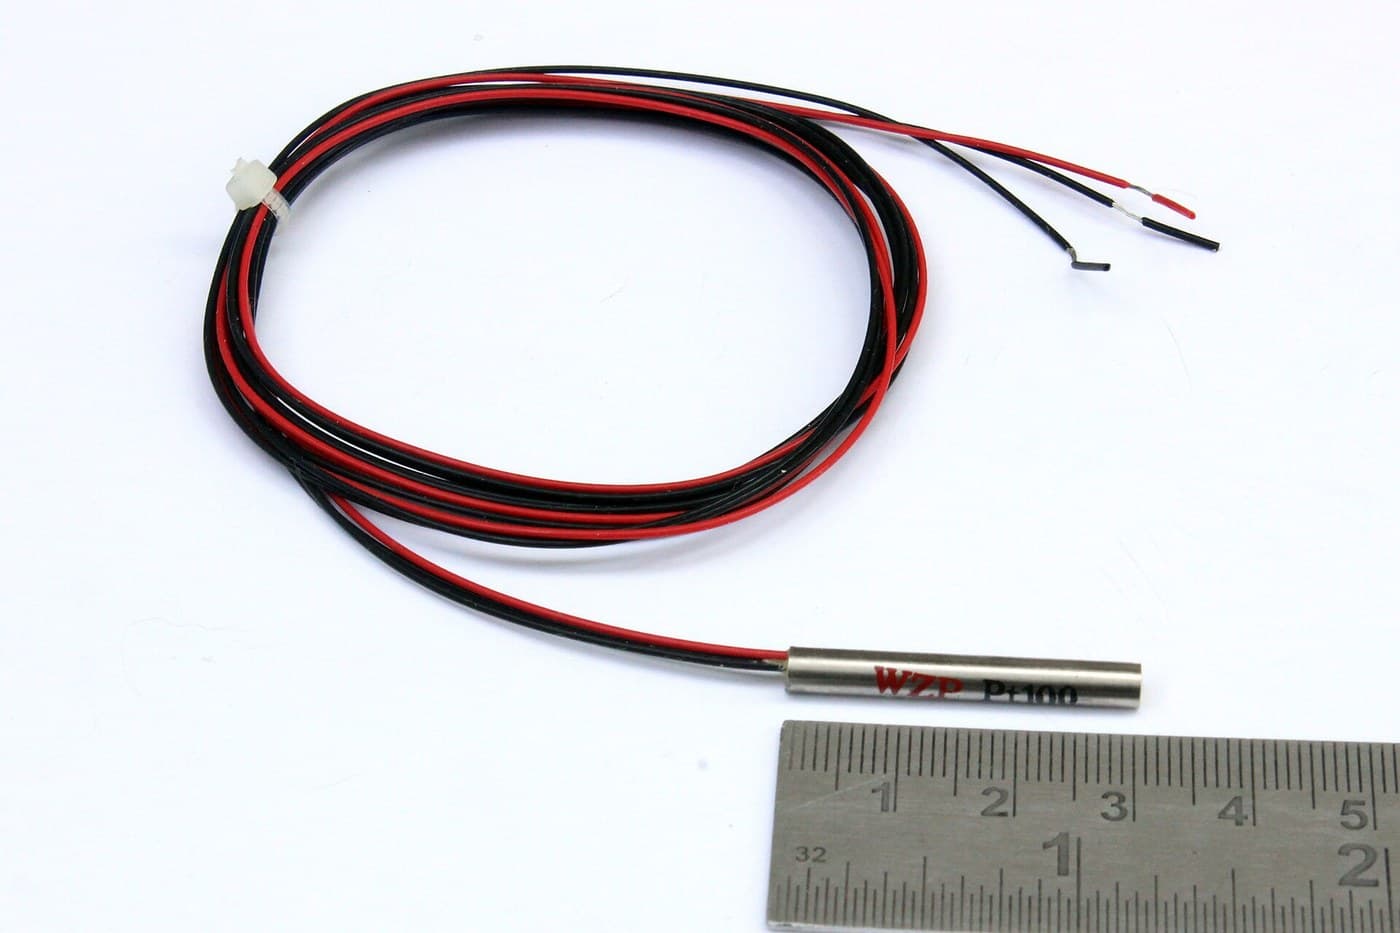
 Temperature Sensor1 piece
Tools needed:
 Unknown Dimensions
 Soldering Iron
2
2
Fit the flexible lead and plug
Fit the flexible lead and plug
Join a flexible lead to the curved end of the probe, so the probe can lie at any angle to the unit. Put a plug with a male end on the other end of the lead. Not given: the lead material, the plug type, the length.
Materials for this step:
 Multi-Conductor Cable1 flexible lead
 Unknown Connector1 plug
 Solder Wire1 as needed
Tools needed:
Soldering IronUnknown Dimensions3
3
Build the timer unit
Build the timer unit
In a hand-held case, fit a microprocessor that runs the cooking programs, a liquid crystal display, a beeper and batteries. Fit nine keys: clock or timer, probe A or B, meat type, doneness, two to set and change the final temperature, hours, minutes, and start/stop. Add a jack for each probe, a stand to set it upright and a clip for a belt or pocket. Not given: the circuit, the program, the case material.
Materials for this step:
 Printed Circuit Board1 piece
 Integrated Circuit1 microprocessor
 Segment LCD Panel1 piece
 Push Button9 keys
 Piezo Buzzer1 pieceUnknown Connector2 probe jacks
 Battery1 as needed
 Unknown Material1 case, stand, clipSolder Wire1 as needed
Tools needed:
Soldering Iron Screwdriver Set
4
4
Roast with it
Roast with it
Plug the probe into the timer unit. Pick the meat (beef, veal, lamb, pork, chicken, turkey) and the doneness (rare, medium rare, medium, well-done); the patent cooks to USDA guidelines. Push the probe into the meat, put it in the oven and lead the cable out to the unit, then press start. The display shows the meat, the doneness, the temperature (°F or °C) and the time left, and the beeper sounds at the right moments. A second probe watches a second piece. Not given: the temperature for each doneness.
Tools needed:
 Oven
Materials
12- 1 stainless steelPlaceholder
- Placeholder
- 1 flexible leadPlaceholder
- 2 probe jacksPlaceholder
- 2 as neededPlaceholder
- 1 piecePlaceholder
- 1 microprocessorPlaceholder
- 1 piecePlaceholder
- Placeholder
- 1 piecePlaceholder
- 1 as neededPlaceholder
- 1 case, stand, clipPlaceholder
Connected Blueprint Materials


This blueprint makes

Related Blueprints
These blueprints share knowledge with this one — techniques, materials, or principles that connect them in the learning graph.
CC0 Public Domain
This blueprint is released under CC0. You are free to copy, modify, distribute, and use this work for any purpose, without asking permission.
Support the Maker by purchasing products through their Blueprint where they earn a Maker Commission set by Vendors, or create a new iteration of this Blueprint and include it as a connection in your own Blueprint to share revenue.