ART
BEAUTY & WELLNESS
CRAFT
CULTURE & HISTORY
ENTERTAINMENT
ENVIRONMENT
FOOD & DRINKS
REVERSE ENGINEERING
SCIENCES
SPORTS
TECHNOLOGY
WEARABLES


Spiral-Slide Egg Beater: Push a Slide, Two Scrolls Turn Opposite Ways
Two beaters turning opposite ways had needed gears or a rack.
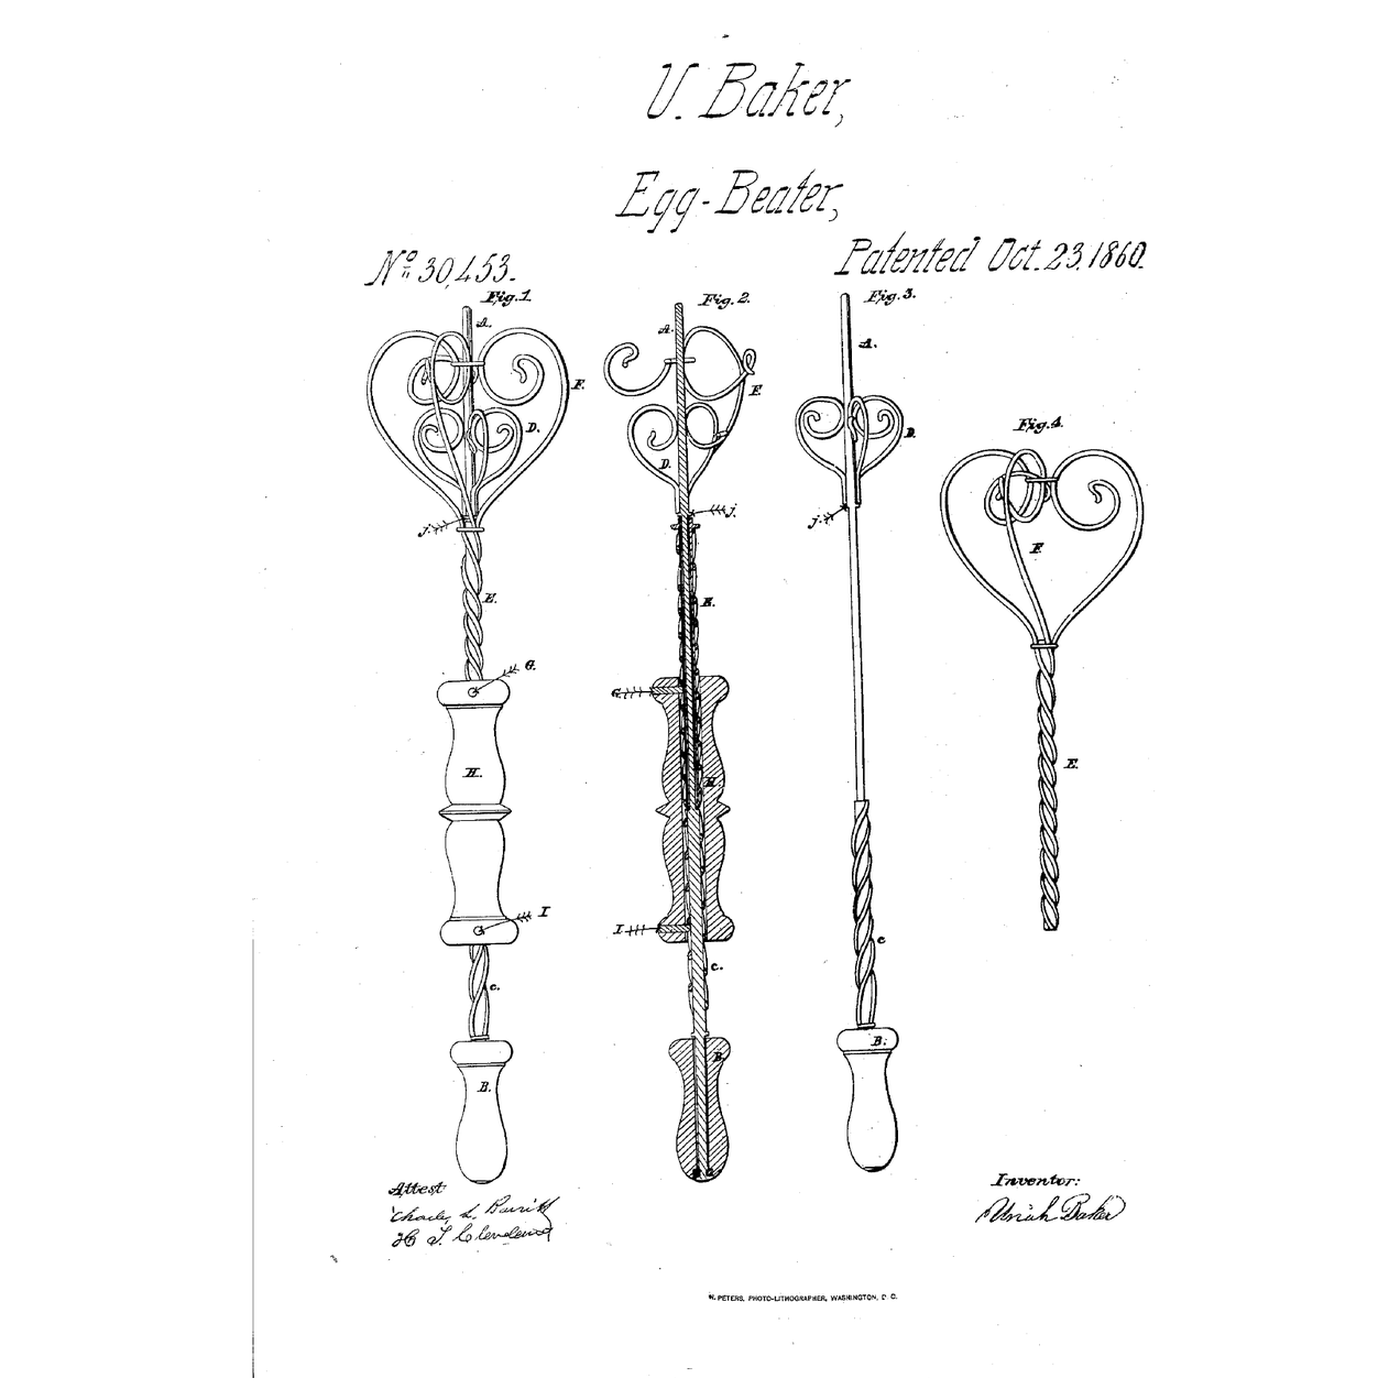
Uriah Baker of Brooklyn received US 30,453, dated 23 October 1860, for an egg beater "arranging on one spindle two egg beaters, and operating them simultaneously in opposite directions, by means of independent worms or spiral threads or grooves attached to them, and an agitatory slide, working longitudinally on the spiral threads": pins on the slide turn the inner scroll one way and the outer the other as the slide is worked up and down.
This rung works out the turns per stroke, then prints two twisted bars of opposite hand and the slide's nuts, builds the spindle and scrolls, and times a beating.
Advanced
About 4 hours, plus printing
Instructions
1
1
Turns per stroke
Turns per stroke
Loading Jupyter Notebook...
2
2
Two opposite beaters from one motion before it
Two opposite beaters from one motion before it
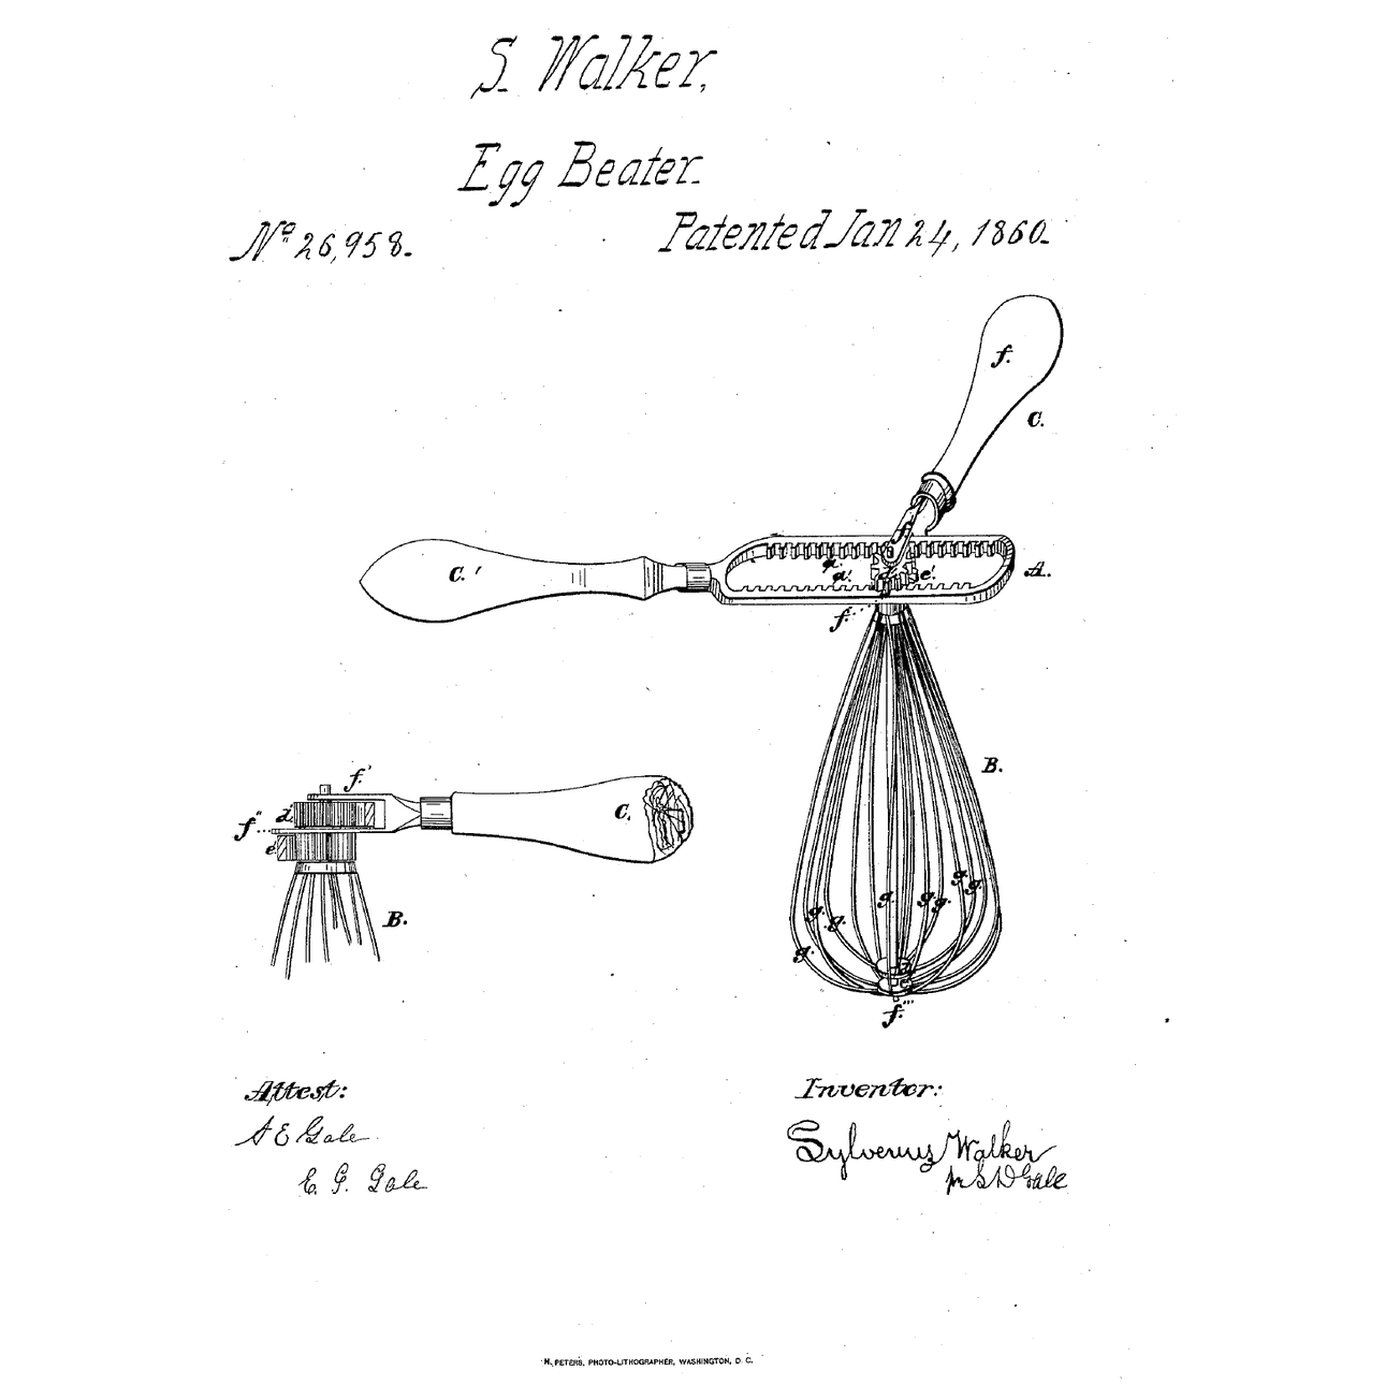
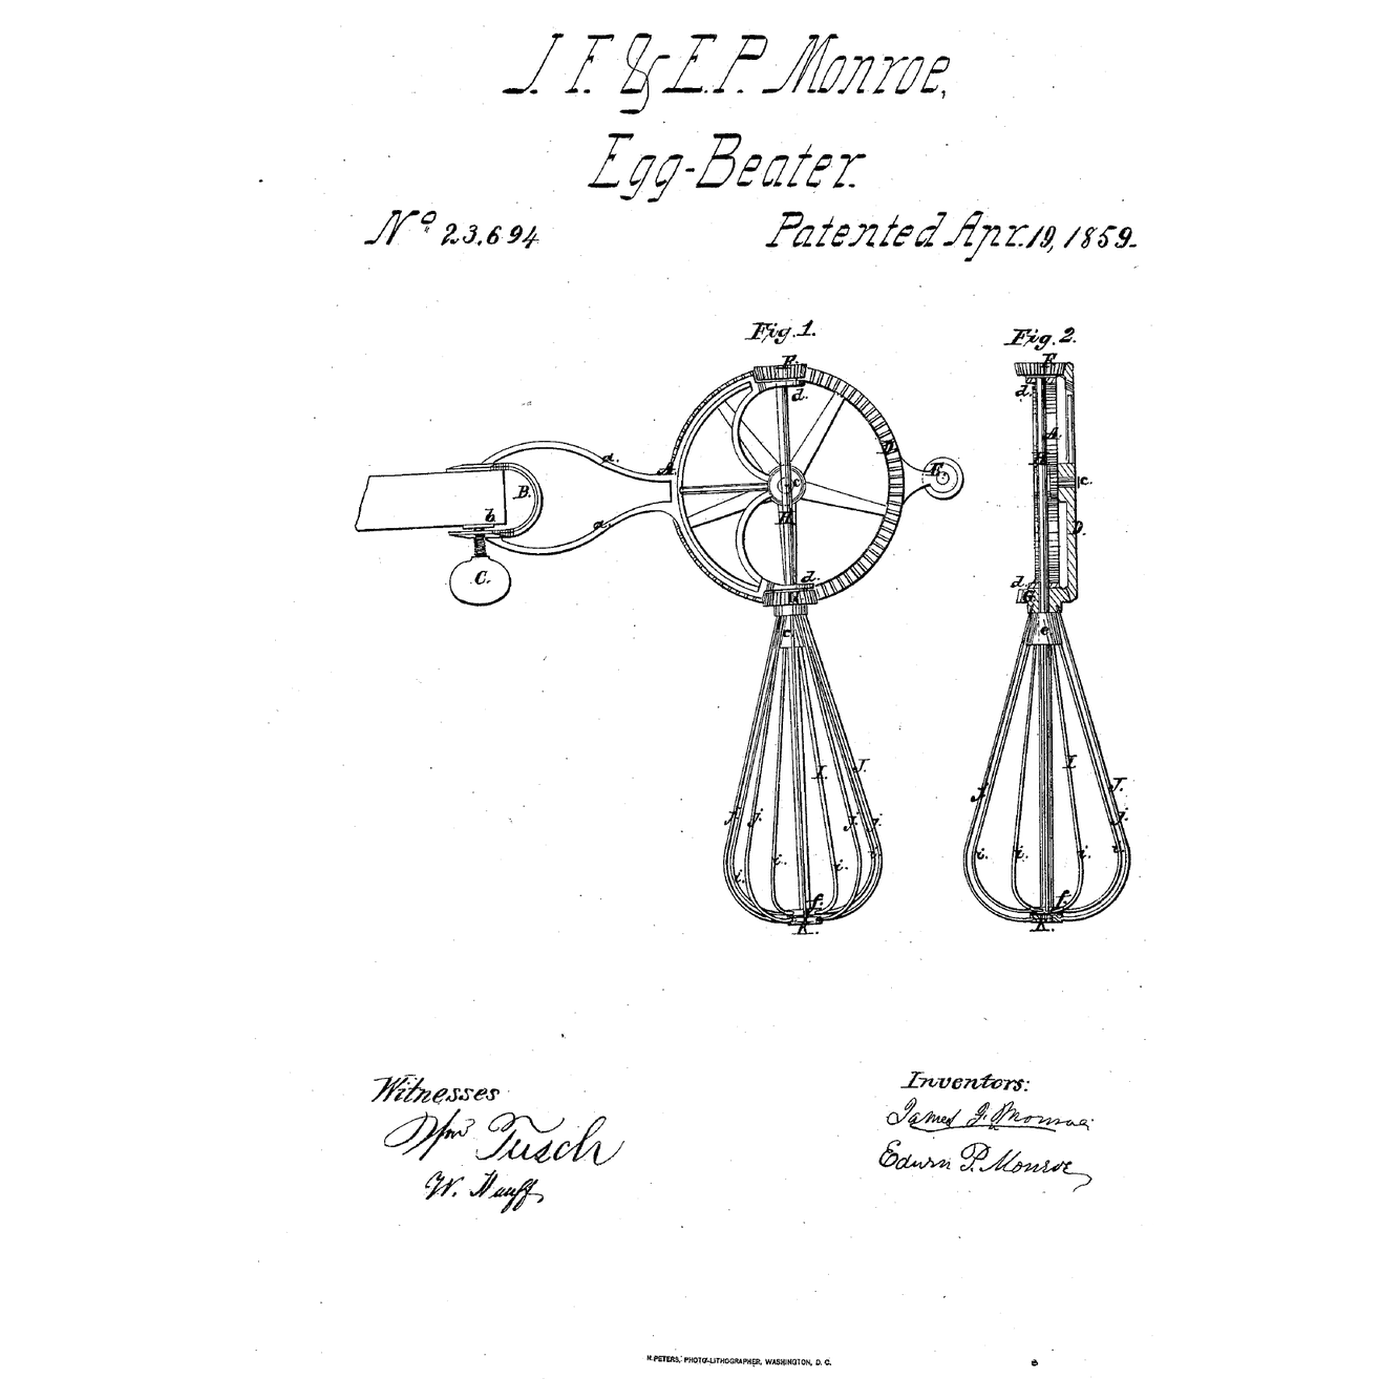
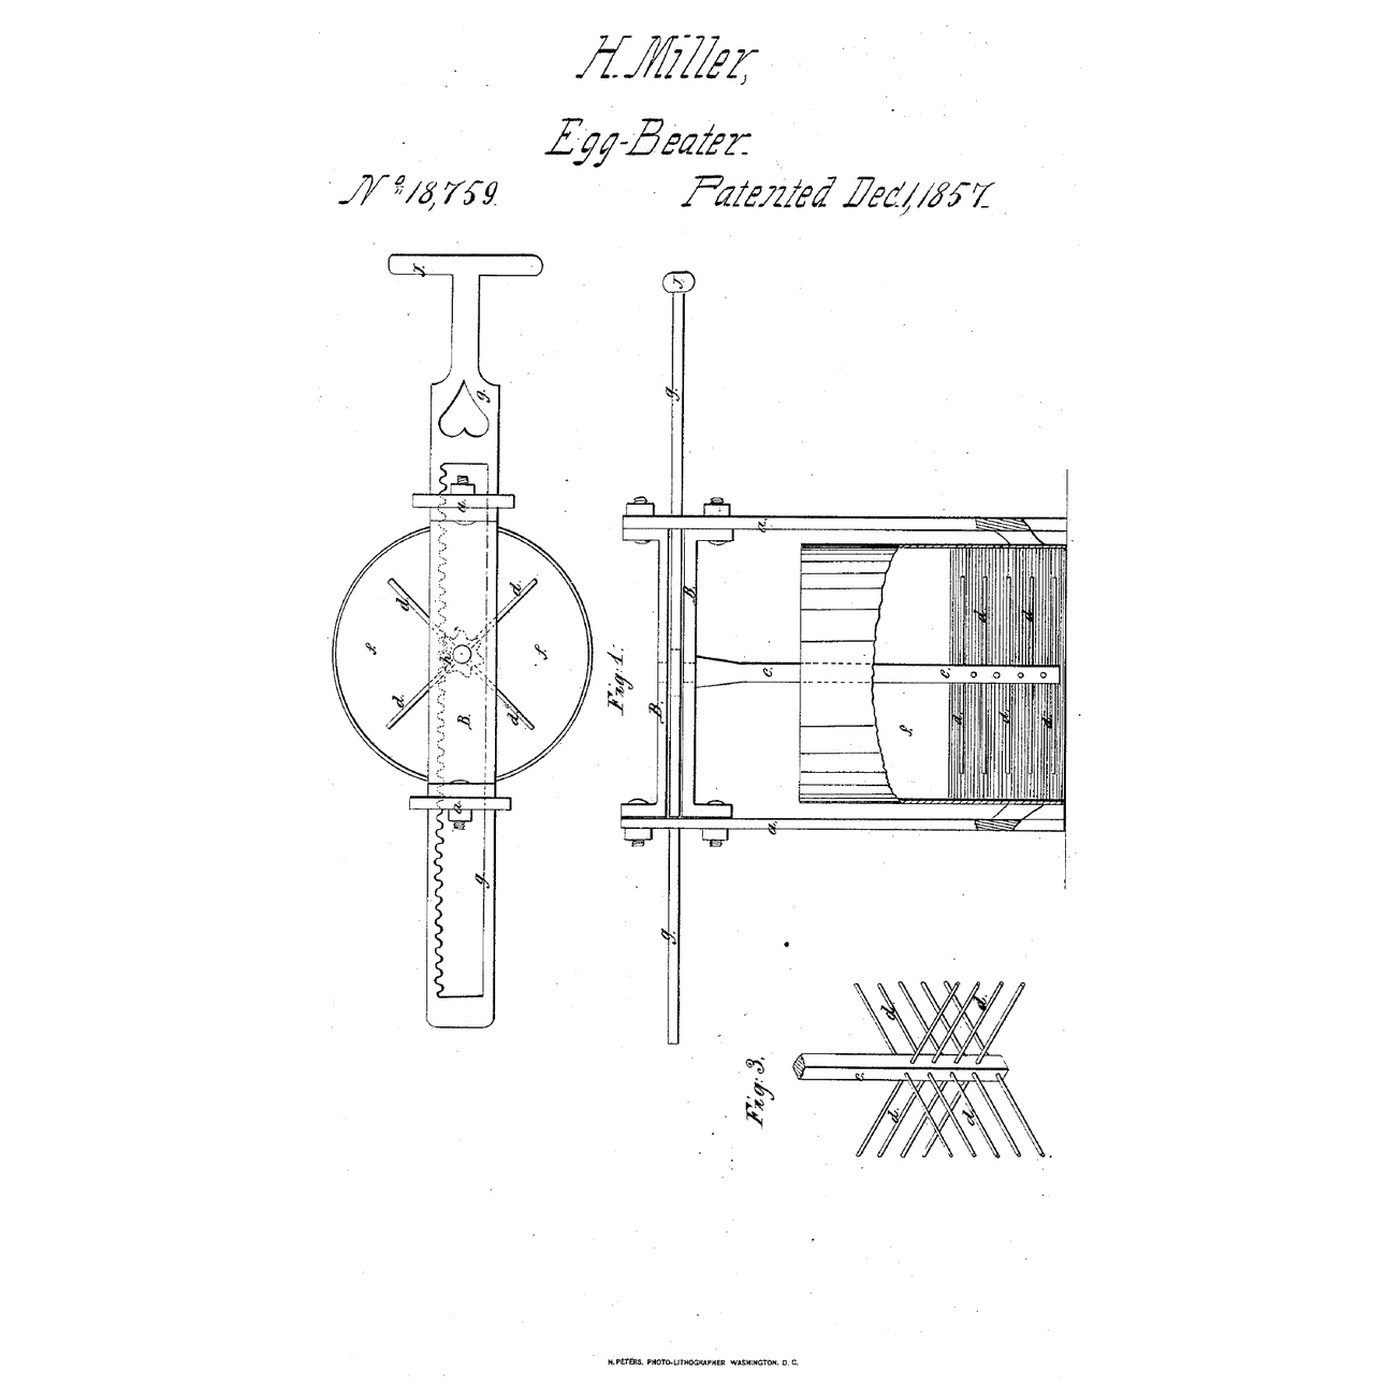
The embedded blueprint turns two pinions opposite ways with one rack. Baker does it with two spirals of opposite hand and one slide.
3
3
Read US 30,453
Read US 30,453
"The pin G, or other equivalent device on the upper end of the reciprocating agitatory slide H, engaging into grooves formed by the spiral wires E, while the pin I, or other equivalent device on the lower end of the slide H, engaging into the spiral C, rotates the scroll D, in a direct rotatory motion. By this compound action the two scrolls cut and beat the egg to pieces with great rapidity."
4
4
Print the spirals and nuts
Print the spirals and nuts
Print the right-hand twisted bar (/uploads/blueprints/spiral-slide-egg-beater-spiral-right.stl), the left-hand one (/uploads/blueprints/spiral-slide-egg-beater-spiral-left.stl) and two square-hole nuts (/uploads/blueprints/spiral-slide-egg-beater-nut.stl). Print in PETG at 0.2 mm layers, 30 % infill, 4 walls.
Materials for this step:
 PETG Filament1 piece
Tools needed:
 FDM 3D Printer
5
5
Spindle and inner scroll
Spindle and inner scroll
Epoxy the right-hand bar on a 240 mm rod of 5 mm steel, 60 mm from its foot. Bend two loops of stainless wire 24 mm across onto the rod's foot: the inner scroll.
Materials for this step:
 Mild Steel Rod1 piece
 Stainless Steel Wire1 piece
 Two-Part Epoxy1 piece
Tools needed:
 Hacksaw
 Bench Vise
 Round-nose Pliers
 Flat-Nose Pliers
6
6
Upper spiral and outer scroll
Upper spiral and outer scroll
Slide the left-hand bar on above it, free to turn, and stop it with a collar. Hang two wires from a disk on its top down past the slide, and bend them into an outer scroll 44 mm across round the inner one.
Materials for this step:
Stainless Steel Wire1 pieceTwo-Part Epoxy1 piece Flat Washer1 piece
Tools needed:
Round-nose PliersFlat-Nose Pliers Digital Caliper 6-Inch
7
7
The slide
The slide
Epoxy the two nuts into the ends of a 92 mm tube, one on each bar, so the tube slides along both. Fix a hardwood knob on the spindle's top.
Materials for this step:
 Hardwood Dowels1 pieceTwo-Part Epoxy1 piece
Tools needed:
 Files (Hand File)
 Cordless Drill
 Drill Bit Set
8
8
The build in 3D
The build in 3D
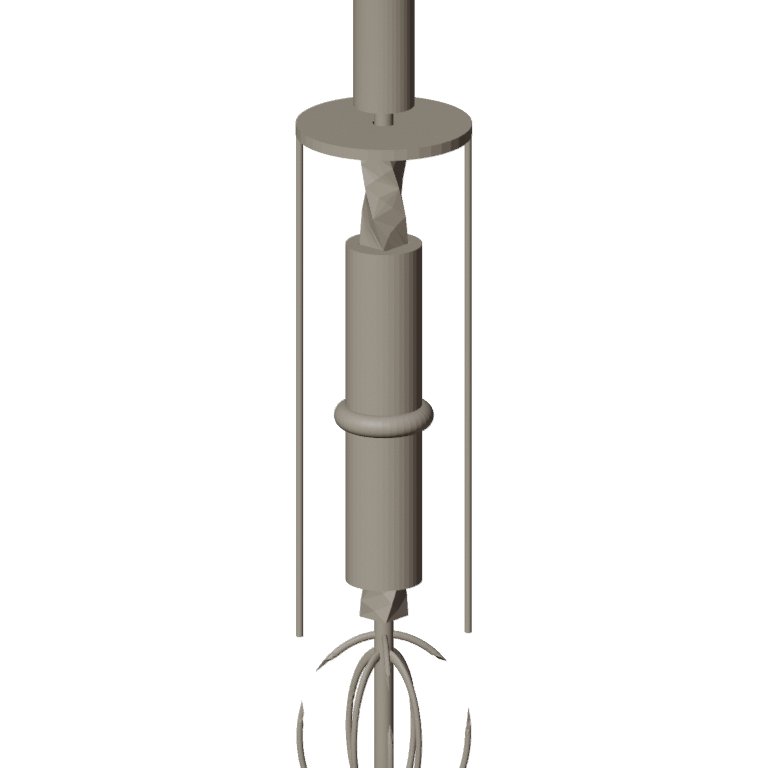
FreeCAD model of this build, not of the patent: the spindle with the right-hand bar fixed and the left-hand bar free, the slide with a square nut on each, the inner and outer scrolls, and the knob.
9
9
Beat egg whites
Beat egg whites
Hold the knob and work the slide up and down in a bowl of two egg whites; time to stiff peaks.
Materials for this step:
 Egg2 pieces
Tools needed:
 Stainless Steel Mixing Bowl (Large)
 Stopwatch
10
10
A slide that jams, scrolls that turn together
A slide that jams, scrolls that turn together
Spiral-slide egg beater troubleshooting.
Flow
Loading...
11
11
History and honest limits
History and honest limits
**Uriah Baker** of Brooklyn, Kings County, New York, received US 30,453, dated 23 October 1860. The lower spiral C is a permanent fixture on the spindle; the spiral E with the outer scroll F slides down onto the spindle and turns on it, kept by a shoulder; the inner scroll D is soldered to the spindle inside F; the slide is put on from the lower end and its pins inserted to engage the spirals.
**Honest limits.** FDM prints hold food in their layer lines, so wash well and replace when worn. Printed twisted bars and square nuts stand in for his spiral wires and pins. Your times are the result.
Materials
7- 1 piecePlaceholder
- 1 piecePlaceholder
- 2 piecesPlaceholder
- 3 piecesPlaceholder
- 1 piecePlaceholder
- 1 piecePlaceholder
- 2 piecesPlaceholder
Tools Required
11- Placeholder
- Placeholder
- Placeholder
- Placeholder
- Placeholder
- Placeholder
- Placeholder
- 1 vendor sell this, none ship to you yetPlaceholder
- Placeholder
- Placeholder
- Placeholder
Design Files
1Related Blueprints
These blueprints share knowledge with this one — techniques, materials, or principles that connect them in the learning graph.


CC0 Public Domain
This blueprint is released under CC0. You are free to copy, modify, distribute, and use this work for any purpose, without asking permission.
Support the Maker by purchasing products through their Blueprint where they earn a Maker Commission set by Vendors, or create a new iteration of this Blueprint and include it as a connection in your own Blueprint to share revenue.