ART
BEAUTY & WELLNESS
CRAFT
CULTURE & HISTORY
ENTERTAINMENT
ENVIRONMENT
FOOD & DRINKS
REVERSE ENGINEERING
SCIENCES
SPORTS
TECHNOLOGY
WEARABLES
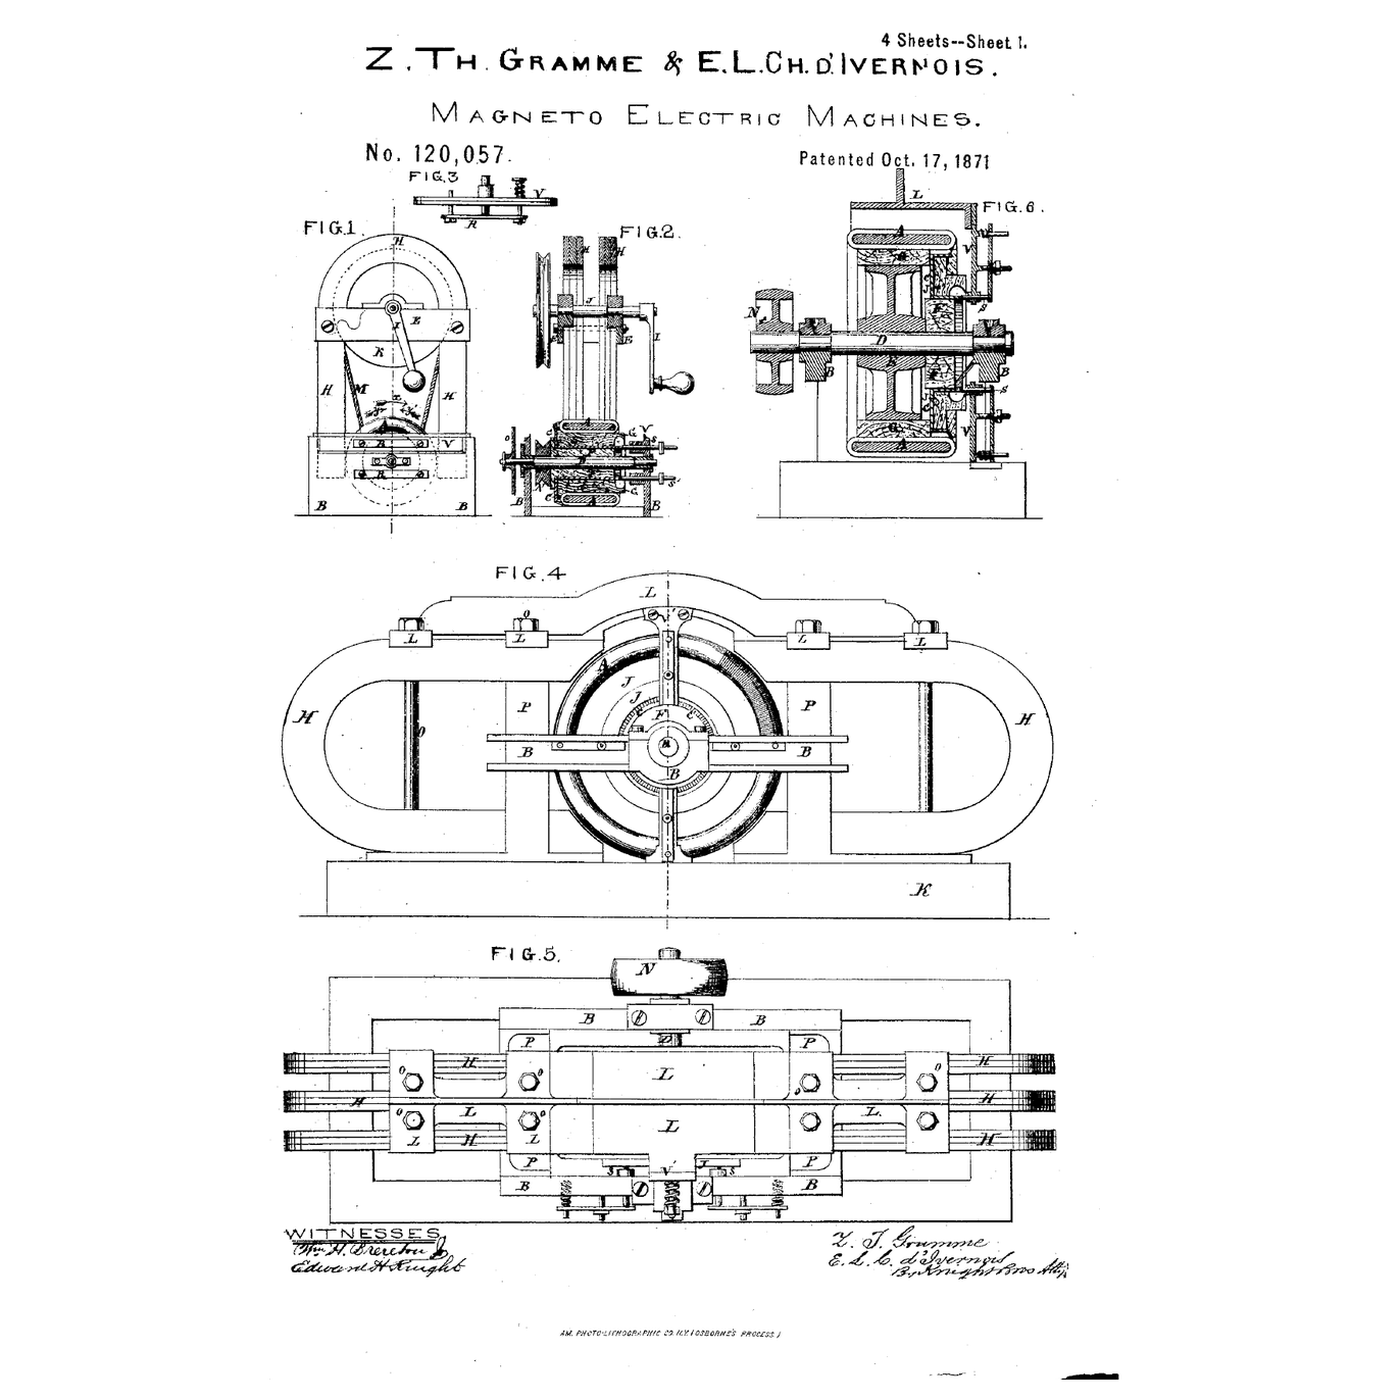


The Gramme Ring: A Continuous Winding for Steady Current
The first generators gave a current that pulsed with every half-turn. Zénobe Gramme, a Belgian working in Paris, wound his armature as a continuous coil round an iron ring, tapped at regular intervals to the segments of a commutator. At any moment many turns of the winding are cutting the field and adding together, so the current comes out nearly steady. His US patent of 1871 describes it as a 'magneto-electric machine'.
It was the first generator steady and strong enough for industry — electroplating, arc lighting — and, run backwards, it was one of the first practical electric motors.
This rung models how the ripple falls as the coils multiply, and winds a small ring armature with an eight-segment commutator.
Intermediate
About 6 hours
Instructions
1
1
Ripple against the number of coils
Ripple against the number of coils
Loading Jupyter Notebook...
2
2
Wind a ring armature
Wind a ring armature
Print a ring 60 mm across with a 15 mm square section, on a hub that fits a steel shaft. Wind enamelled copper wire round the ring in eight equal coils of 40 turns each, all in the same direction and without cutting the wire between them: one continuous winding. At each junction between coils, pull out a loop and scrape its enamel.
Print a commutator drum on the shaft with eight strips of copper sheet glued round it, insulated from each other, and solder each junction loop to its own segment in order.
Materials for this step:
 PETG Filament60 g
 Enamelled Copper Wire1 roll
 Copper Sheet1 sheet
 Steel Bar Stock1 piece
 Ball Bearing2 pieces
Tools needed:
 FDM 3D Printer
 Sandpaper Assortment
 Digital Caliper 6-Inch
 Hex Key Set
3
3
Spin it between magnets and measure
Spin it between magnets and measure
Mount the shaft in bearings in a plywood frame with neodymium magnets on either side of the ring, one north-facing and one south-facing. Bend two strips of copper as brushes to press on opposite segments, at the positions where the output is greatest (find them by turning the brushes round while measuring).
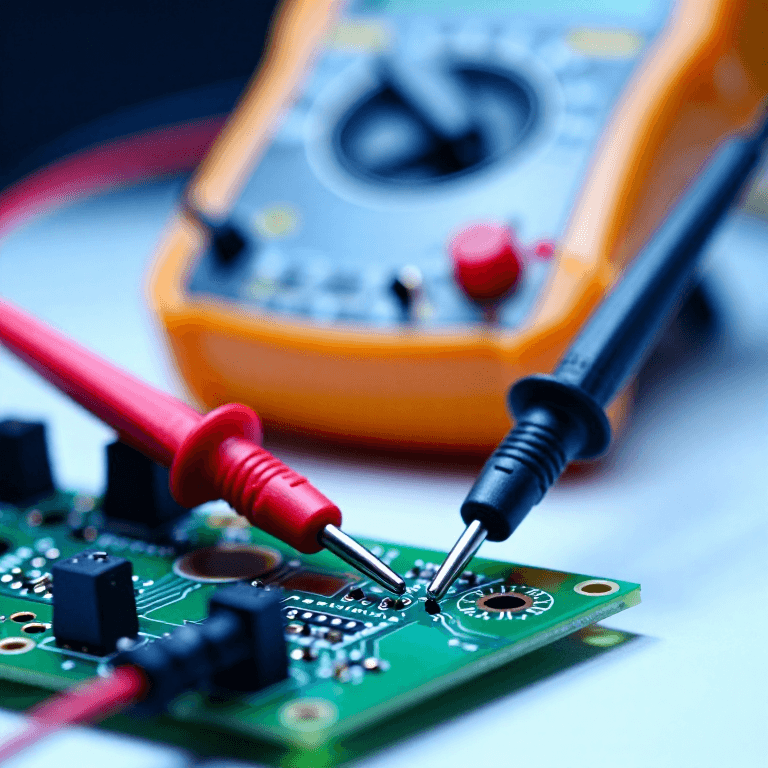
Spin the shaft with the cordless drill and read DC volts across the brushes. Switch the multimeter to AC volts: the reading is the ripple left on the DC. Now lift four adjacent junction loops off their segments, so the machine behaves as a coarser one, and read the AC ripple again — it rises.
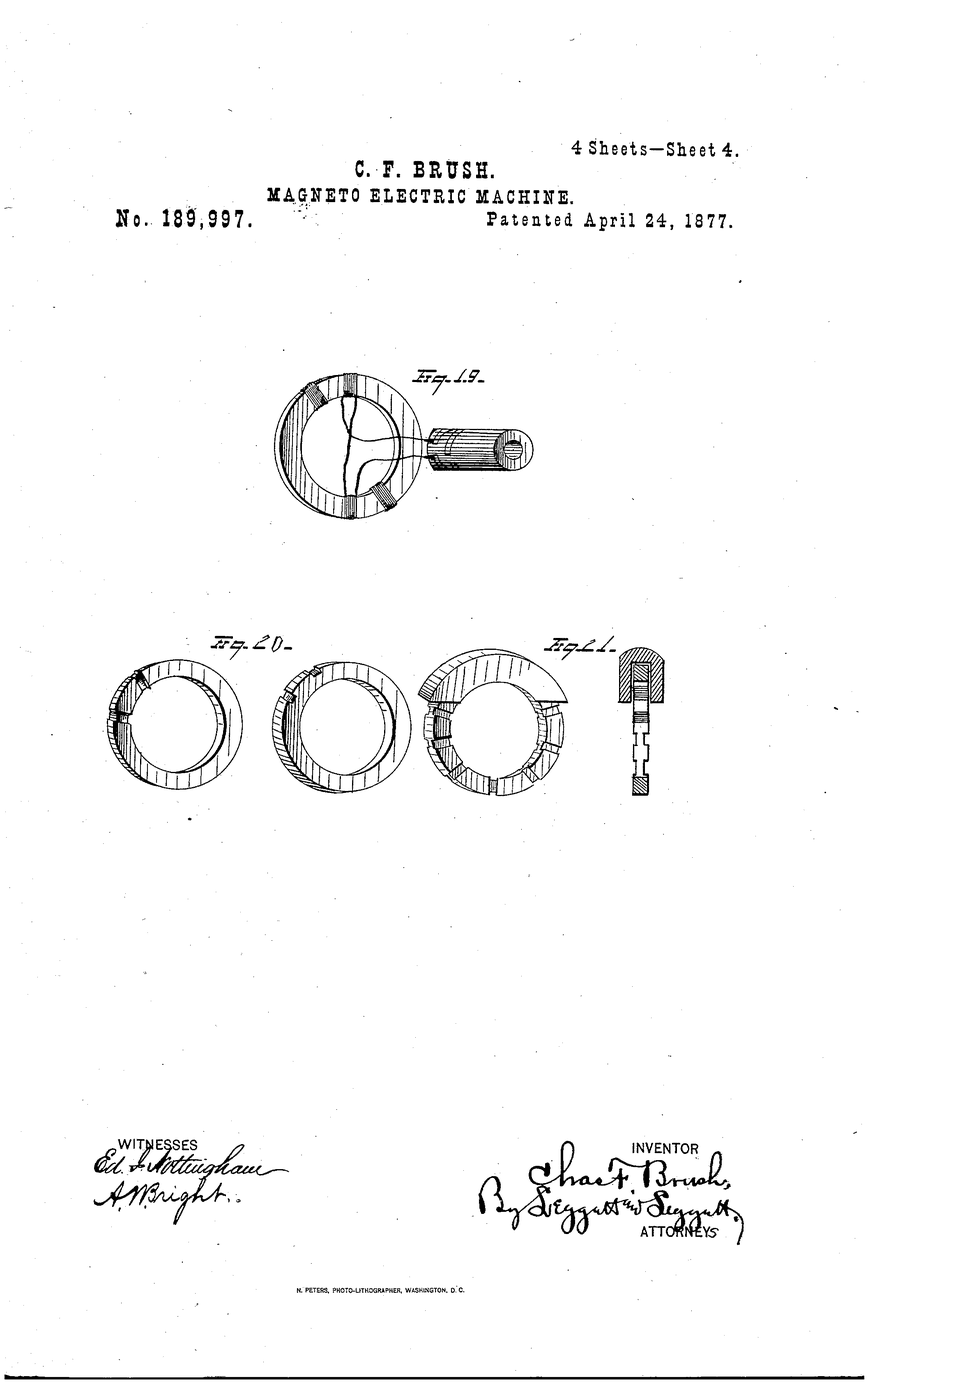
Compare with the two-segment Brush dynamo in this catalogue: same idea, fewer segments, more ripple.
Materials for this step:
 Neodymium Magnet Set1 set
 Plywood Sheet1 sheetCopper Sheet1 sheet
Tools needed:
 Cordless Drill
 Multimeter
 Digital Tachometer
 Clear Safety Glasses
4
4
History and context
History and context
**US 120,057, 'Magneto-Electric Machines', Zénobe Théophile Gramme and E. d'Ivernois, dated 17 October 1871.** Gramme's machines, built in Paris, supplied electroplating works and arc lighting in the 1870s; at the Vienna Exhibition of 1873 a Gramme machine was shown driving another as a motor.
The ring was later replaced by the drum armature, which puts all its copper in the field (on a ring, the turns inside the ring do no work), but the continuous, many-segment commutated winding is Gramme's.
**Honest limits.** The inner half of every turn on a ring is wasted copper. Commutators and brushes spark and wear. And a DC generator's voltage cannot be stepped up with a transformer, which is why alternating current won long-distance supply.
Materials
7- 60 gPlaceholder
- 1 rollPlaceholder
- 1 sheetPlaceholder
- 1 piecePlaceholder
- Placeholder
- 1 setPlaceholder
- 1 sheetPlaceholder
Tools Required
8- Placeholder
- Placeholder
- Placeholder
- Placeholder
- 1 vendor sell this, none ship to you yetPlaceholder
- Placeholder
- Placeholder
- Placeholder
Related Blueprints
These blueprints share knowledge with this one — techniques, materials, or principles that connect them in the learning graph.



CC0 Public Domain
This blueprint is released under CC0. You are free to copy, modify, distribute, and use this work for any purpose, without asking permission.
Support the Maker by purchasing products through their Blueprint where they earn a Maker Commission set by Vendors, or create a new iteration of this Blueprint and include it as a connection in your own Blueprint to share revenue.