ART
BEAUTY & WELLNESS
CRAFT
CULTURE & HISTORY
ENTERTAINMENT
ENVIRONMENT
FOOD & DRINKS
REVERSE ENGINEERING
SCIENCES
SPORTS
TECHNOLOGY
WEARABLES
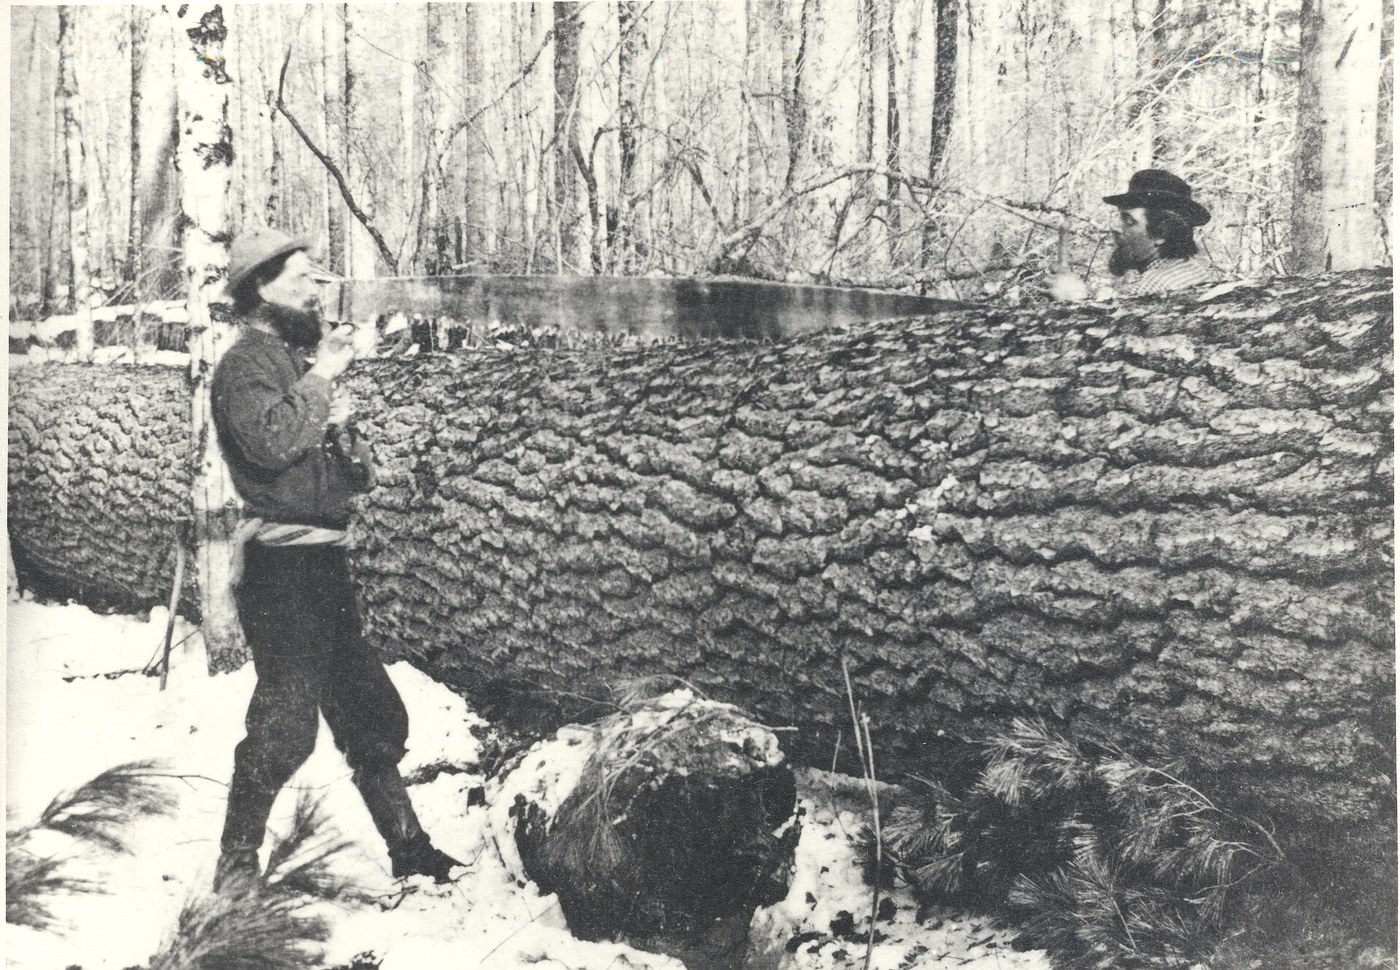


Two-Man Crosscut Saw: Bellied Blade, Scorers and Cleaners
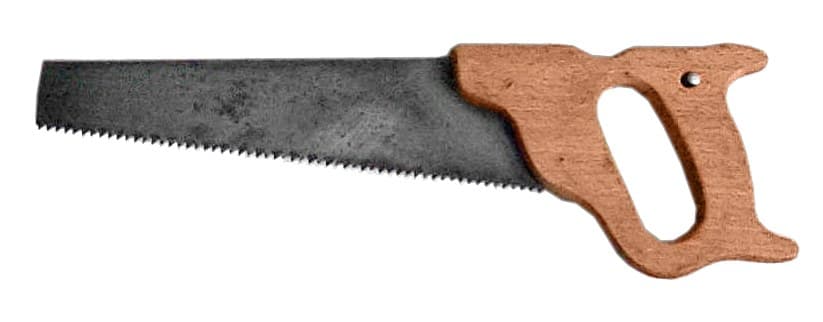
The two-man crosscut saw cuts a log across the grain, a handle at each end. Grimshaw (1882) describes it: the blade is twice as wide in the middle as at the ends, for stiffness and for the wear there; scorer teeth cut the fibres at both sides of the kerf, and slightly shorter cleaner teeth plough out the wood between.
The picture: two men bucking a white pine log with a crosscut saw, about the 1890s.
Advanced
Several days
Instructions
1
1
Shear the bellied plate
Shear the bellied plate
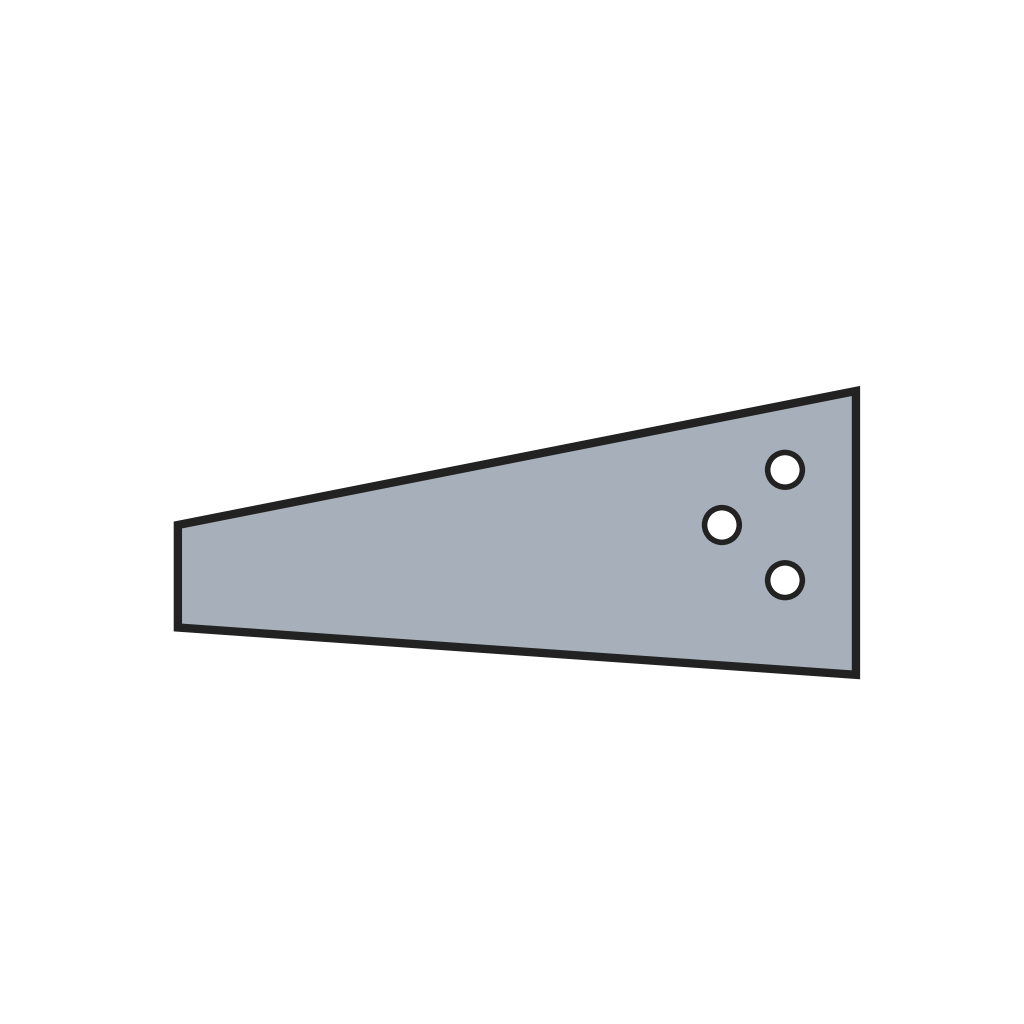
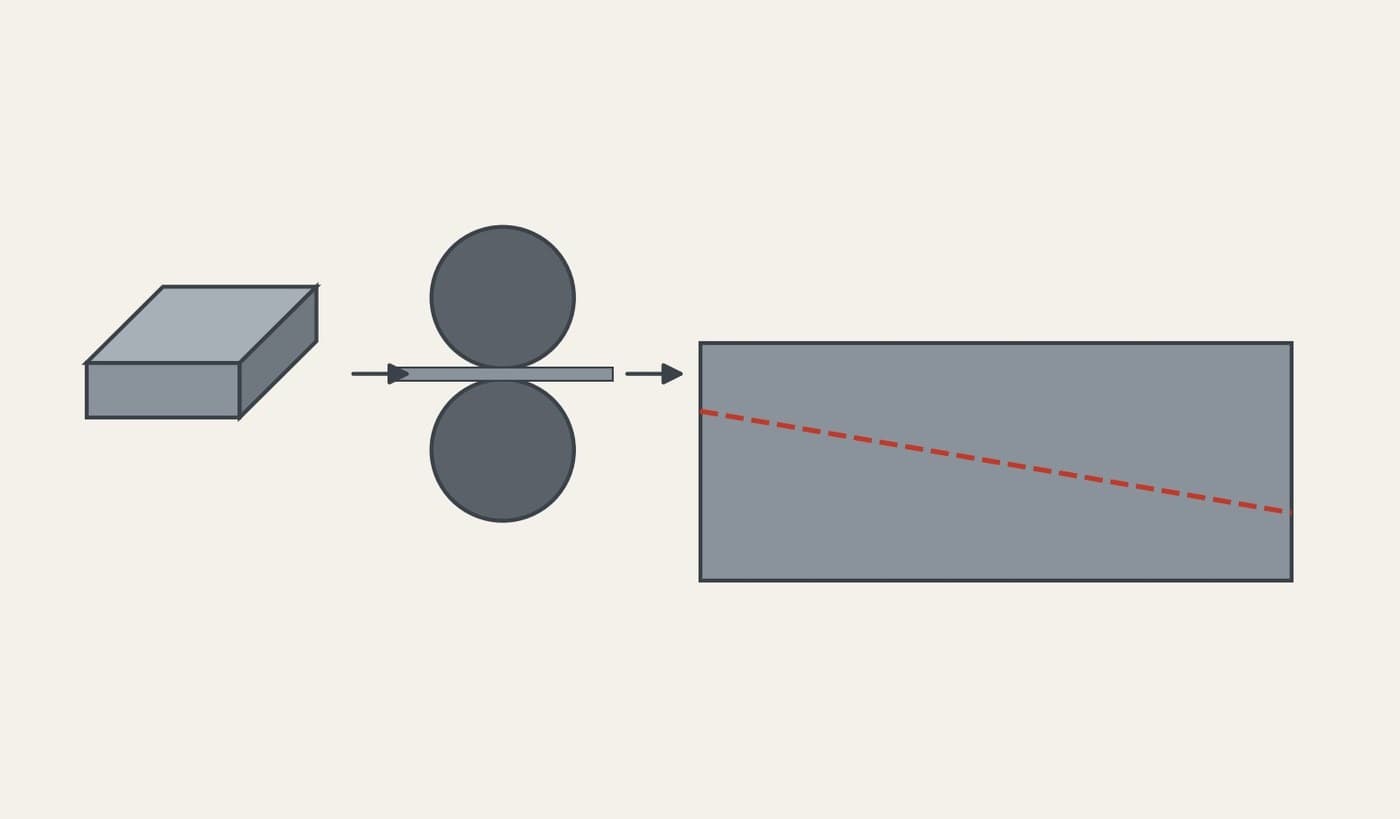
Shear rolled saw plate to the outline: straight back, toothed edge curving out so the middle is twice as wide as the ends (Grimshaw).
Materials for this step:
 Saw Plate Steel Sheet1 piece
Tools needed:
 Plate Shears
 Welding Gloves
 Safety Glasses
2
2
Punch the teeth
Punch the teeth
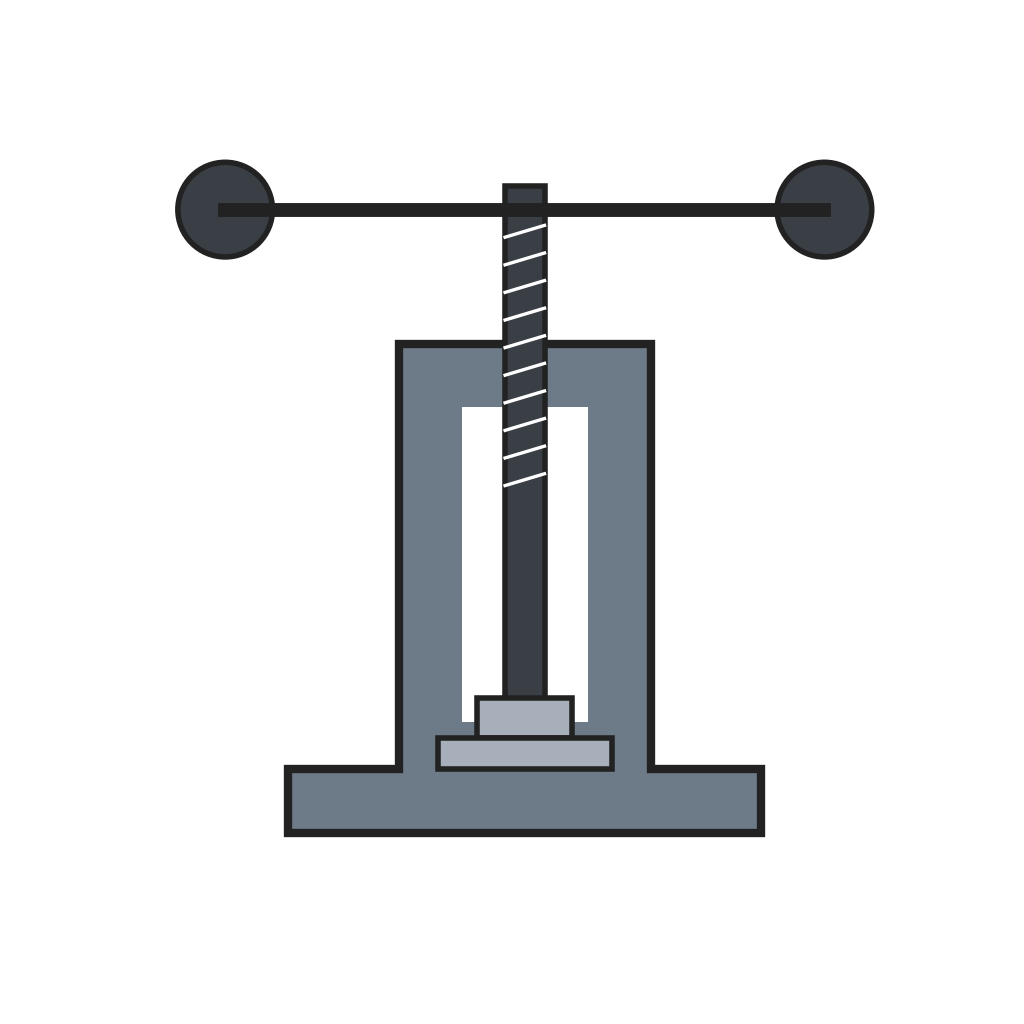
Punch the teeth with shaped dies in the press: groups of scorers with a cleaner between, the cleaners a little shorter. Cut the gullets near the middle deeper than at the ends.
Tools needed:
 Saw Tooth Punching PressWelding GlovesSafety Glasses
3
3
Harden
Harden
Heat the toothed plate evenly to a light cherry red and plunge it into a bath of oil, tallow, rosin and beeswax (Grimshaw; his oil was whale oil, ours is lard oil). It comes out as brittle as glass.
Tools needed:
 Blacksmith Forge
 Blacksmith Tongs
 Cutting Oil
 Animal Fat (Tallow)
 Pine Rosin
 BeeswaxWelding GlovesSafety Glasses
4
4
Flatten and temper
Flatten and temper
Scour off the scale and press the plate flat between heated dies until it shows blue, the spring temper (as Grimshaw gives for handsaws).
Tools needed:
 Heated Flattening DiesWelding GlovesSafety Glasses
5
5
Grind thin at the back
Grind thin at the back
Grind both faces, working from the back toward the teeth, until the back is two to four gauges thinner than the toothed edge, so the blade clears its kerf.
Tools needed:
 GrindstoneWelding GlovesSafety Glasses
6
6
Set and file
Set and file
Set the scorers alternately left and right, file the scorers to points, and file the cleaners square and a little lower.
Tools needed:
 Saw Set
 Saw File
7
7
Handles
Handles
Turn two hardwood handles, drill them, and bolt one upright through each end of the blade with a short iron rod peened over (our fitting).
Materials for this step:
 Hardwood Strip2 pieces
 Mild Steel Rod0.3 m
Tools needed:
 Pole Lathe
 Hand Drill
8
8
Plate for a 6-foot cross-cut
Plate for a 6-foot cross-cut
Loading Jupyter Notebook...
Materials
3- 1 piecePlaceholder
- 2 piecesPlaceholder
- 0.3 mPlaceholder
Tools Required
16- Placeholder
- Placeholder
- Placeholder
- Placeholder
- Placeholder
- Placeholder
- Placeholder
- Placeholder
- Placeholder
- Placeholder
- Placeholder
- Placeholder
- Placeholder
- Placeholder
- Placeholder
- Placeholder
This blueprint makes

Related Blueprints
These blueprints share knowledge with this one — techniques, materials, or principles that connect them in the learning graph.
CC0 Public Domain
This blueprint is released under CC0. You are free to copy, modify, distribute, and use this work for any purpose, without asking permission.
Support the Maker by purchasing products through their Blueprint where they earn a Maker Commission set by Vendors, or create a new iteration of this Blueprint and include it as a connection in your own Blueprint to share revenue.