Making Charcoal from Hardwood — Pyrolysis in a Pit Kiln
Hướng dẫn
Understand pyrolysis
Understand pyrolysis
Pyrolysis is the thermal decomposition of organic material in the absence of oxygen. When wood is heated above 280°C without air, volatile compounds (water, tar, acetic acid, methanol) boil off, leaving behind nearly pure carbon — charcoal. Charcoal retains the cellular structure of wood but weighs only 20-25% of the original.
Select the right wood
Select the right wood
Hardwoods make the best charcoal: oak, beech, maple, birch, hickory. They produce dense, long-burning charcoal. Softwoods (pine, spruce) produce lighter charcoal that burns fast and is more friable. The wood should be seasoned (air-dried 6+ months) — green wood wastes energy evaporating water.
Vật liệu cho bước này:
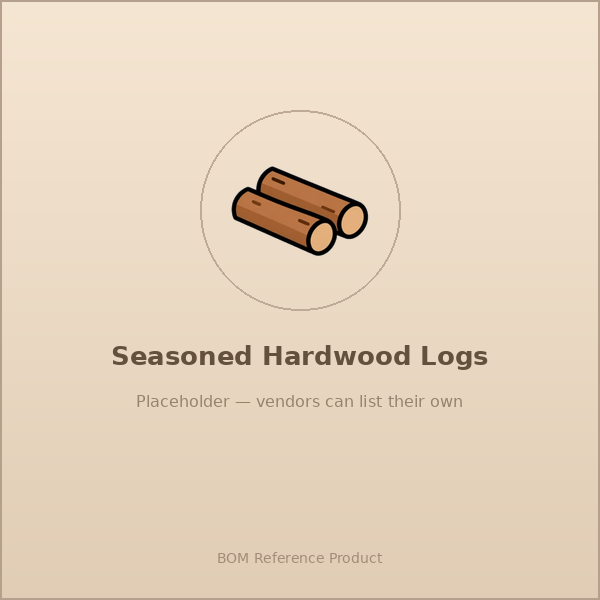 Seasoned Hardwood Logs100 kilogram
Cut wood to uniform size
Cut wood to uniform size
Split logs into pieces of similar diameter (8-12 cm) and length (50-70 cm). Uniform pieces carbonize at the same rate. Pieces that are too thick will have an uncharred wood core. Pieces too thin will turn to ash. Remove bark if possible — it produces excess smoke and ash.
Công cụ cần thiết:
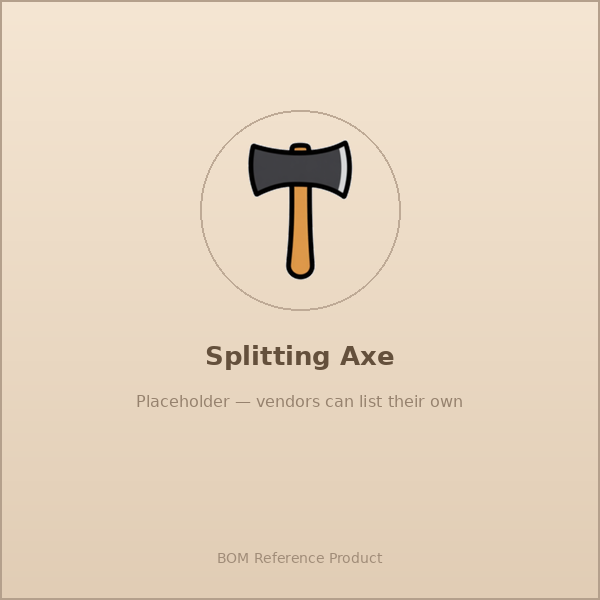 Splitting Axe
 Saw
SawDig the pit
Dig the pit
Dig a pit 1 meter deep, 1.5 meters wide, and 2 meters long. The soil should be clay or loam — sandy soil lets in too much air. Save the excavated soil in a pile beside the pit — you will use it to seal the kiln. Choose a site away from trees (roots catch fire underground).
Công cụ cần thiết:
 Digging Shovel
Stack the wood in the pit
Stack the wood in the pit
Place a kindling layer at the bottom of the pit. Stack the split wood tightly in the pit — upright or at a 45° angle. Pack pieces as closely as possible to minimize air gaps. The tighter the stack, the less wood burns to ash and the more converts to charcoal. Fill to about 30 cm above ground level (it will settle).
Light the top layer
Light the top layer
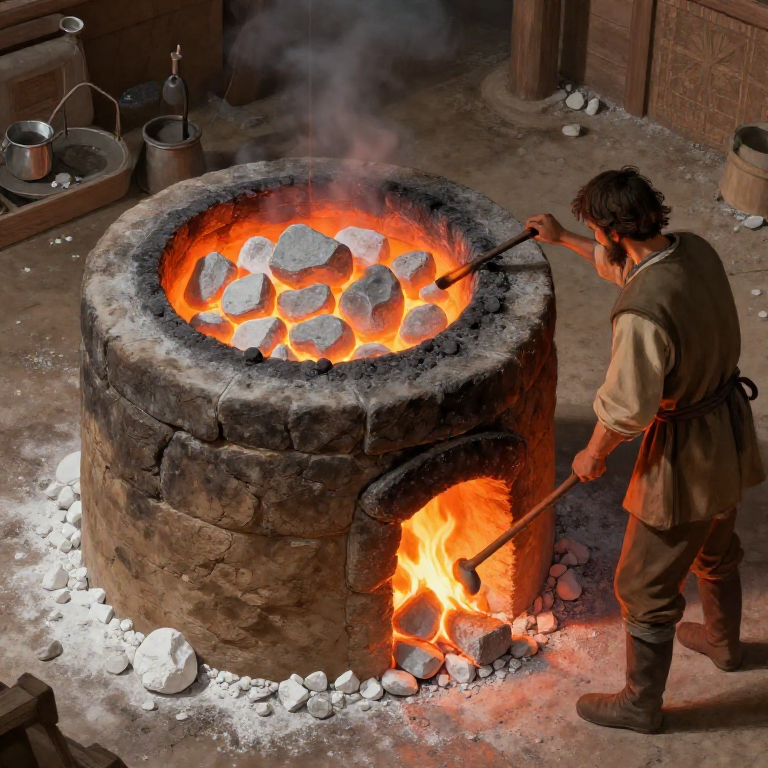
Light the kindling and small wood at the top of the stack. Let it burn freely for 30-60 minutes until a good bed of coals forms across the entire surface. The fire burns downward through the stack. This top-down lighting ensures the volatile gases from lower wood pass through the hot upper zone and combust.
Công cụ cần thiết:
 Fire Starter or Matches
Cover with green branches
Cover with green branches
Once the top is burning well, lay fresh green branches or wet straw across the pit as a separator layer. This prevents the soil cover from falling into the fire and smothering it. The green material will char in place and become part of the seal.
Vật liệu cho bước này:
 Green Branches or Wet Straw1 bó
Seal with soil
Seal with soil
Shovel the excavated soil over the green branches to form a layer 10-15 cm thick. This seal cuts off most of the air supply, stopping combustion and allowing pyrolysis to take over. Leave 2-3 small vent holes (5 cm diameter) around the edges for controlled airflow.
Công cụ cần thiết:
Digging ShovelMonitor the smoke color
Monitor the smoke color
Watch the smoke from the vent holes. The color tells you the stage: thick white smoke = water evaporating (first 4-6 hours), yellow/brown smoke = tars and volatiles being driven off (6-18 hours), thin blue/transparent smoke = carbonization nearly complete (18-36 hours). This is the most important indicator.
Adjust the vents
Adjust the vents
If smoke pours from one side heavily, close that vent and open one on the opposite side to redirect heat. If flame breaks through the soil seal, add more soil immediately — flames mean air is getting in and burning your charcoal to ash. The goal is slow, even carbonization.
Seal completely when done
Seal completely when done
When smoke becomes thin and nearly colorless (after 24-48 hours depending on wood type and pit size), seal ALL vent holes with soil. Pack firmly. This stops all airflow and lets the charcoal cool without burning further. Do not open the pit prematurely — oxygen rush will ignite the charcoal.
Let the pit cool for 24-48 hours
Let the pit cool for 24-48 hours
The sealed pit must cool completely before opening — at least 24 hours, preferably 48. Test by placing your hand on the soil: if any warmth is felt, wait longer. Opening a hot pit introduces oxygen that will ignite the charcoal, burning your entire yield to ash.
Open and extract the charcoal
Open and extract the charcoal
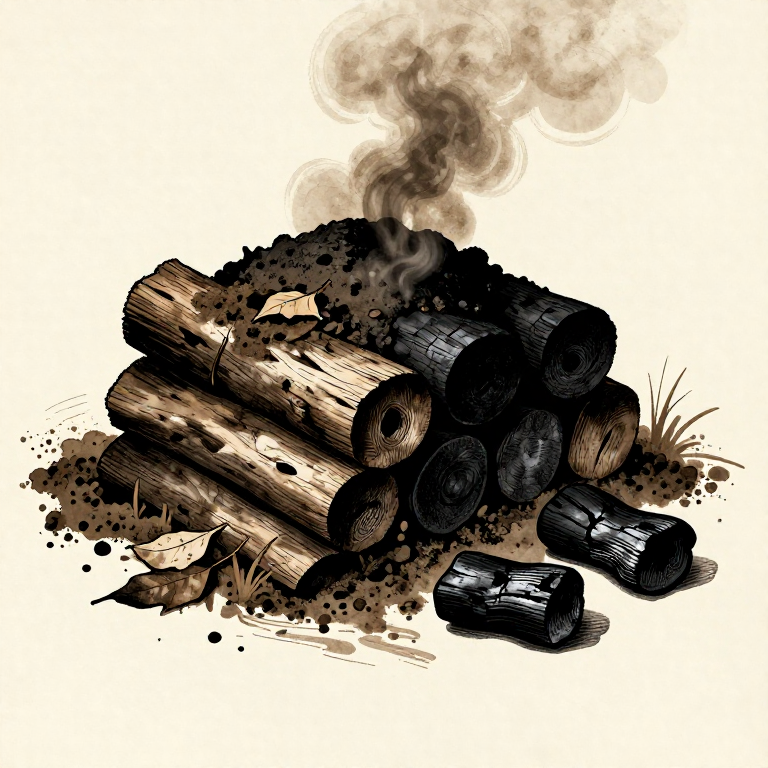
Carefully remove the soil cover with a shovel. The charcoal should be black, lightweight, and ring when pieces are tapped together (a metallic 'clink'). It should NOT be brown (underburned) or grey-white (overburned to ash). Expect about 20-25% yield by weight: 100 kg of wood produces 20-25 kg of charcoal.
Công cụ cần thiết:
Digging ShovelSort and grade the charcoal
Sort and grade the charcoal
Separate into three grades: large pieces (8+ cm, for forge work and smelting), medium pieces (3-8 cm, general purpose), and fines/dust (for soil amendment, water filtration, or re-use as fuel bed). Discard any partially burned wood — it still contains volatiles and will smoke when burned.
Store the charcoal
Store the charcoal
Store charcoal in a dry, covered location in breathable bags (burlap or paper). Charcoal is hygroscopic — it absorbs moisture from the air, reducing burn efficiency. Keep off the ground on pallets. Well-stored charcoal lasts indefinitely — archaeologists have found usable charcoal thousands of years old.
Vật liệu cho bước này:
 Burlap Storage Sack5 cái
Vật liệu
3- 100 kilogramTạm thời
- 1 bóTạm thời
- 5 cáiTạm thời
Vật liệu bản thiết kế liên kết
Required Equipment
Equipment this kind of build typically needs — buy from any maker below.
- CriticalNitrile Lab Gloves·
 Boxing Gloves (Training)
 Leather Gauntlet Gloves
 Cotton Gloves
 Welding Gloves
 Heavy-Duty Gloves
 Leather Work Gloves
 - CriticalChemical Splash Goggles·
 Splash-Proof Safety Goggles
 Chemical Splash Goggles
 Safety Goggles
 Welding Goggles
 Laser Safety Goggles Set
 Anti-Fog Safety Goggles
 - RecommendedBeaker·
 Borosilicate Beaker
 Heat-Resistant Glass Beaker (1 liter)
 Glass Beaker (Borosilicate, 500ml)
 Beaker Set
 Volumetric Beaker
 Borosilicate Glass Beaker
 - RecommendedDust Mask / Respirator·
 Full-Face Gas Mask (ABEK multi-gas cartridge)
 Dust Mask
 Venetian Mask Blank (Papier-Mache)
 Full-Face Respirator
 Respirator Fit Test Kit
 Respirator with Acid Gas Cartridge
 - RecommendedGraduated Cylinder·
 Graduated Cylinder (100 ml)
 Cast Iron Cylinder
 Graduated Mixing Cups (50-Pack)
 Measuring Cylinder
 Hydraulic Cylinder
 Graduated Cylinder (10ml)
 - RecommendedSafety Glasses·Splash-Proof Safety Goggles
 Reflective Safety Vest Kit (DIY)Chemical Splash Goggles
 Safety Netting for Rockfall
 Steel-Toed Safety Boots
 Clear Safety Glasses
 - RecommendedPrecision Scale·
 Iron Scale
 Livestock Scale
 Architectural Model Kit (Scale 1:100)
 Weighing Scale
 Precision Scale
 Platform Weighing Scale
 - RecommendedWork Gloves·Boxing Gloves (Training)Leather Gauntlet GlovesCotton GlovesWelding GlovesHeavy-Duty GlovesLeather Work Gloves
- OptionalFire Extinguisher·
 Fire Extinguisher
 ABC Fire Extinguisher
 - OptionalFirst Aid Kit·
 First Aid Kit
 Mountain First Aid Kit (Altitude)
 Workshop First Aid Kit
 Bow Release Aid
You can swap these in
Can't get one of the materials? Swap it for an equivalent — these work just as well.
- Instead of Fire Starter, try:
 Solar Panel Starter Kit (100W)
 - Instead of Saw, try:
 Portable Band Saw
 Band Saw (9-inch, Benchtop)
 Miter Box with Saw
 Small Hand Saw
 Jeweler's Saw
 - Instead of Splitting Axe, try:
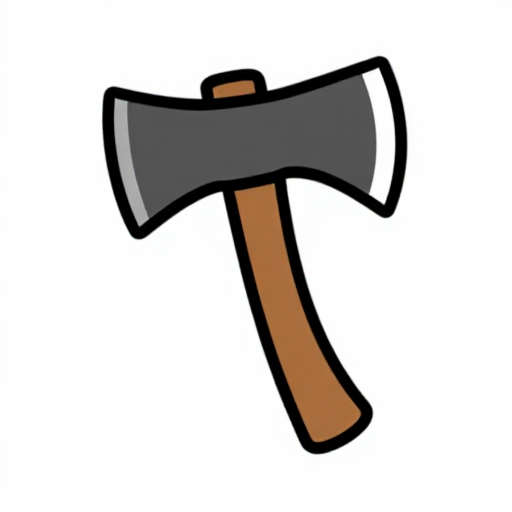 Axe
Axe Root-Cutting Axe
 - Instead of Seasoned Hardwood Logs, try:
 Softwood Logs
 - Instead of Burlap Storage Sack, try:
 PP Woven Sack (50kg capacity)
 - Instead of Green Branches, try:
 Rib Branches
 Lac-Encrusted Tree Branches
Recommended for this build
Products makers often use with builds like this one.
 Distilled WaterFrequently used with this build's materials
 Large Cooking PotFrequently used with this build's materials
 HoneyFrequently used with this build's materials
 Chopped StrawFrequently used with this build's materials
 Wicker Harvest BasketFrequently used with this build's materials
 Fine Mesh StrainerFrequently used with this build's materials
 20-Liter BucketFrequently used with this build's materials
 Ceramic Storage Jar with LidFrequently used with this build's materials
Blueprint liên quan
Các blueprint này chia sẻ kiến thức — kỹ thuật, vật liệu hoặc nguyên tắc
Related blueprints
Other builds that share materials, tools, or techniques with this one.
CC0 Phạm vi công cộng
Bản thiết kế này được phát hành theo CC0. Bạn tự do sao chép, sửa đổi, phân phối và sử dụng cho bất kỳ mục đích nào mà không cần xin phép.
Hỗ trợ nhà sáng tạo bằng cách mua sản phẩm qua bản thiết kế, nơi họ nhận Hoa hồng nhà sáng tạo do nhà bán hàng đặt, hoặc tạo phiên bản mới và kết nối trong bản thiết kế riêng để chia sẻ doanh thu.