
NGHỆ THUẬT
LÀM ĐẸP VÀ SỨC KHỎE
THỦ CÔNG
VĂN HÓA VÀ LỊCH SỬ
GIẢI TRÍ
MÔI TRƯỜNG
THỰC PHẨM VÀ ĐỒ UỐNG
TƯƠNG LAI XANH
KỸ THUẬT NGƯỢC
DỰ ÁN TRƯỜNG HỌC
KHOA HỌC
THỂ THAO
CÔNG NGHỆ
THIẾT BỊ ĐEO
Making Wooden Shingles — Riving Roof Tiles from a Bolt of Timber
Woody

Tạo bởi

Woody

26. tháng Năm 2026NO
20
0
0
0
0

Making Wooden Shingles — Riving Roof Tiles from a Bolt of Timber

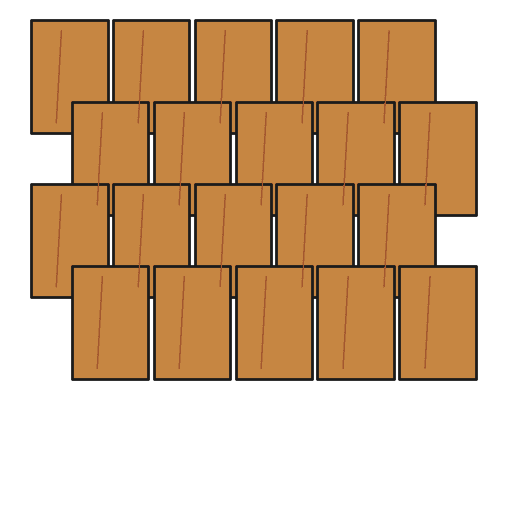
Before fired clay tiles or slate became affordable, every roof in the temperate world was covered in wooden shingles — thin, flat pieces of riven timber that overlap like fish scales to shed rain. A single roof might need a thousand shingles, but a skilled worker with a froe and mallet can produce several hundred in a day. Shingles made from durable heartwood — oak, cedar, chestnut, or larch — last 30 to 50 years without treatment.

Shingles must be riven, never sawn. A riven shingle has intact grain running from top to bottom — water runs along the fibres and drips off the bottom edge without soaking in. A sawn shingle has cut fibres that act like tiny straws, wicking water into the wood and rotting it within a few years. This is the fundamental reason riving survived alongside sawmills for centuries — shingles were one product where the old method was simply better.

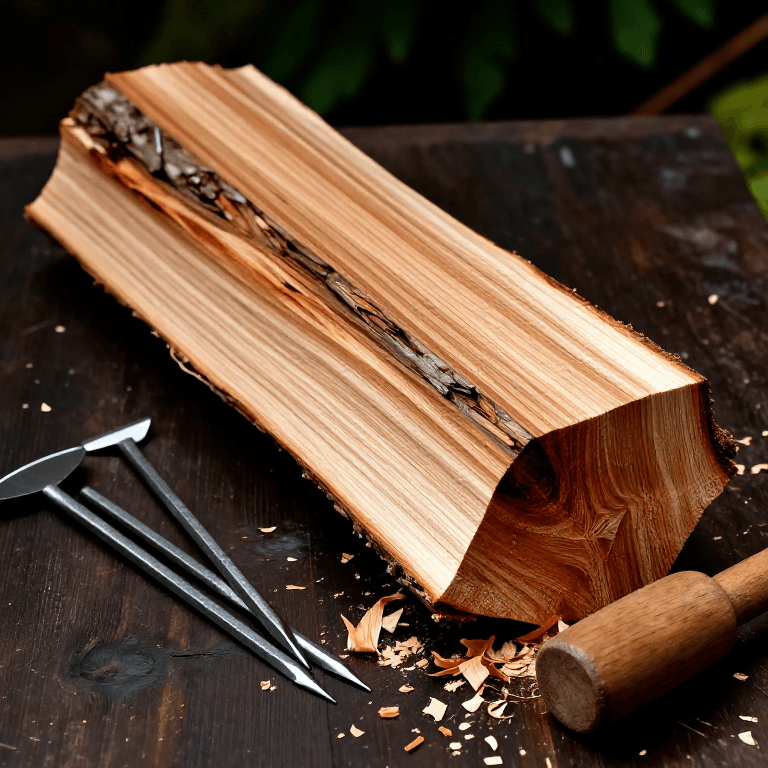
The technique requires a bolt (a short log section) of straight-grained wood and a froe — an L-shaped cleaving blade that gives precise control over the split line. Each shingle is split from the bolt, then shaved smooth on one face with a drawknife. The result is a lightweight, weather-resistant roof tile produced entirely from hand tools and local timber.

Trung cấp
4-6 hours (for ~100 shingles)

Hướng dẫn

1

Select and crosscut a bolt

Choose a log of straight-grained, knot-free hardwood or durable softwood — oak, sweet chestnut, western red cedar, or larch are the traditional shingle woods. The log must have no spiral grain or large knots. Crosscut the log into bolts (short sections) the length of the finished shingle — typically 40-60 cm for roof shingles. Each bolt yields shingles from its full diameter. A bolt 30 cm across produces roughly 20-30 shingles depending on thickness.
2

Split the bolt into halves and quarters

Split the bolt in half with an iron wedge and maul, then split each half into quarters. For large bolts, split the quarters into eighths. Each piece is now a wedge-shaped section with the pith (centre of the log) at the narrow end and the bark at the wide end. Remove the pith wood from each piece — the few centimetres around the pith crack as they dry and make poor shingles. Also remove the sapwood (the lighter ring under the bark) — sapwood rots faster than heartwood.
3

Rive shingles with a froe

Clamp each section upright in a cleaving brake or hold it against a post. Place the froe blade on the end grain at the desired thickness — 8-12 mm for shingles. Strike the back of the froe with a wooden mallet to start the split, then twist the froe handle to propagate the split down the length of the bolt. Each twist of the handle levers the shingle away from the bolt. If the split runs off-line, apply pressure to the thicker side to steer it back. Work through the section, producing one shingle at a time.

Công cụ cần thiết:

FroeFroe
Wooden MalletWooden Mallet
4

Dress the face with a drawknife

Each riven shingle has a rough, fibrous surface. Clamp it in a shave horse and take two or three passes with a drawknife to smooth the front face — the face that will be exposed to weather. The back face can stay rough; it sits against the roof battens and is never seen. Smoothing the exposed face helps water sheet off rather than pooling in the hollows of the split surface. Do not make the shingle too thin — 6 mm is the minimum for durability.

Công cụ cần thiết:

DrawknifeDrawknife
5

Taper the top edge

The top edge of each shingle (the end that sits under the overlapping row above) should be slightly thinner than the bottom (exposed) edge. This taper ensures that the overlapping shingles lie flat against each other. Use the drawknife to shave a gentle taper over the top 10-15 cm of the shingle. The bottom edge, which is the drip edge, should remain full thickness to prevent splitting when nailed.
6

Stack and season before installation

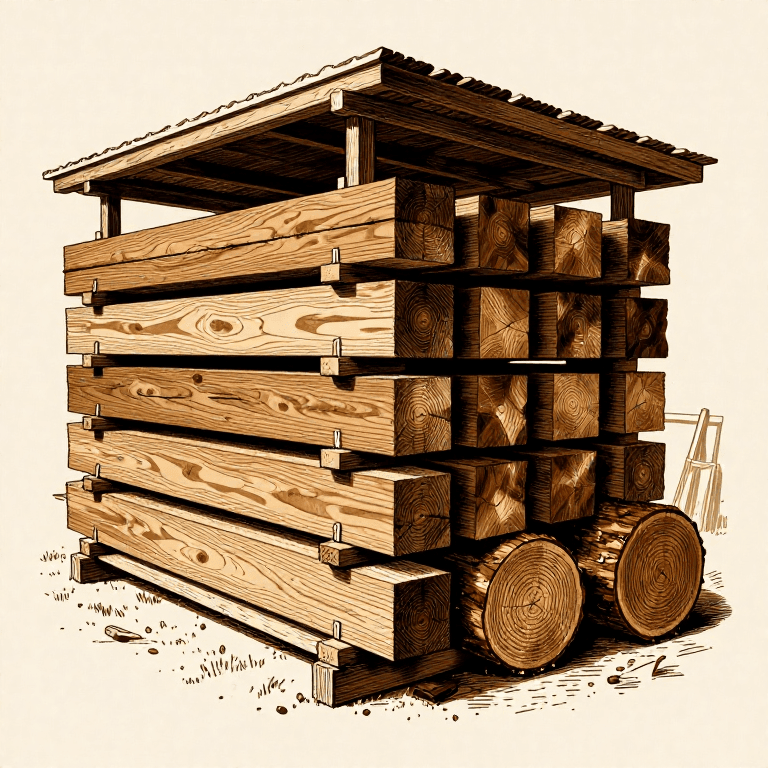
Stack the finished shingles in loose piles with spacer sticks between each layer to allow air circulation. Cover the stack to keep rain off but leave the sides open for airflow. Green shingles shrink as they dry — if installed wet, gaps open between them as they season. Allow 2-4 weeks of air drying before installation. When nailing to roof battens, use a single nail near the top of each shingle — the overlap from the row above hides the nail and prevents leaks.

Công cụ yêu cầu

3

Vật liệu bản thiết kế liên kết

You can swap these in

Can't get one of the materials? Swap it for an equivalent — these work just as well.

CC0 Phạm vi công cộng

Bản thiết kế này được phát hành theo CC0. Bạn tự do sao chép, sửa đổi, phân phối và sử dụng cho bất kỳ mục đích nào mà không cần xin phép.

Hỗ trợ nhà sáng tạo bằng cách mua sản phẩm qua bản thiết kế, nơi họ nhận Hoa hồng nhà sáng tạo do nhà bán hàng đặt, hoặc tạo phiên bản mới và kết nối trong bản thiết kế riêng để chia sẻ doanh thu.

Thảo luận

(0)

Đăng nhập để tham gia thảo luận

Đang tải bình luận...