ARTE
BELEZA E BEM-ESTAR
ARTESANATO
CULTURA E HISTÓRIA
ENTRETENIMENTO
MEIO AMBIENTE
COMIDA E BEBIDAS
ENGENHARIA REVERSA
CIÊNCIAS
ESPORTES
TECNOLOGIA
TECNOLOGIA VESTÍVEL
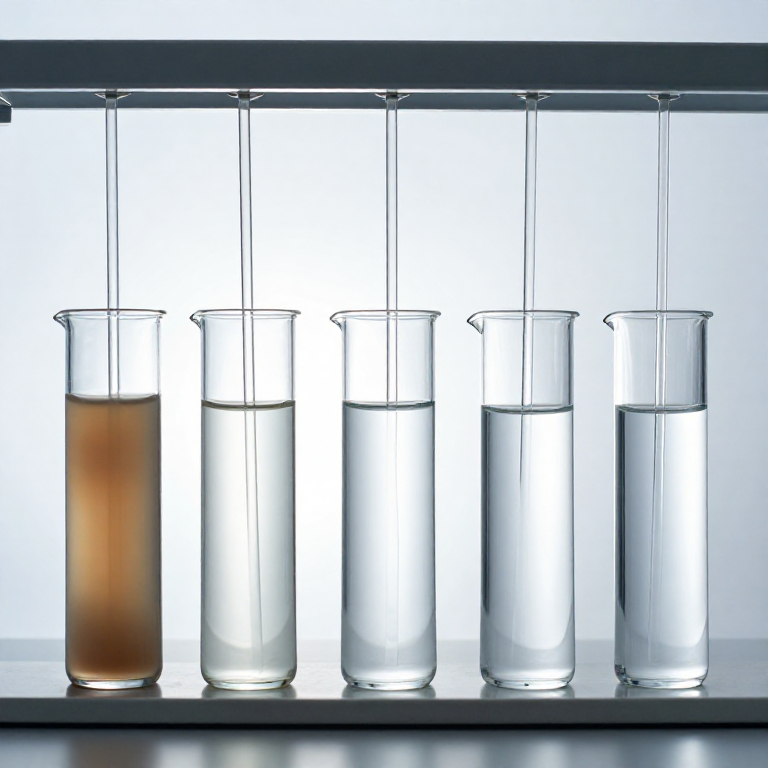


Coagulation and the Jar Test
Some dirt will not settle. Sand drops out of water in seconds, silt in hours, but the finest clay and the organic colour in a river will sit in suspension for weeks because the particles are small enough that random molecular buffeting keeps them up, and because they all carry the same electrical charge and push each other apart.
That second reason is the one you can attack. Add a salt that hydrolyses to a highly charged positive species — alum is the classic — and the charge on the particles is neutralised. With the repulsion gone, particles that collide now stick, and once they begin sticking they grow. A visible floc forms out of an apparently clear-but-coloured water, and floc settles in minutes.
The dose is the whole problem. Too little and nothing happens. Too much and the charge reverses, the particles repel each other again, and the water gets worse — a genuinely counter-intuitive failure that has caught out a great many operators. And the right dose changes with the water, day to day.
So the industry does not calculate it. It measures it, every time, with a bench test that has barely changed in a century: six jars, six doses, one stirrer. You will build the stirrer and run the test.
Intermediário
5 hours
Instruções
1
1
Build a six-paddle gang stirrer
Build a six-paddle gang stirrer
The test needs six jars stirred identically at a speed you can set and change together. Buying one is possible; building one is an afternoon and teaches you what the specification is for.
Mount a low-speed geared motor driving a shaft, and hang six paddles from it on a common belt or gear train so they all turn at the same rate. Speed control matters more than power — you need a smooth range from roughly twenty to two hundred revolutions per minute, so use a motor controller rather than a resistor.
The paddles should be flat, about seventy-five millimetres wide and twenty-five deep, set at a consistent height above the jar bottom. Consistency between the six is the entire point of the instrument. Any difference in paddle depth or size becomes a difference in mixing energy, and mixing energy is one of the variables you are trying to hold constant while you change the dose.
Use square jars if you can get them, or add a baffle to round ones. A round unbaffled jar lets the whole body of water rotate with the paddle, which looks like vigorous stirring and delivers very little actual mixing.
Mark a fixed sampling point on each jar, about a third of the way down. Where you draw the sample from changes the answer, so it must be the same place every time.
Materiais para este passo:
 Motorredutor de corrente contínua1 peça
 Regulador de velocidade de motor por PWM1 peça
 Barra chata de alumínio1 metre
 Frascos quadrados de vidro6 peças
 Correia dentada1 conjunto
 Polia dentada1 conjunto
Ferramentas necessárias:
 Multímetro digital de laboratório
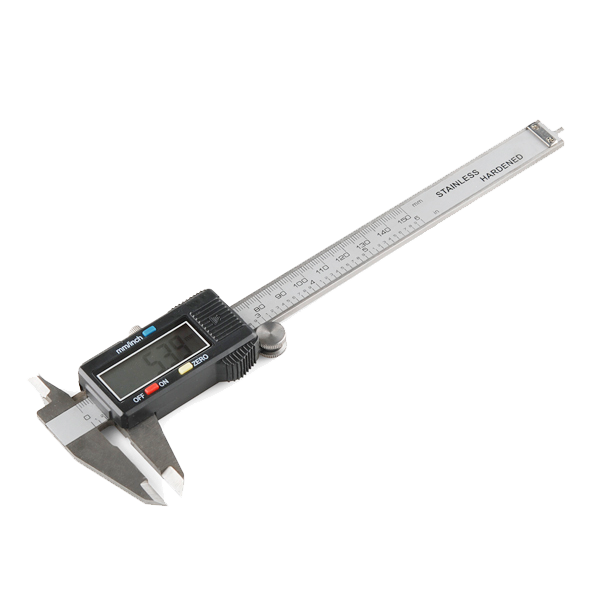 Digital Calipers - 152.4 mm
 Estação de soldagem
2
2
The three phases, and why each has its own speed
The three phases, and why each has its own speed
A jar test is three distinct operations run back to back, and the speeds are opposite for good reasons.
Rapid mix is violent and brief. The coagulant hydrolyses within a second or two of hitting the water, so it must be distributed everywhere before that chemistry finishes. Mix slowly here and part of your dose is wasted reacting with itself in a concentrated pocket.
Slow mix is gentle and long. Now you want particles to collide often enough to stick, but not so hard that the growing floc is torn apart. This is the phase where the floc becomes visible, and there is an optimum: more energy is better up to a point and worse after it.
Settling is still. Stop the paddles, lift them out, and leave it alone. The floc falls, and how fast it falls tells you as much as how clear the water becomes.
The diagram shows all three with their speeds and durations, and marks what goes wrong if each is done badly. Run it as drawn before you start varying anything.
Flow
Loading...
Materiais para este passo:
 Alúmen (alúmen de potássio)500 gram
 Água destilada5 litros
Ferramentas necessárias:
 Balança digital de precisão
 Copo de vidro (gobelé)
 Cronómetro
3
3
The dose curve, and the overdose that makes it worse
The dose curve, and the overdose that makes it worse
A carregar o notebook Jupyter…
Ferramentas necessárias:
 Computador de secretária
4
4
Run the test on real water, six ways at once
Run the test on real water, six ways at once
Collect raw water with something actually in it. A pond, a stream after rain, or tap water deliberately loaded with a suspension of fine clay if you have nothing else. Measure and record its turbidity, pH and temperature before you touch it — temperature matters, because cold water flocculates noticeably more slowly and a test run in winter needs a longer slow-mix.
Make a stock alum solution rather than weighing powder into each jar. Ten grams per litre is convenient, and then a dose of twenty milligrams per litre into a one-litre jar is two millilitres of stock. Dosing by volume from a stock is faster, far more accurate at small doses, and is what any works does.
Fill six jars with identical raw water. Dose them across a range that brackets where you expect the optimum — zero, ten, twenty, thirty, forty and sixty milligrams per litre is a sensible first sweep. Add all six doses as close to simultaneously as you can, then start the rapid mix.
Run the three phases as the flow diagram specifies. During the slow mix, watch and write down what you see: the dose at which floc first becomes visible, how large the particles grow, whether they look like snowflakes or like grains. Floc appearance is real information and experienced operators read it before they read the meter.
After settling, sample each jar at your marked depth without disturbing the sediment, and measure turbidity and pH. Plot both against dose.
Materiais para este passo:
Alúmen (alúmen de potássio)250 gram Caulino em pó500 gramÁgua destilada10 litros
Ferramentas necessárias:
 Turbidímetro
 Medidor de pH digital portátil
 Termómetro de laboratórioBalança digital de precisão
5
5
Narrow it, then read the limit
Narrow it, then read the limit
Your first sweep locates the optimum to within about ten milligrams per litre. Now run a second sweep across that narrow range in small steps and find it properly. This two-pass approach — coarse then fine — is how the test is used in practice and it is much faster than guessing a fine range first.
Then change one thing at a time and watch the optimum move. Warm the water ten degrees. Raise the pH with a little sodium bicarbonate. Double the raw turbidity with more clay. Each will shift the answer, and seeing how far is the point: it demonstrates that the dose is a property of today's water, not of the plant.
Finally, run a jar deliberately at three times the optimum and look at it. That is the restabilisation the notebook predicted, and watching genuinely dirty water come out of an over-dosed jar is the most useful thing in this blueprint.
Where this stops, and this one has a sharp edge. Coagulation removes turbidity, much of the colour, and a good deal of what rides on particles. It does not disinfect. Water that has been beautifully coagulated and settled is clear, looks excellent, and can still contain everything that makes people ill — and it is more dangerous than muddy water precisely because it looks safe.
Coagulation is a step in a train, never the whole train, and the train always ends in disinfection with a verified residual. Use this to clarify water for a pond, a workshop, a filter feed, or to understand what your water company does every hour. Do not treat clear as clean.
Materiais para este passo:
Alúmen (alúmen de potássio)250 gram Bicarbonato de sódio250 gram
Ferramentas necessárias:
TurbidímetroMedidor de pH digital portátil Placa de aquecimento com agitador magnético
Materiais
10- desdeR$13.07
- Referência
- 1 metreReferência
- 6 peçasReferência
- 1 conjuntoReferência
- desdeR$34.85
- 1000 gramReferência
- 15 litrosReferência
- 500 gramReferência
- 250 gramReferência
Ferramentas necessárias
11- Referência
- Digital Calipers - 152.4 mm10% de comissãoR$73.18
- Referência
- Referência
- Referência
- Referência
- Referência
- Referência
- Referência
- Referência
Blueprints relacionados
Estes blueprints compartilham conhecimento — técnicas, materiais ou princípios


CC0 Domínio Público
Este blueprint é liberado sob CC0. Você é livre para copiar, modificar, distribuir e usar este trabalho para qualquer finalidade, sem pedir permissão.
Apoie o Maker comprando produtos através do Blueprint, onde ele ganha uma Comissão Maker definida pelos vendedores, ou crie uma nova versão deste Blueprint e inclua-o como conexão no seu próprio Blueprint para compartilhar receita.